LOADING...

Posts Tagged "feeding"

5Nov

Feed Life + Trimming

by AutoAdmin

With single plant to grow, the effort needed to cultivate was reduced greatly and allow me to focus on the devices for the next few months.


Pretty much the most interaction I needed with the plant for the next two months besides pruning.


The closet o’ nutrients.


I feel in love with compost tea and have been using it a lot this grow.


Soups done

A post shared by PeteGrow (@petegrow) on


3Mar

Project Nutrient Mixer Control System

by AutoAdmin

The nutrient mixer had been a manual process to date and it was time to program the software to govern it. Very tedious process involving a lot of calibration.


System plugged in and running.


Microprocessor talking to the microcontroller.


System doses a perfect 10 ml


Wired into the grow.


The grow with the camera, power and feeding all running.


2Oct

Time to Replant

by AutoAdmin

A few weeks past and it was time to plant the clones. This would not be my last time growing so many but would be the last time I did this large of a repot. It was definately a challenge the first time around that had issues a few weeks later with over watering and temp.

The clones needed to be repoted and were looking a little weak.


Prepping the soil and containers.


I installed a larger light to cover all the plant canope.


Finally reported wit the weaker ones to the left. I didn’t mind a few dying off.


Treating water for the plants.


I like this micro root food. It helps greatly with the new plants.


A few days later and they are looking much happier and healthier.


Close up of a replant a day after.


15Sep

Grow Room Upgrade

by AutoAdmin

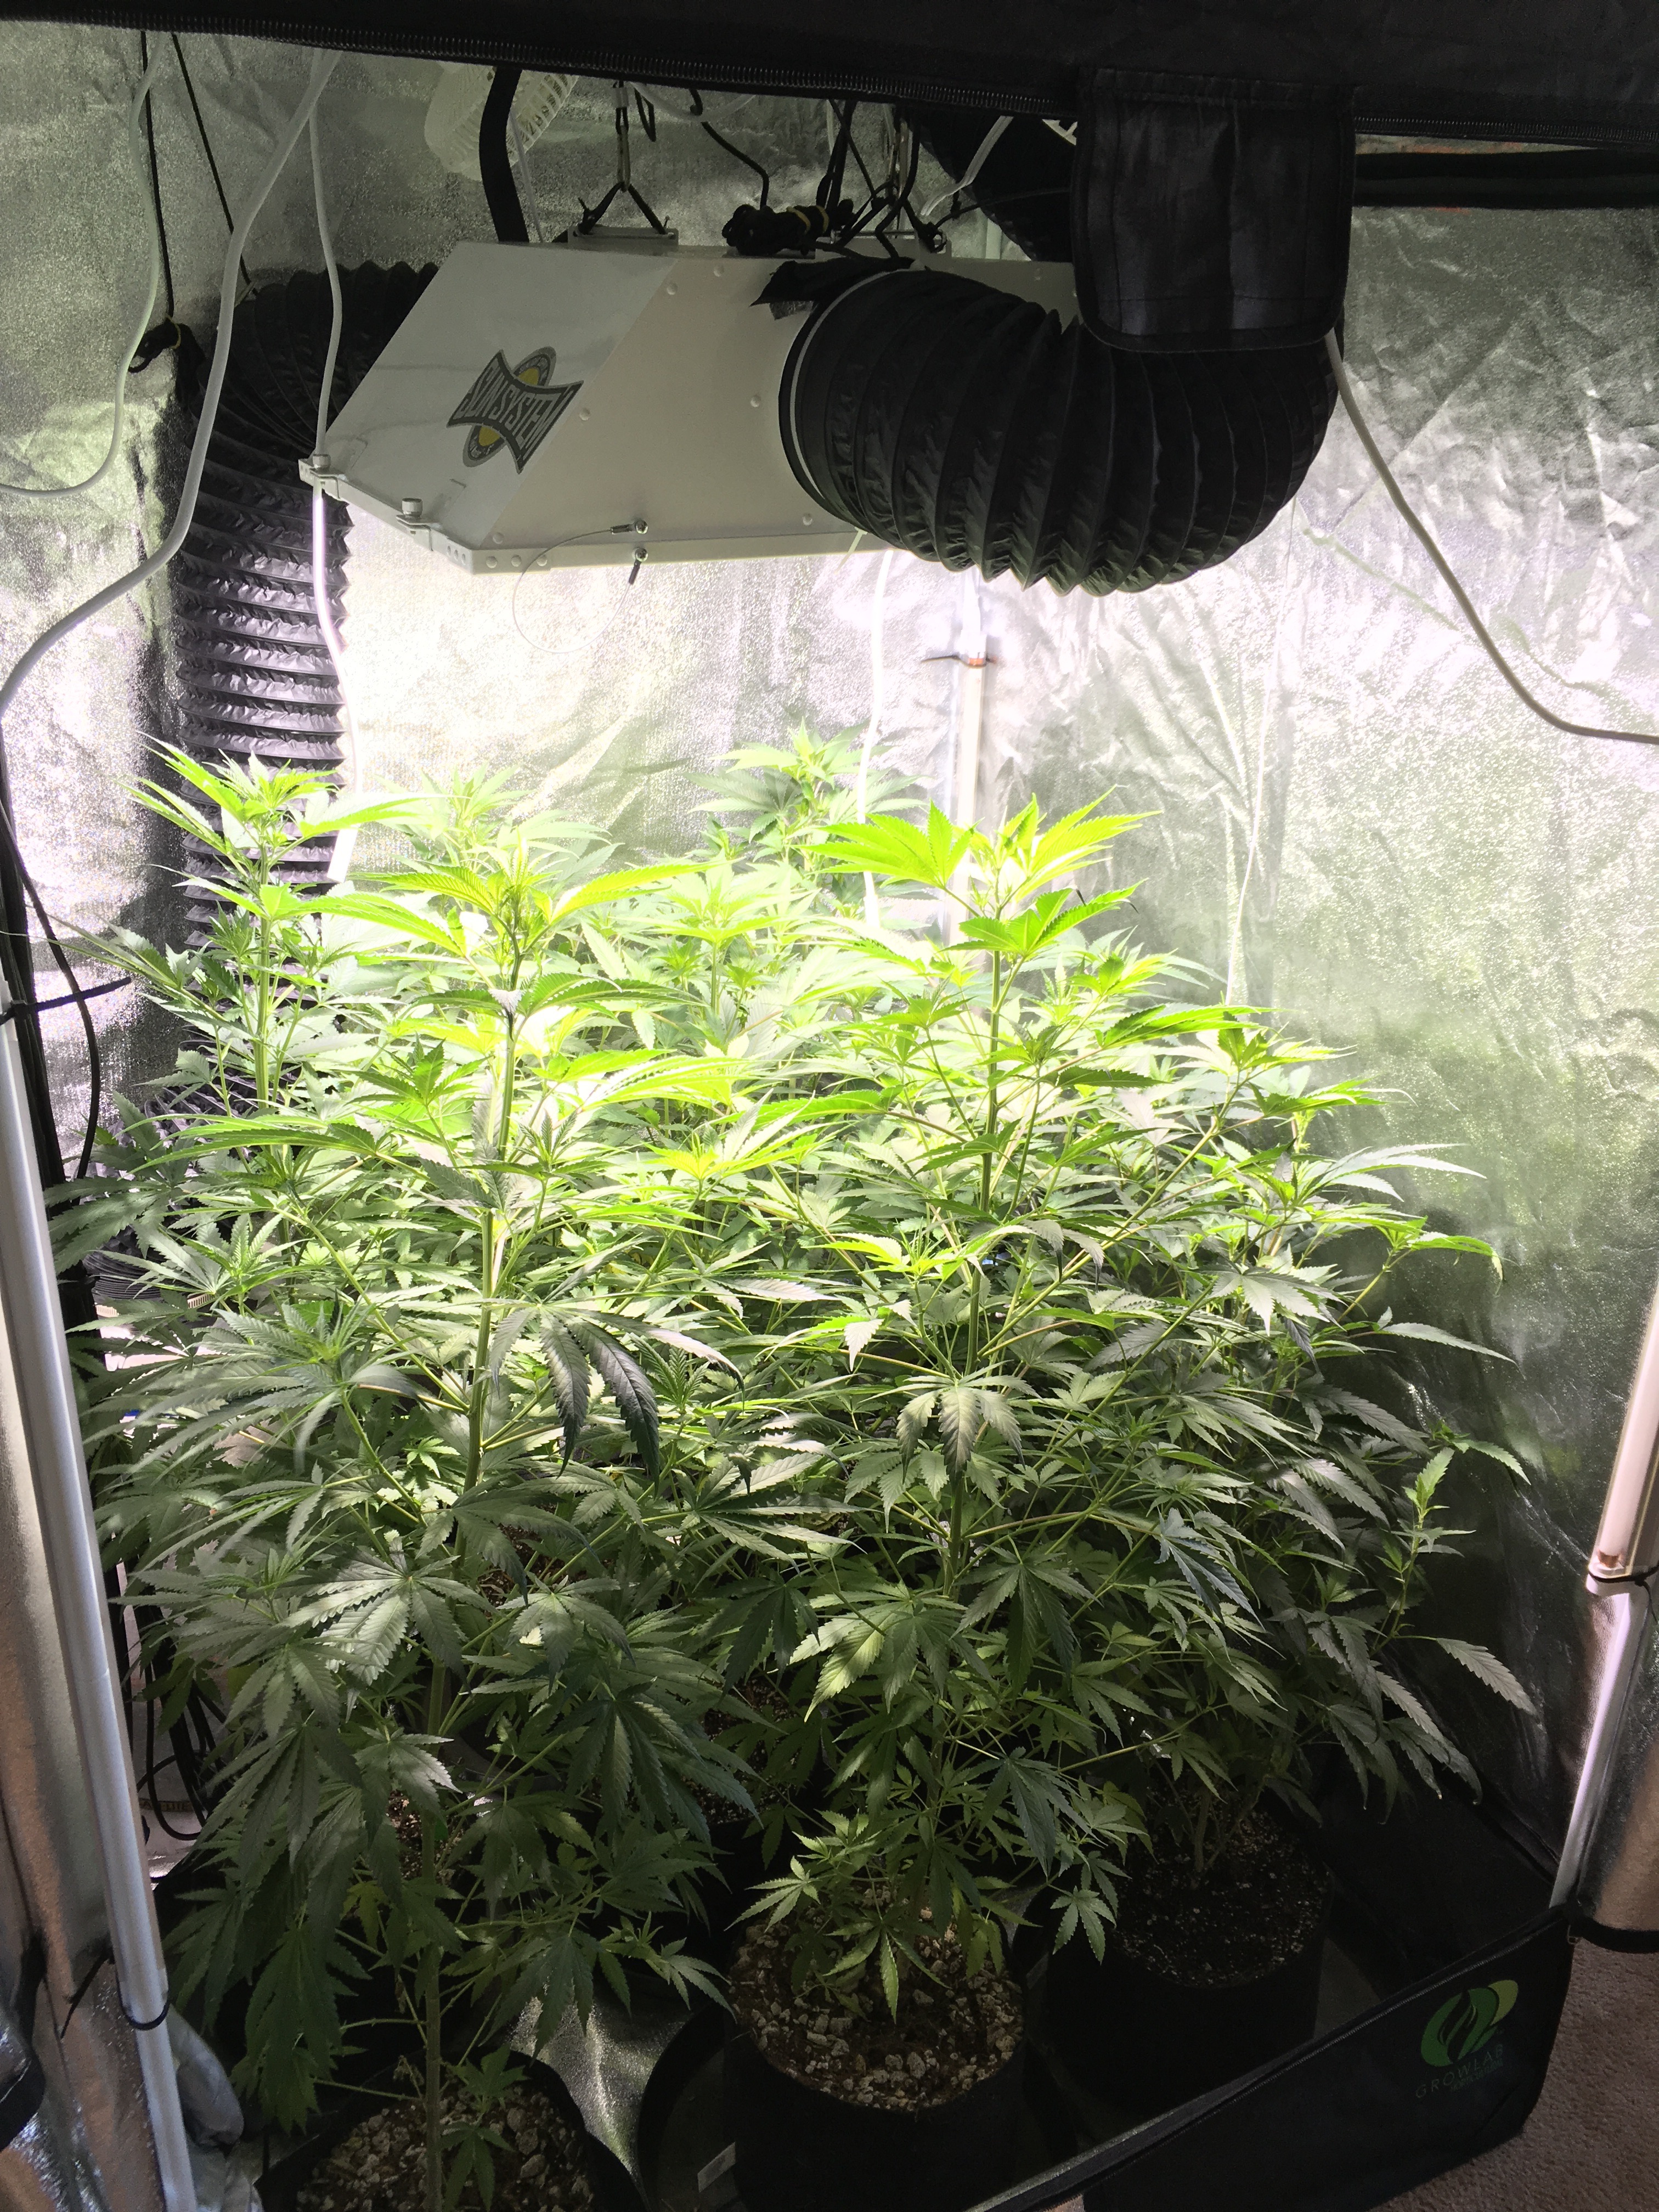
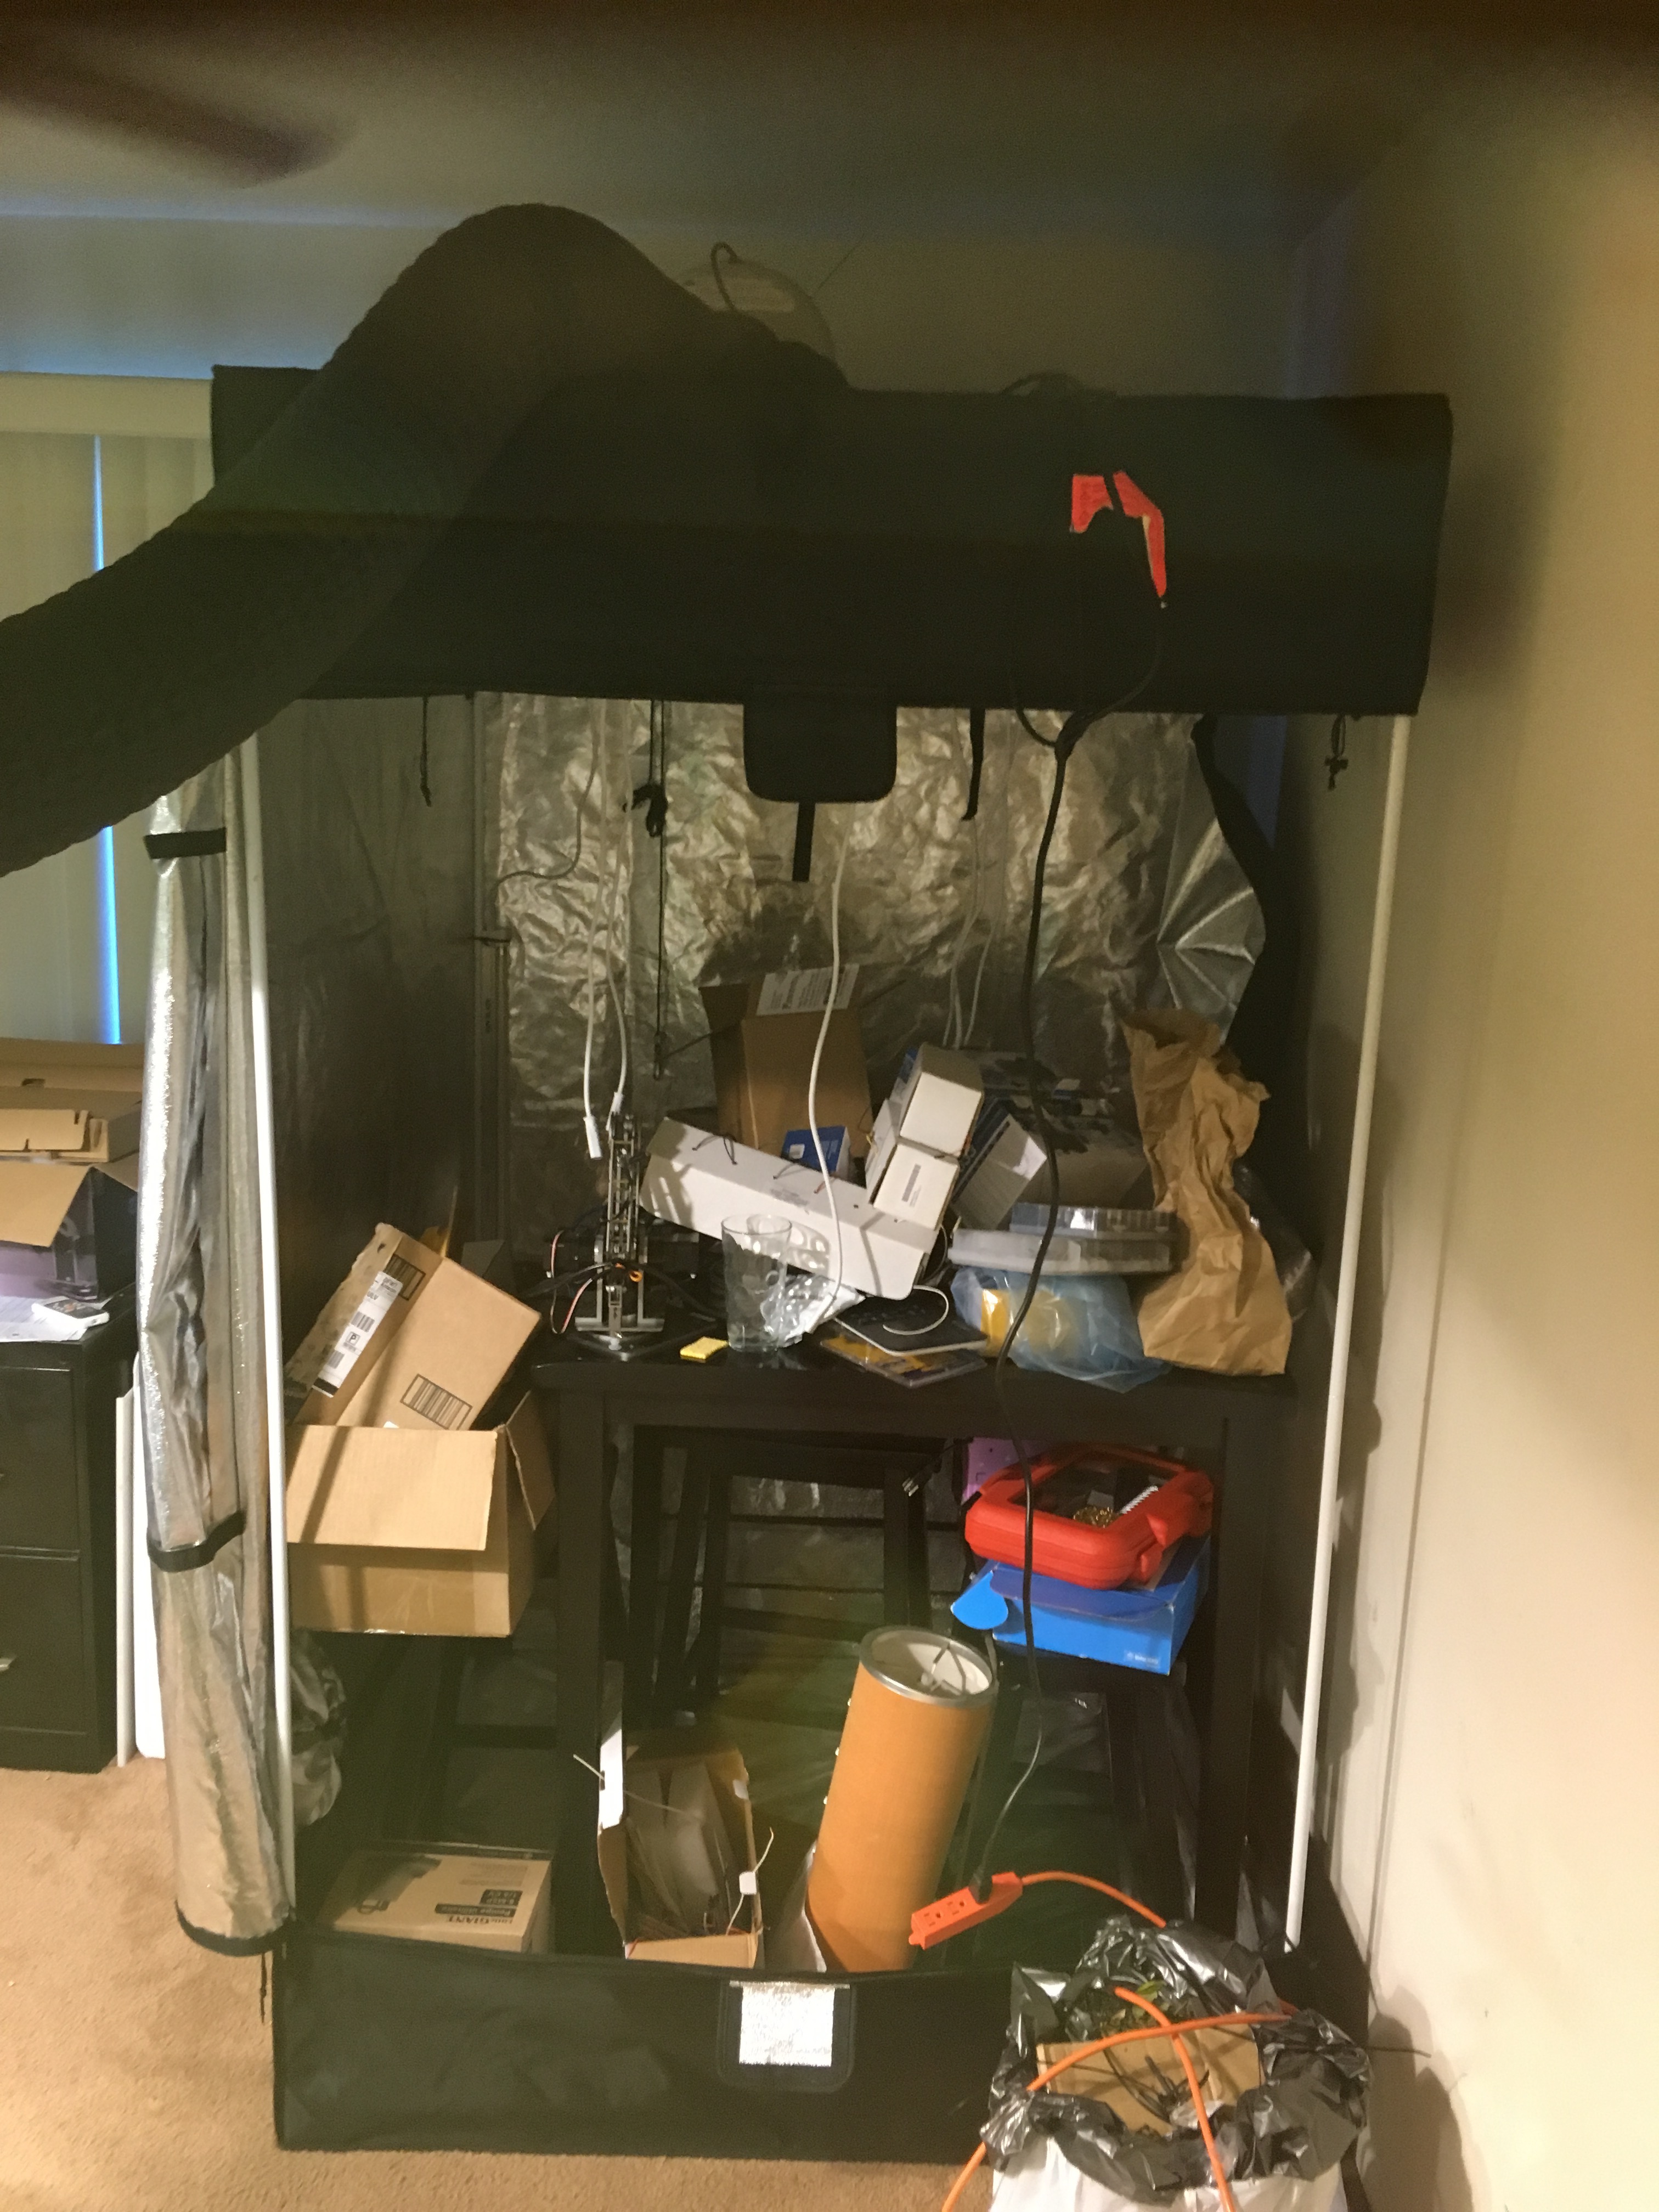
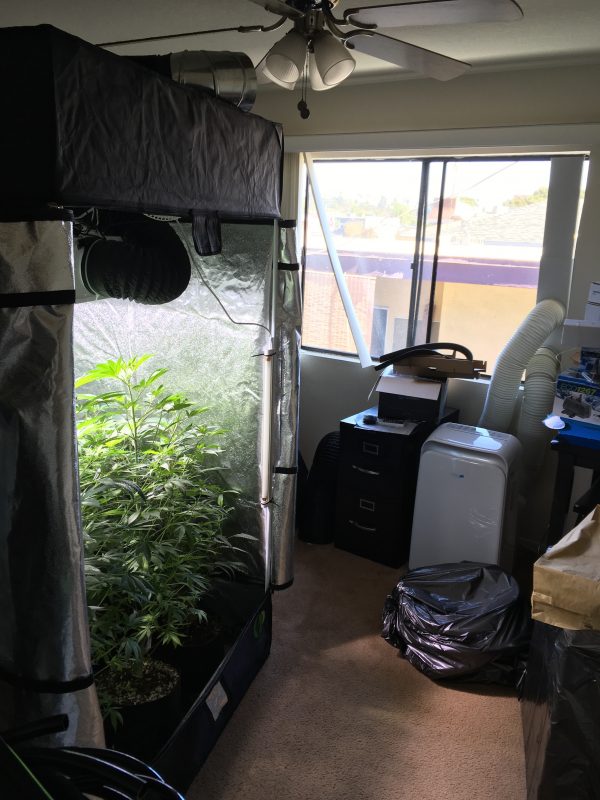
Around this time the 4×4 tent I was vegging in had reached capacity and it was time to upgrade. I decided to purchase a second 600W light and remove the tent. This was a large upgrade as it dedicated the entire room to the cultivation.


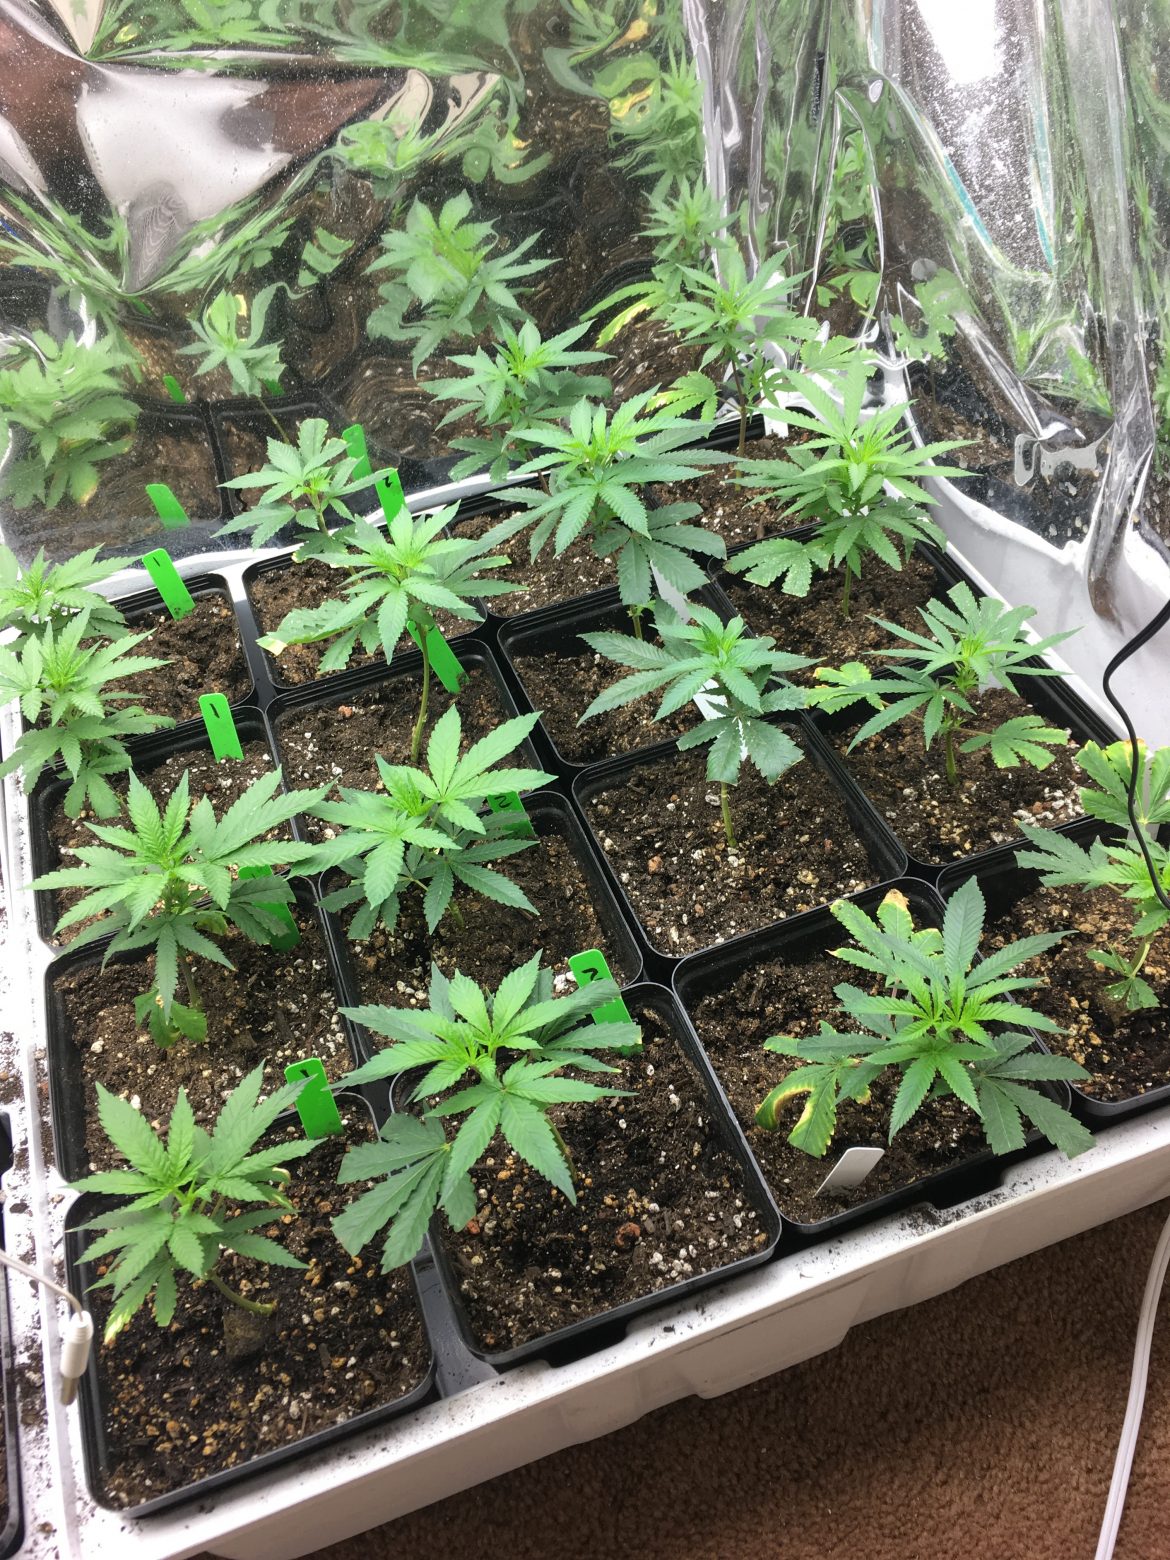
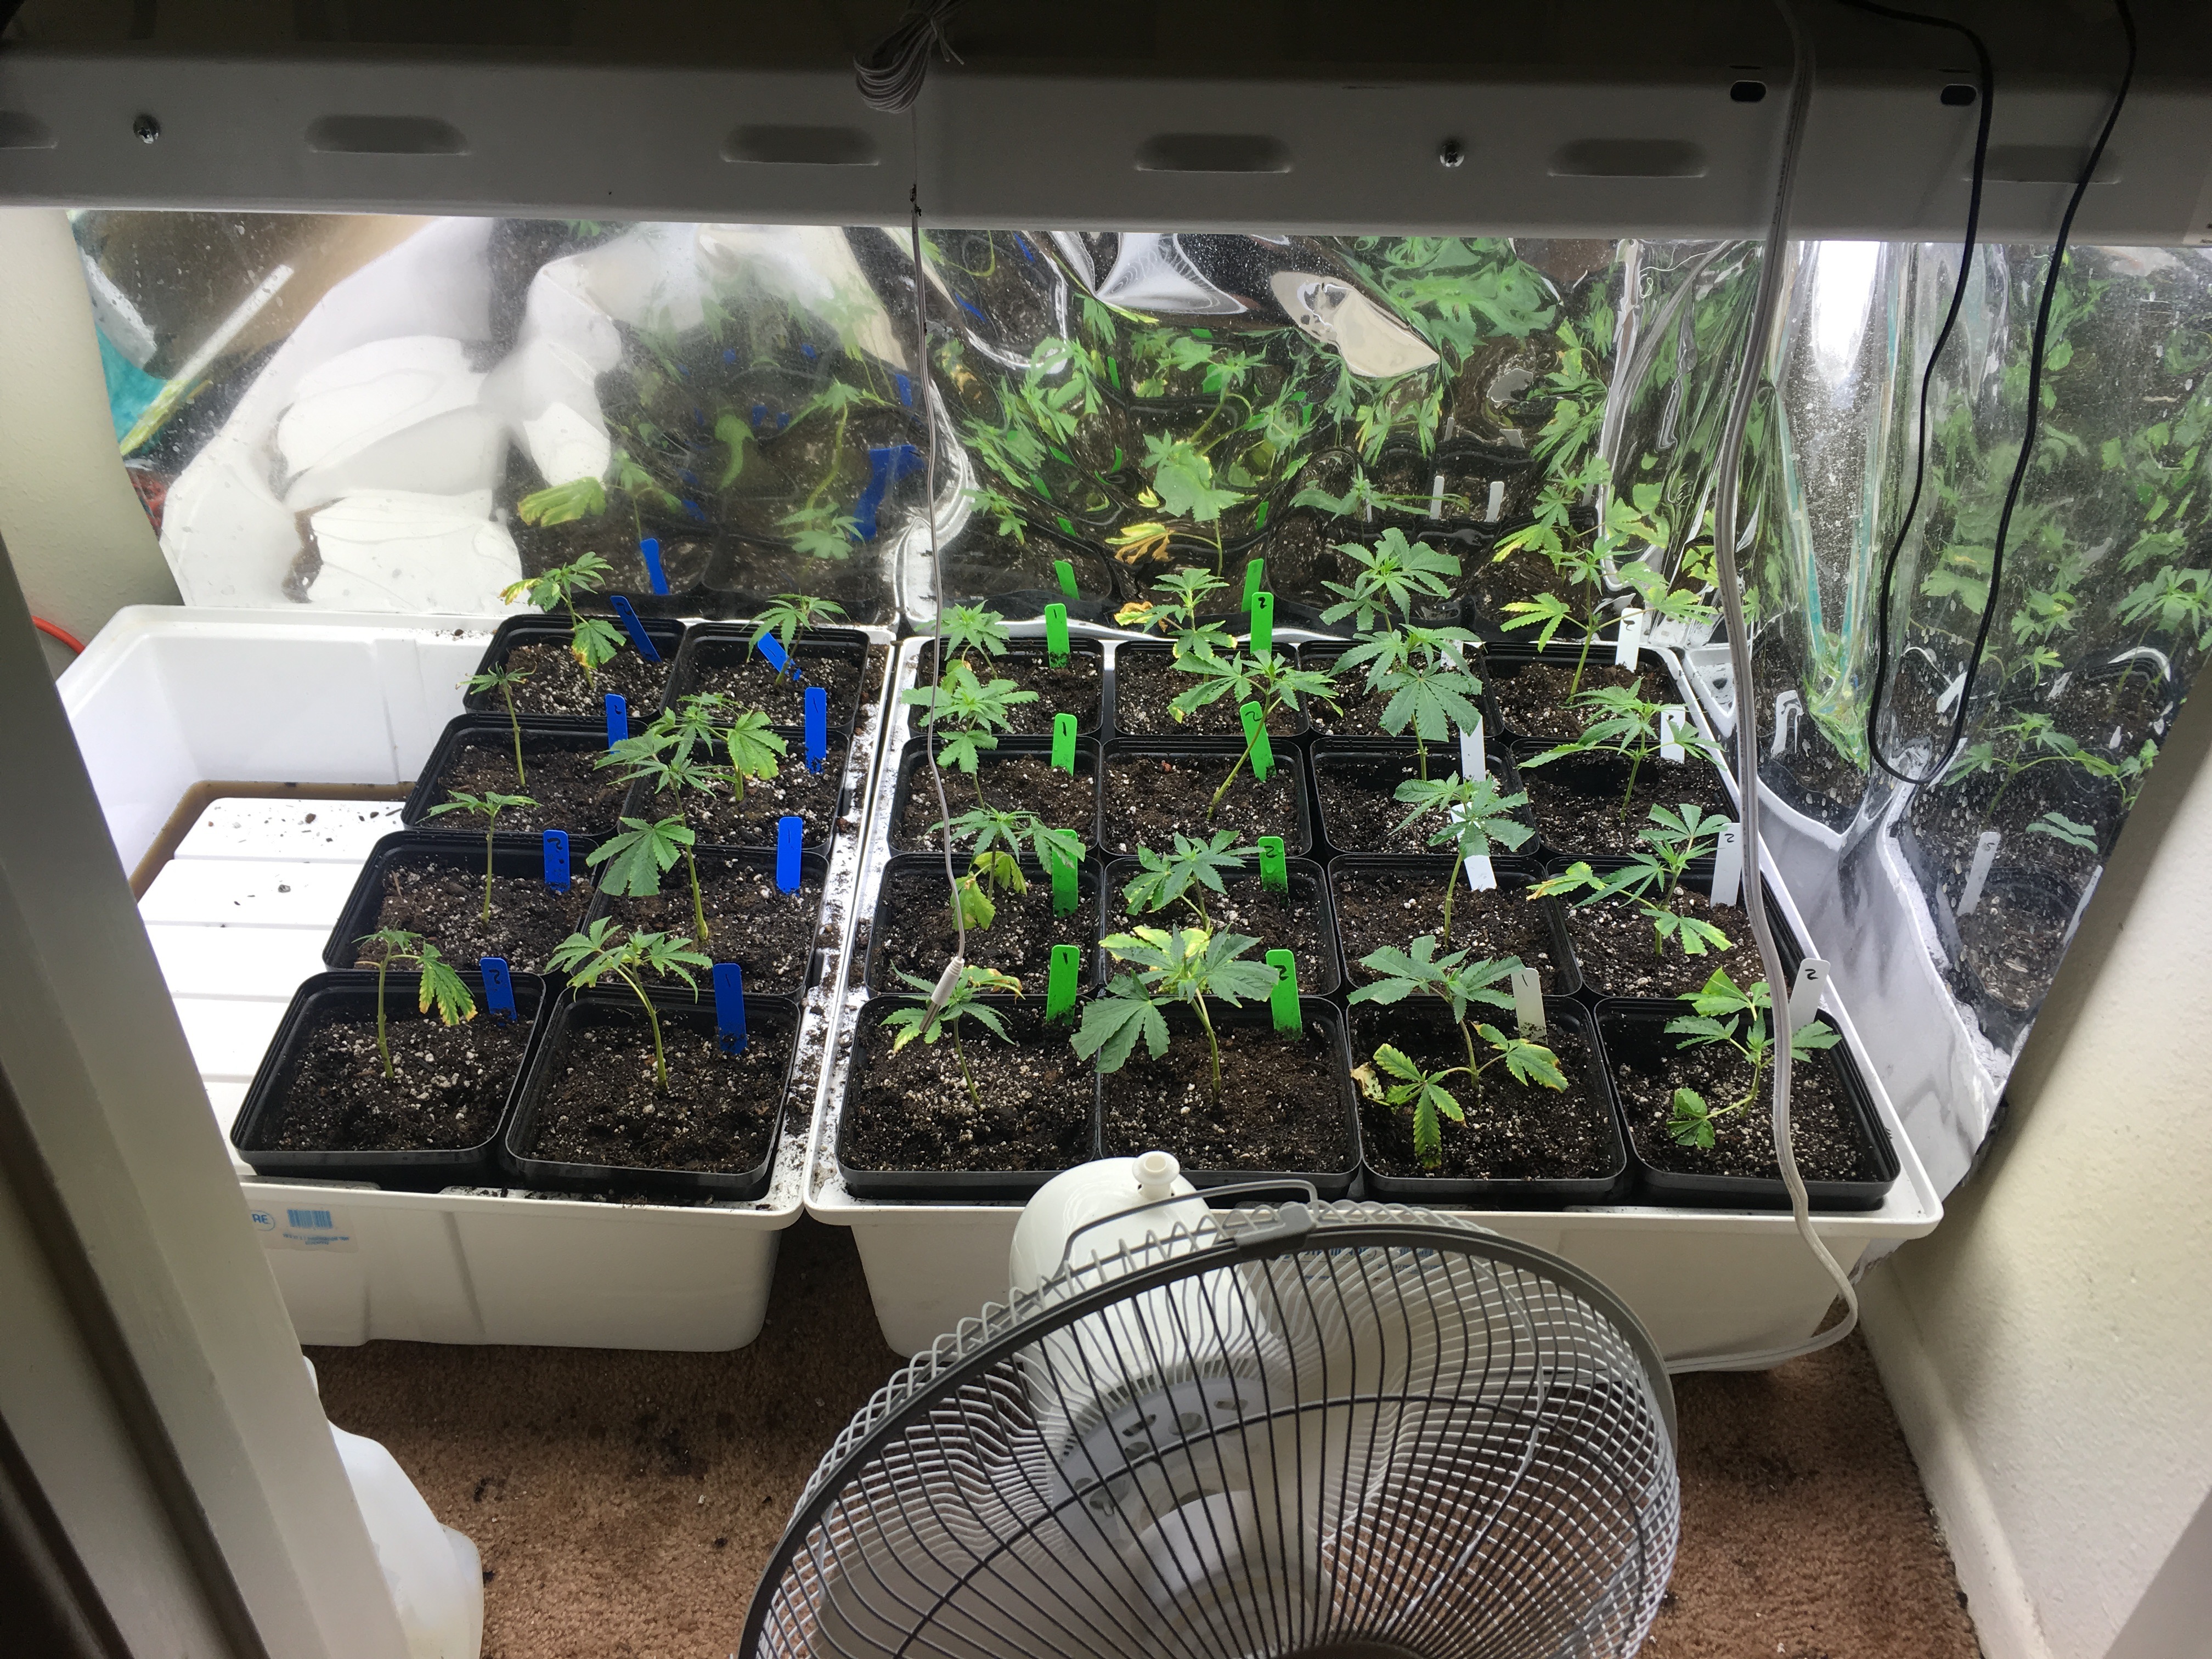
The veg tent filled and needing more room.


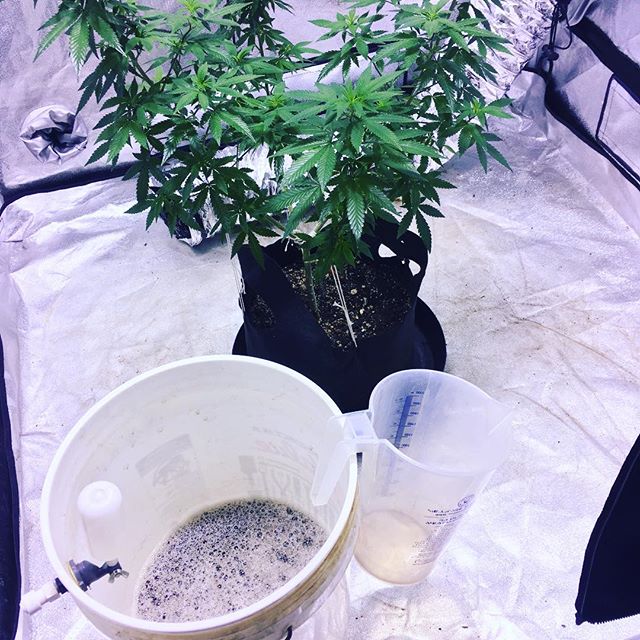
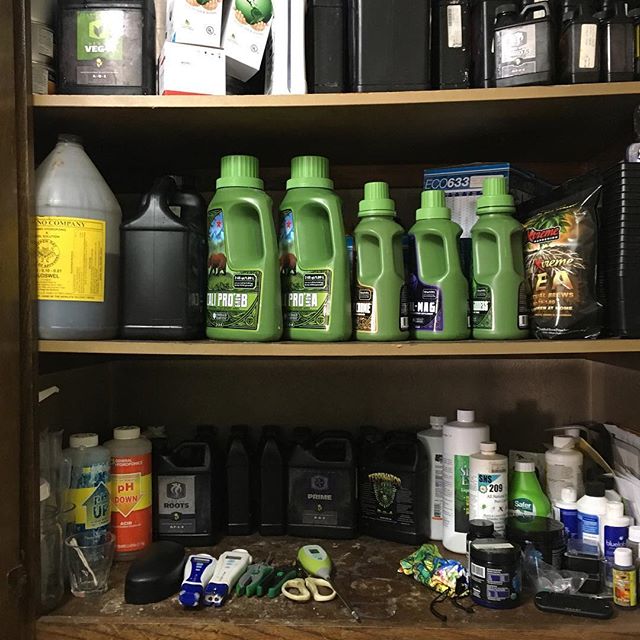
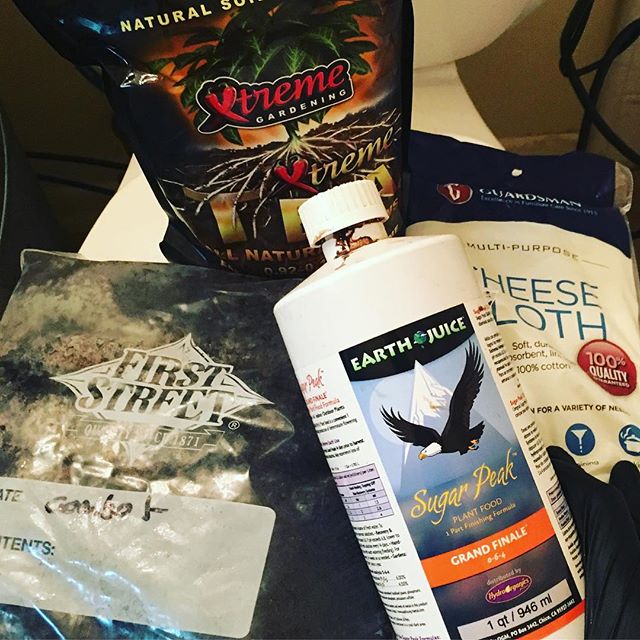
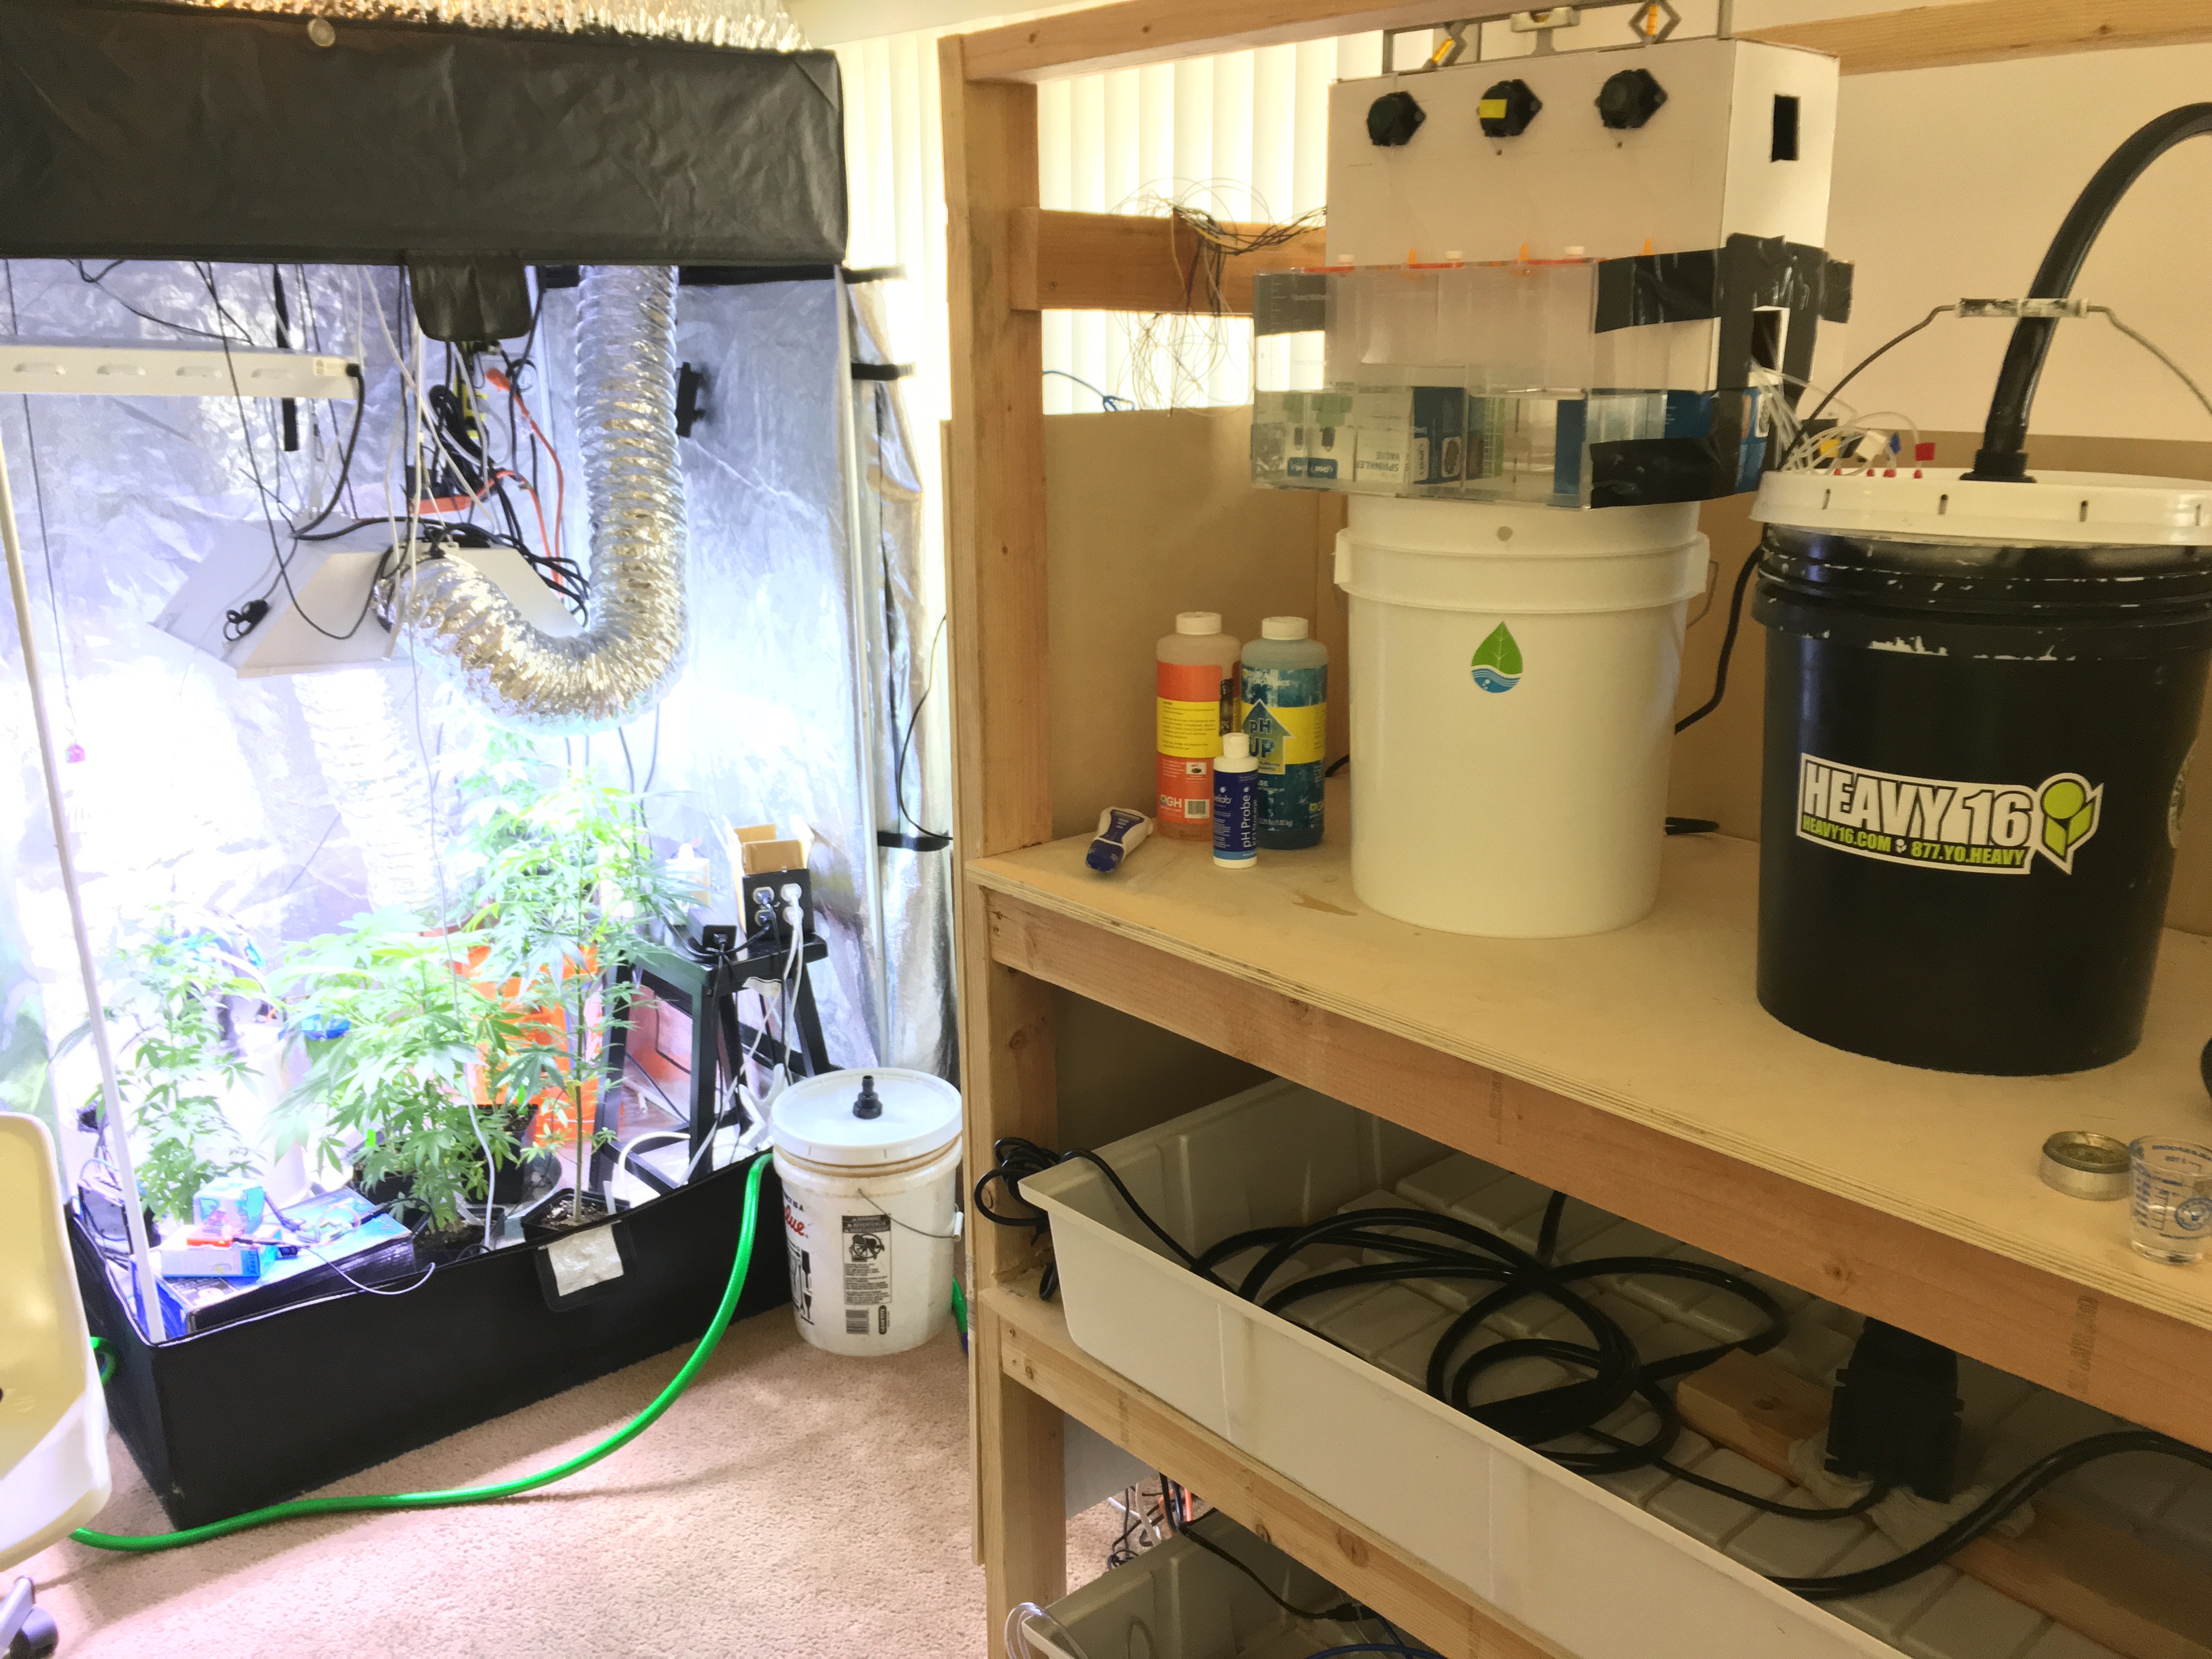
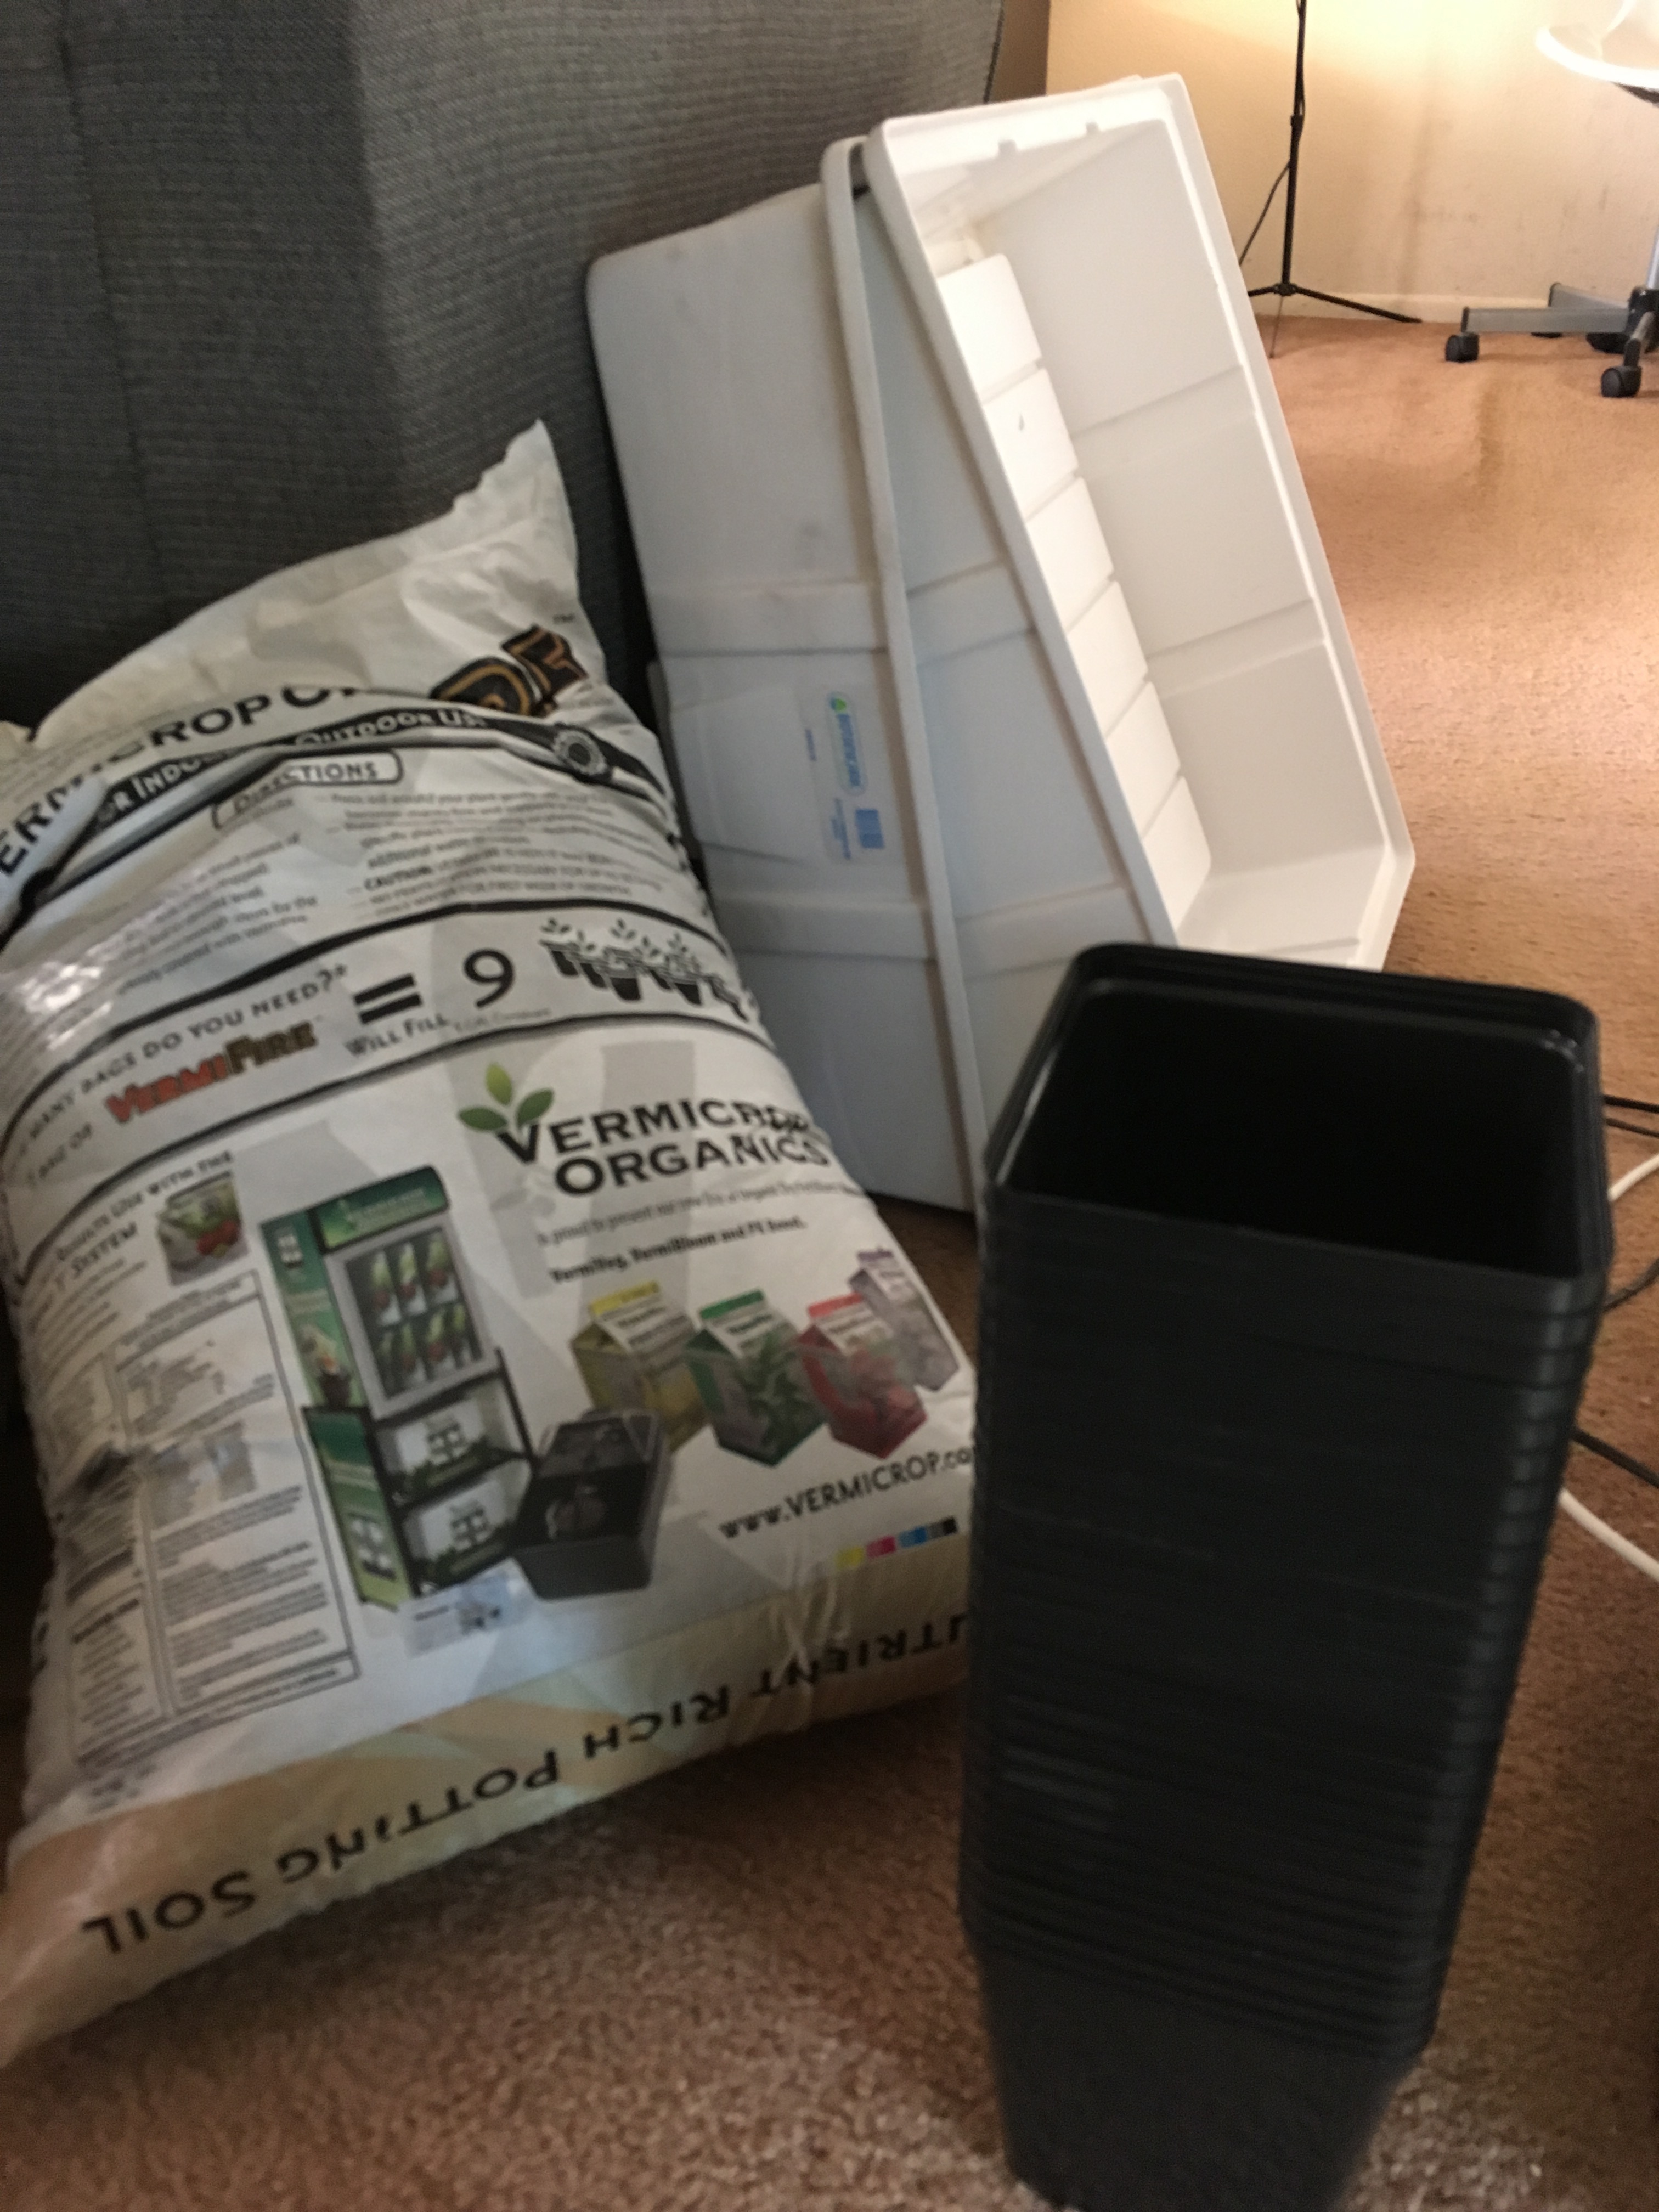
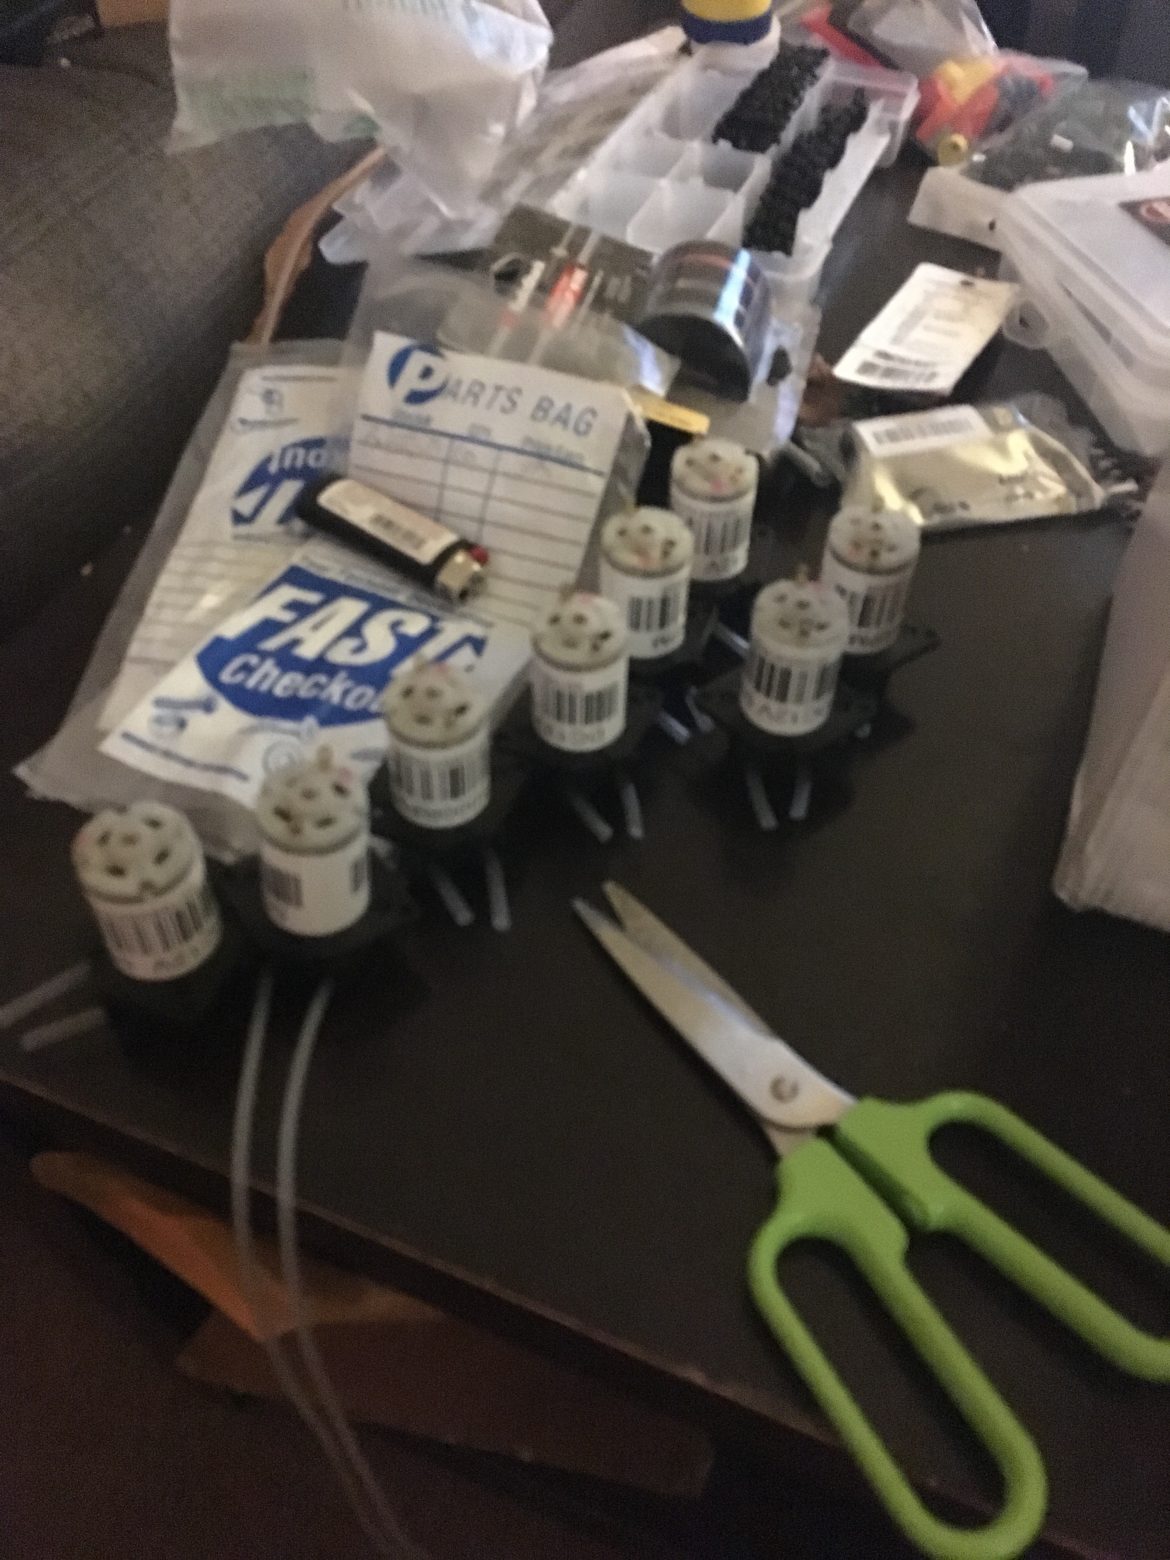
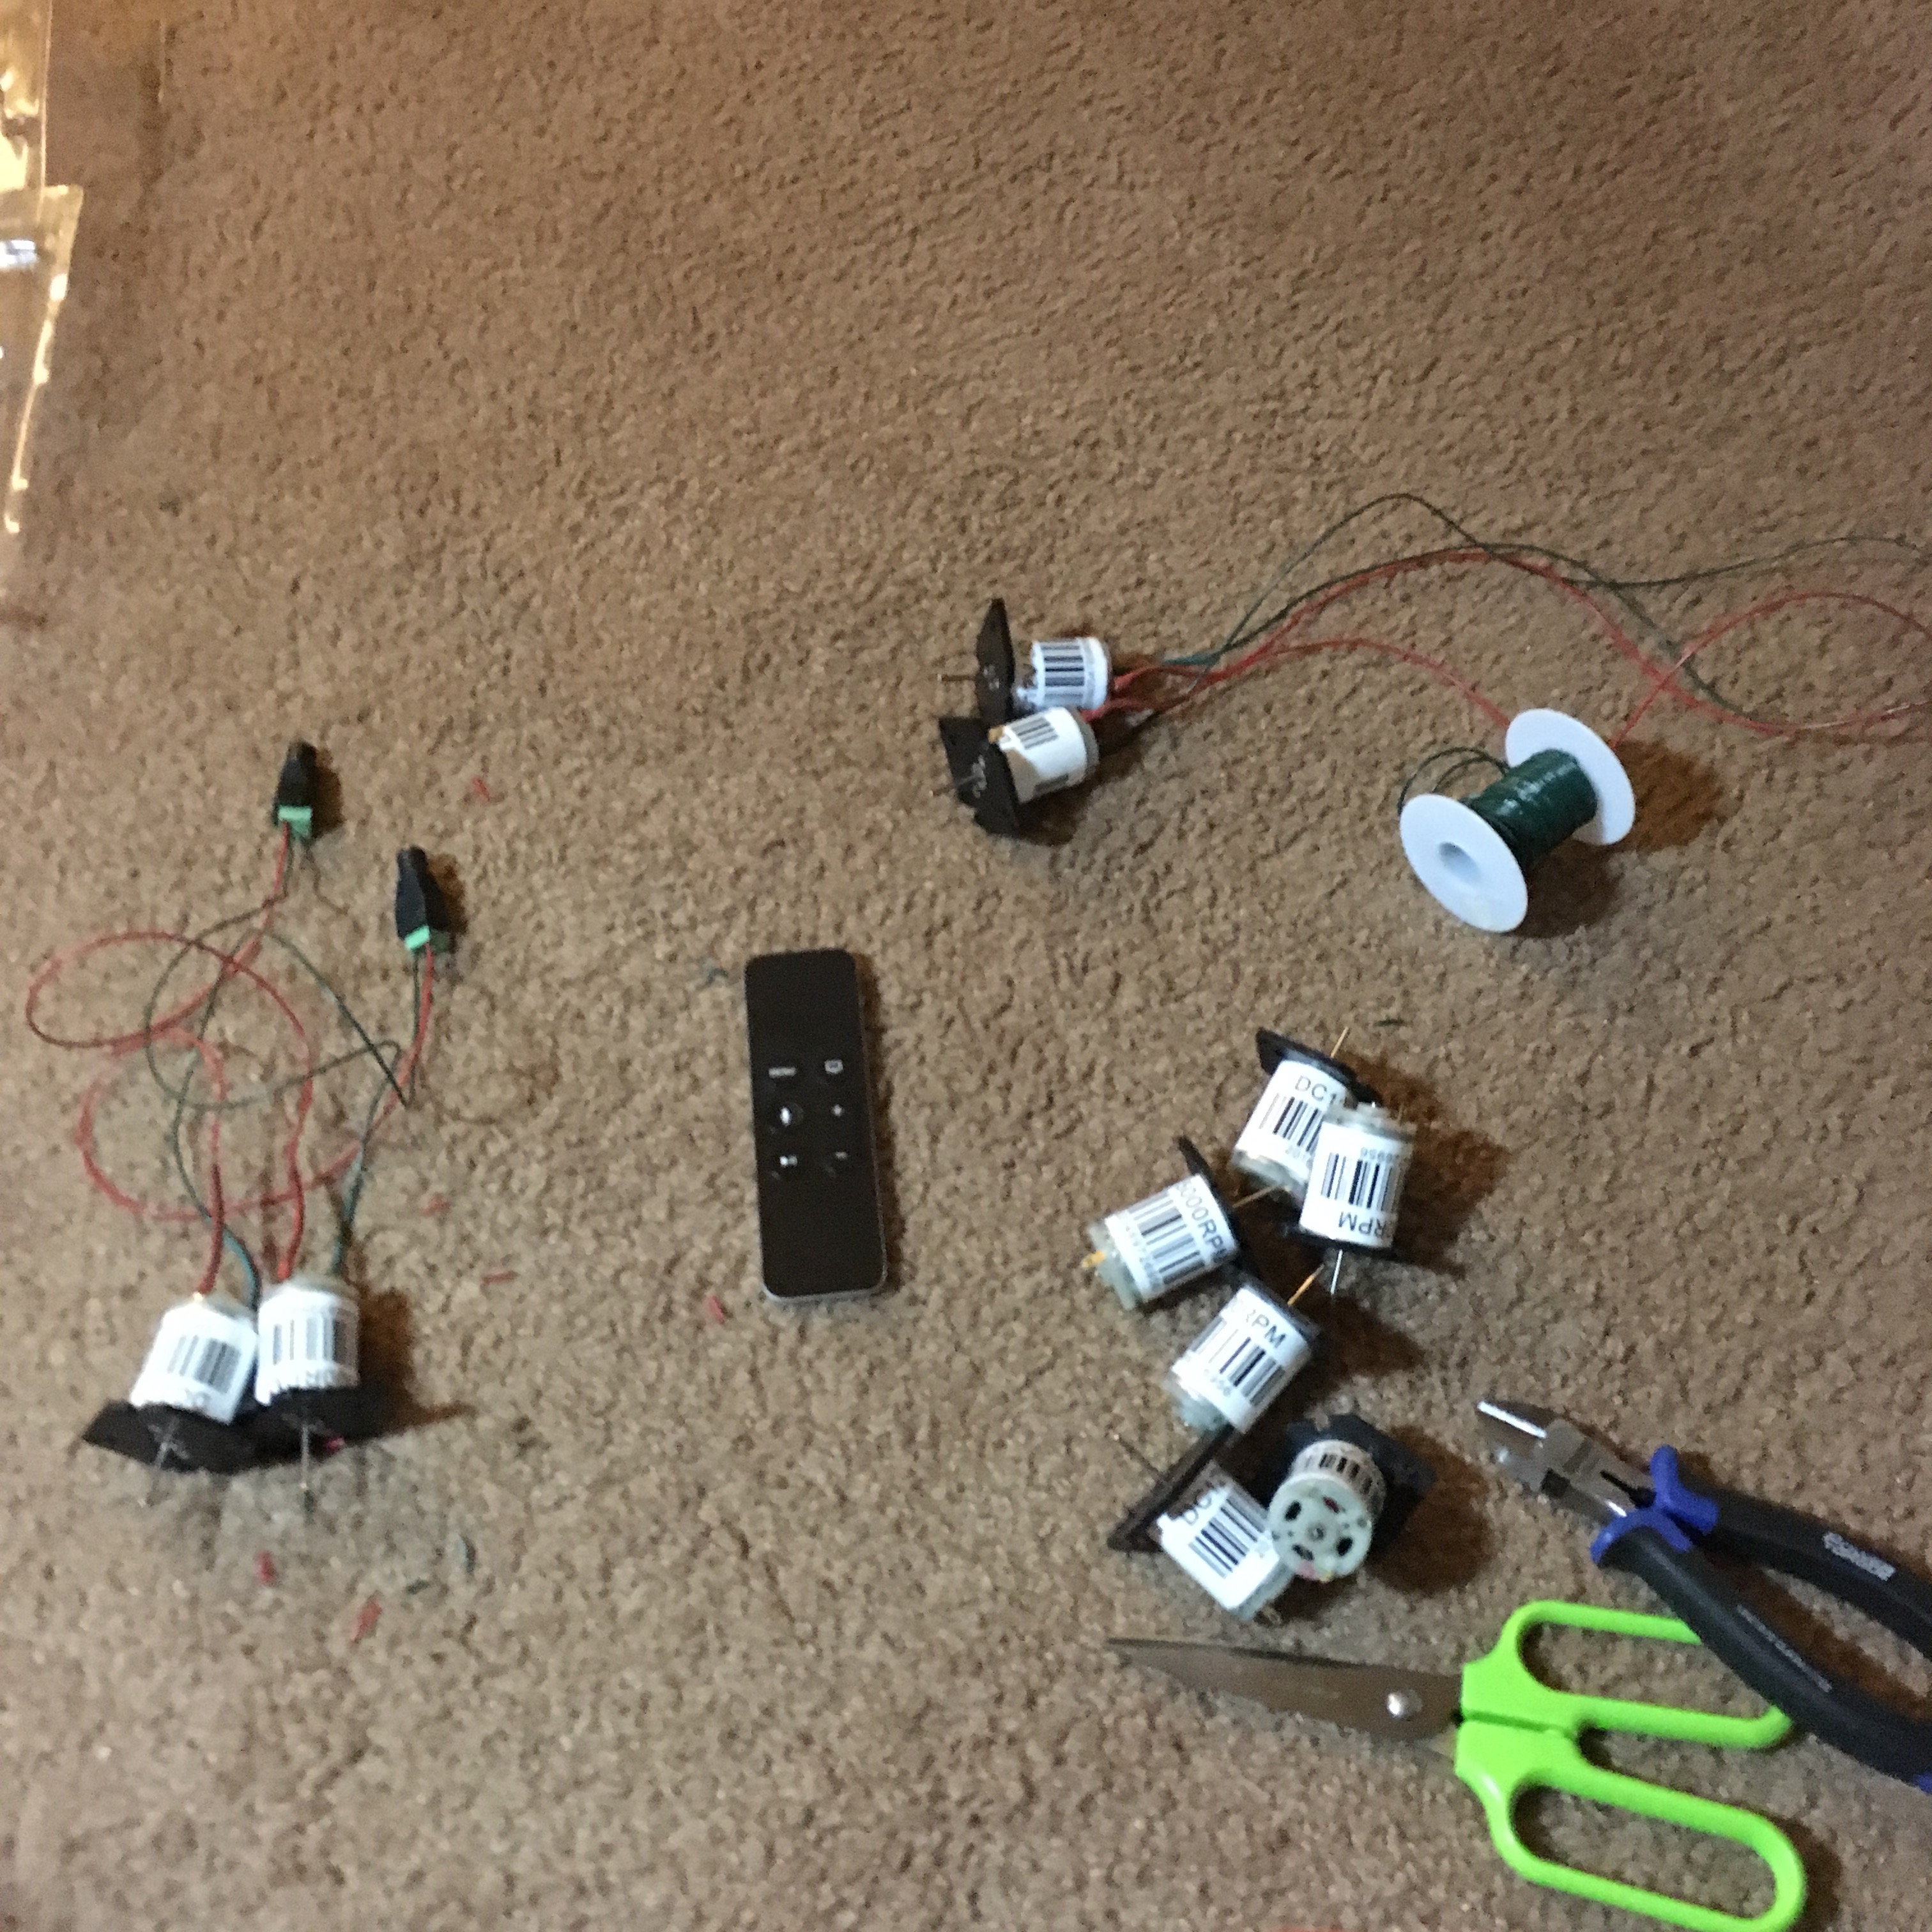
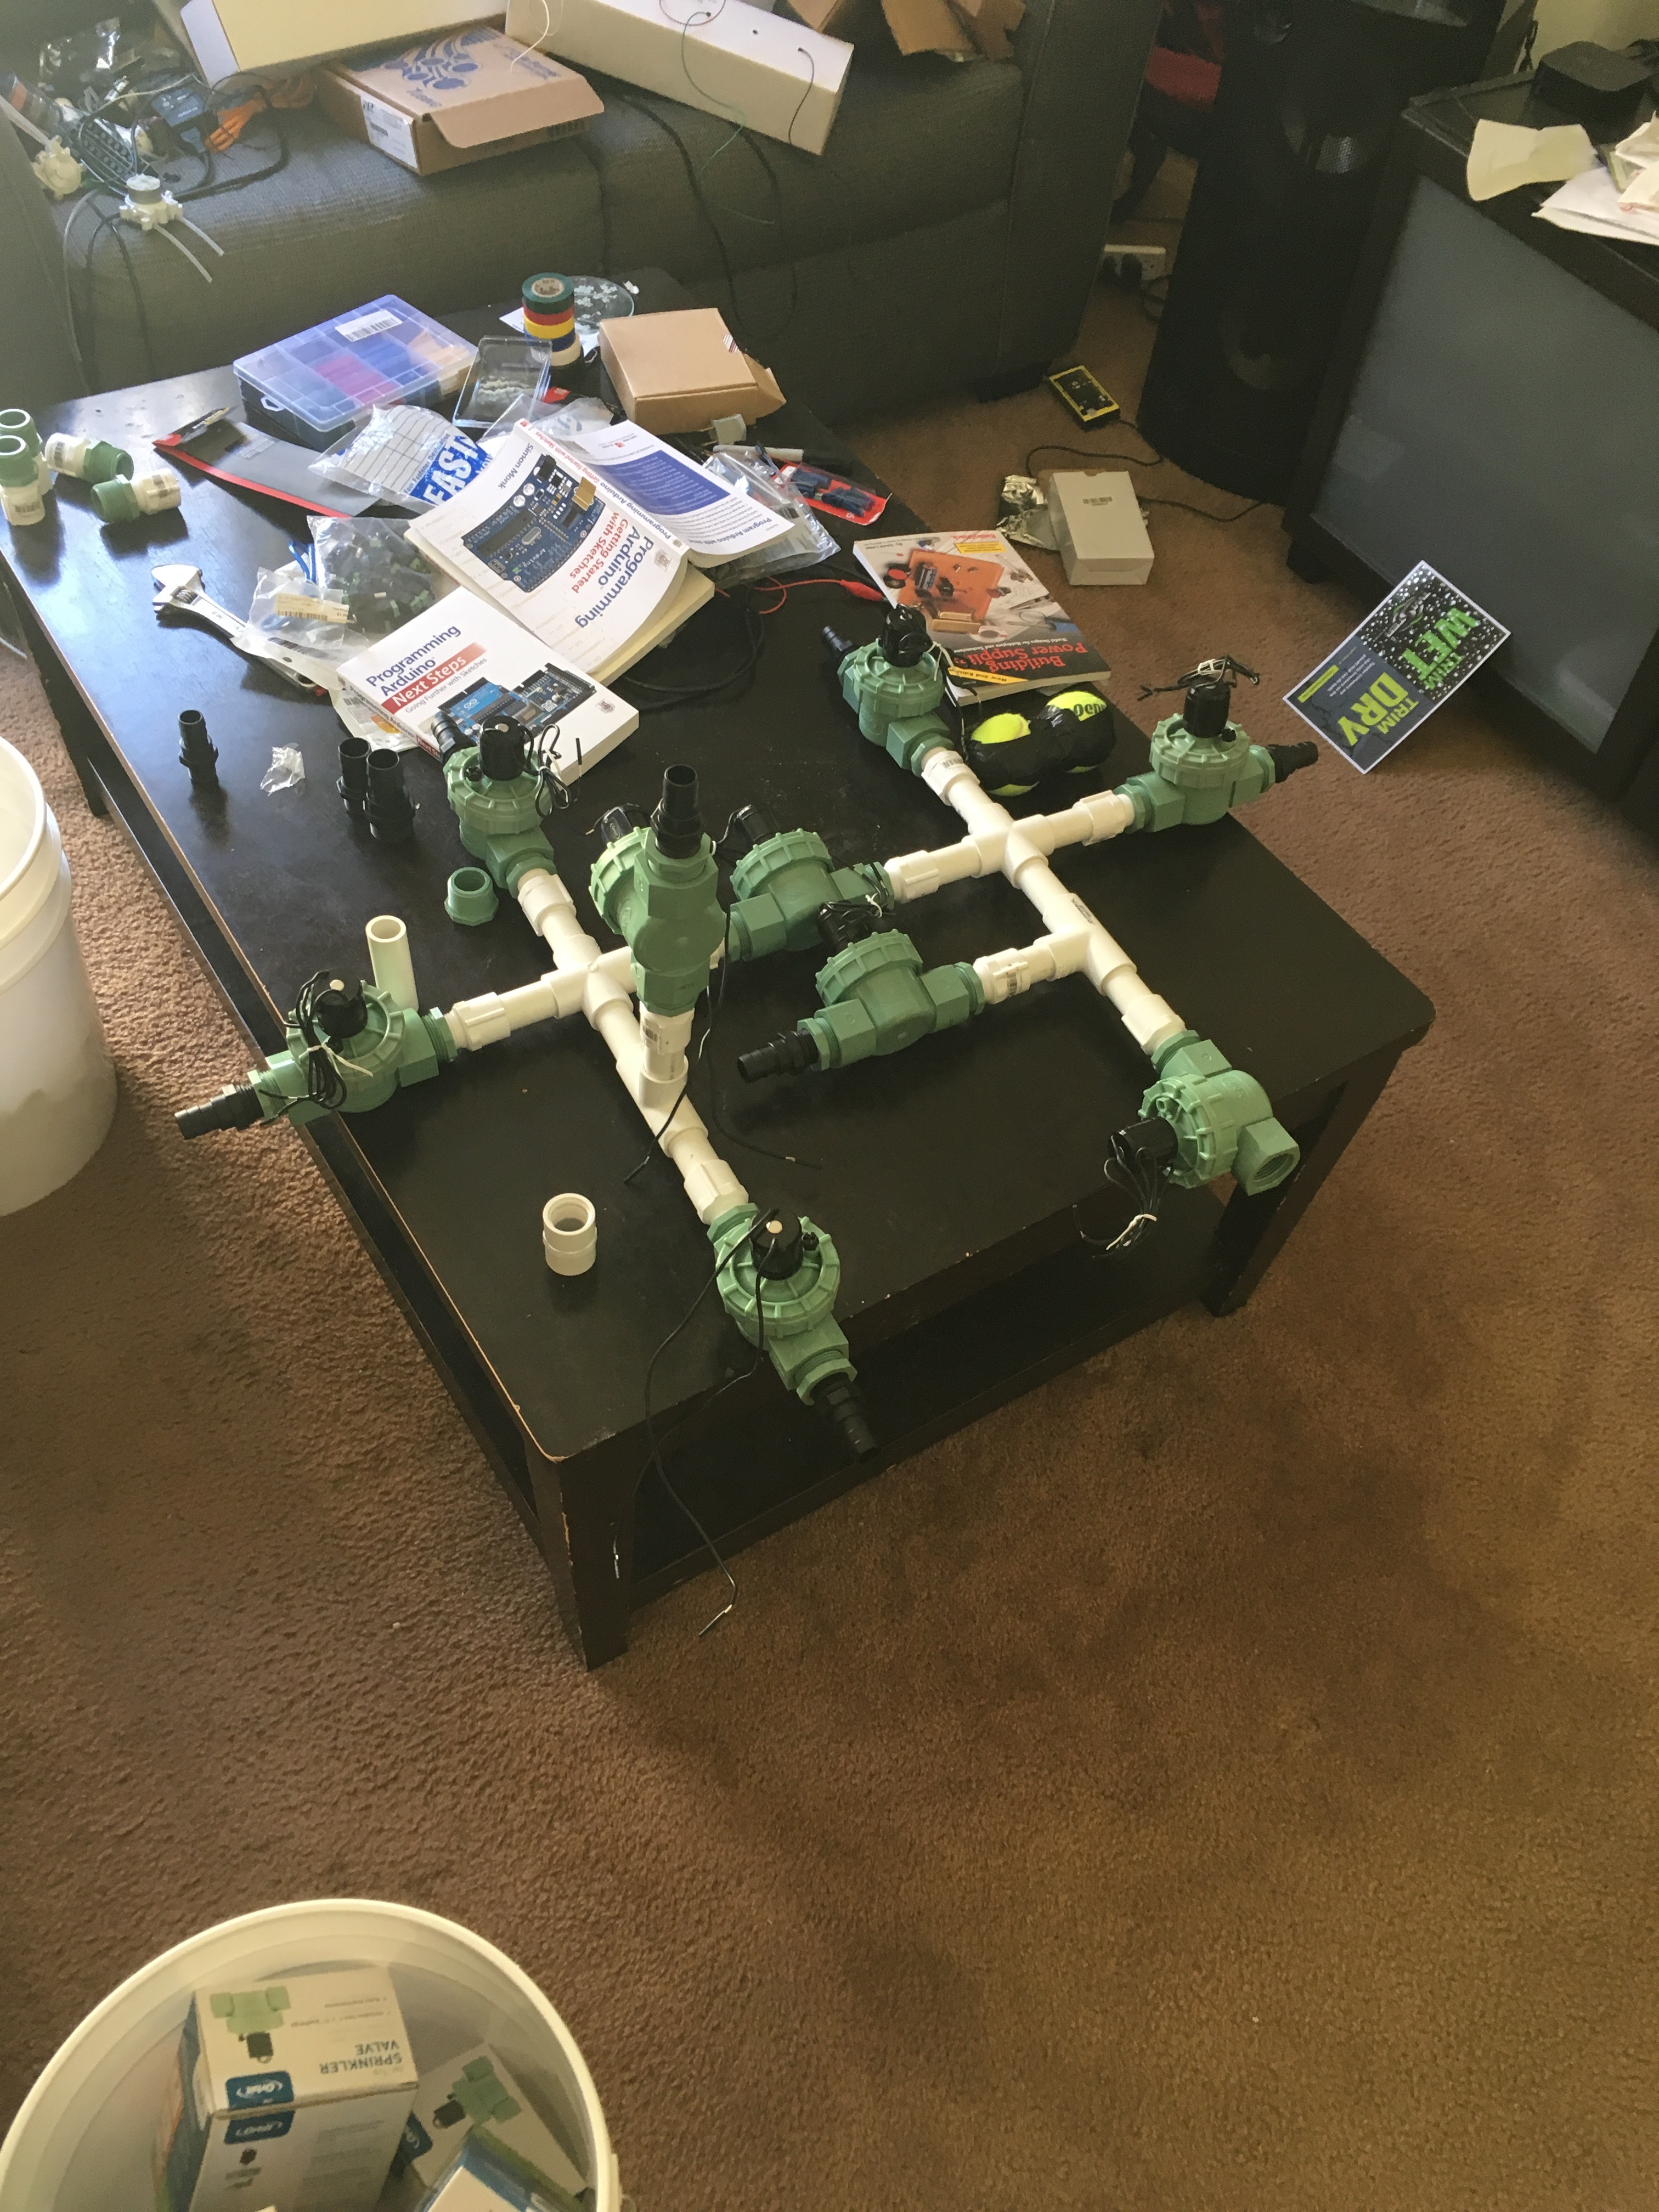
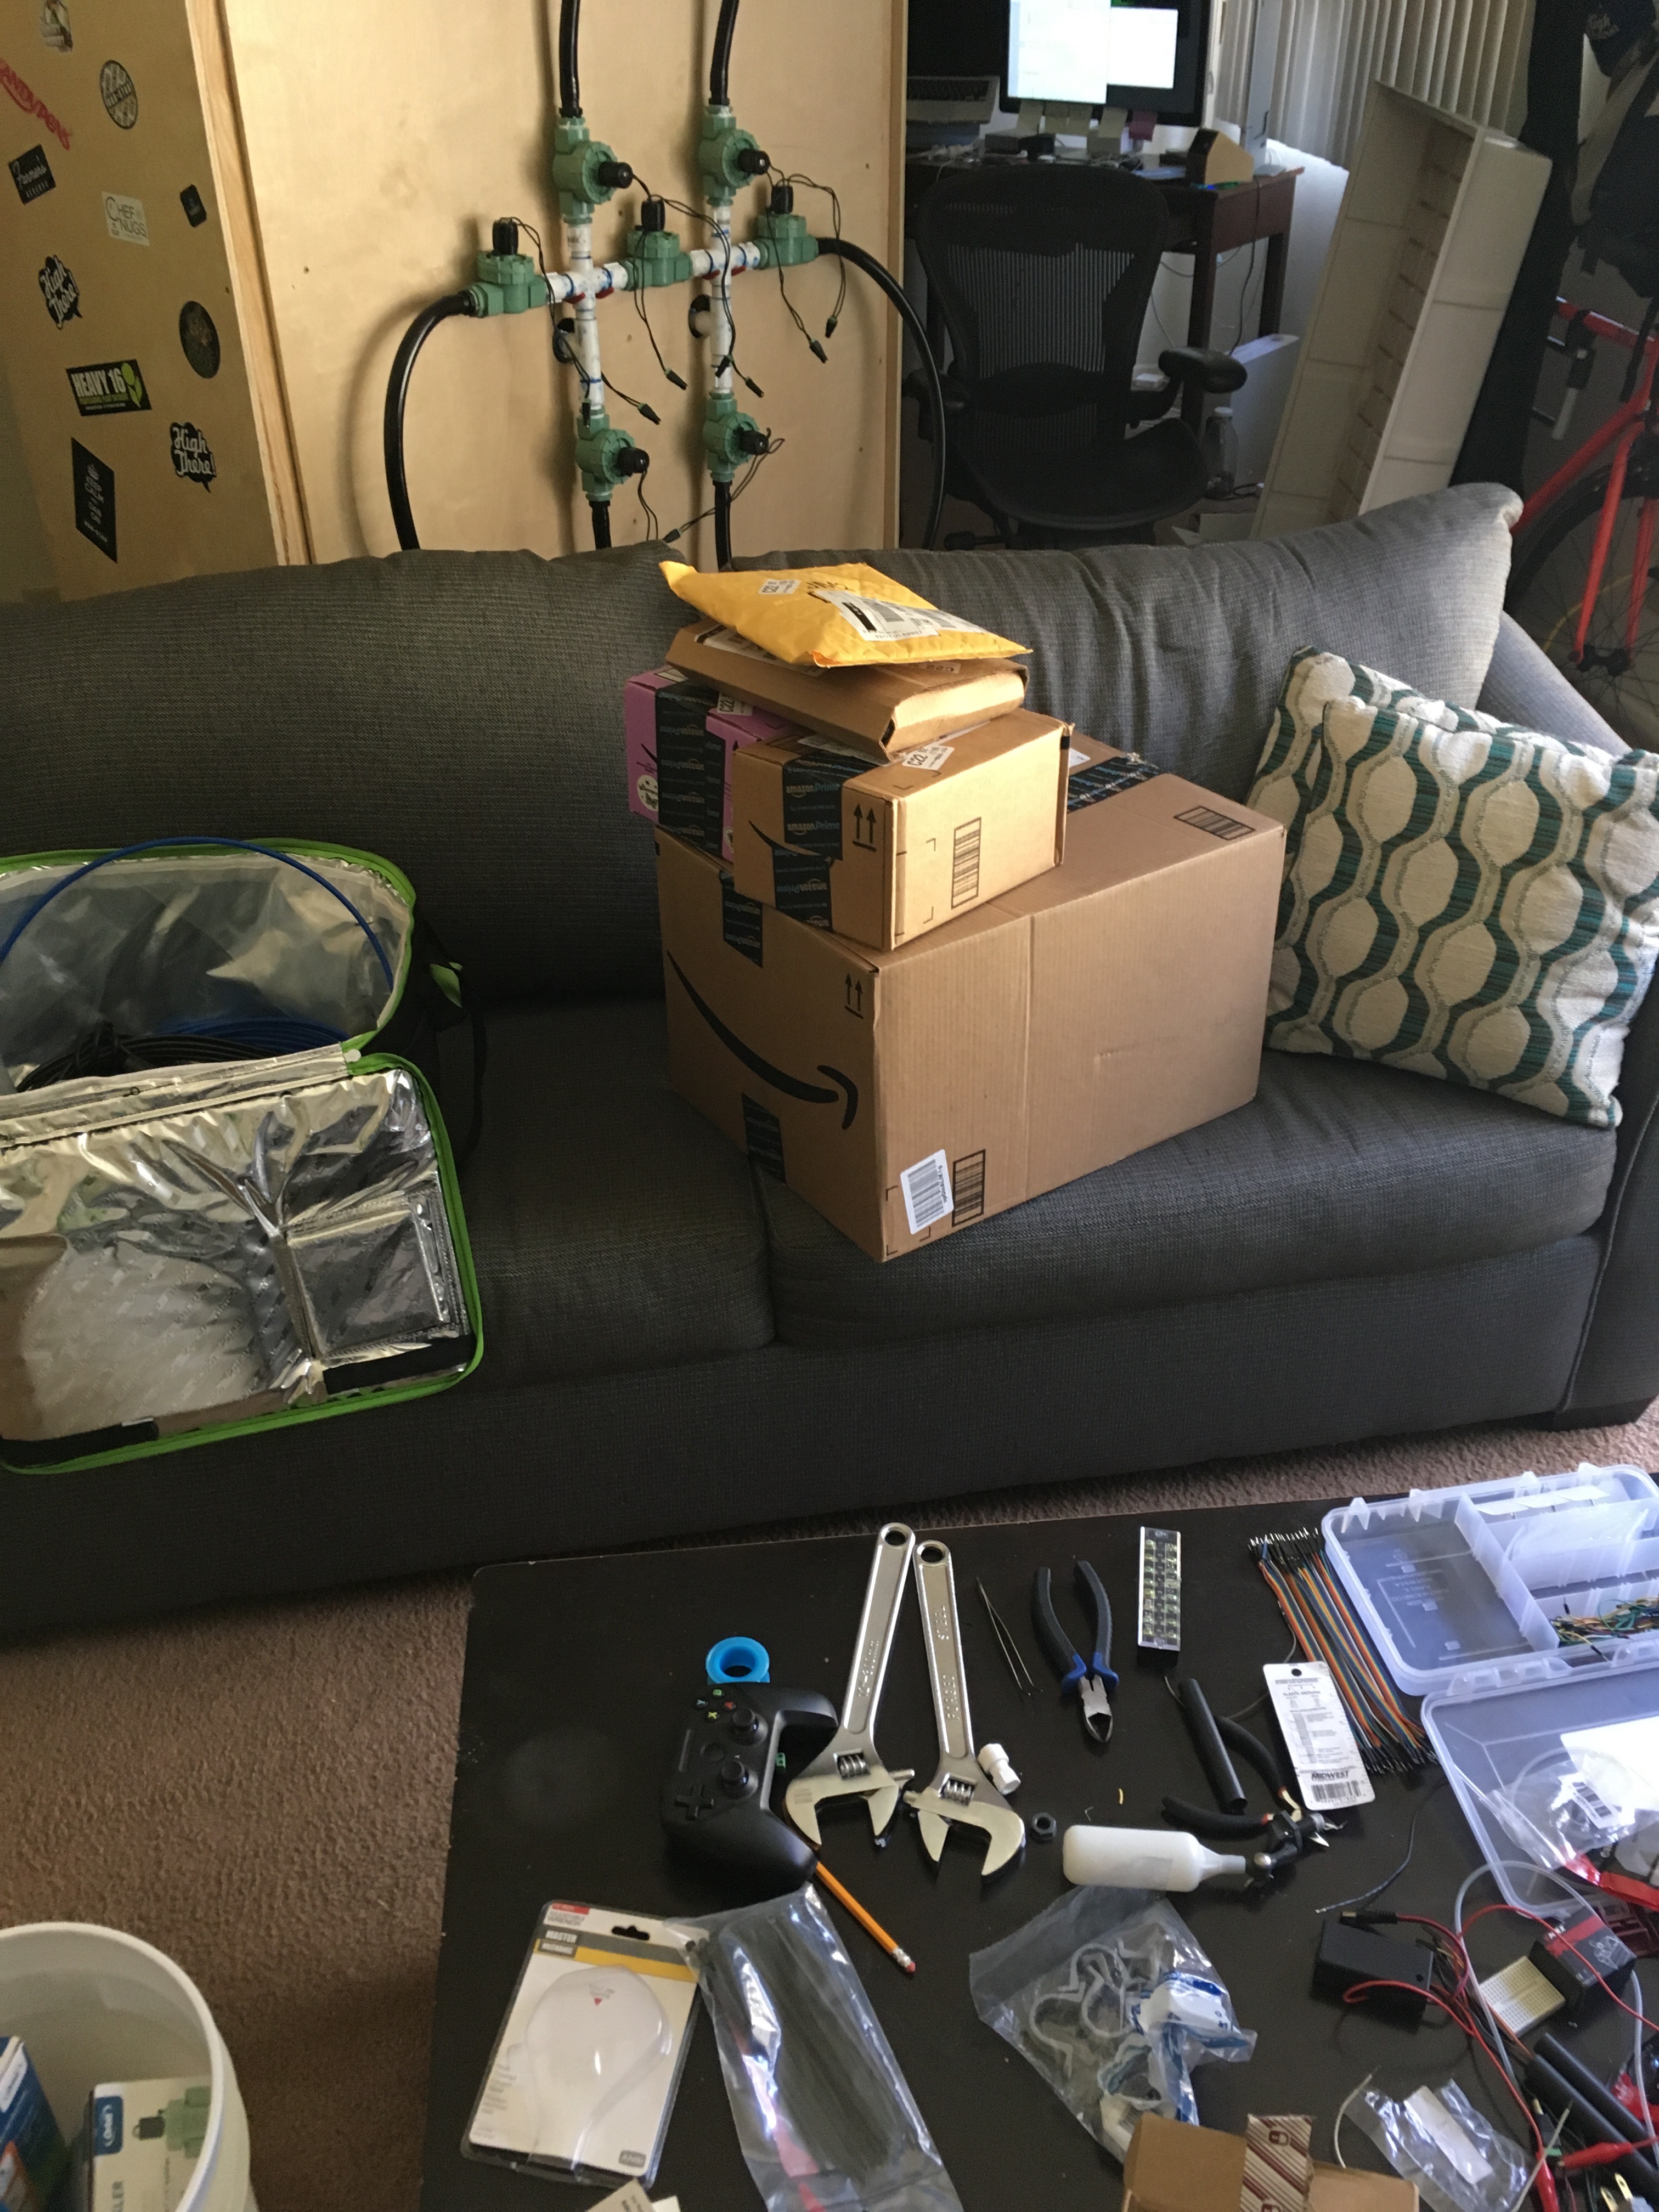
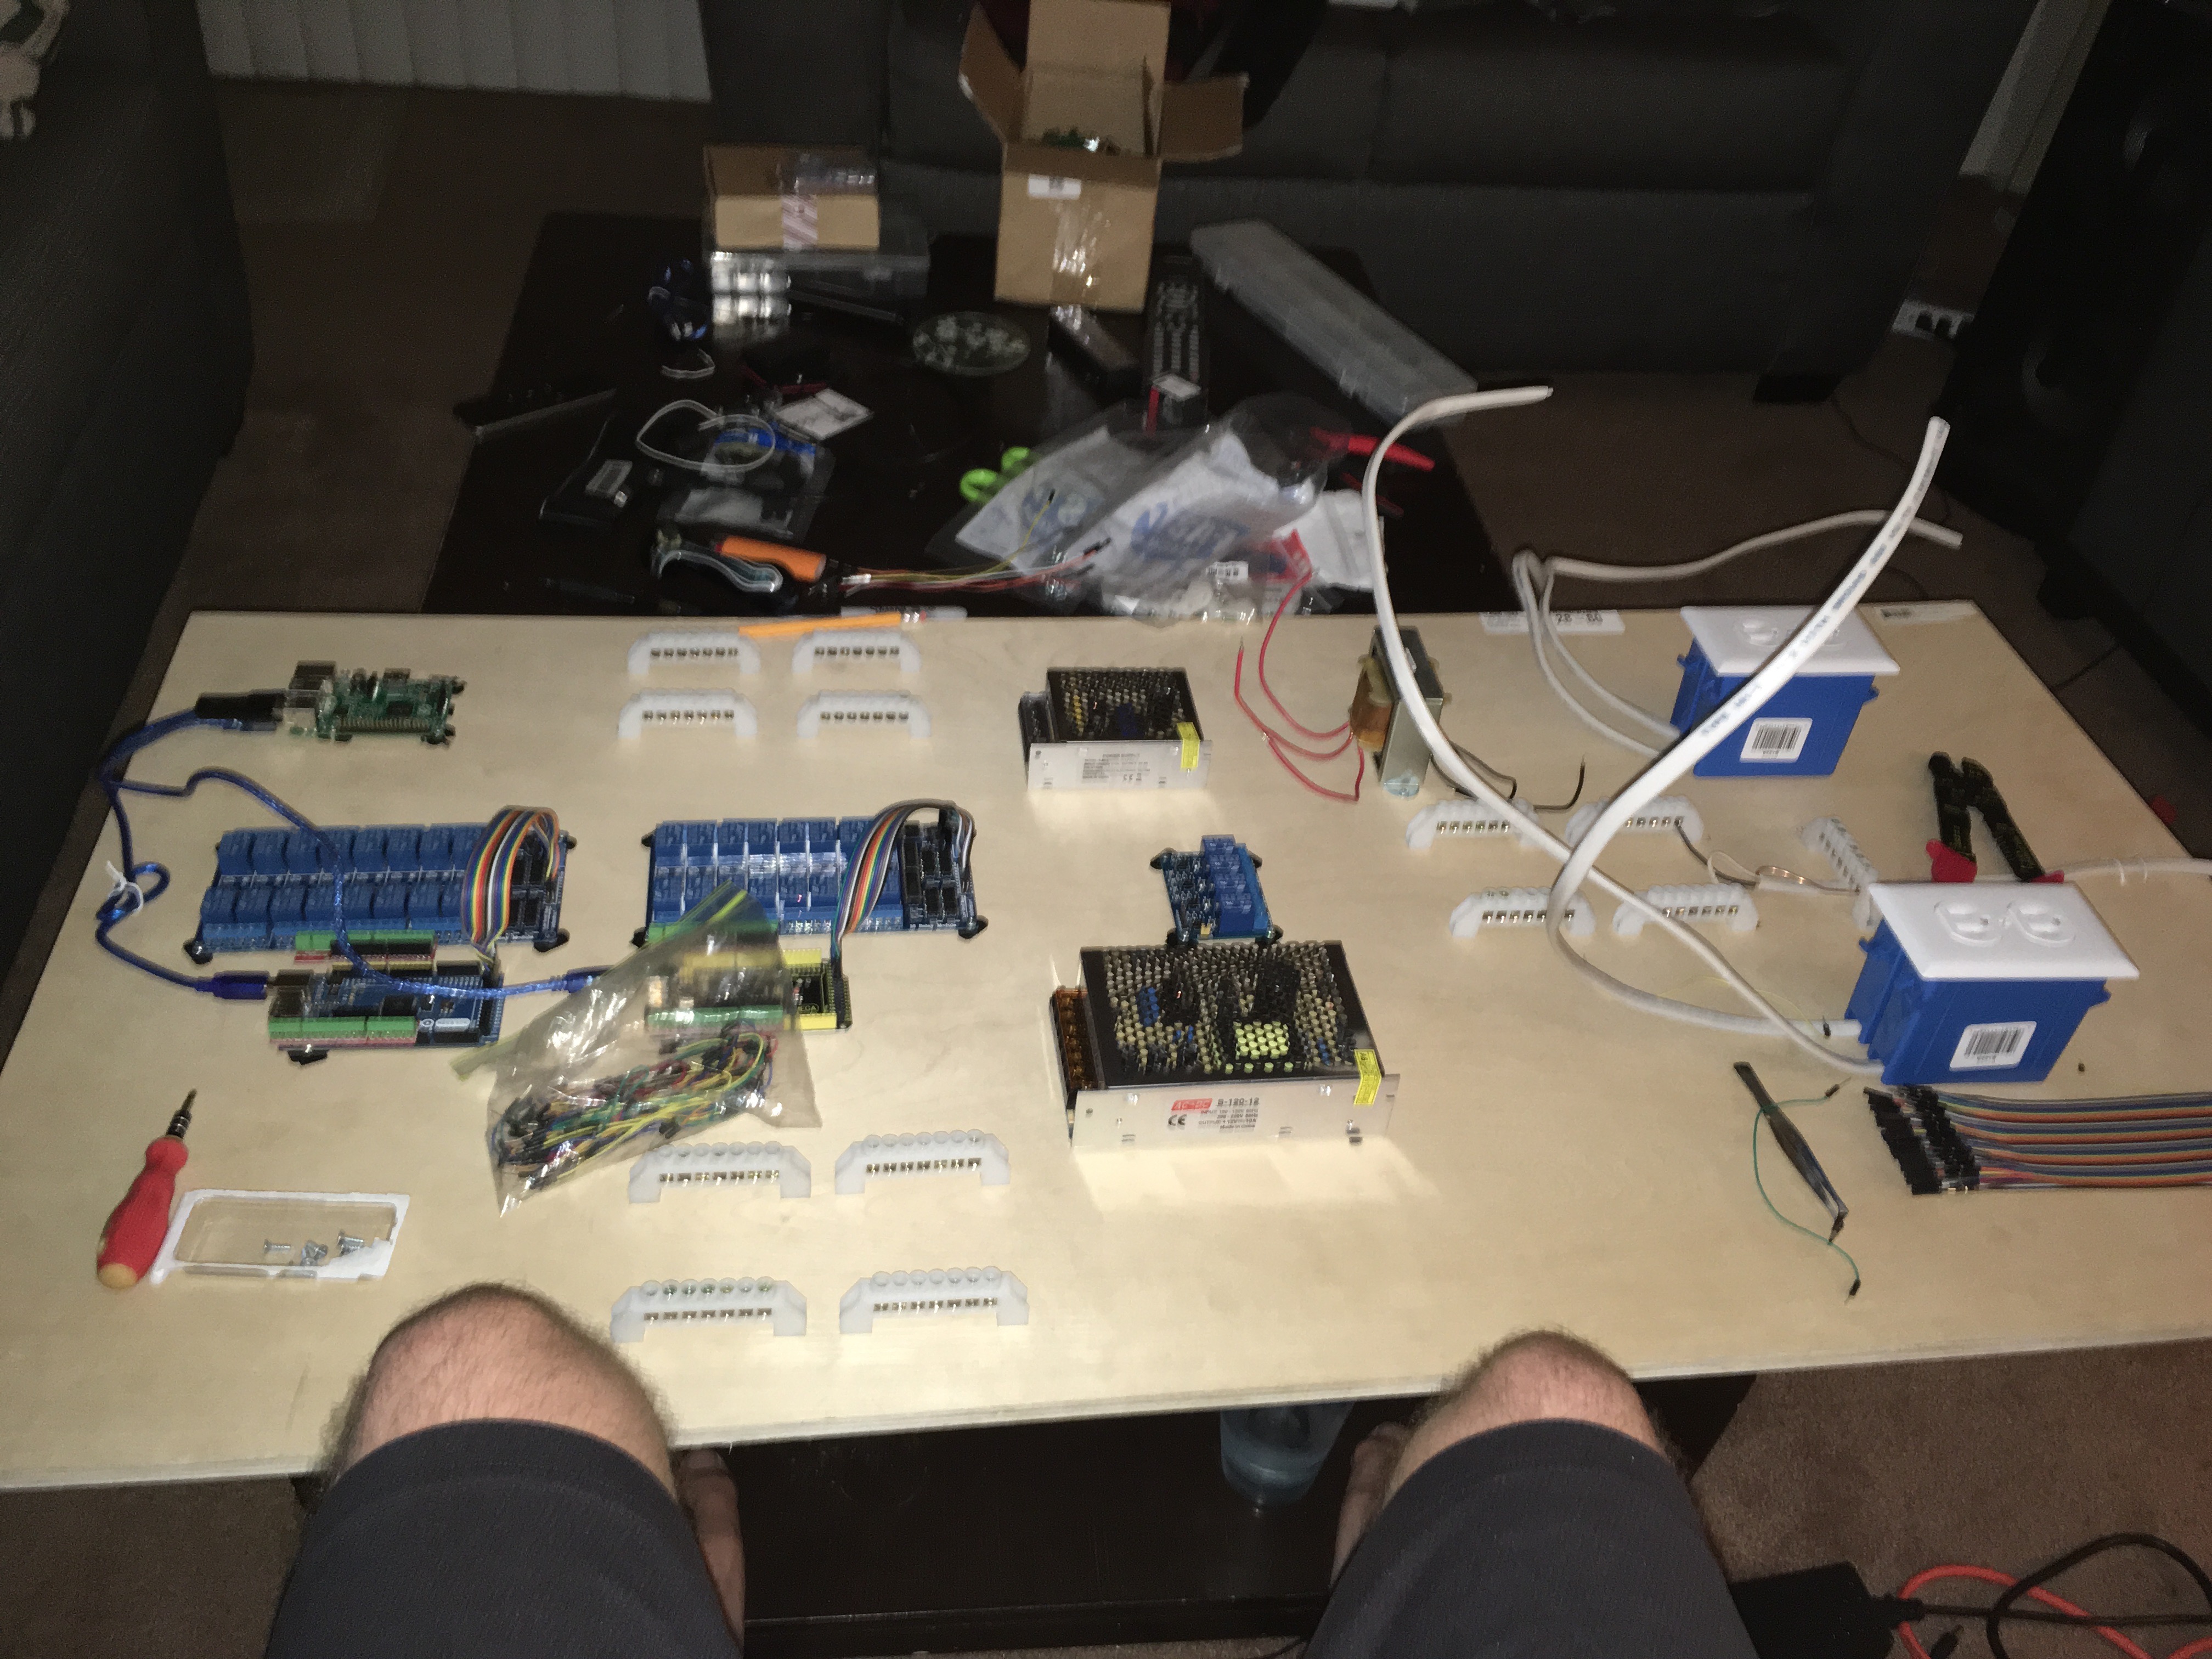
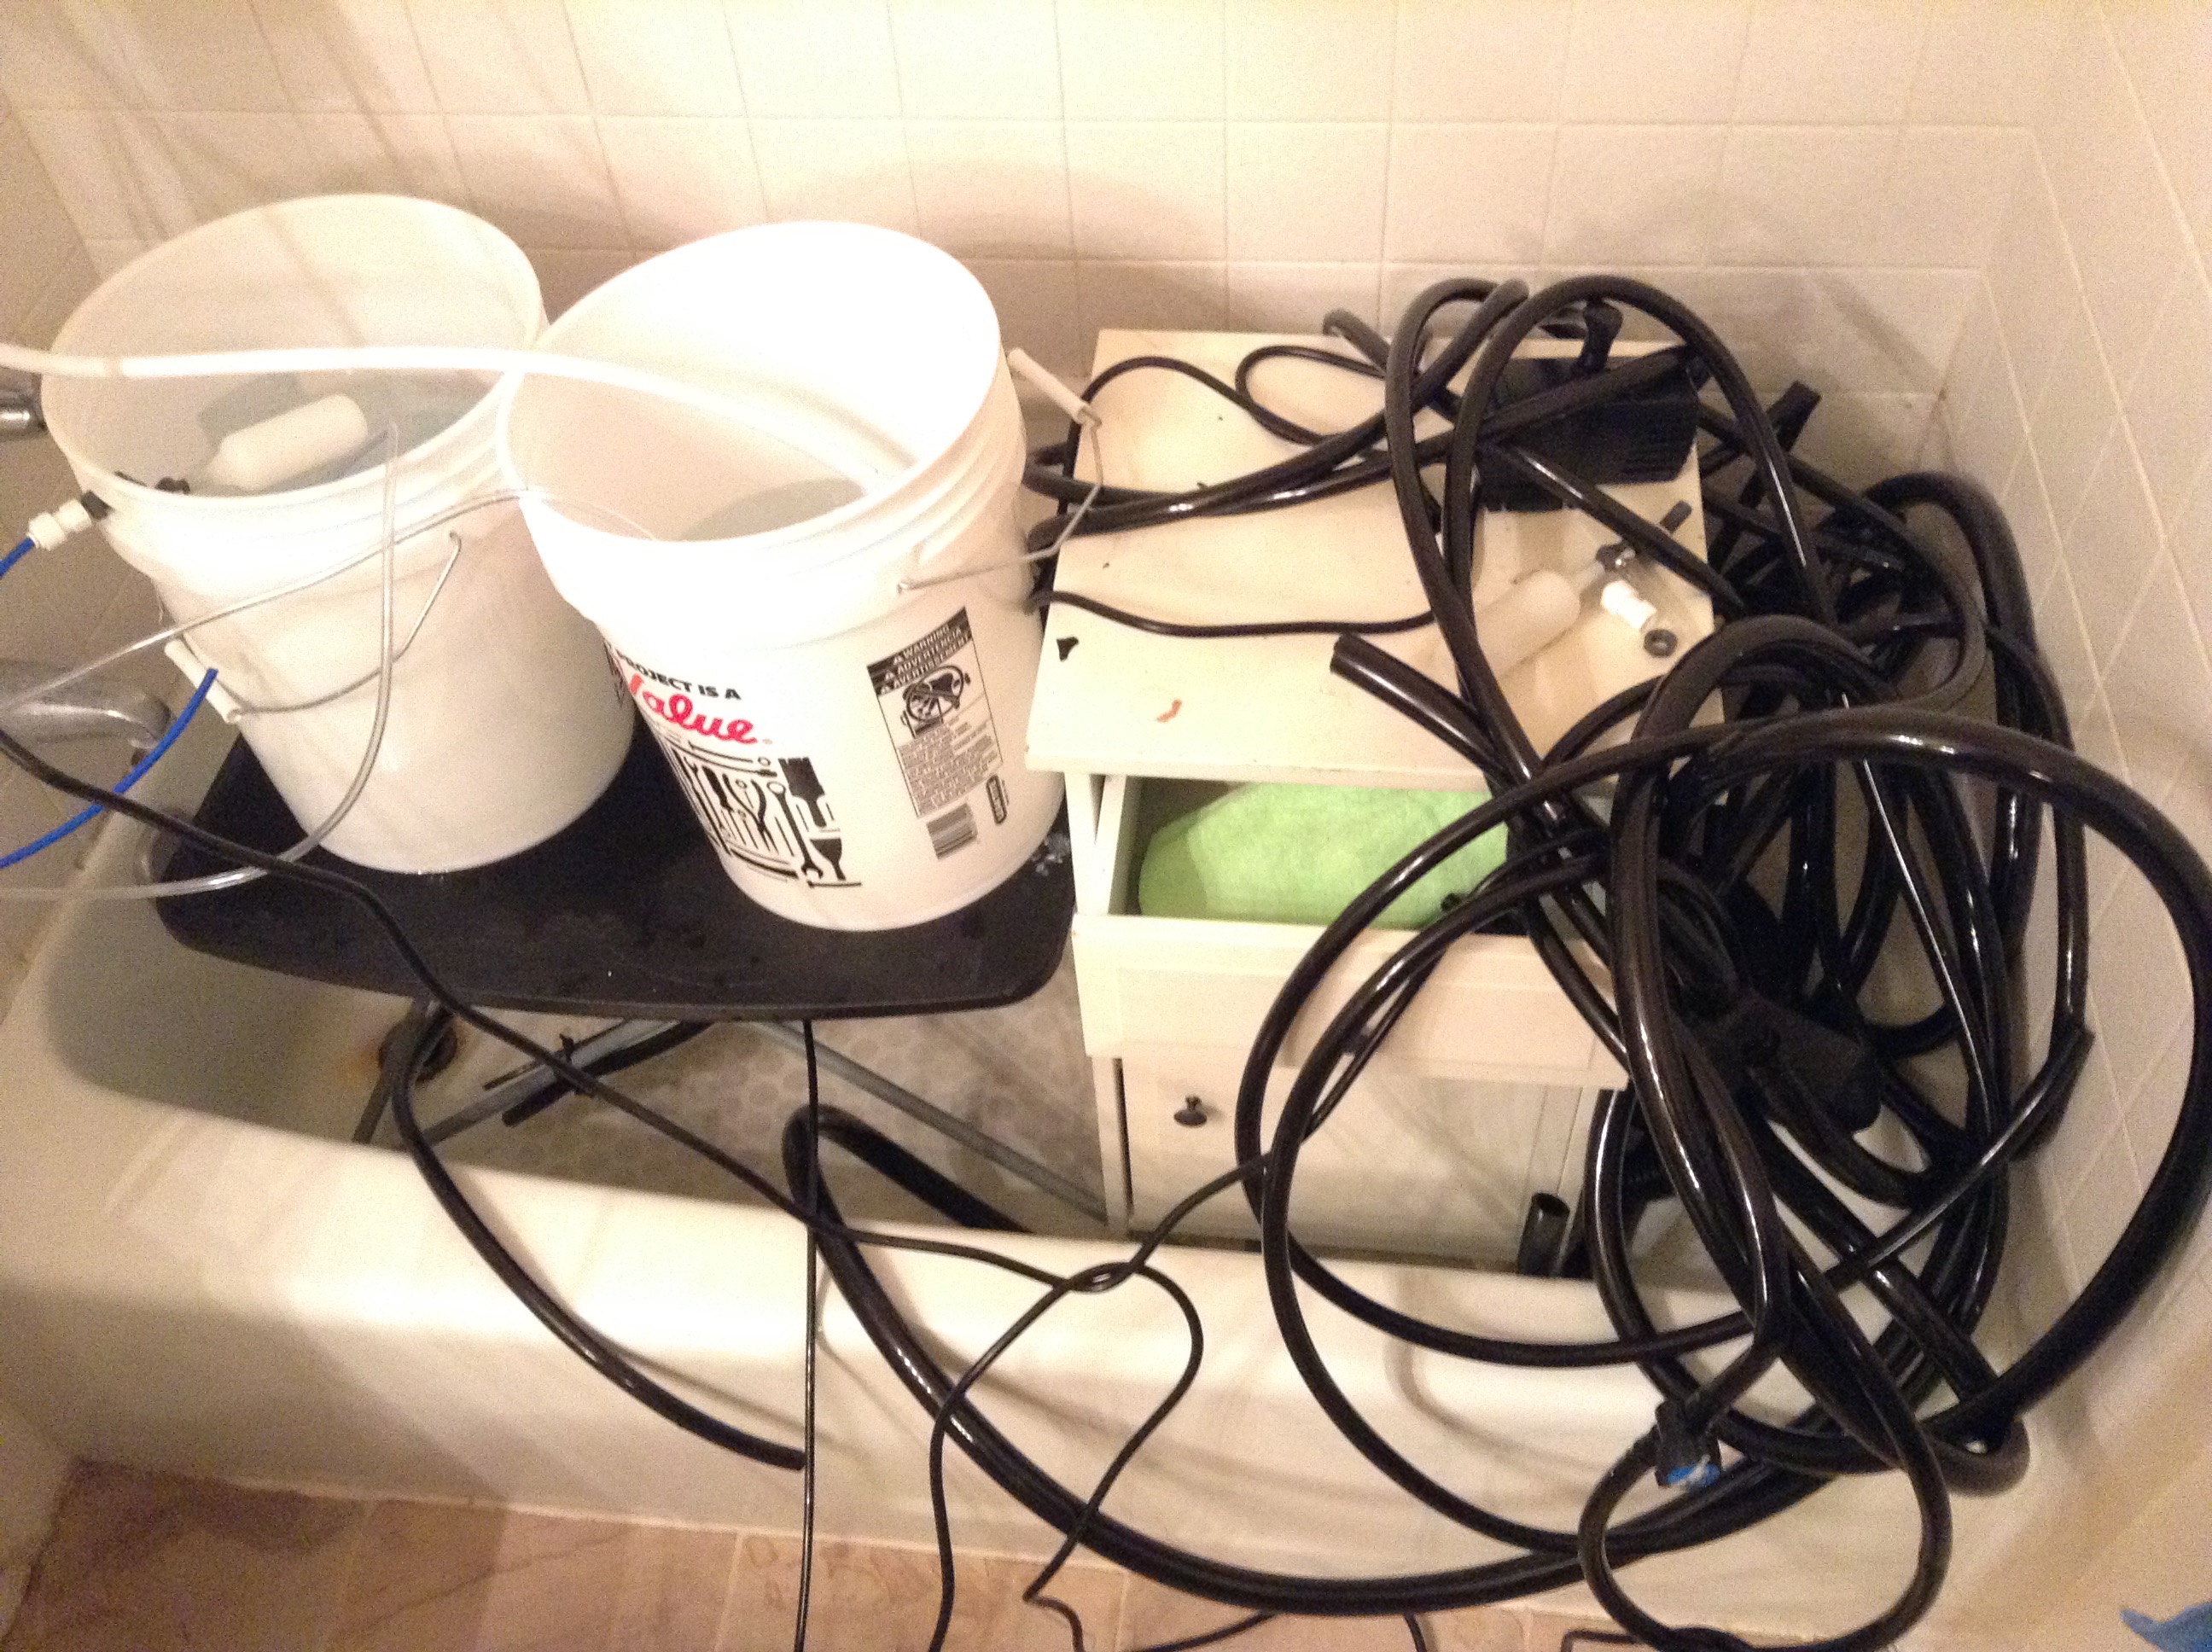
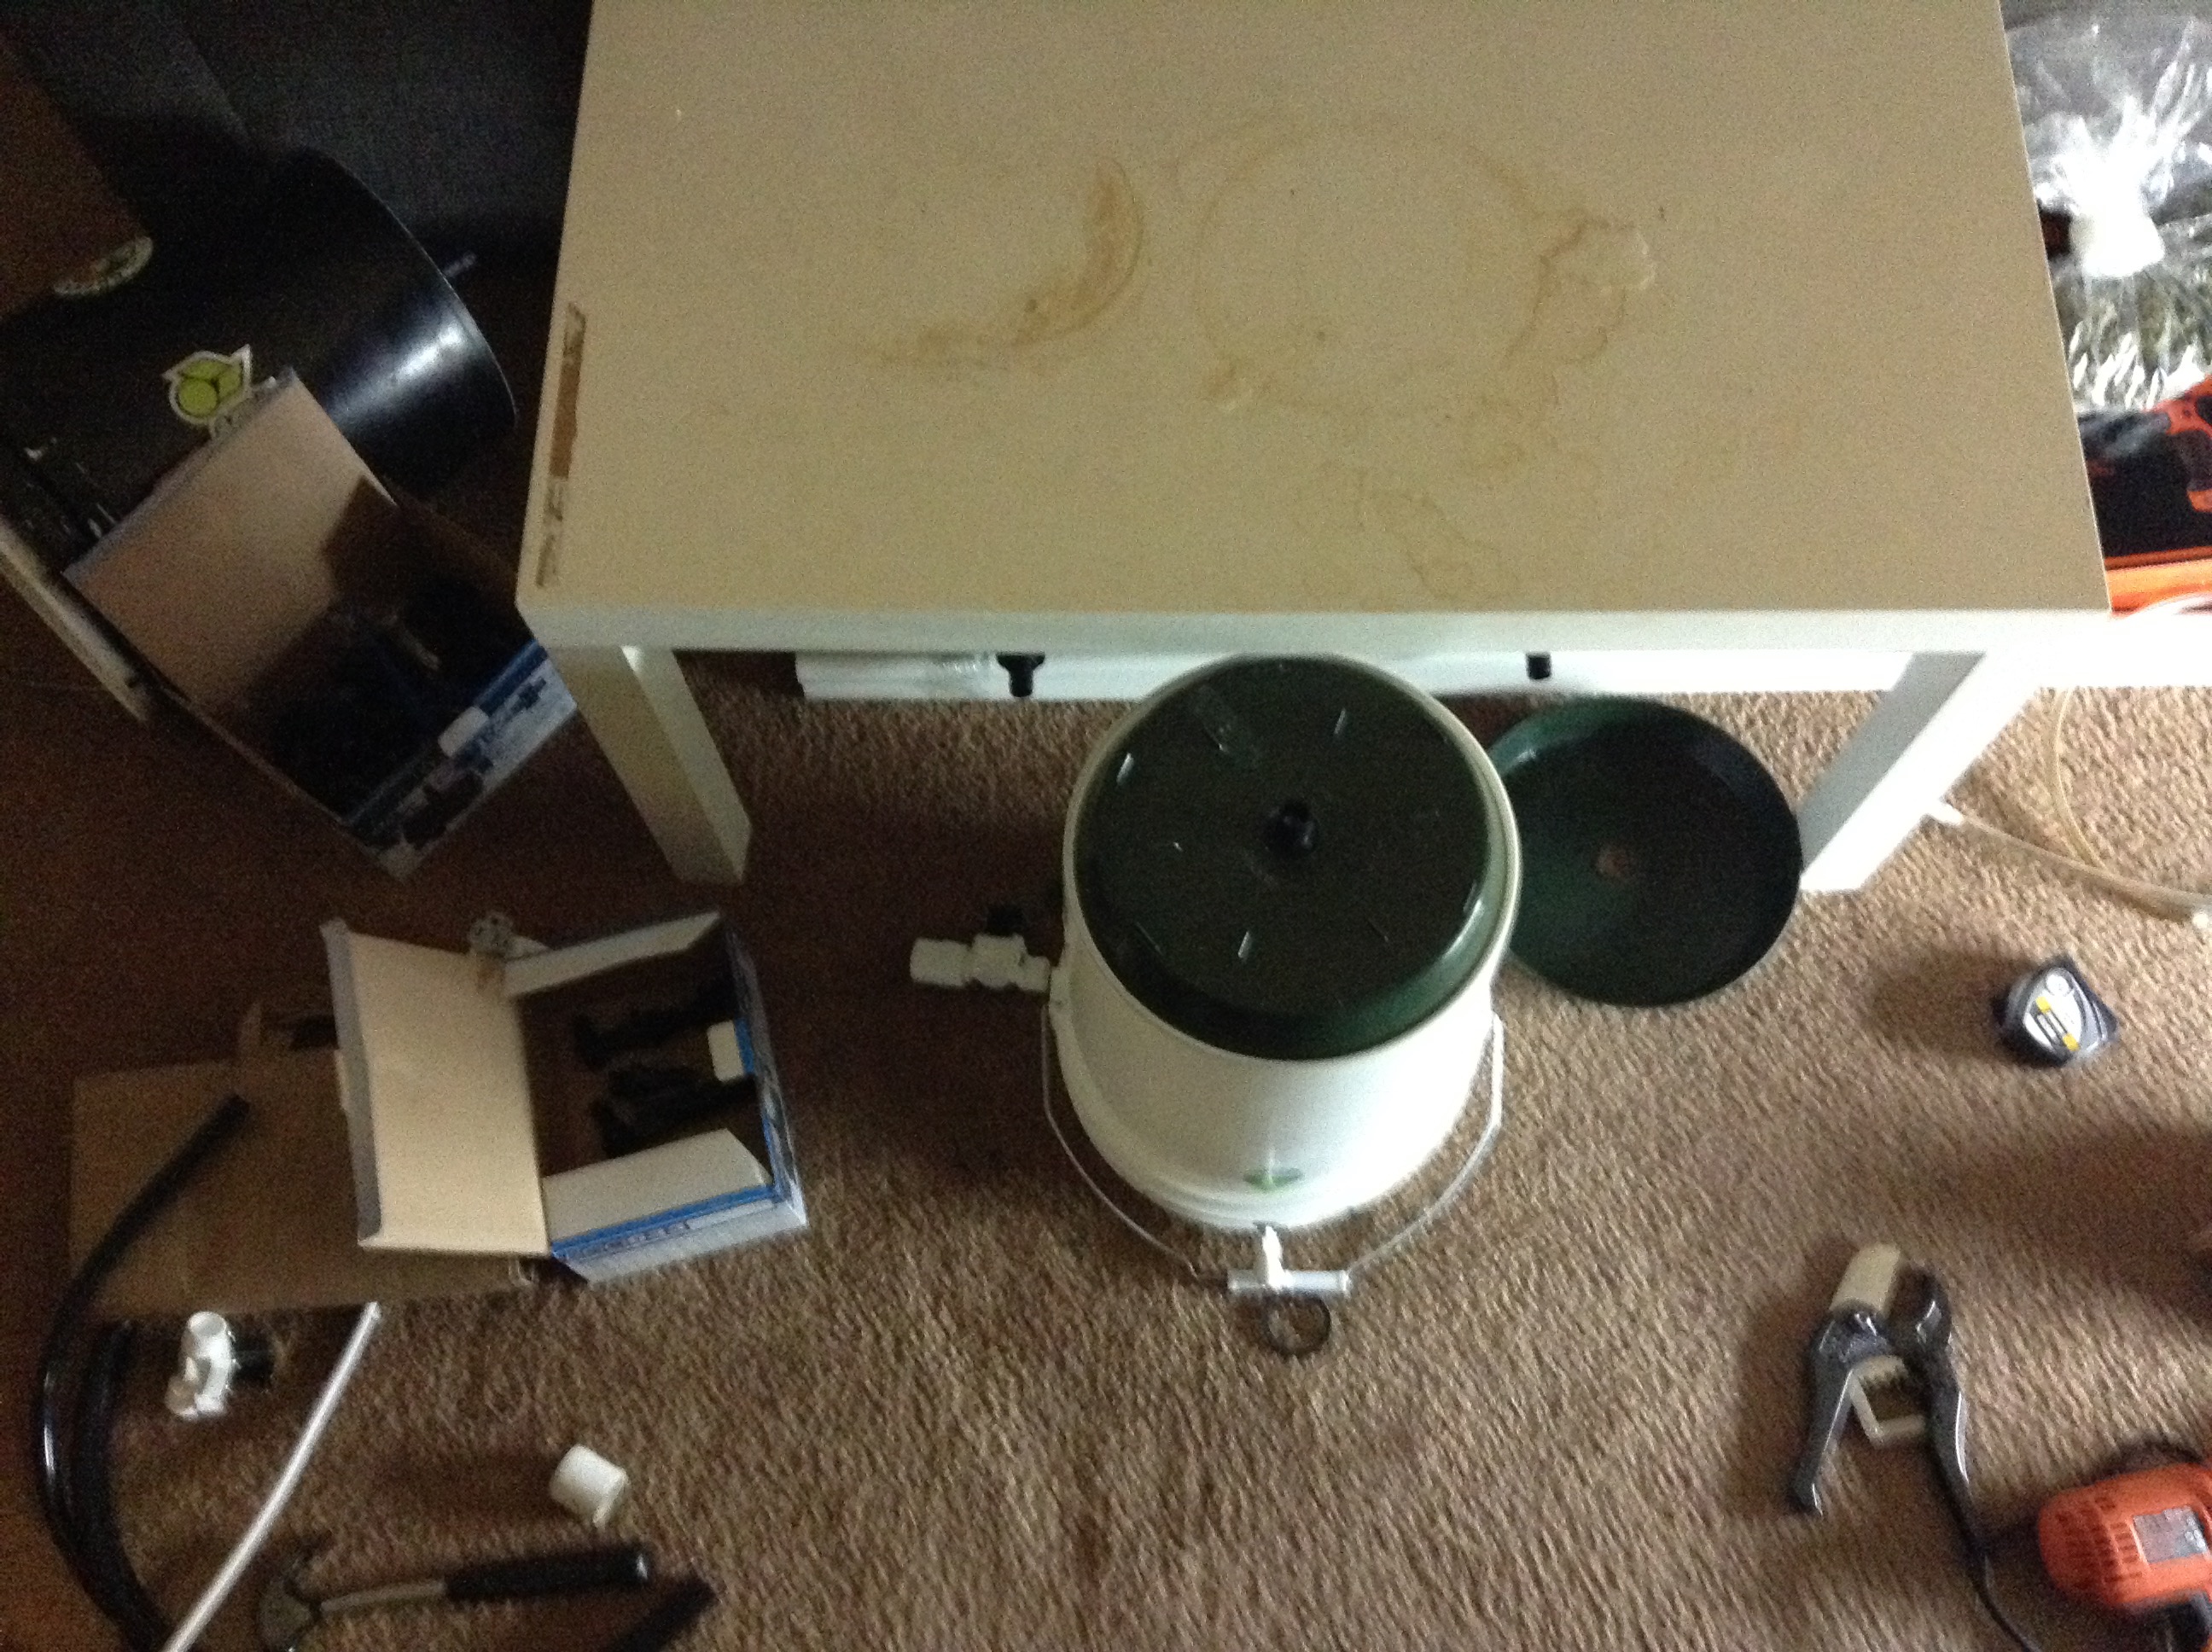
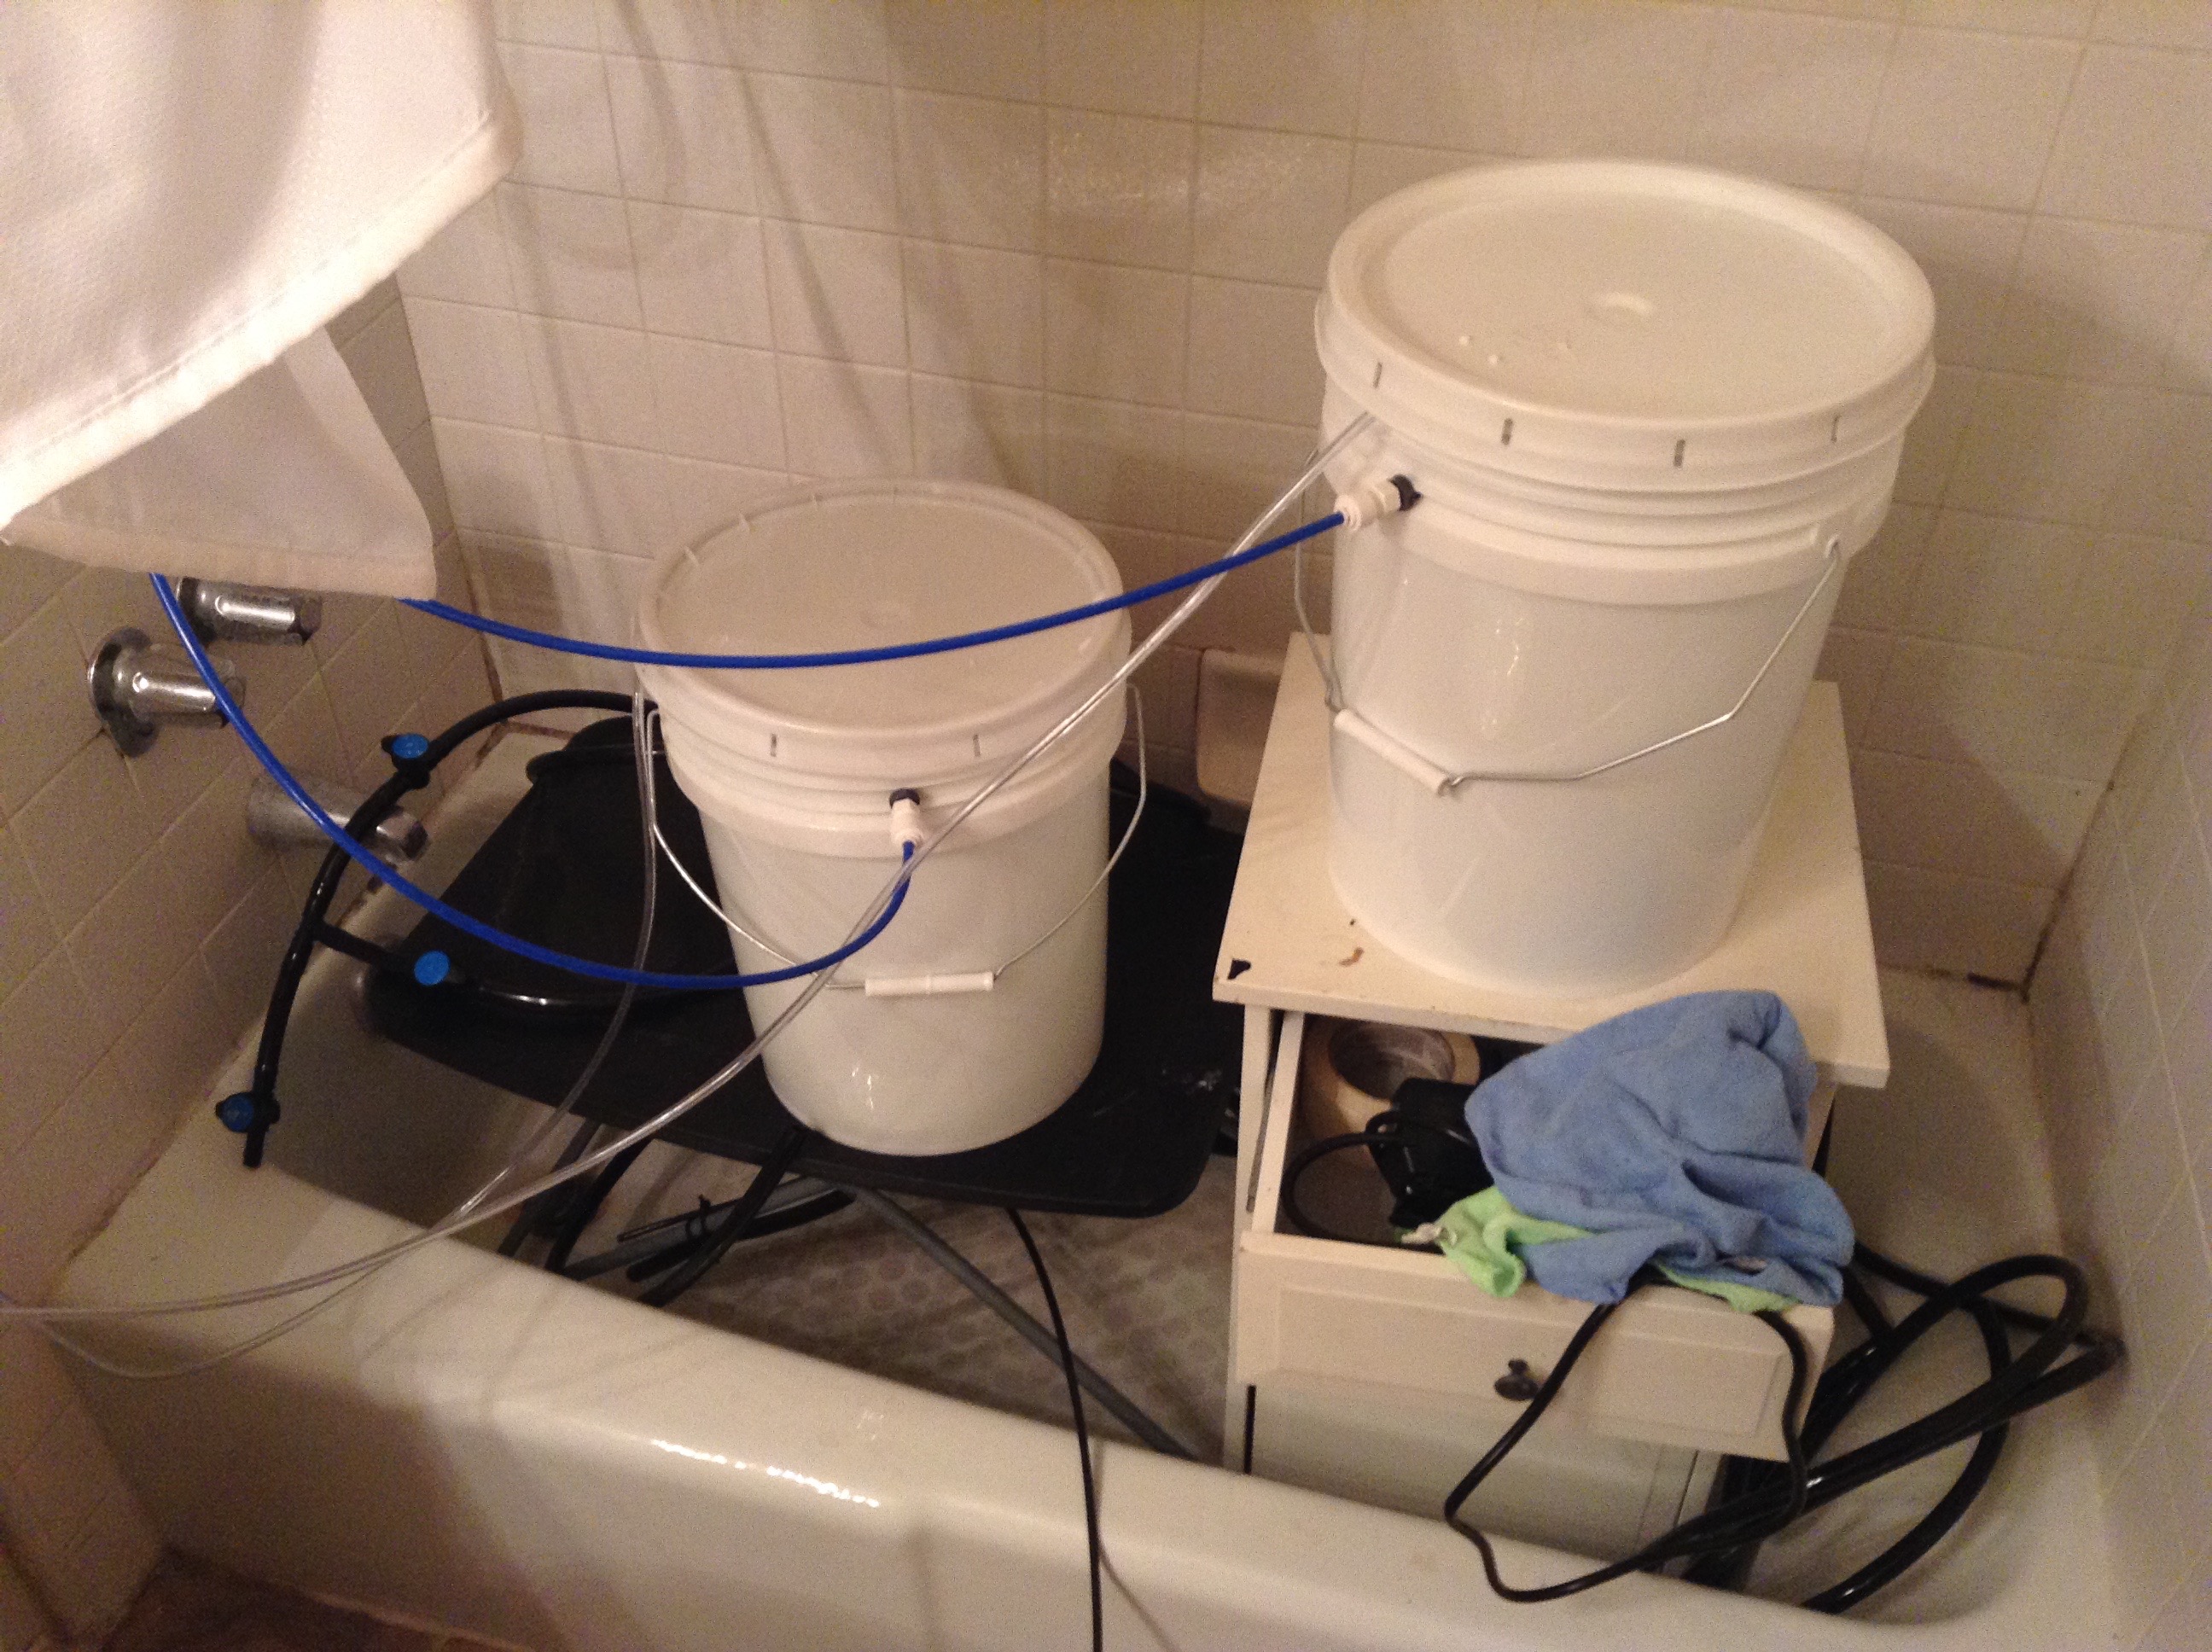
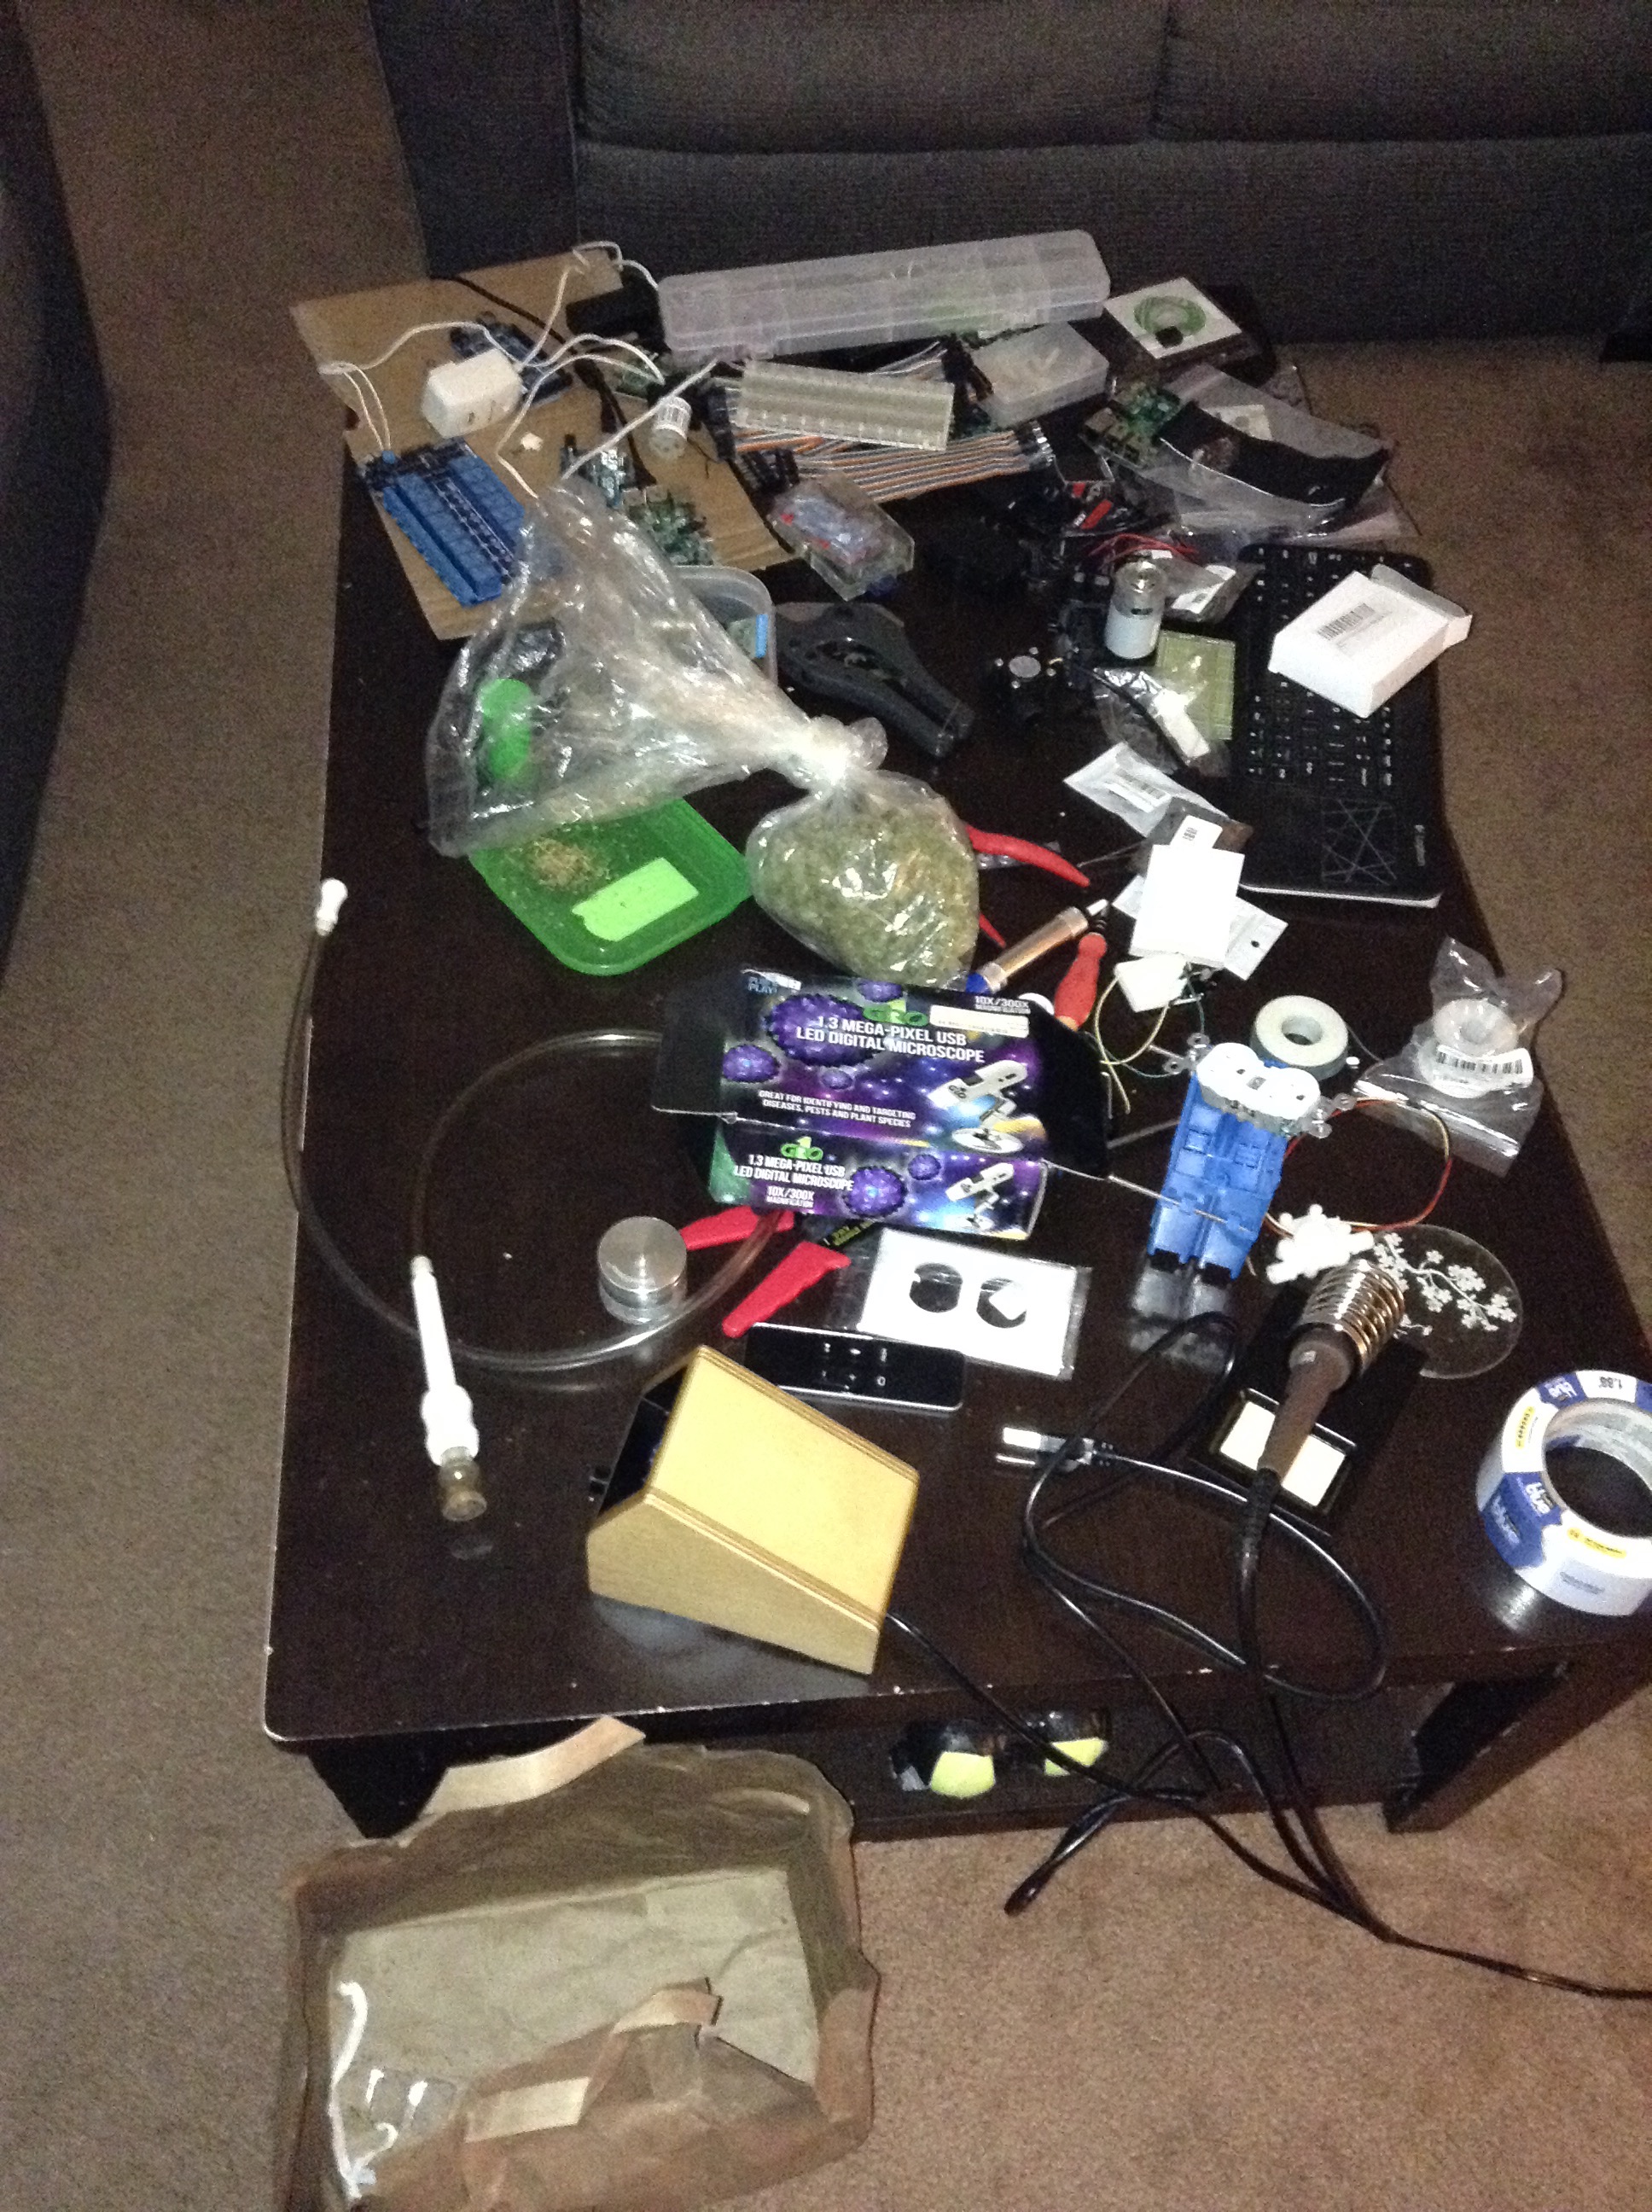
Stopped by the local hydroponic store and picked up some equipment.


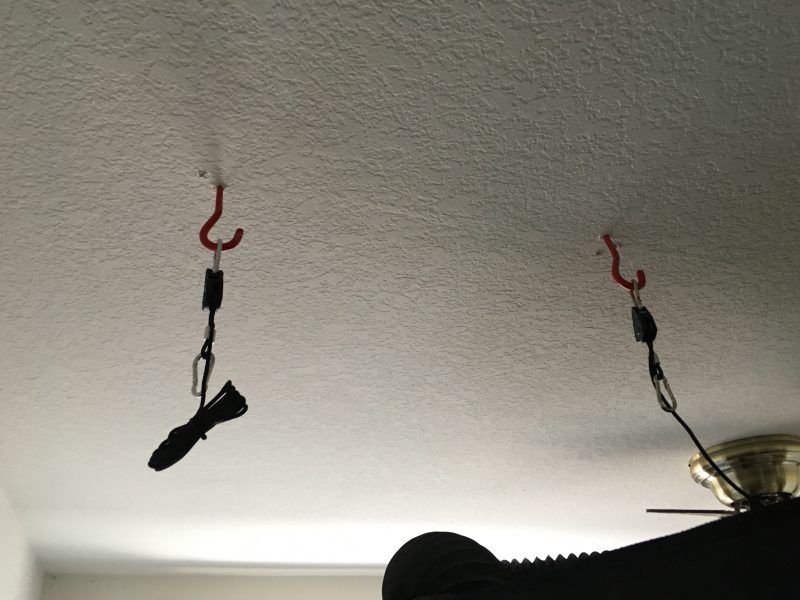
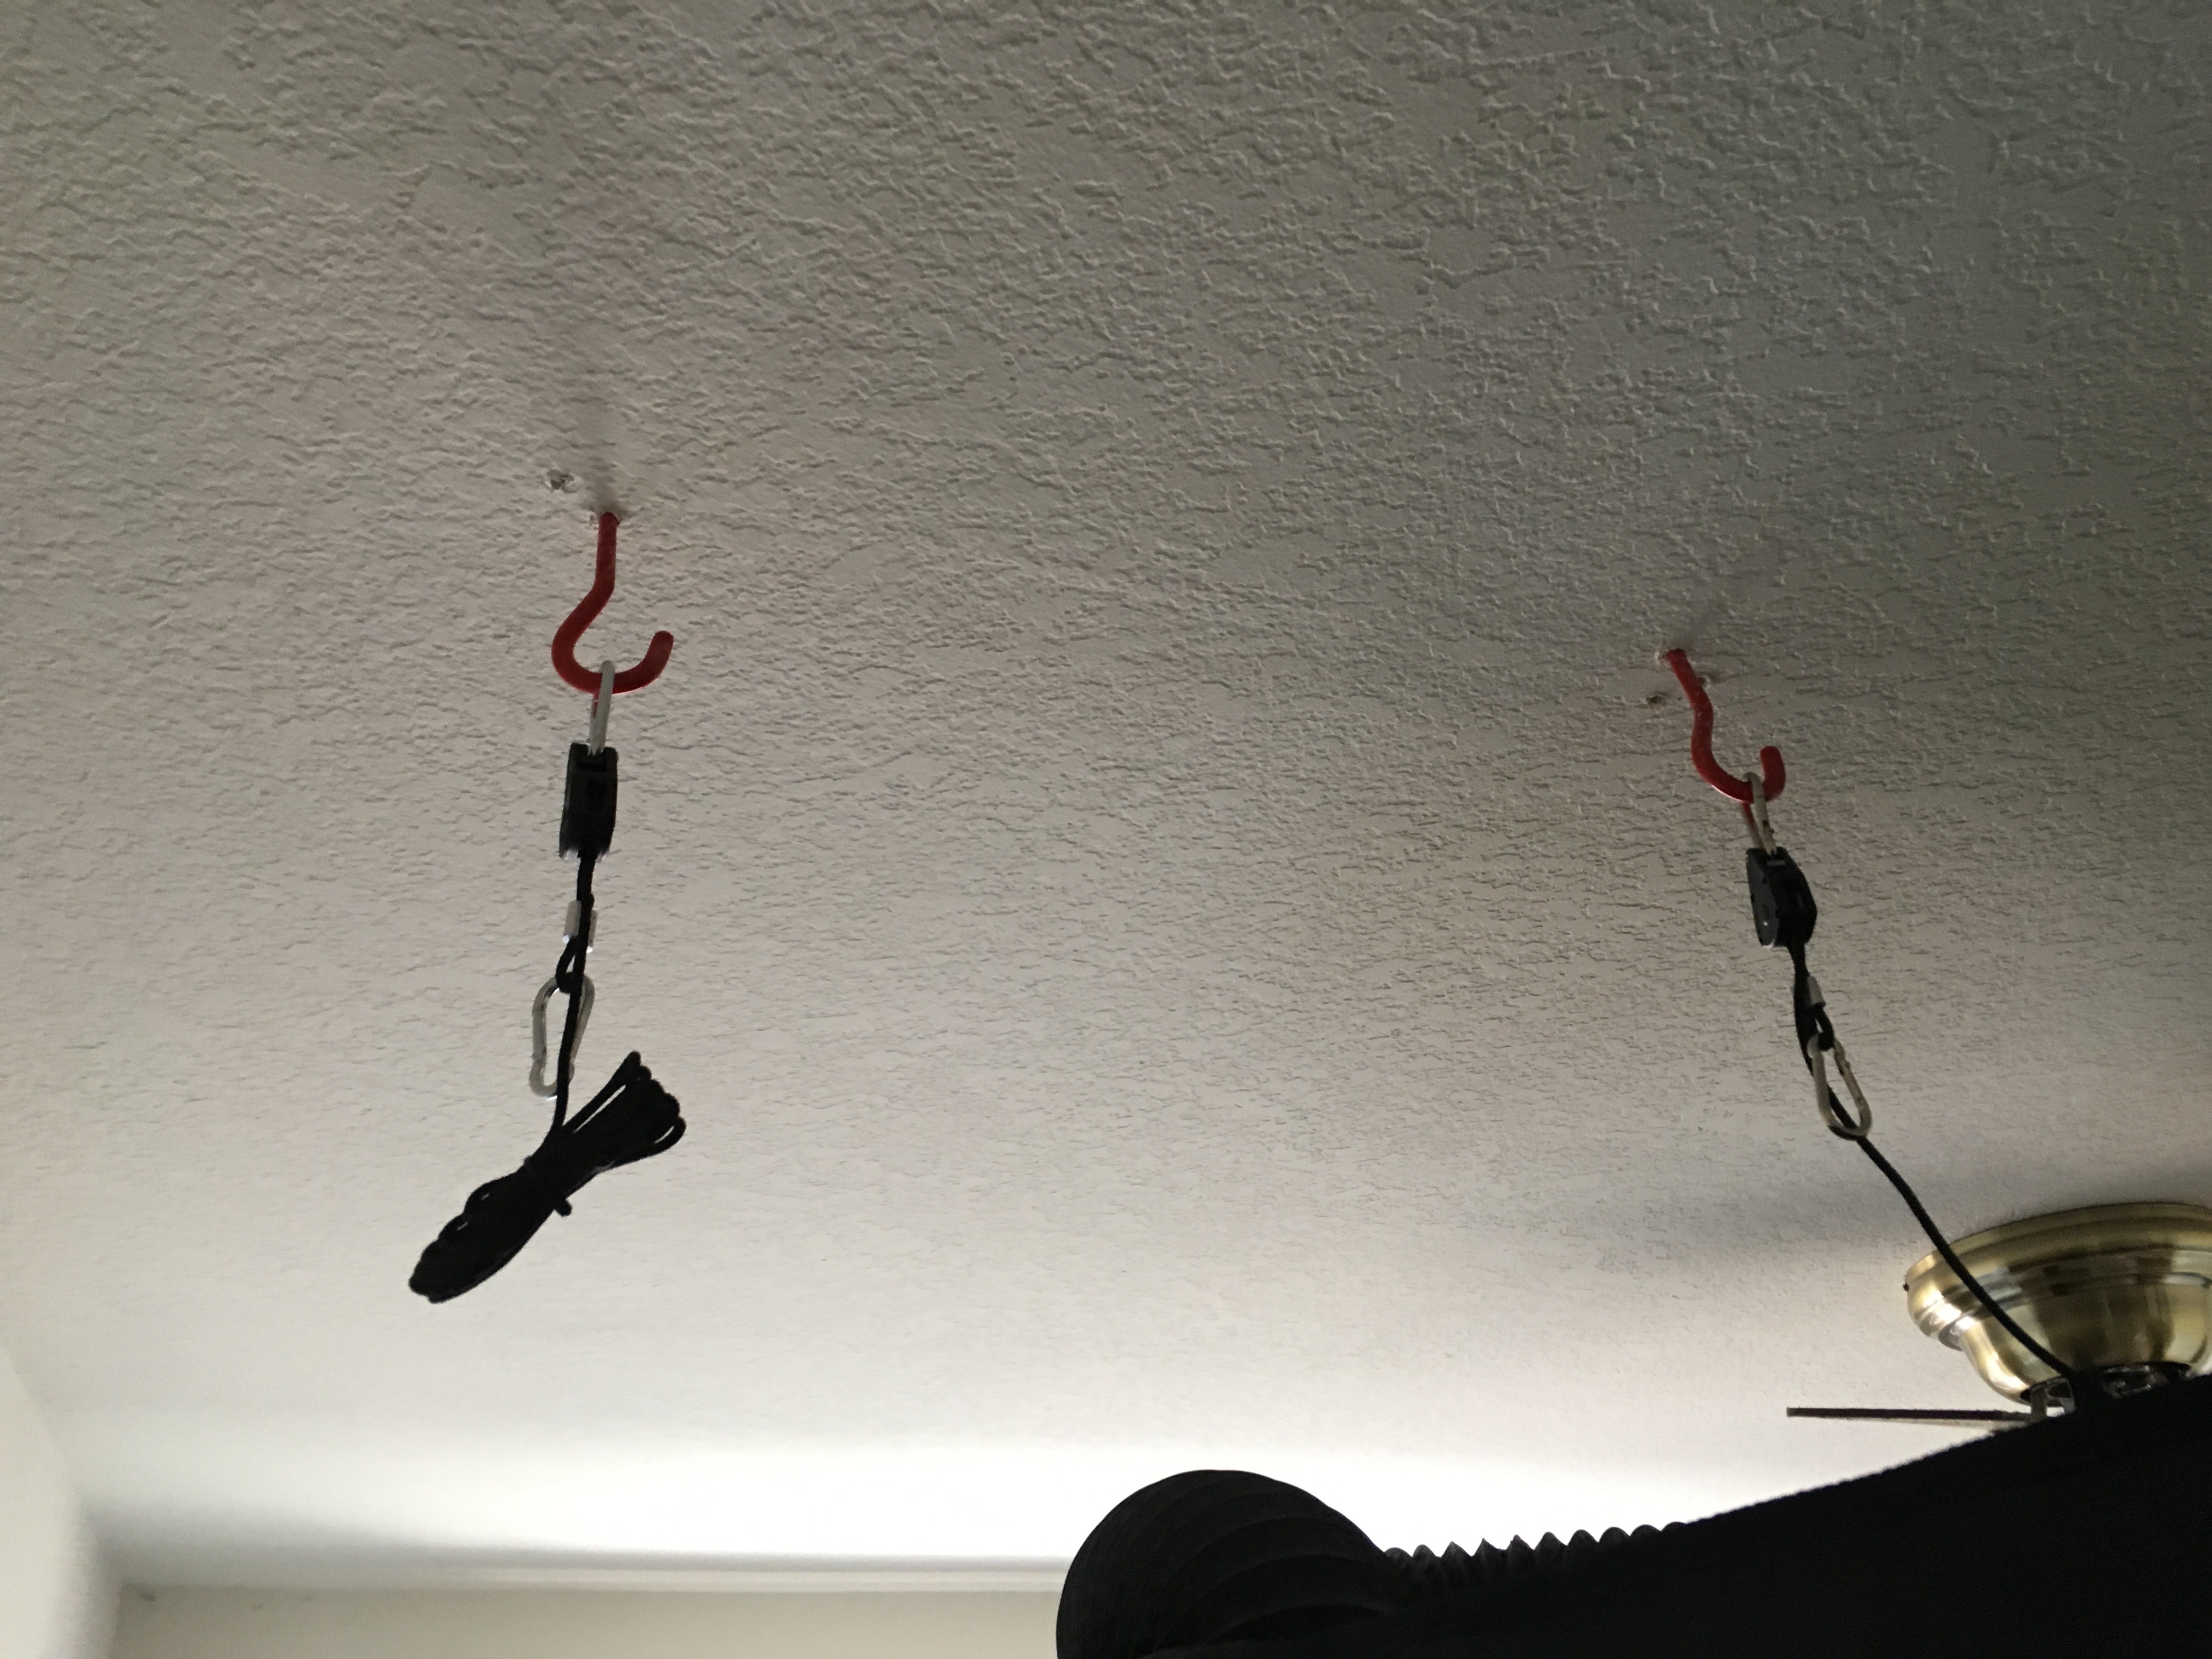
Mounting the light hangers.


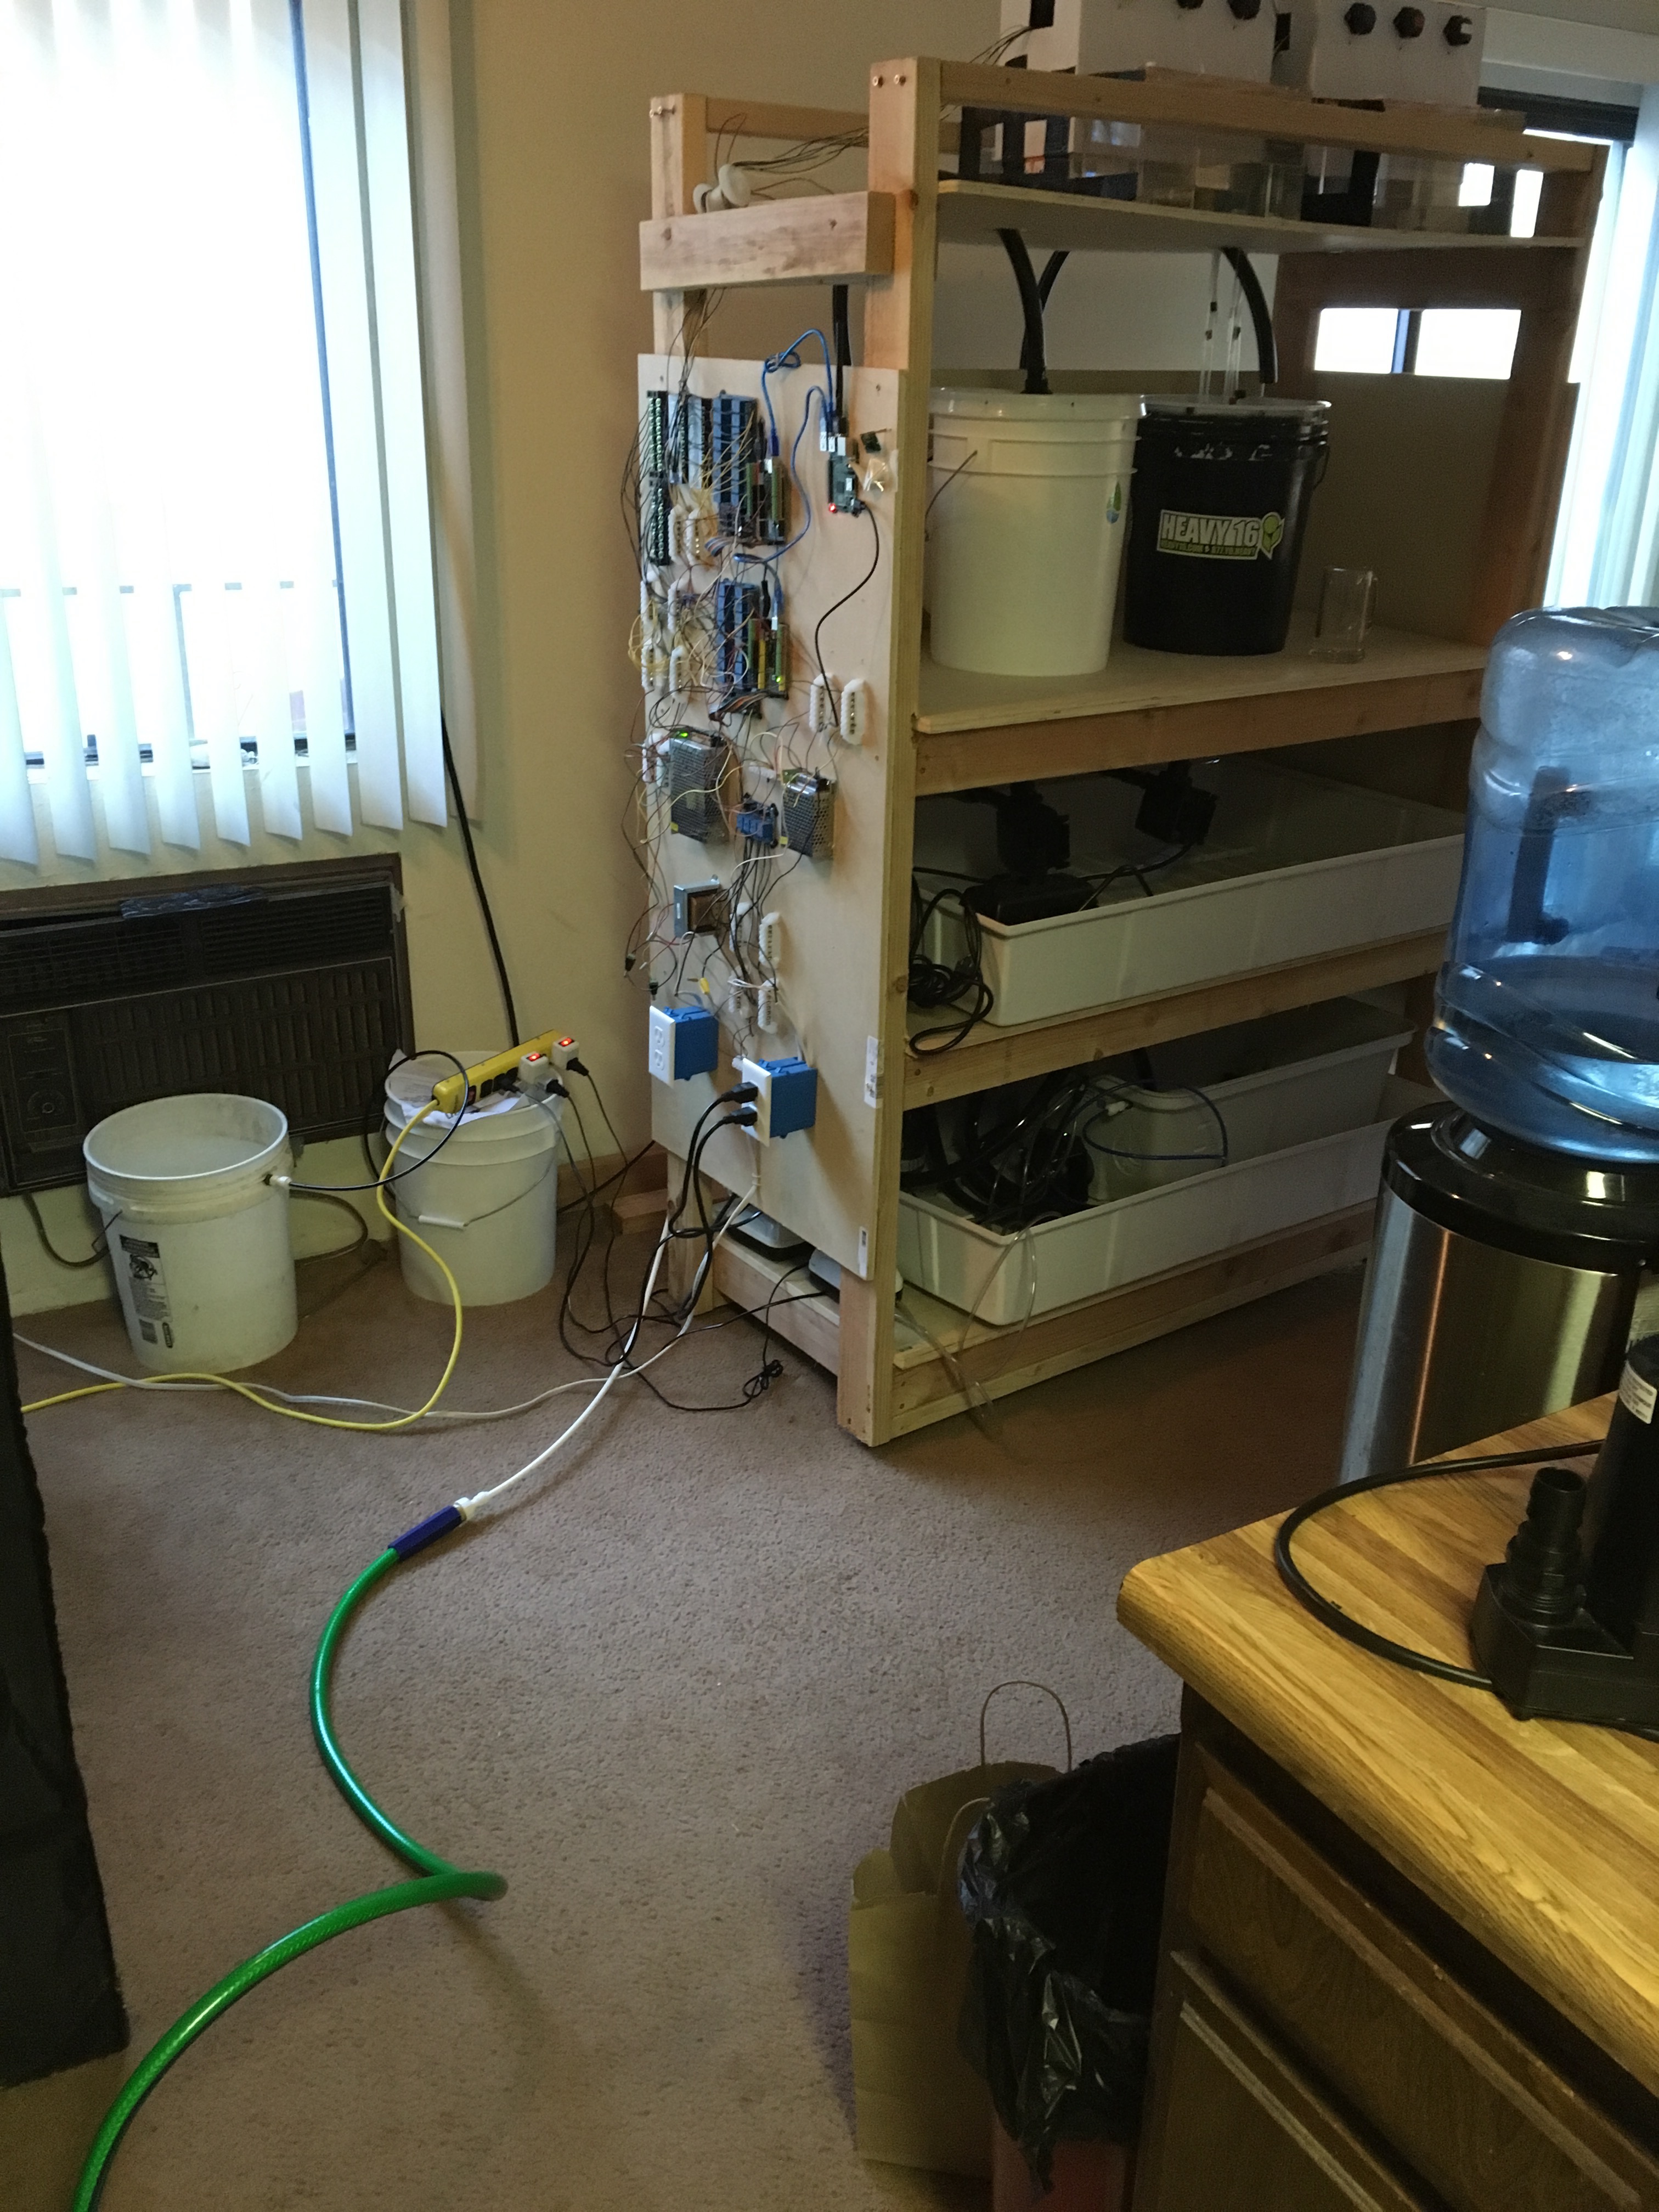
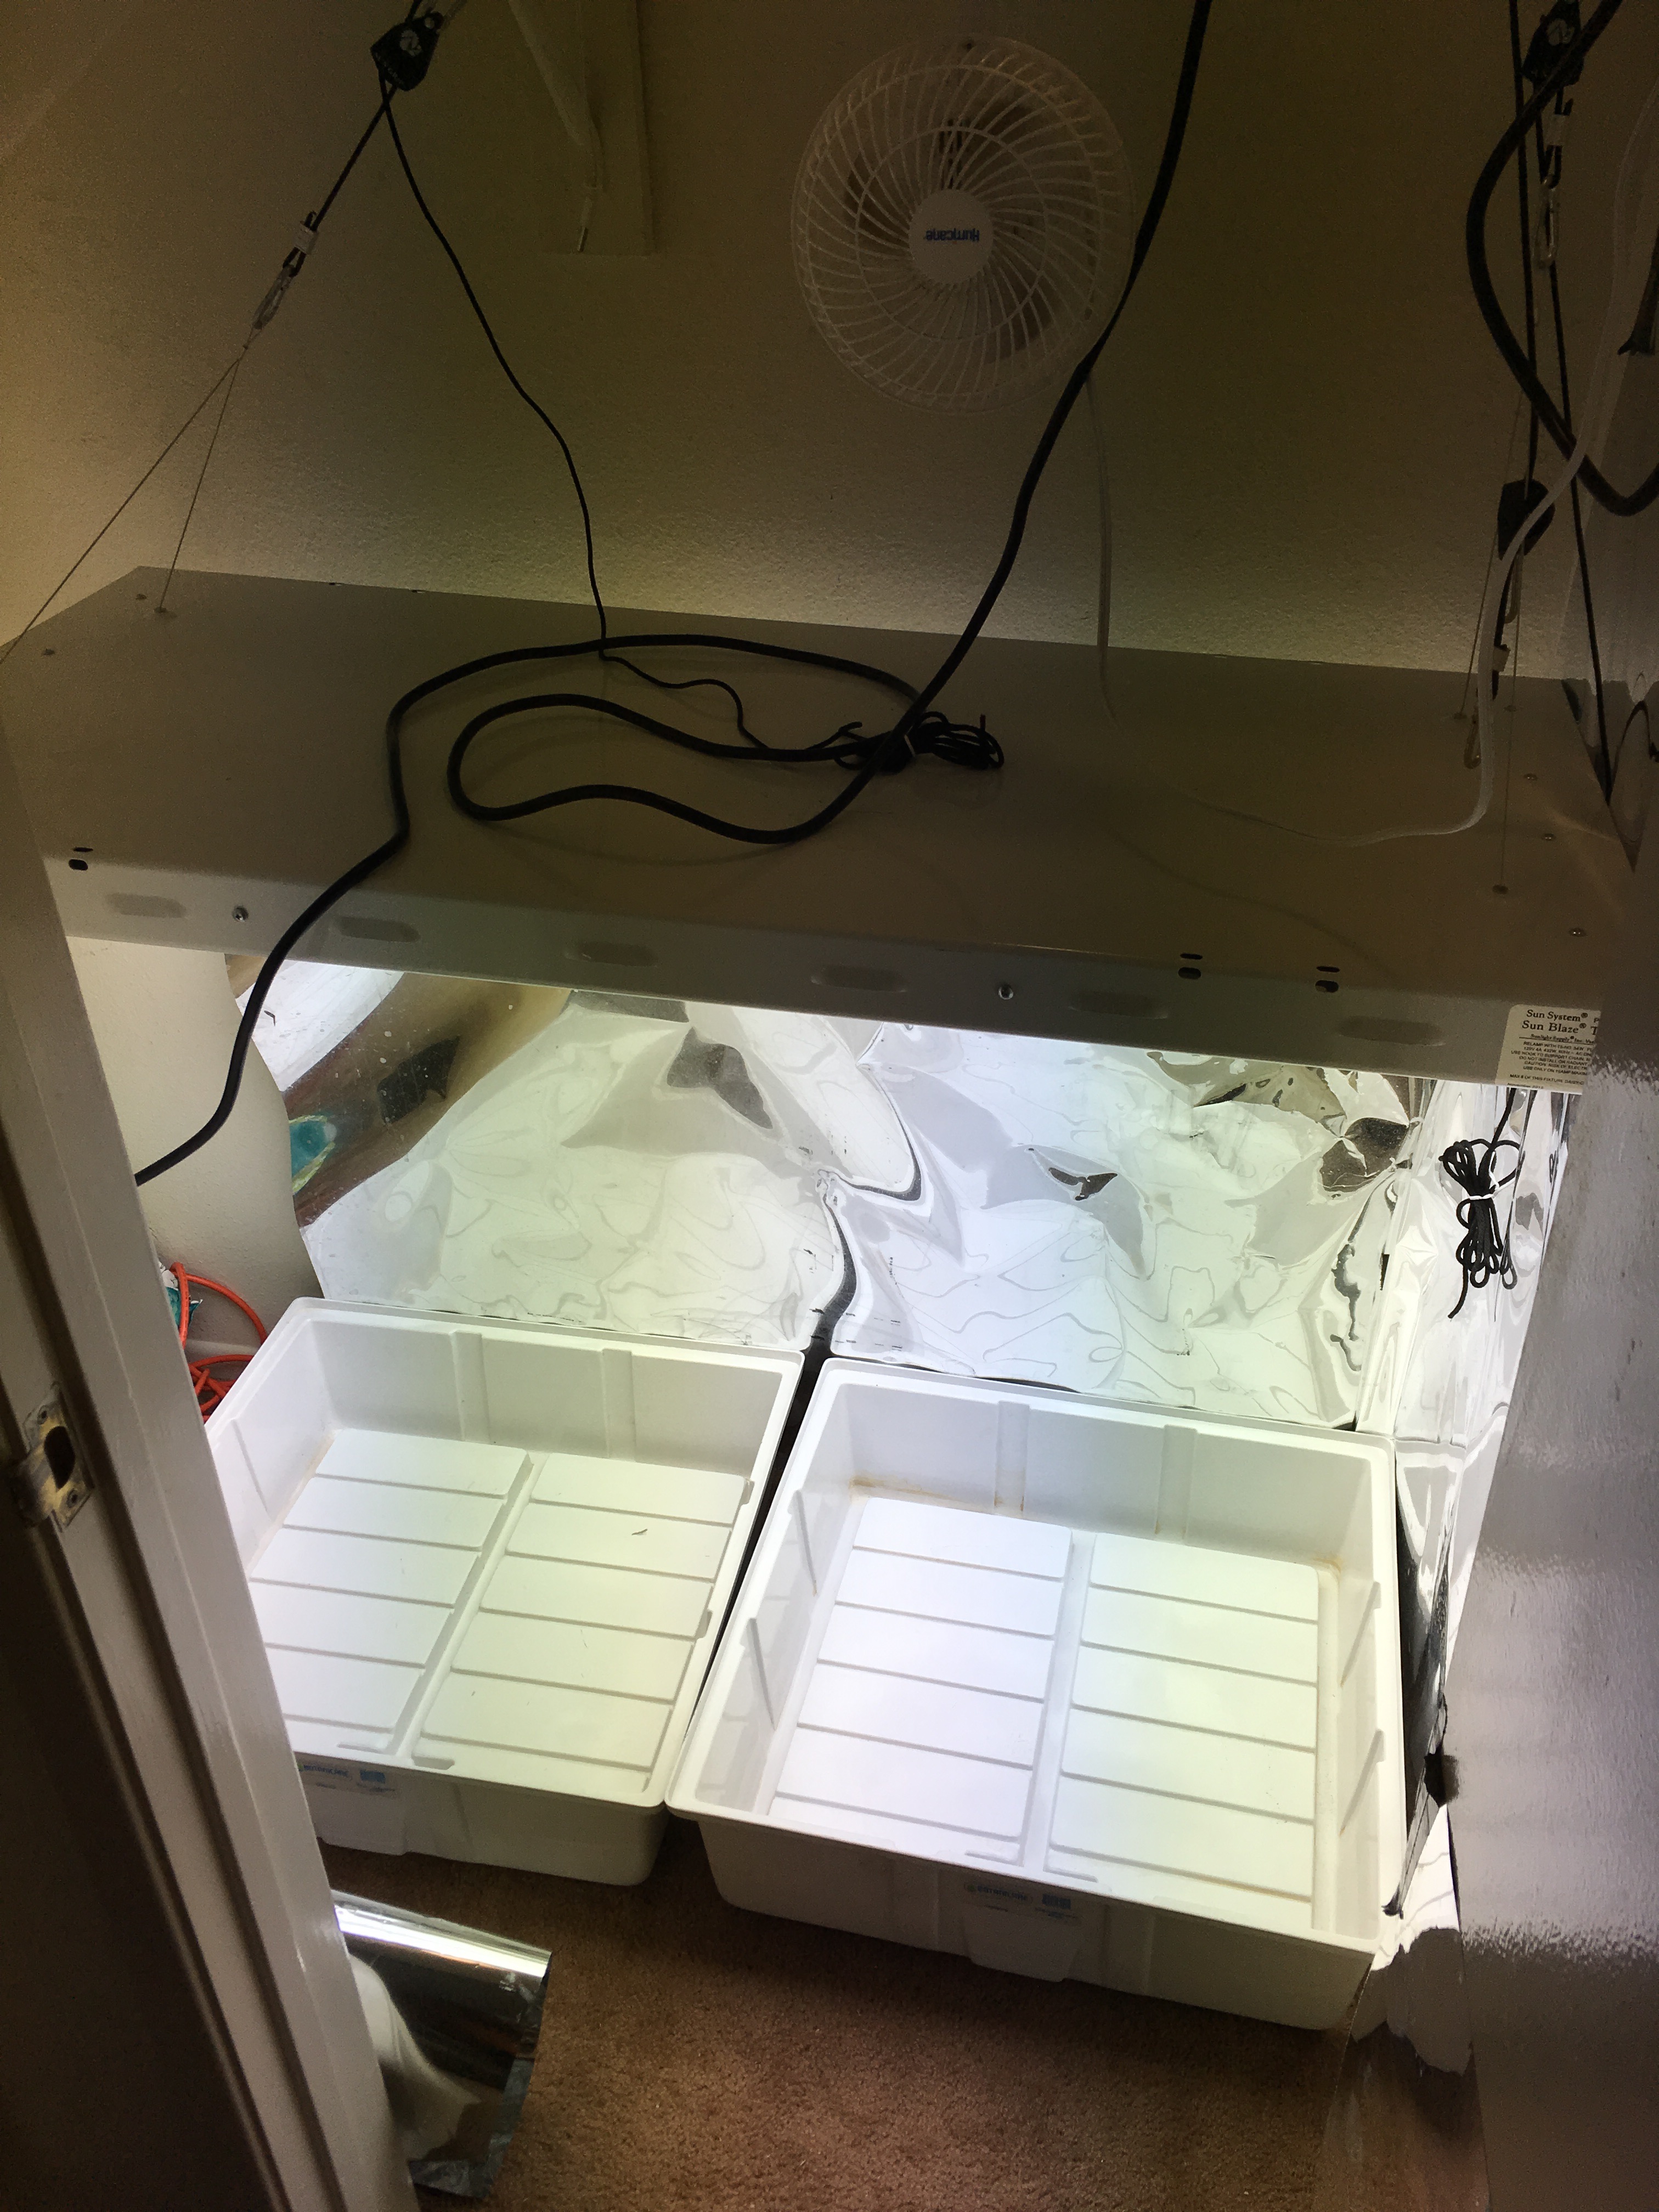
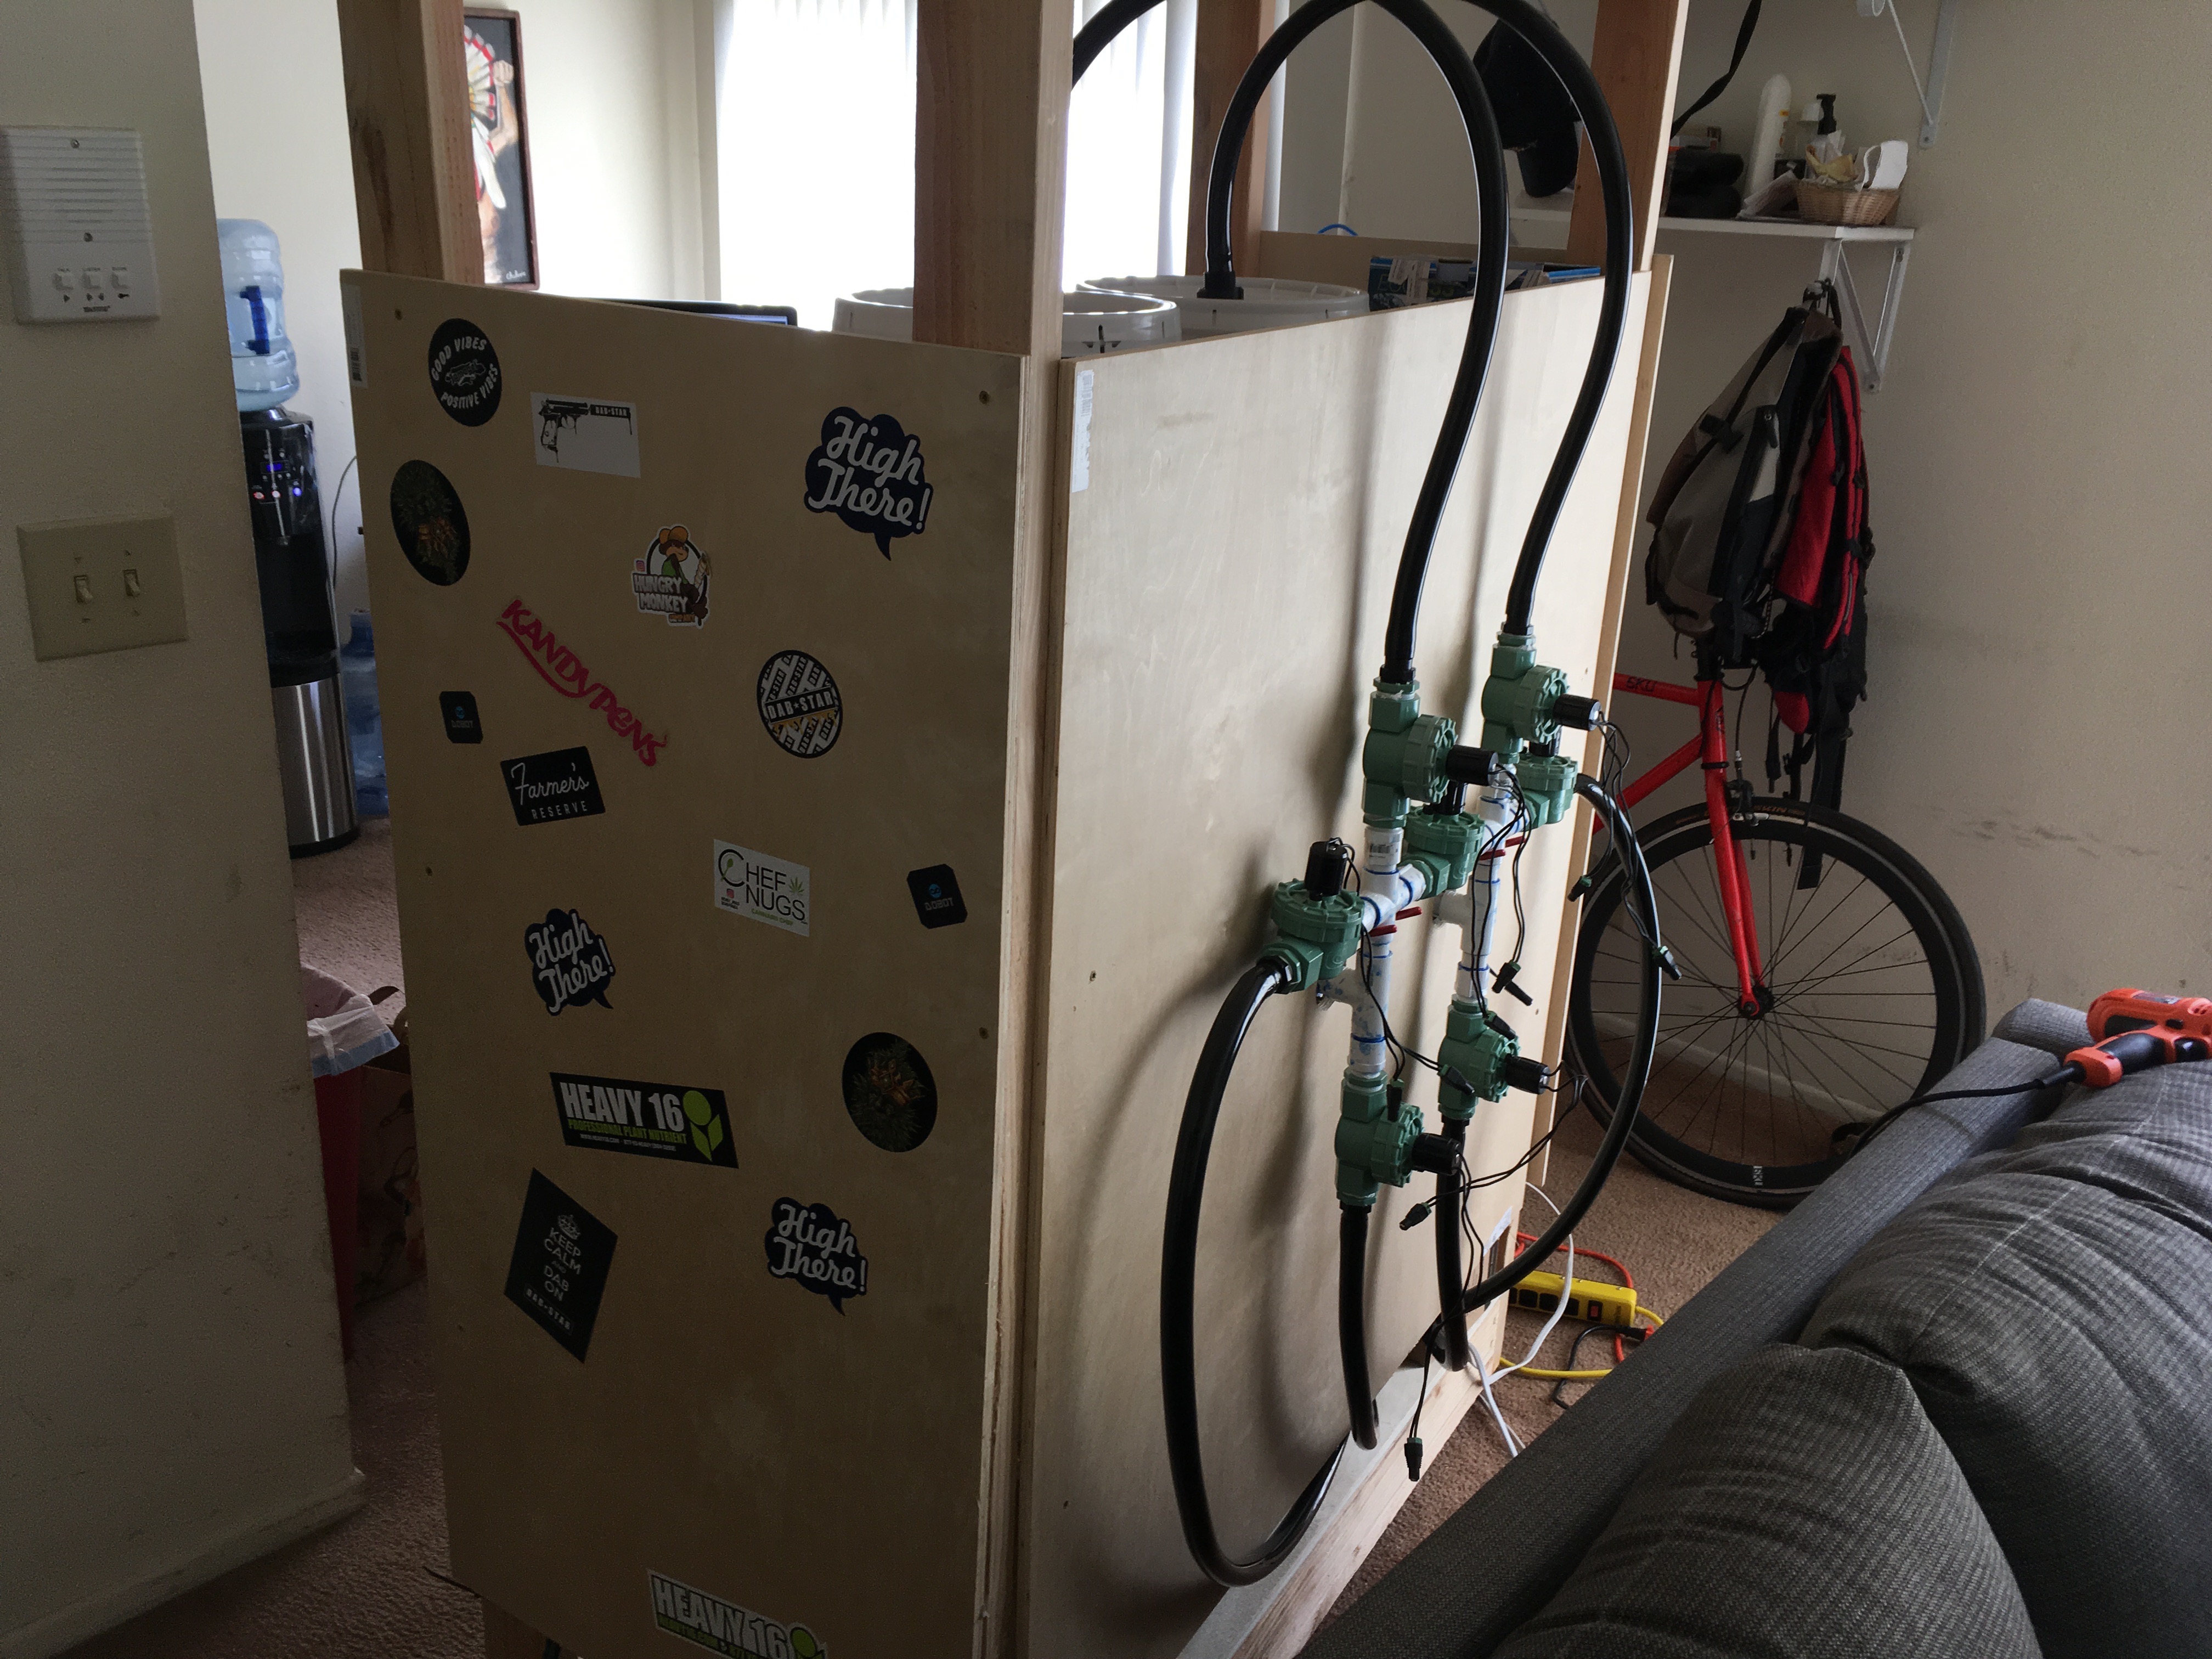
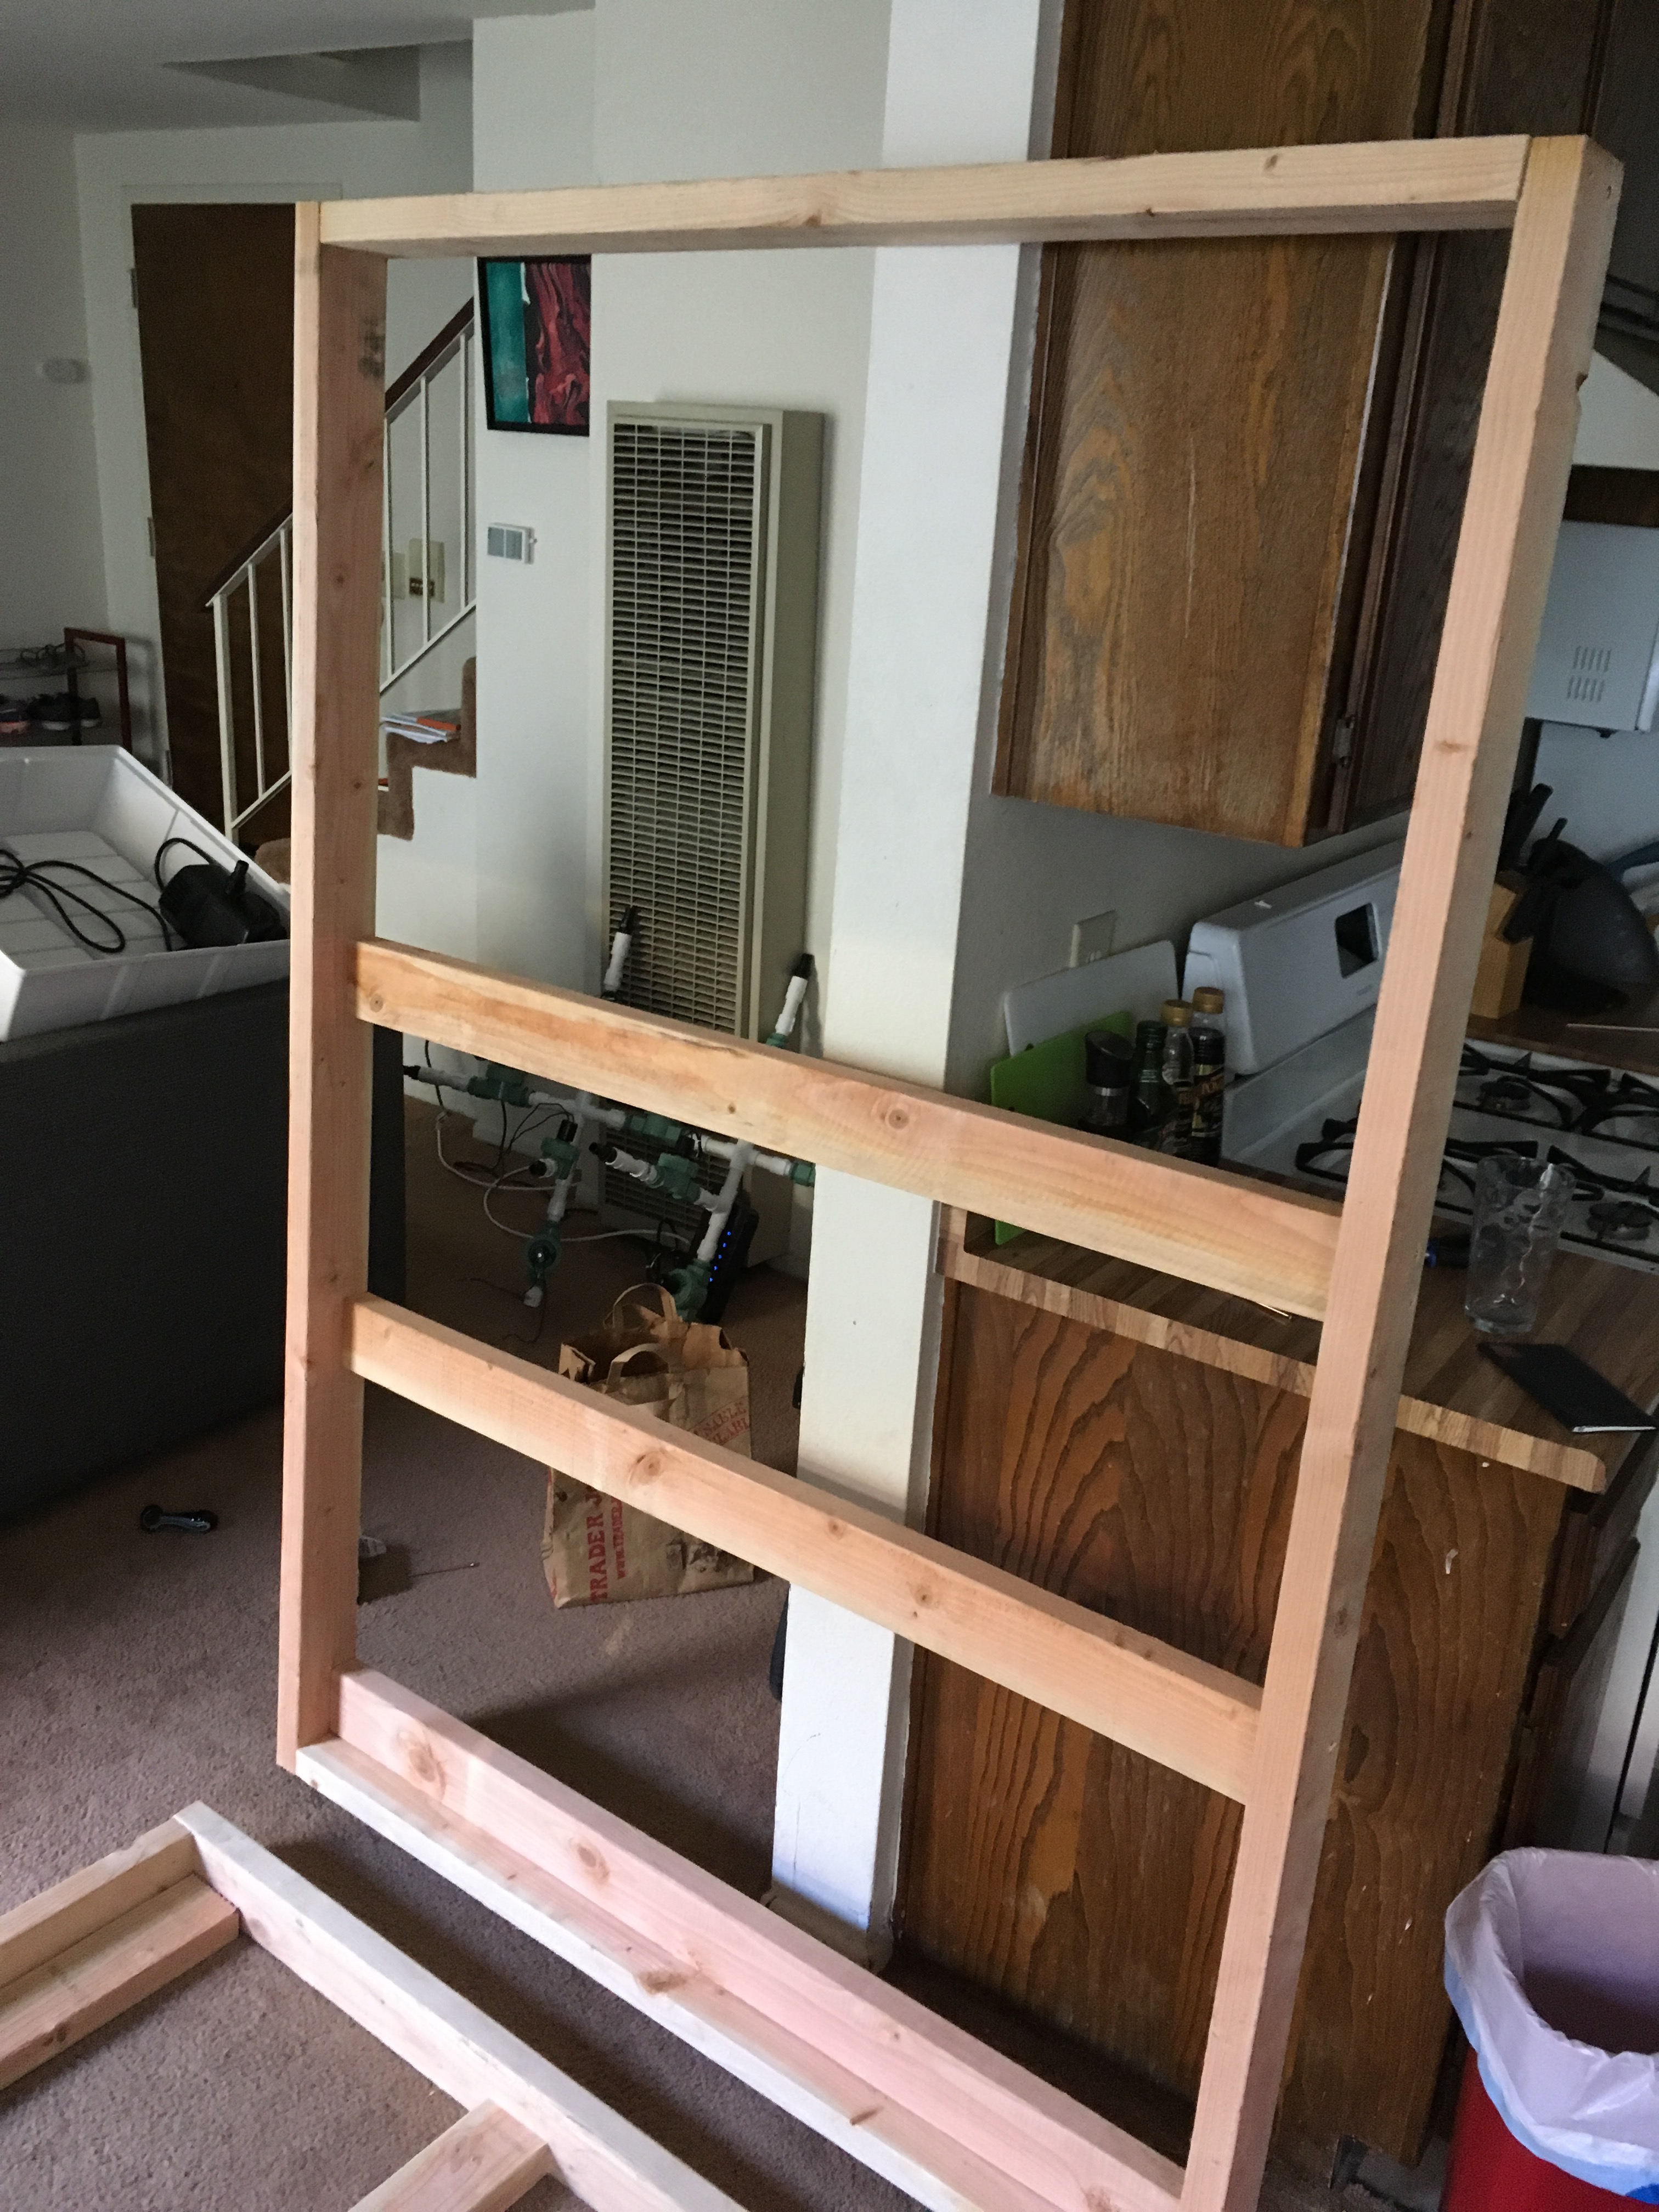
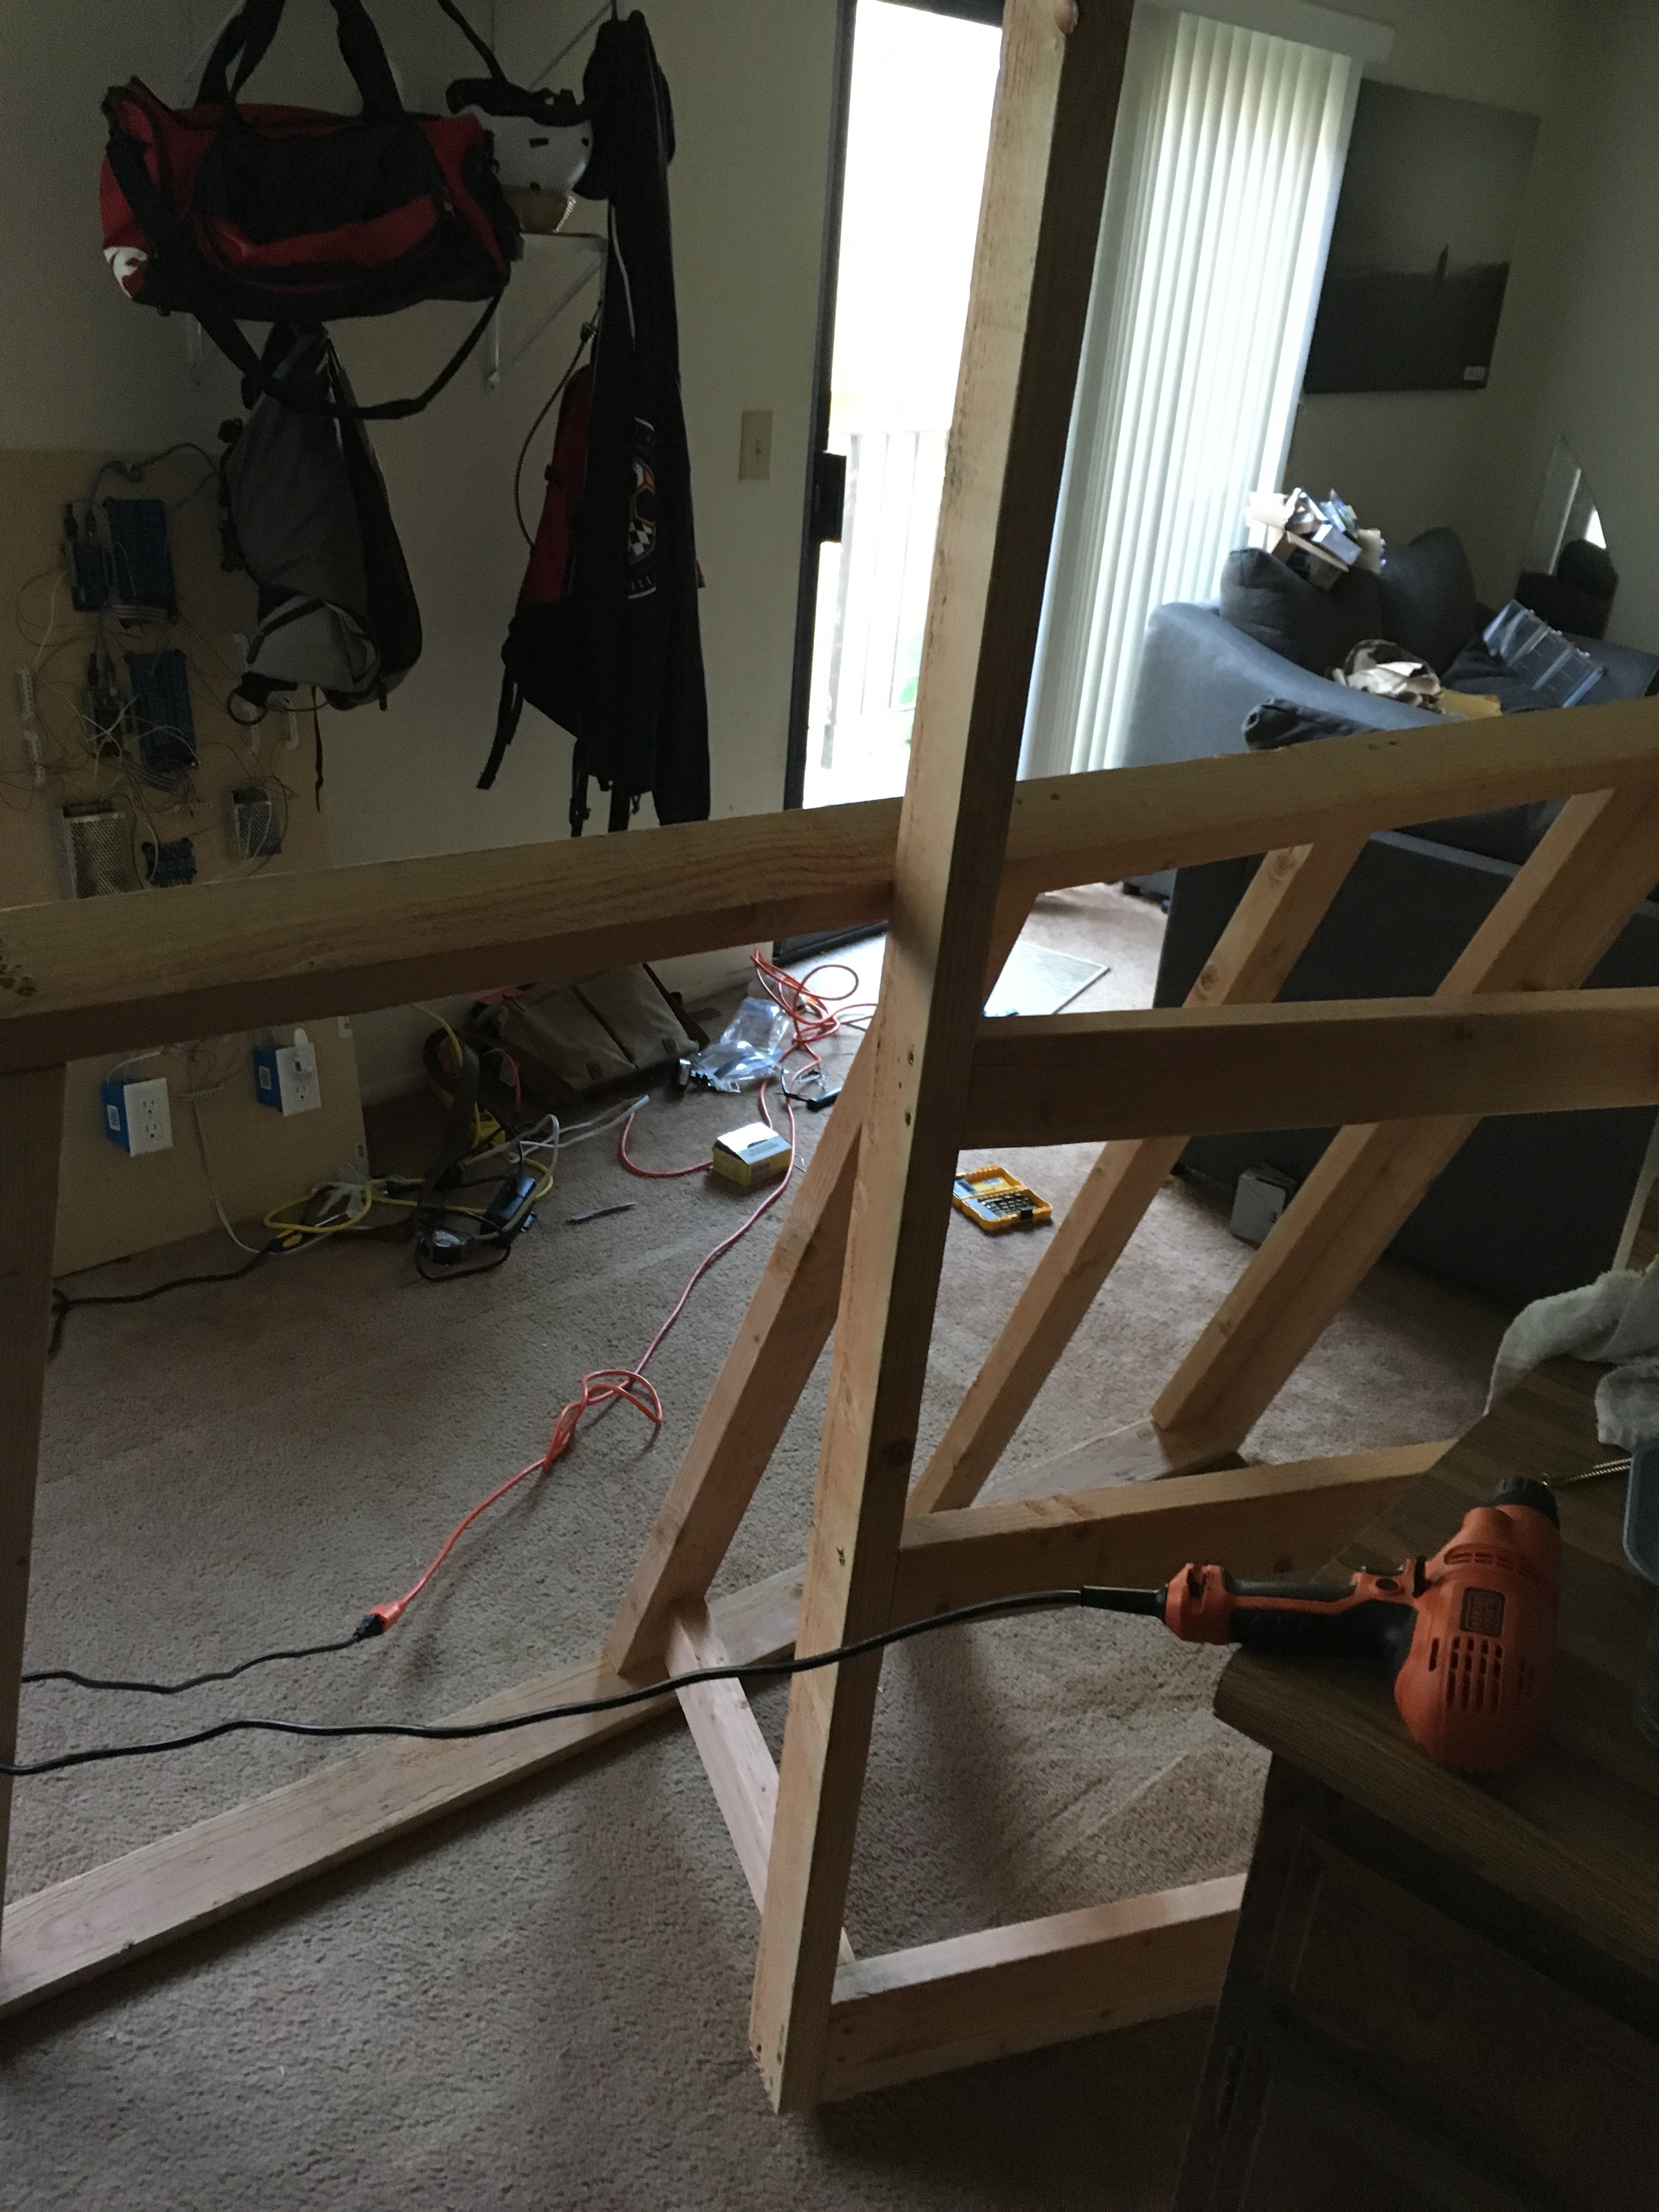
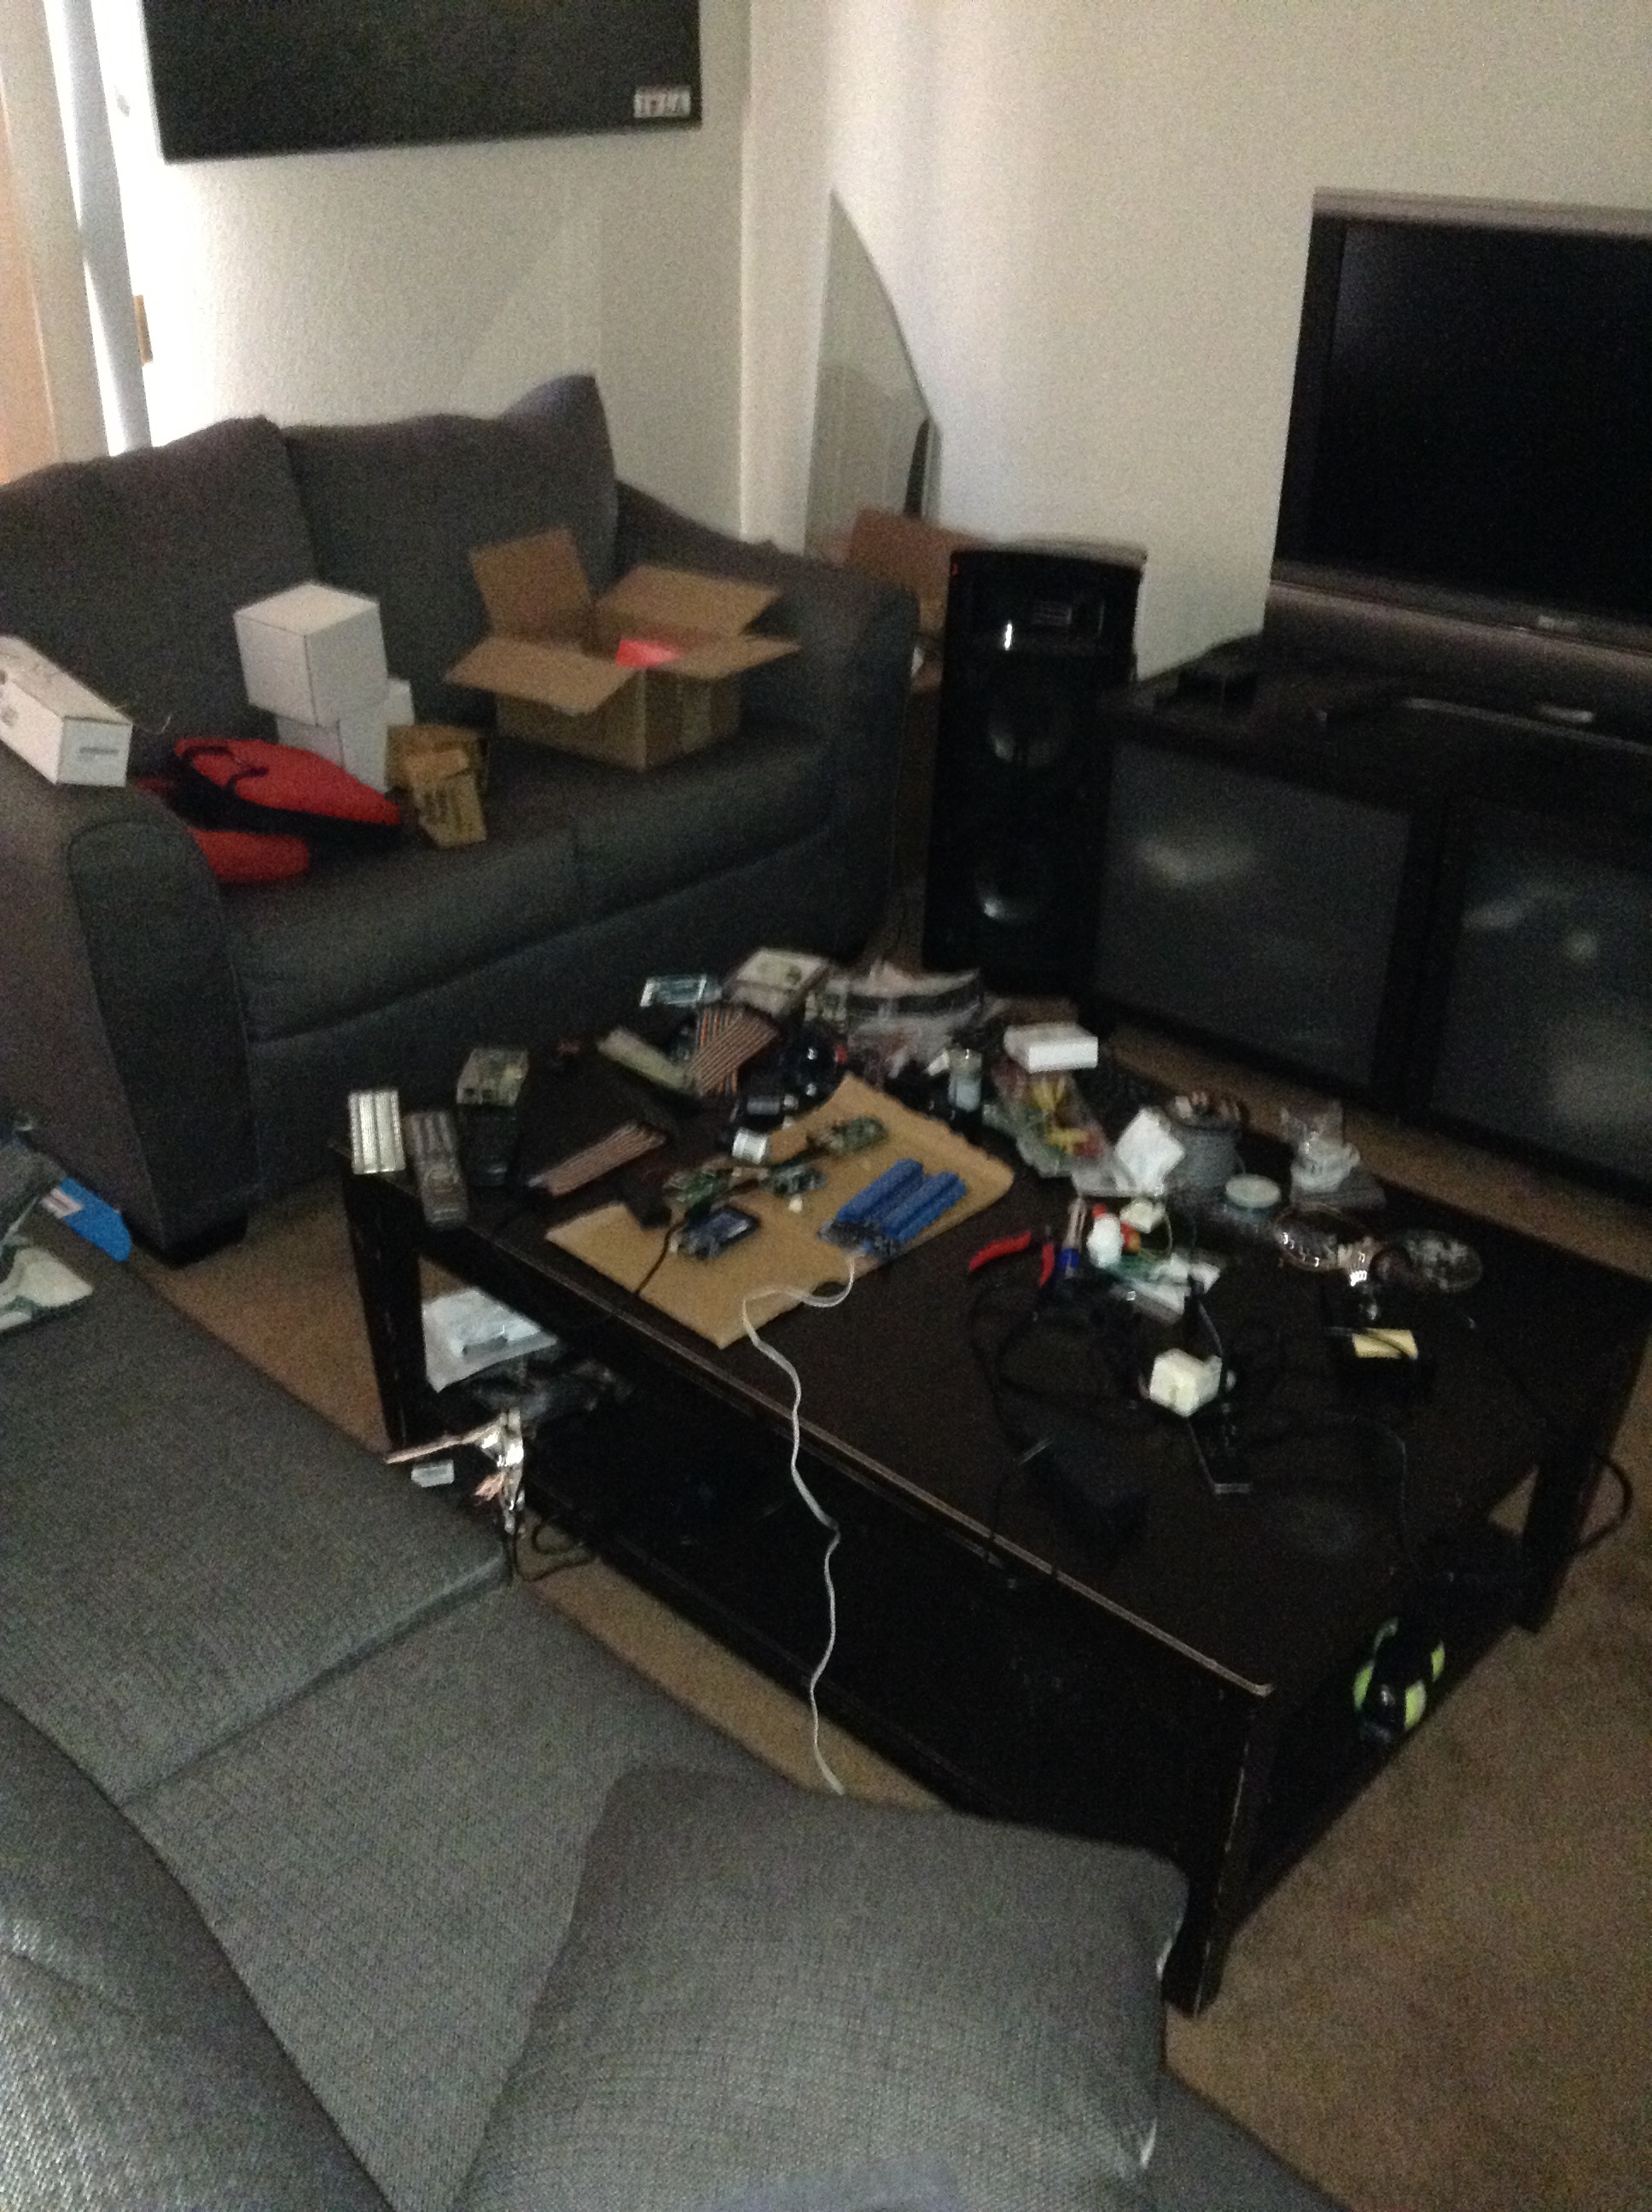
Getting everything moved around for the grow.


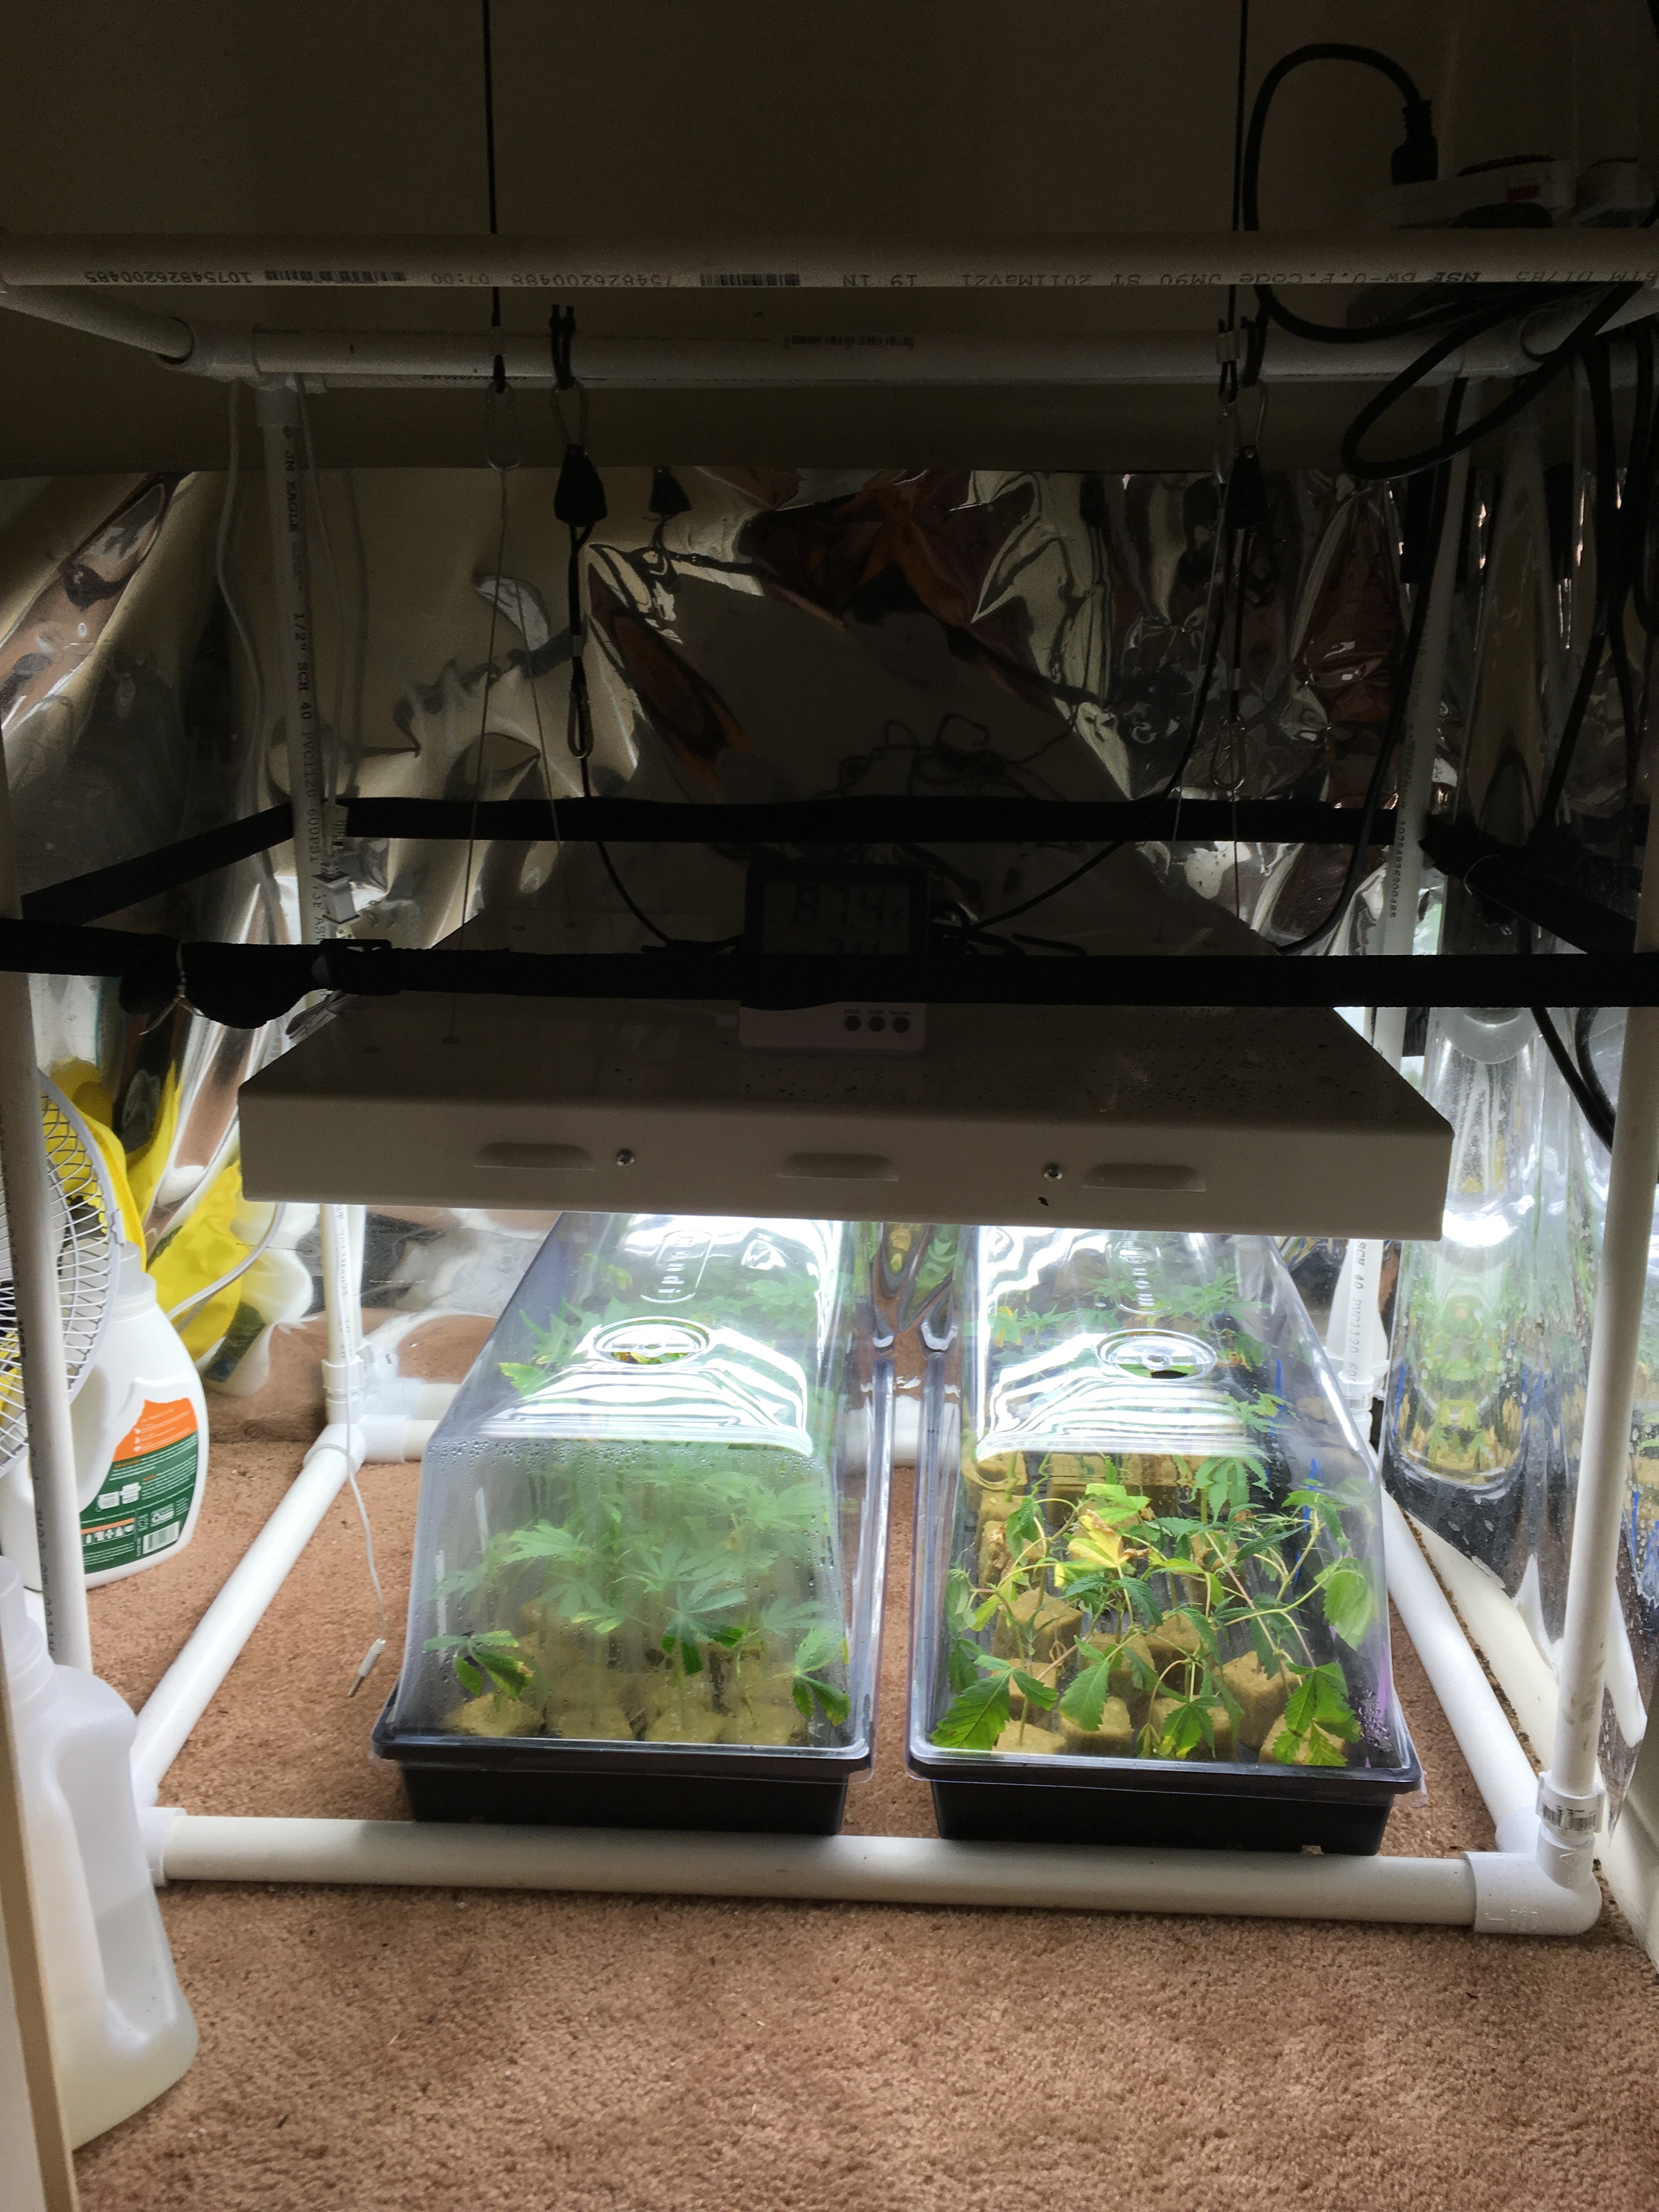
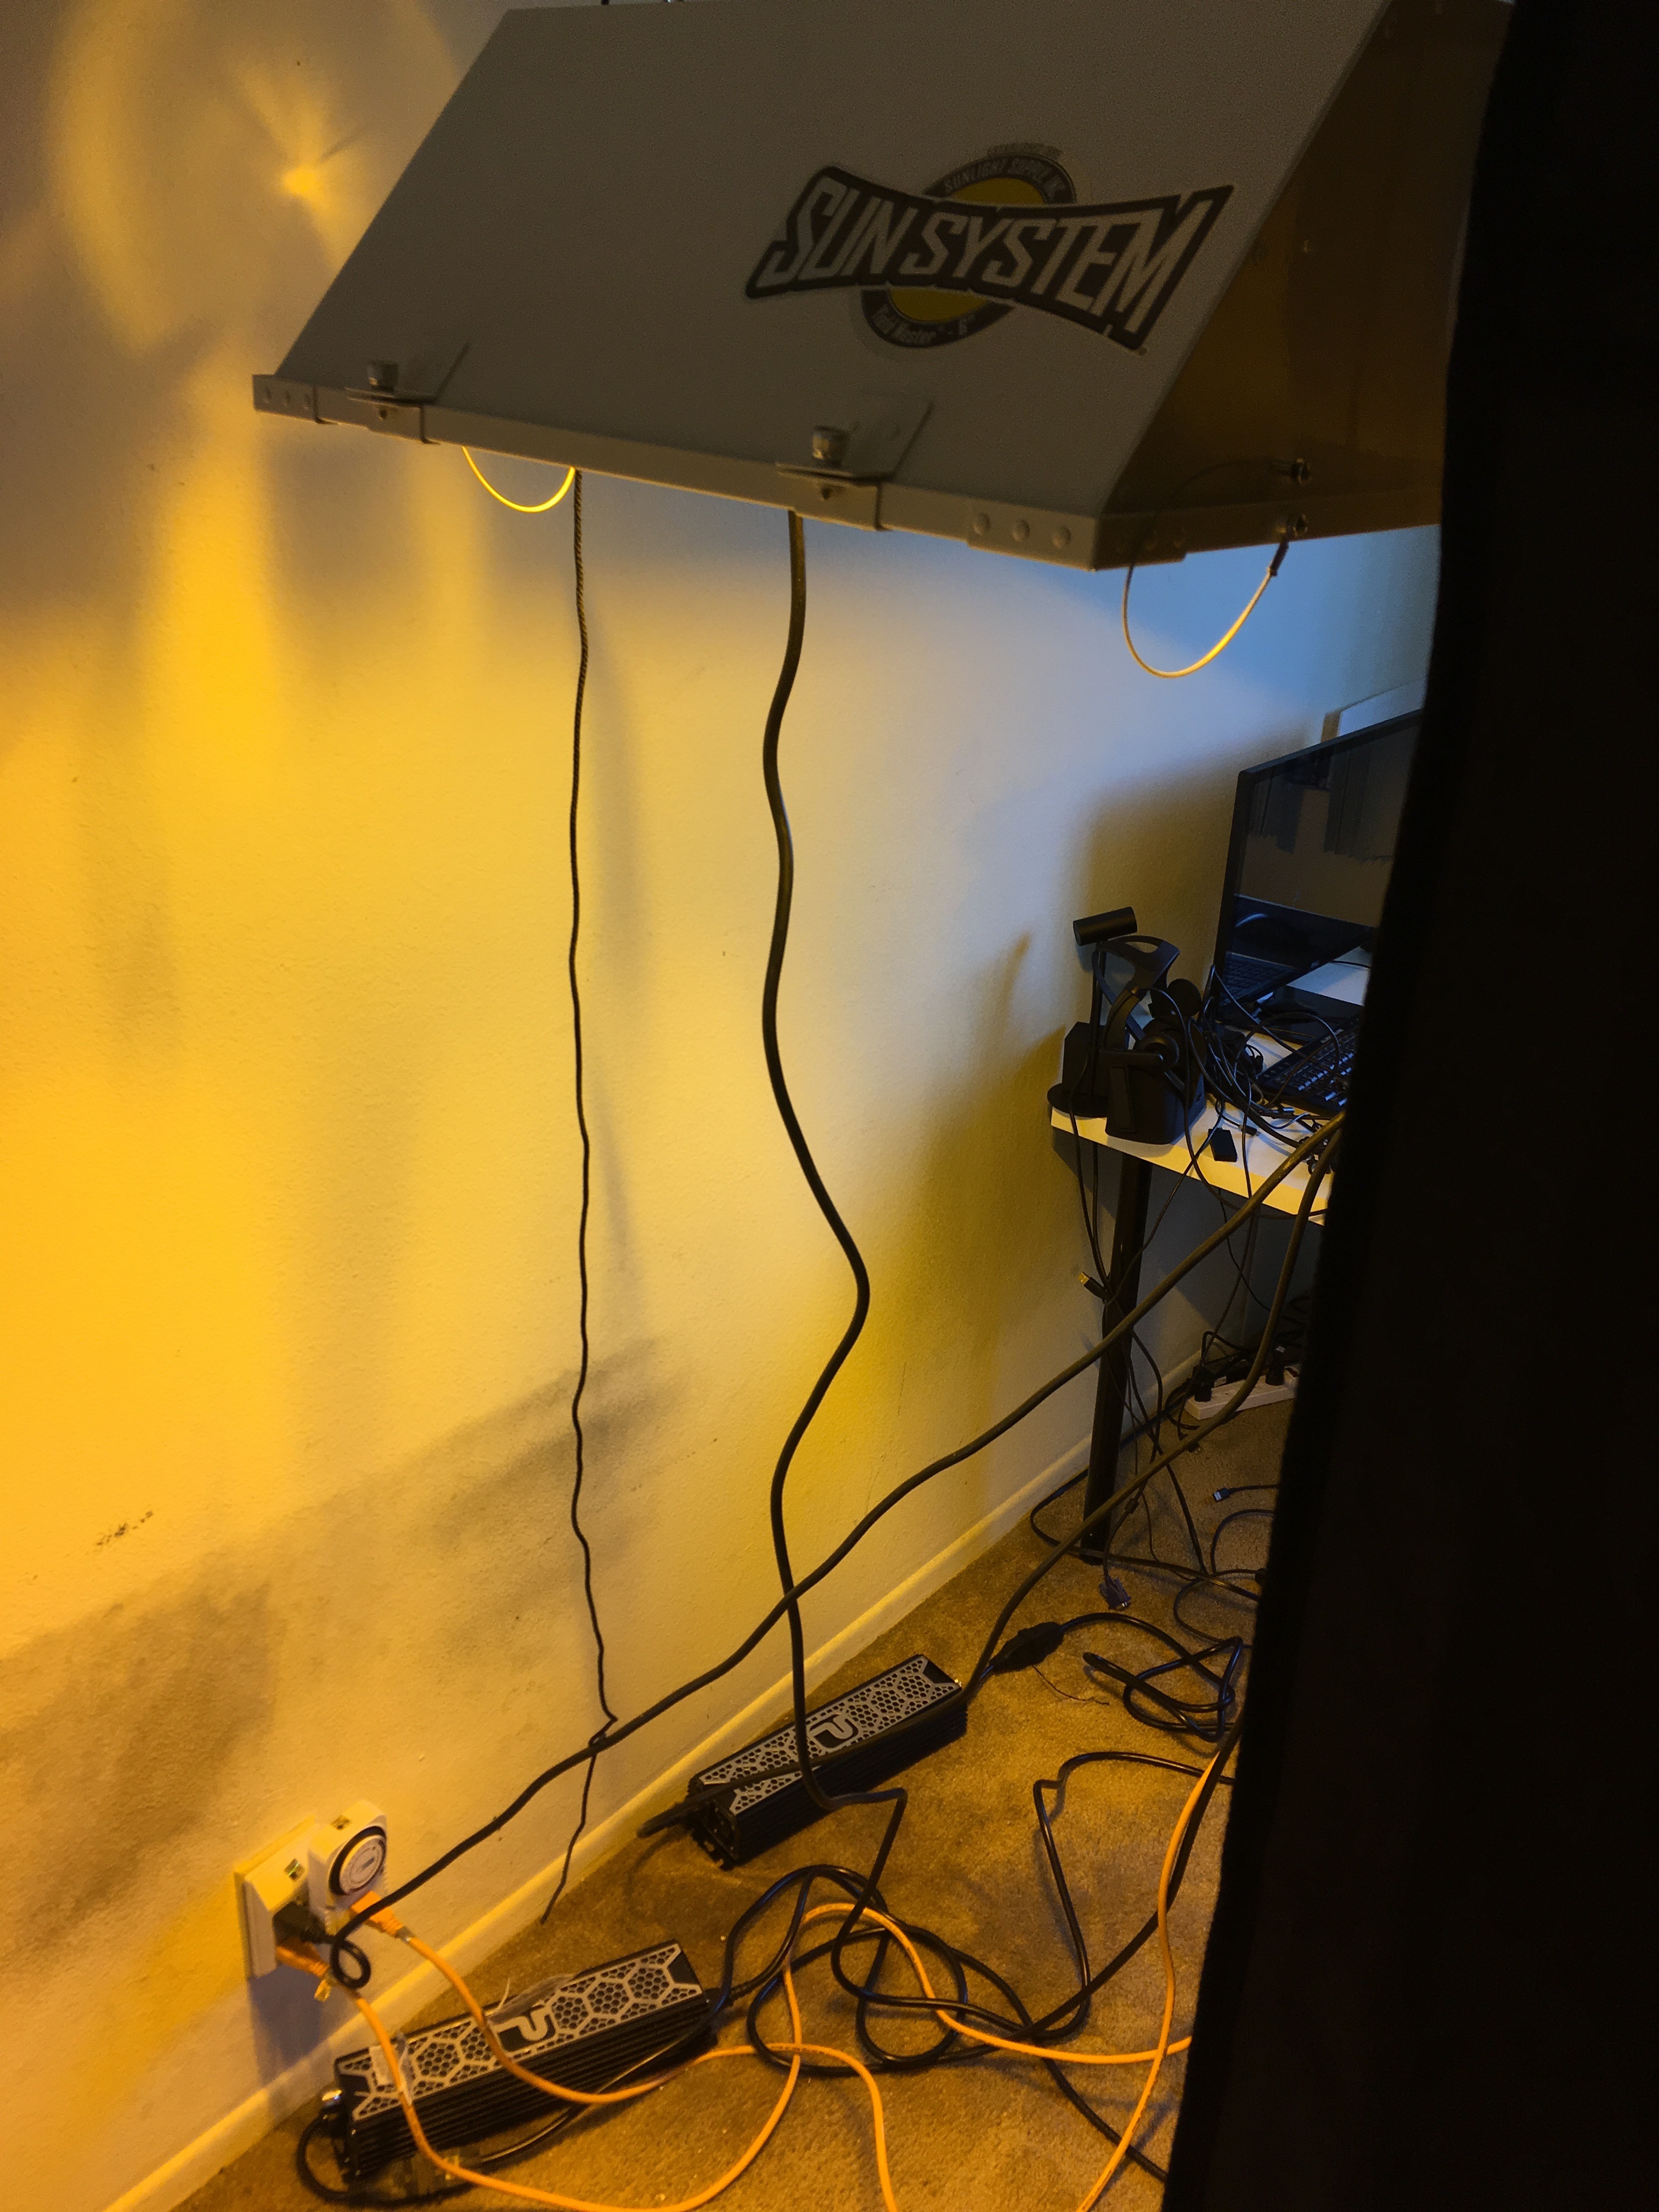
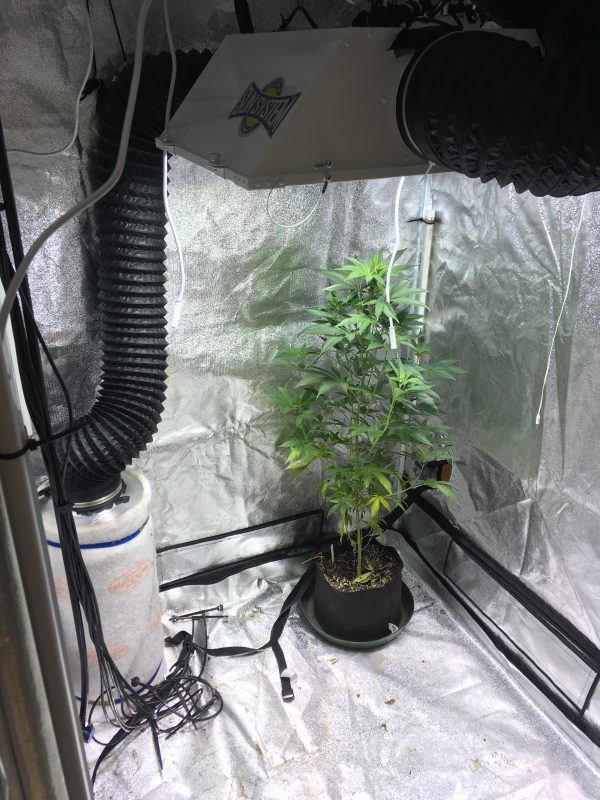
The first light hung behind the time as a space to bring the plants to.


Time to break the tent down.


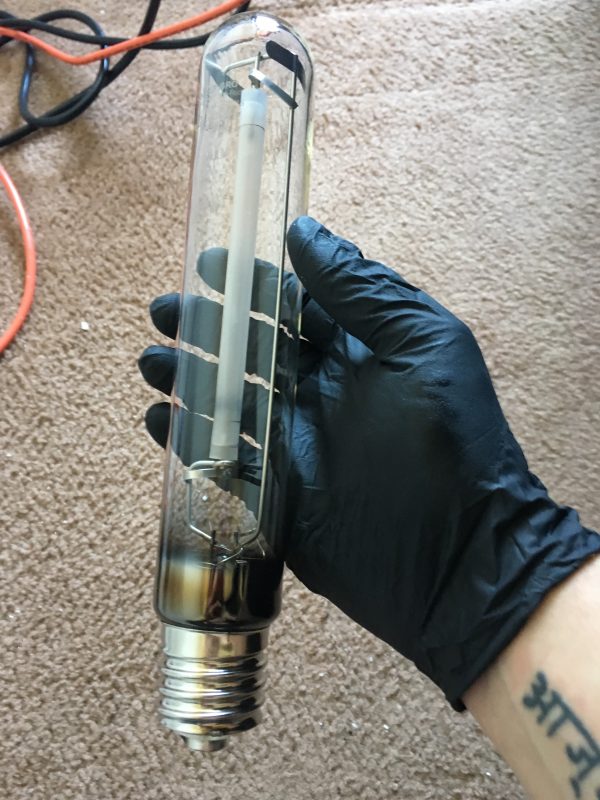
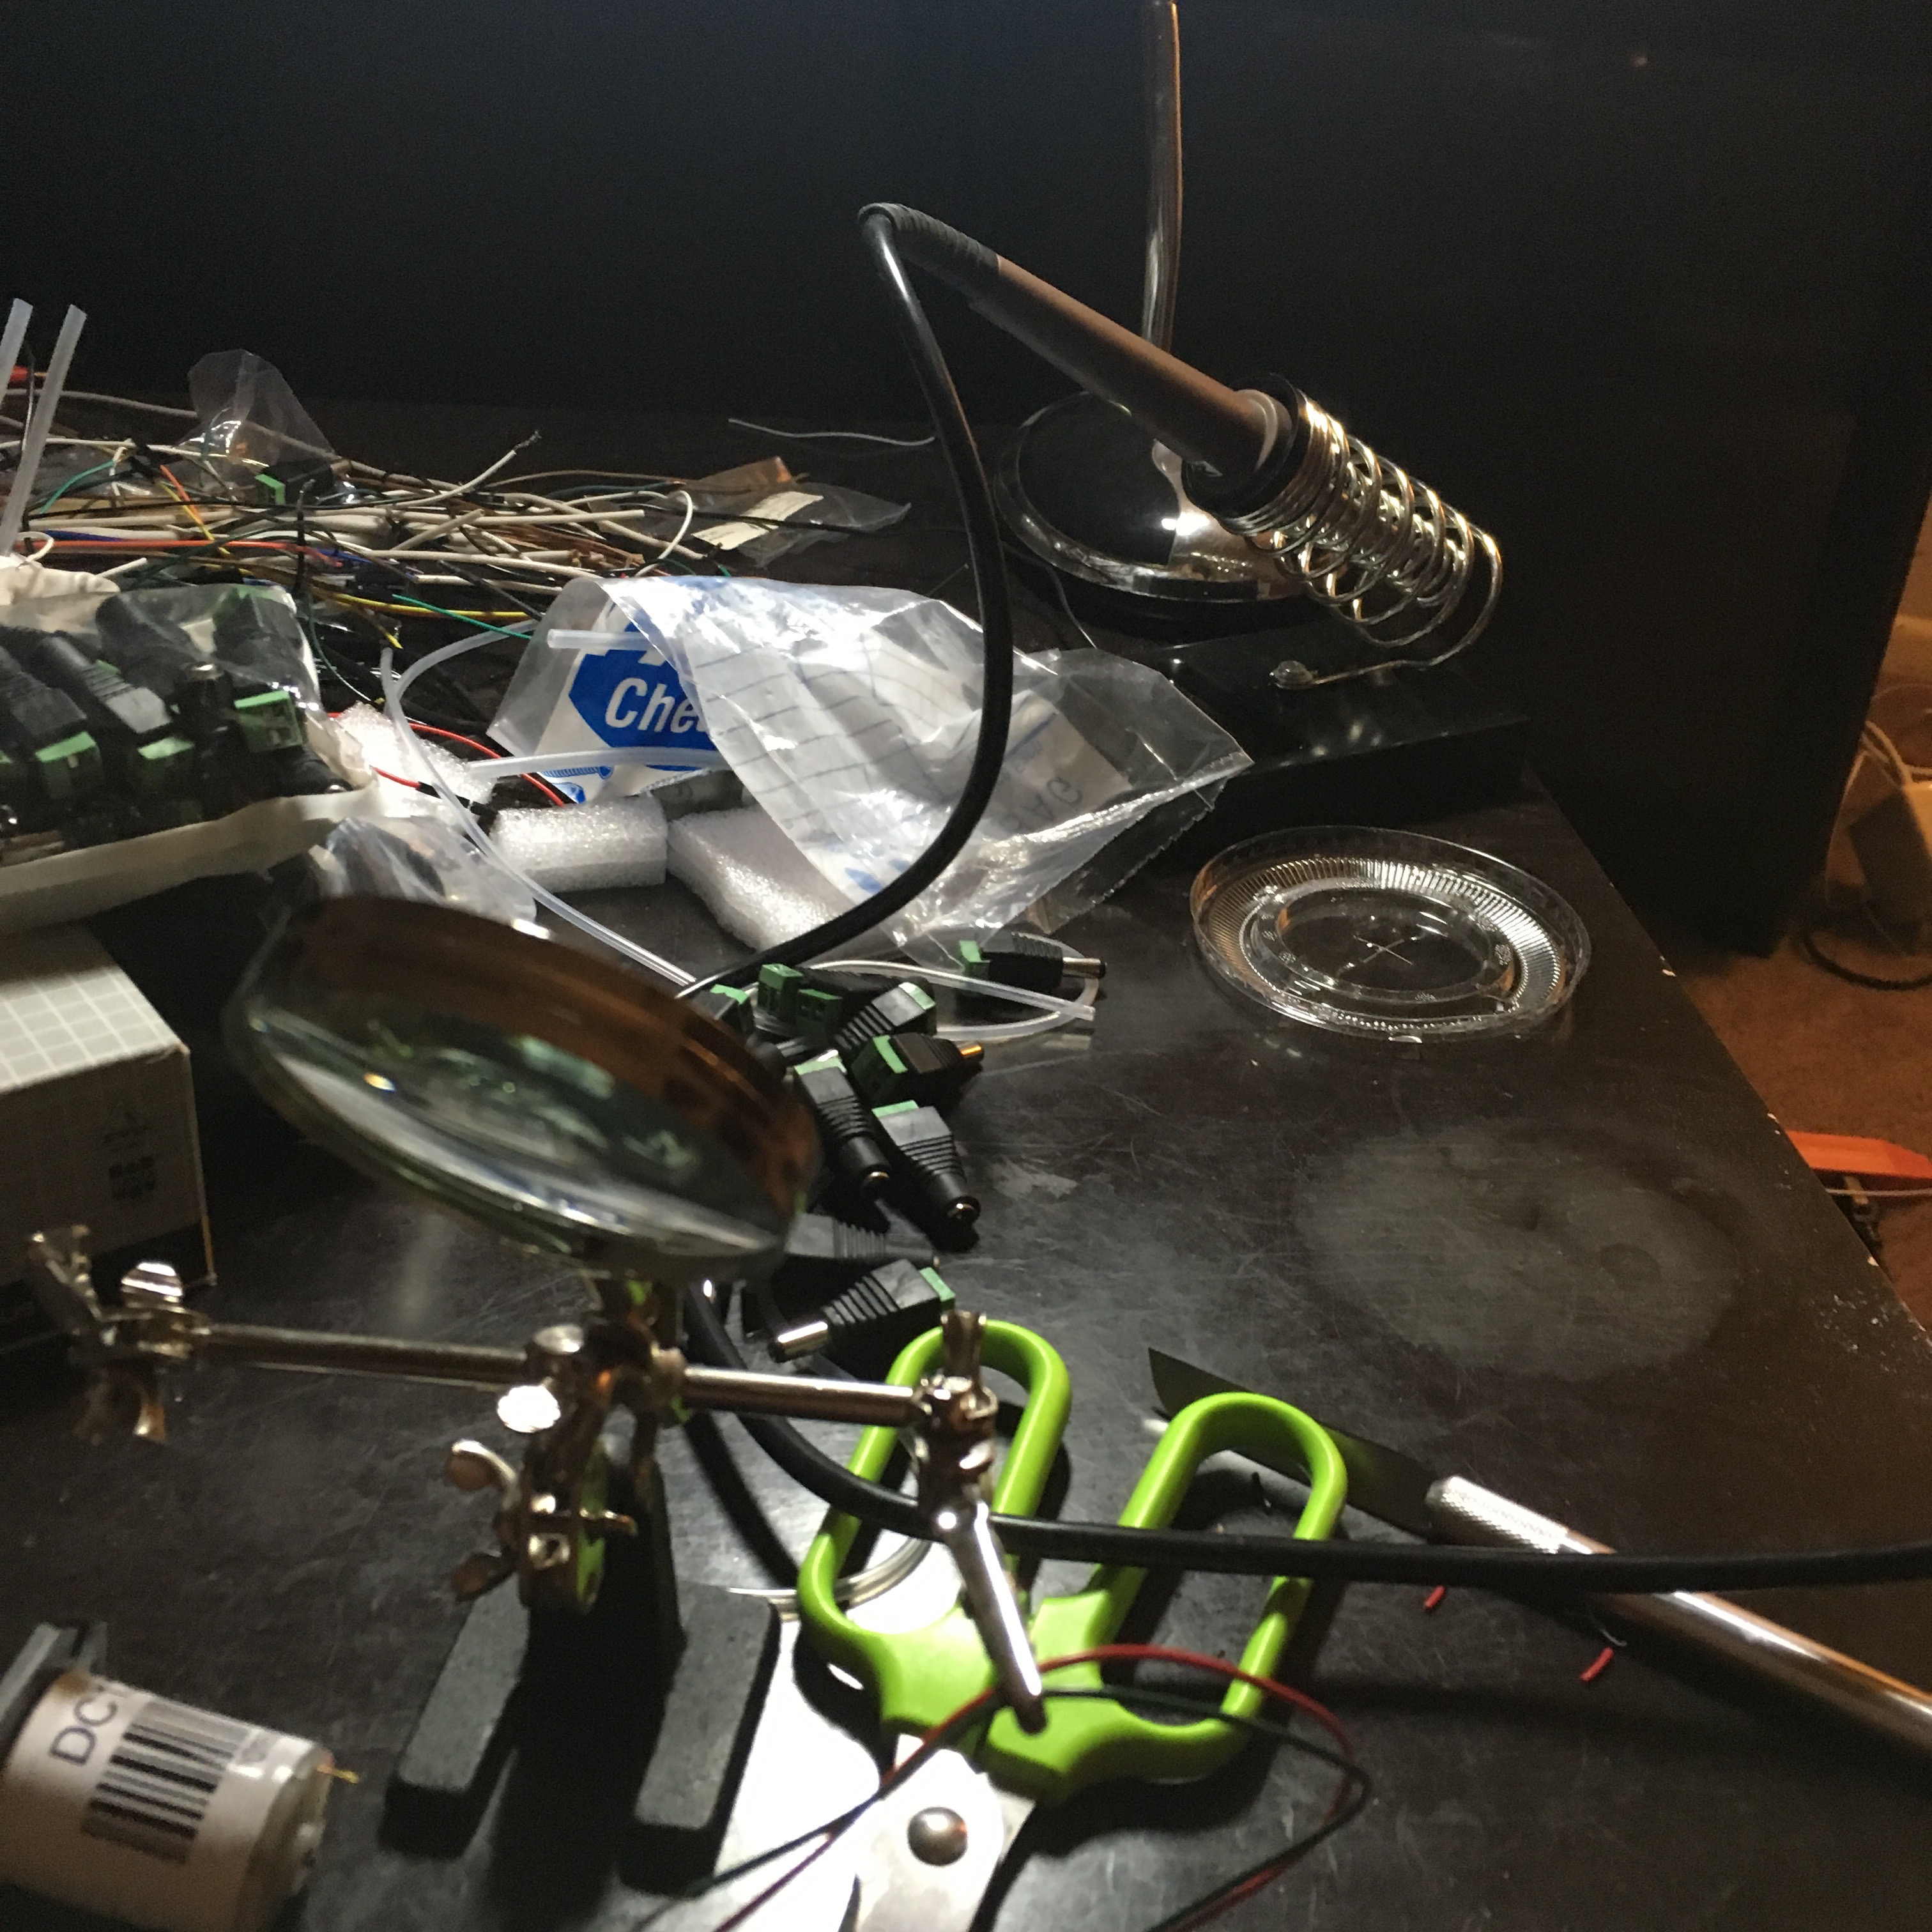
The veg bulb removed from the fixture.


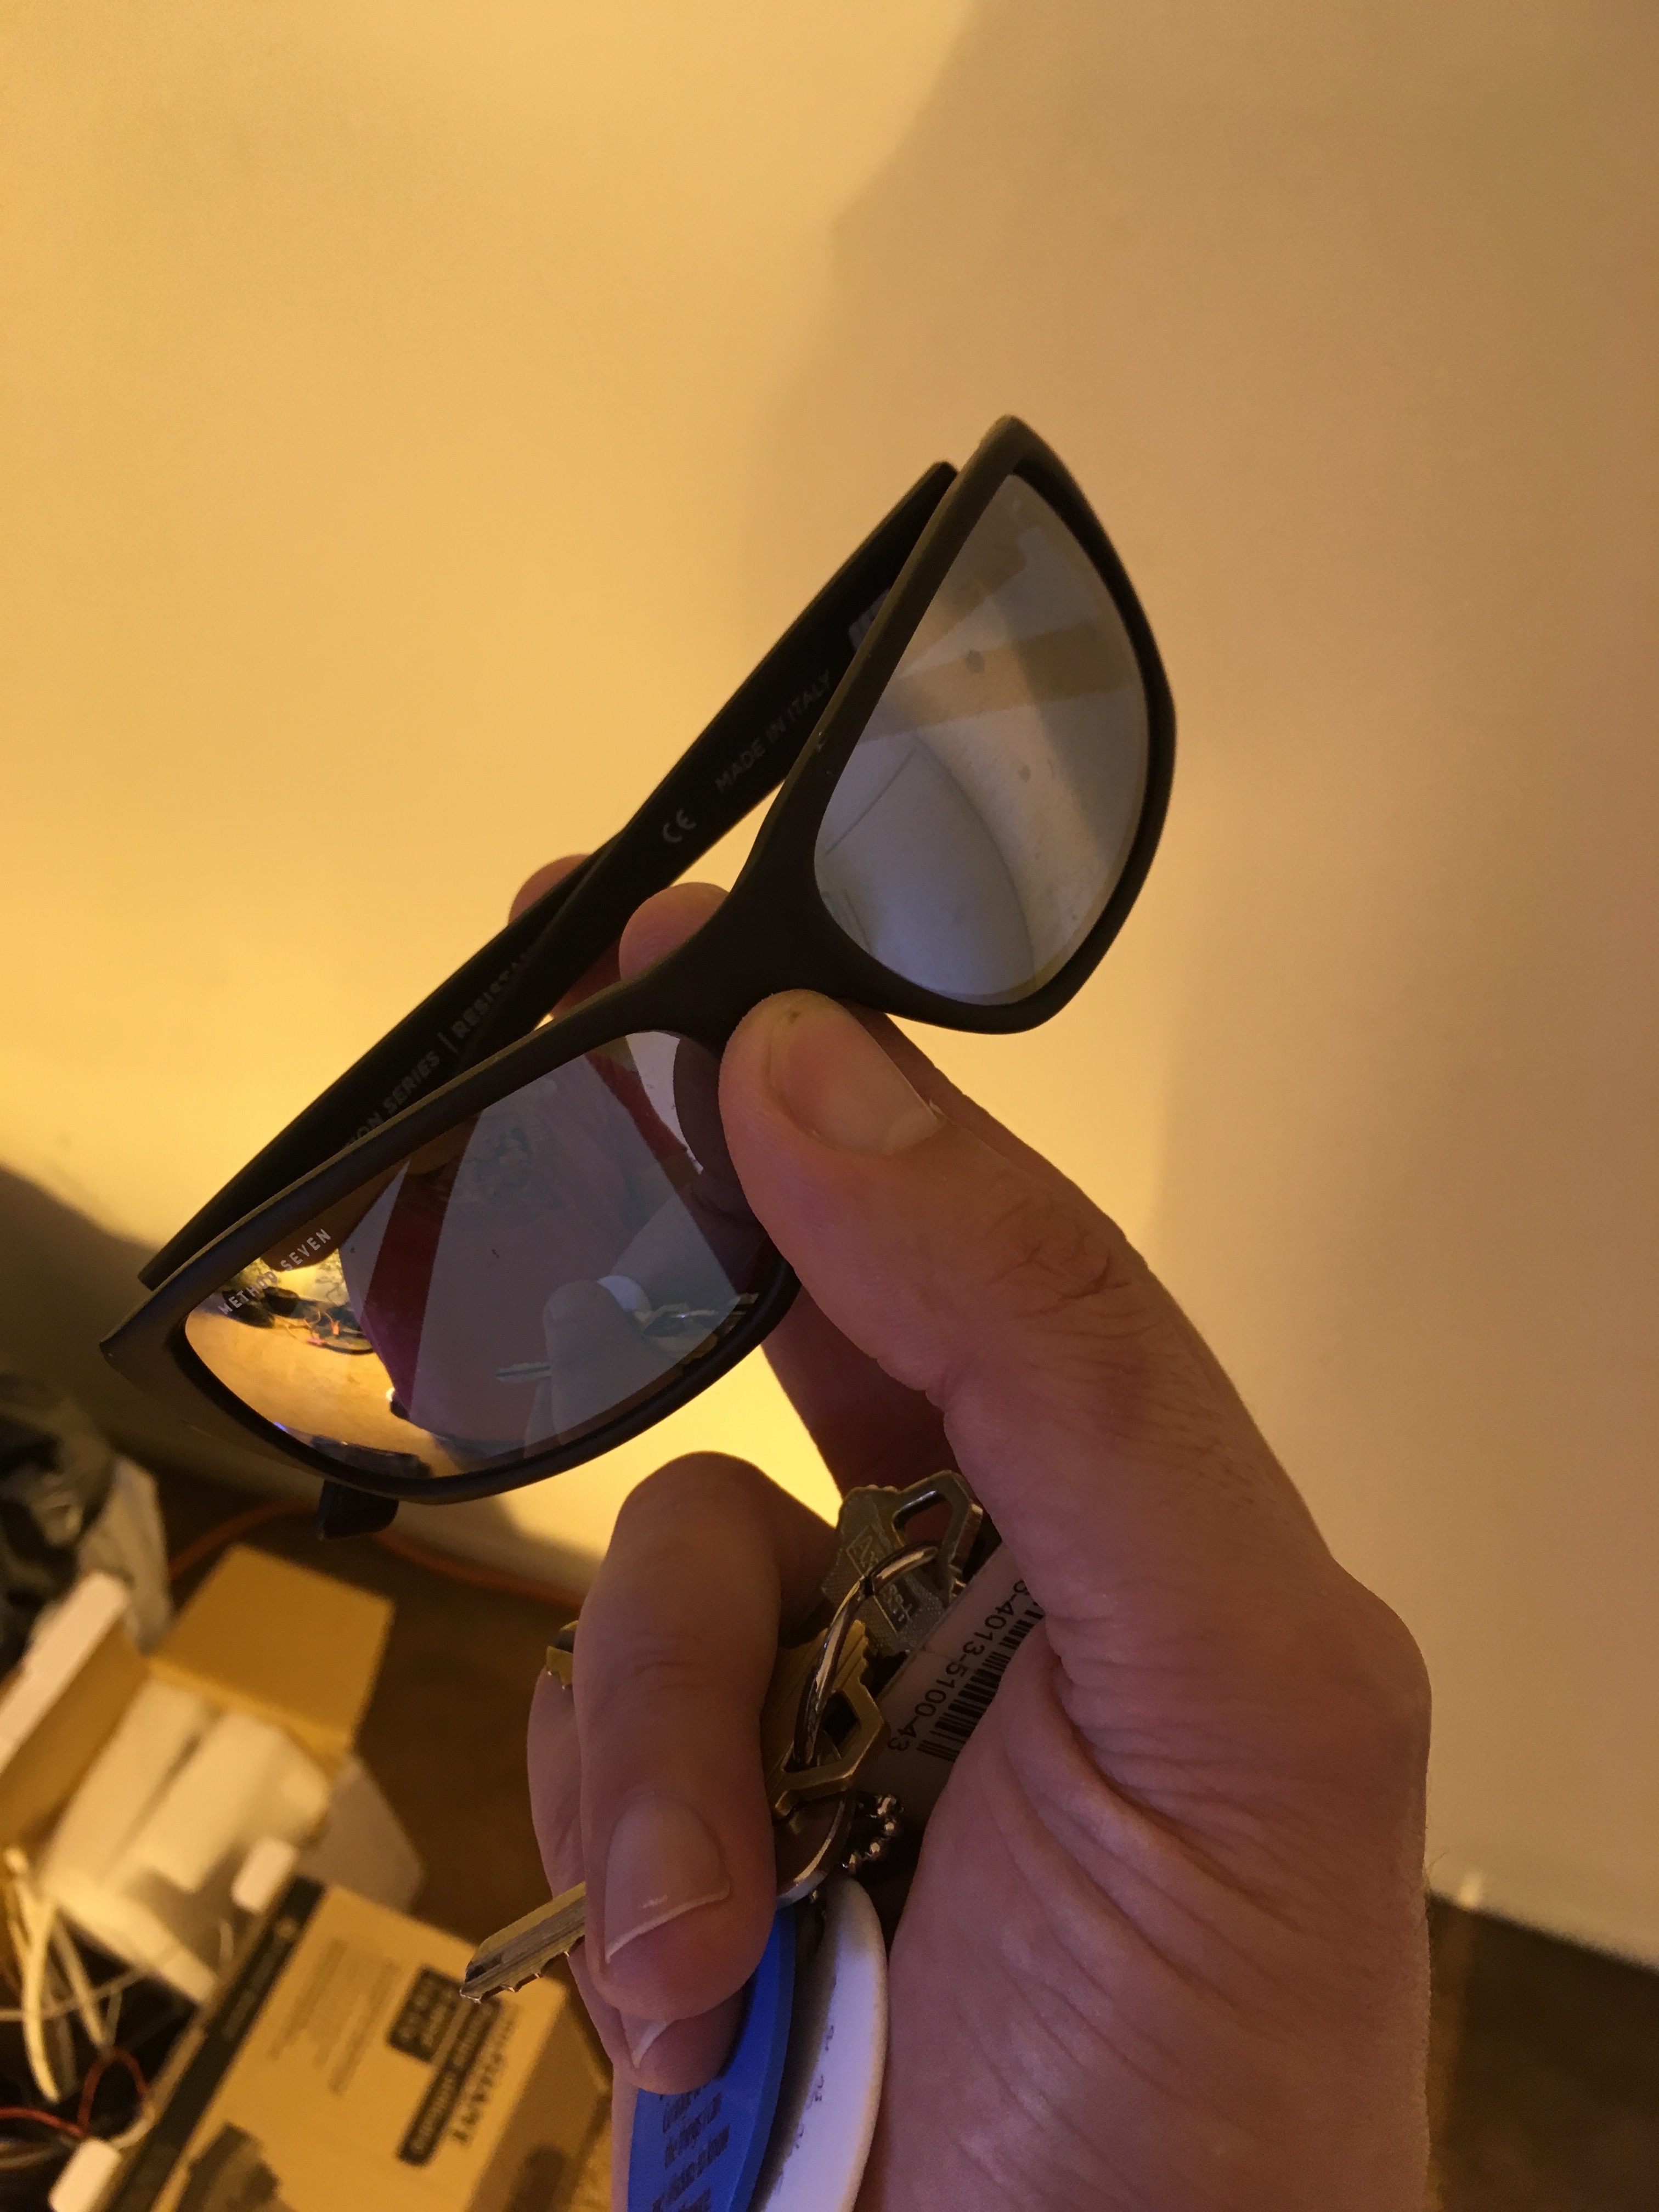
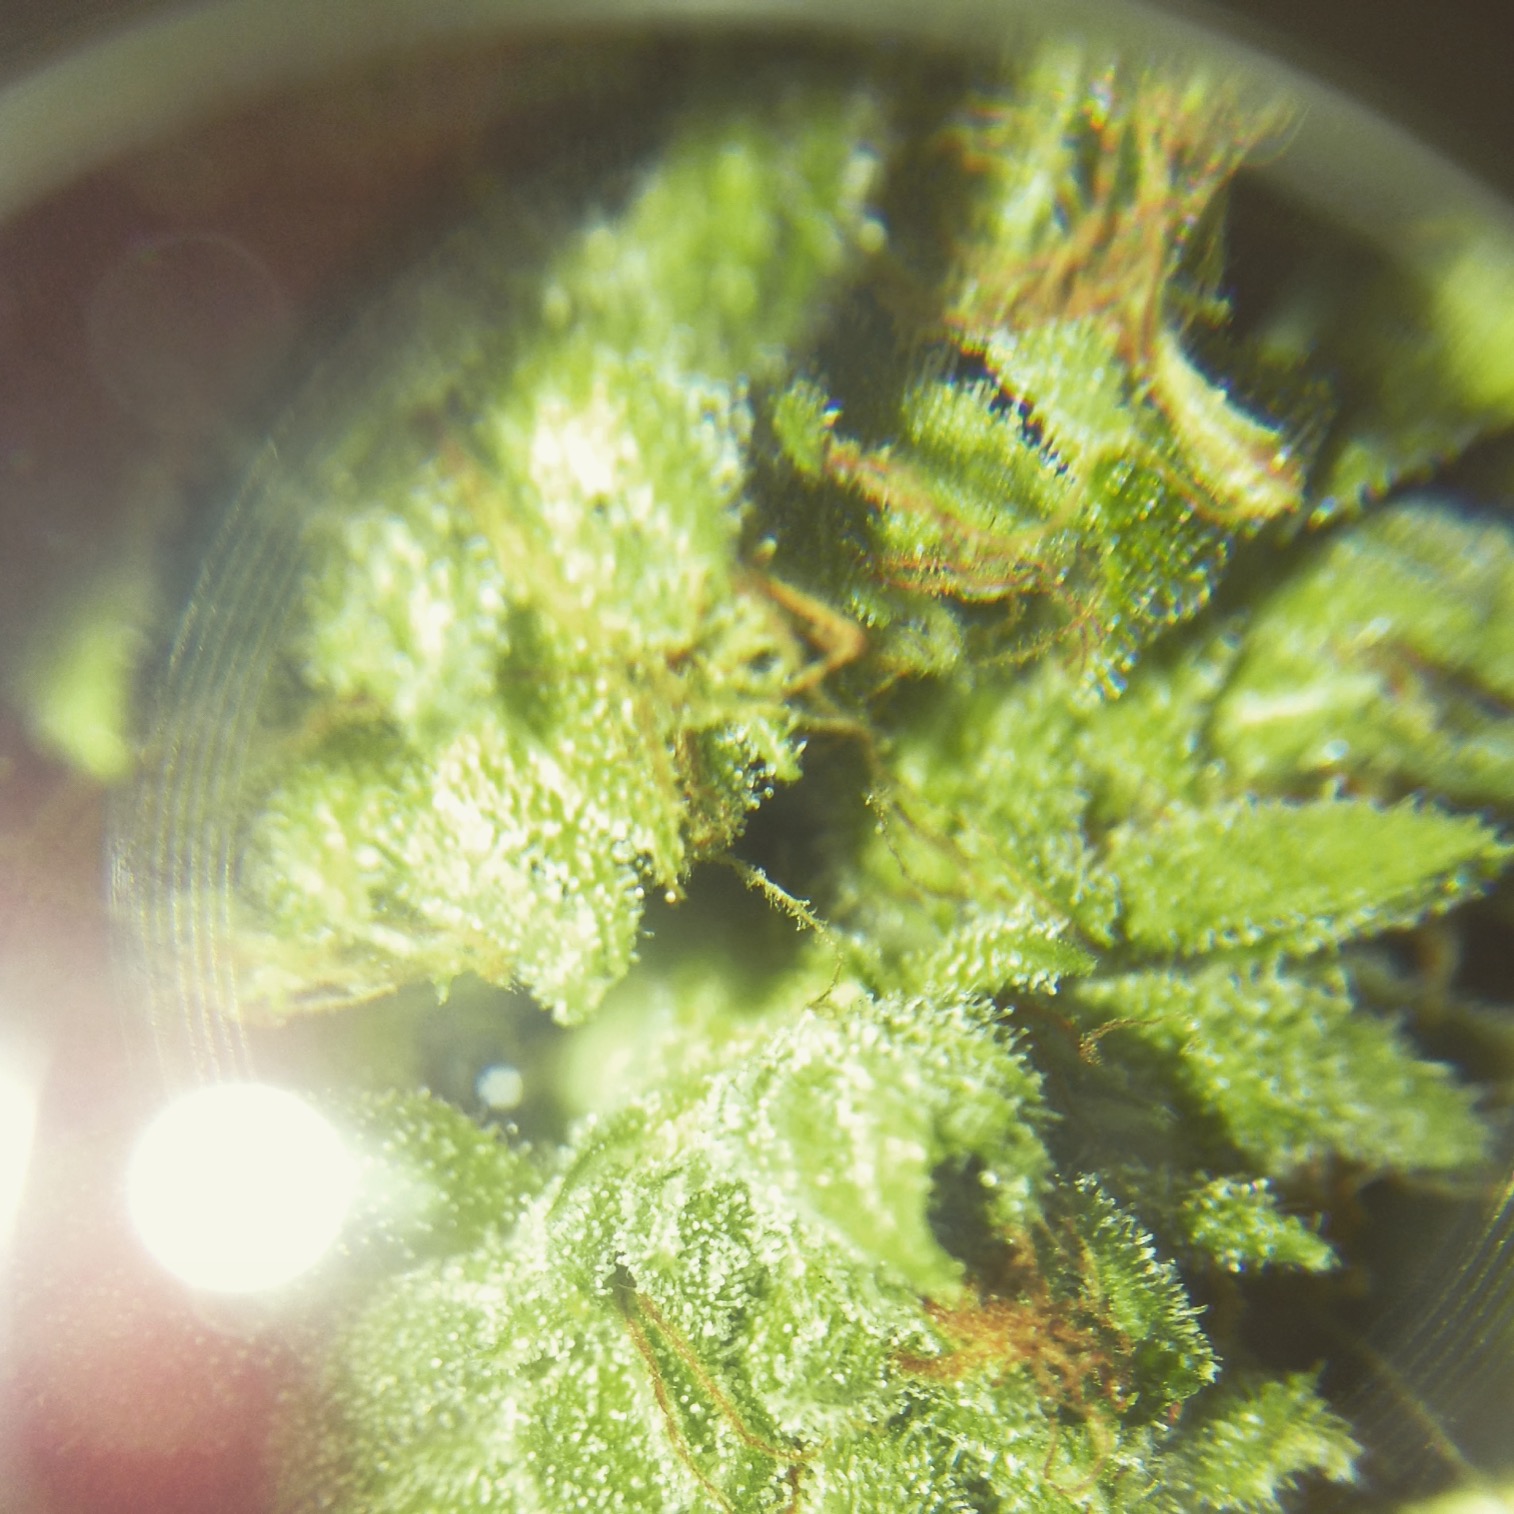
I picked up some good eye care as well.


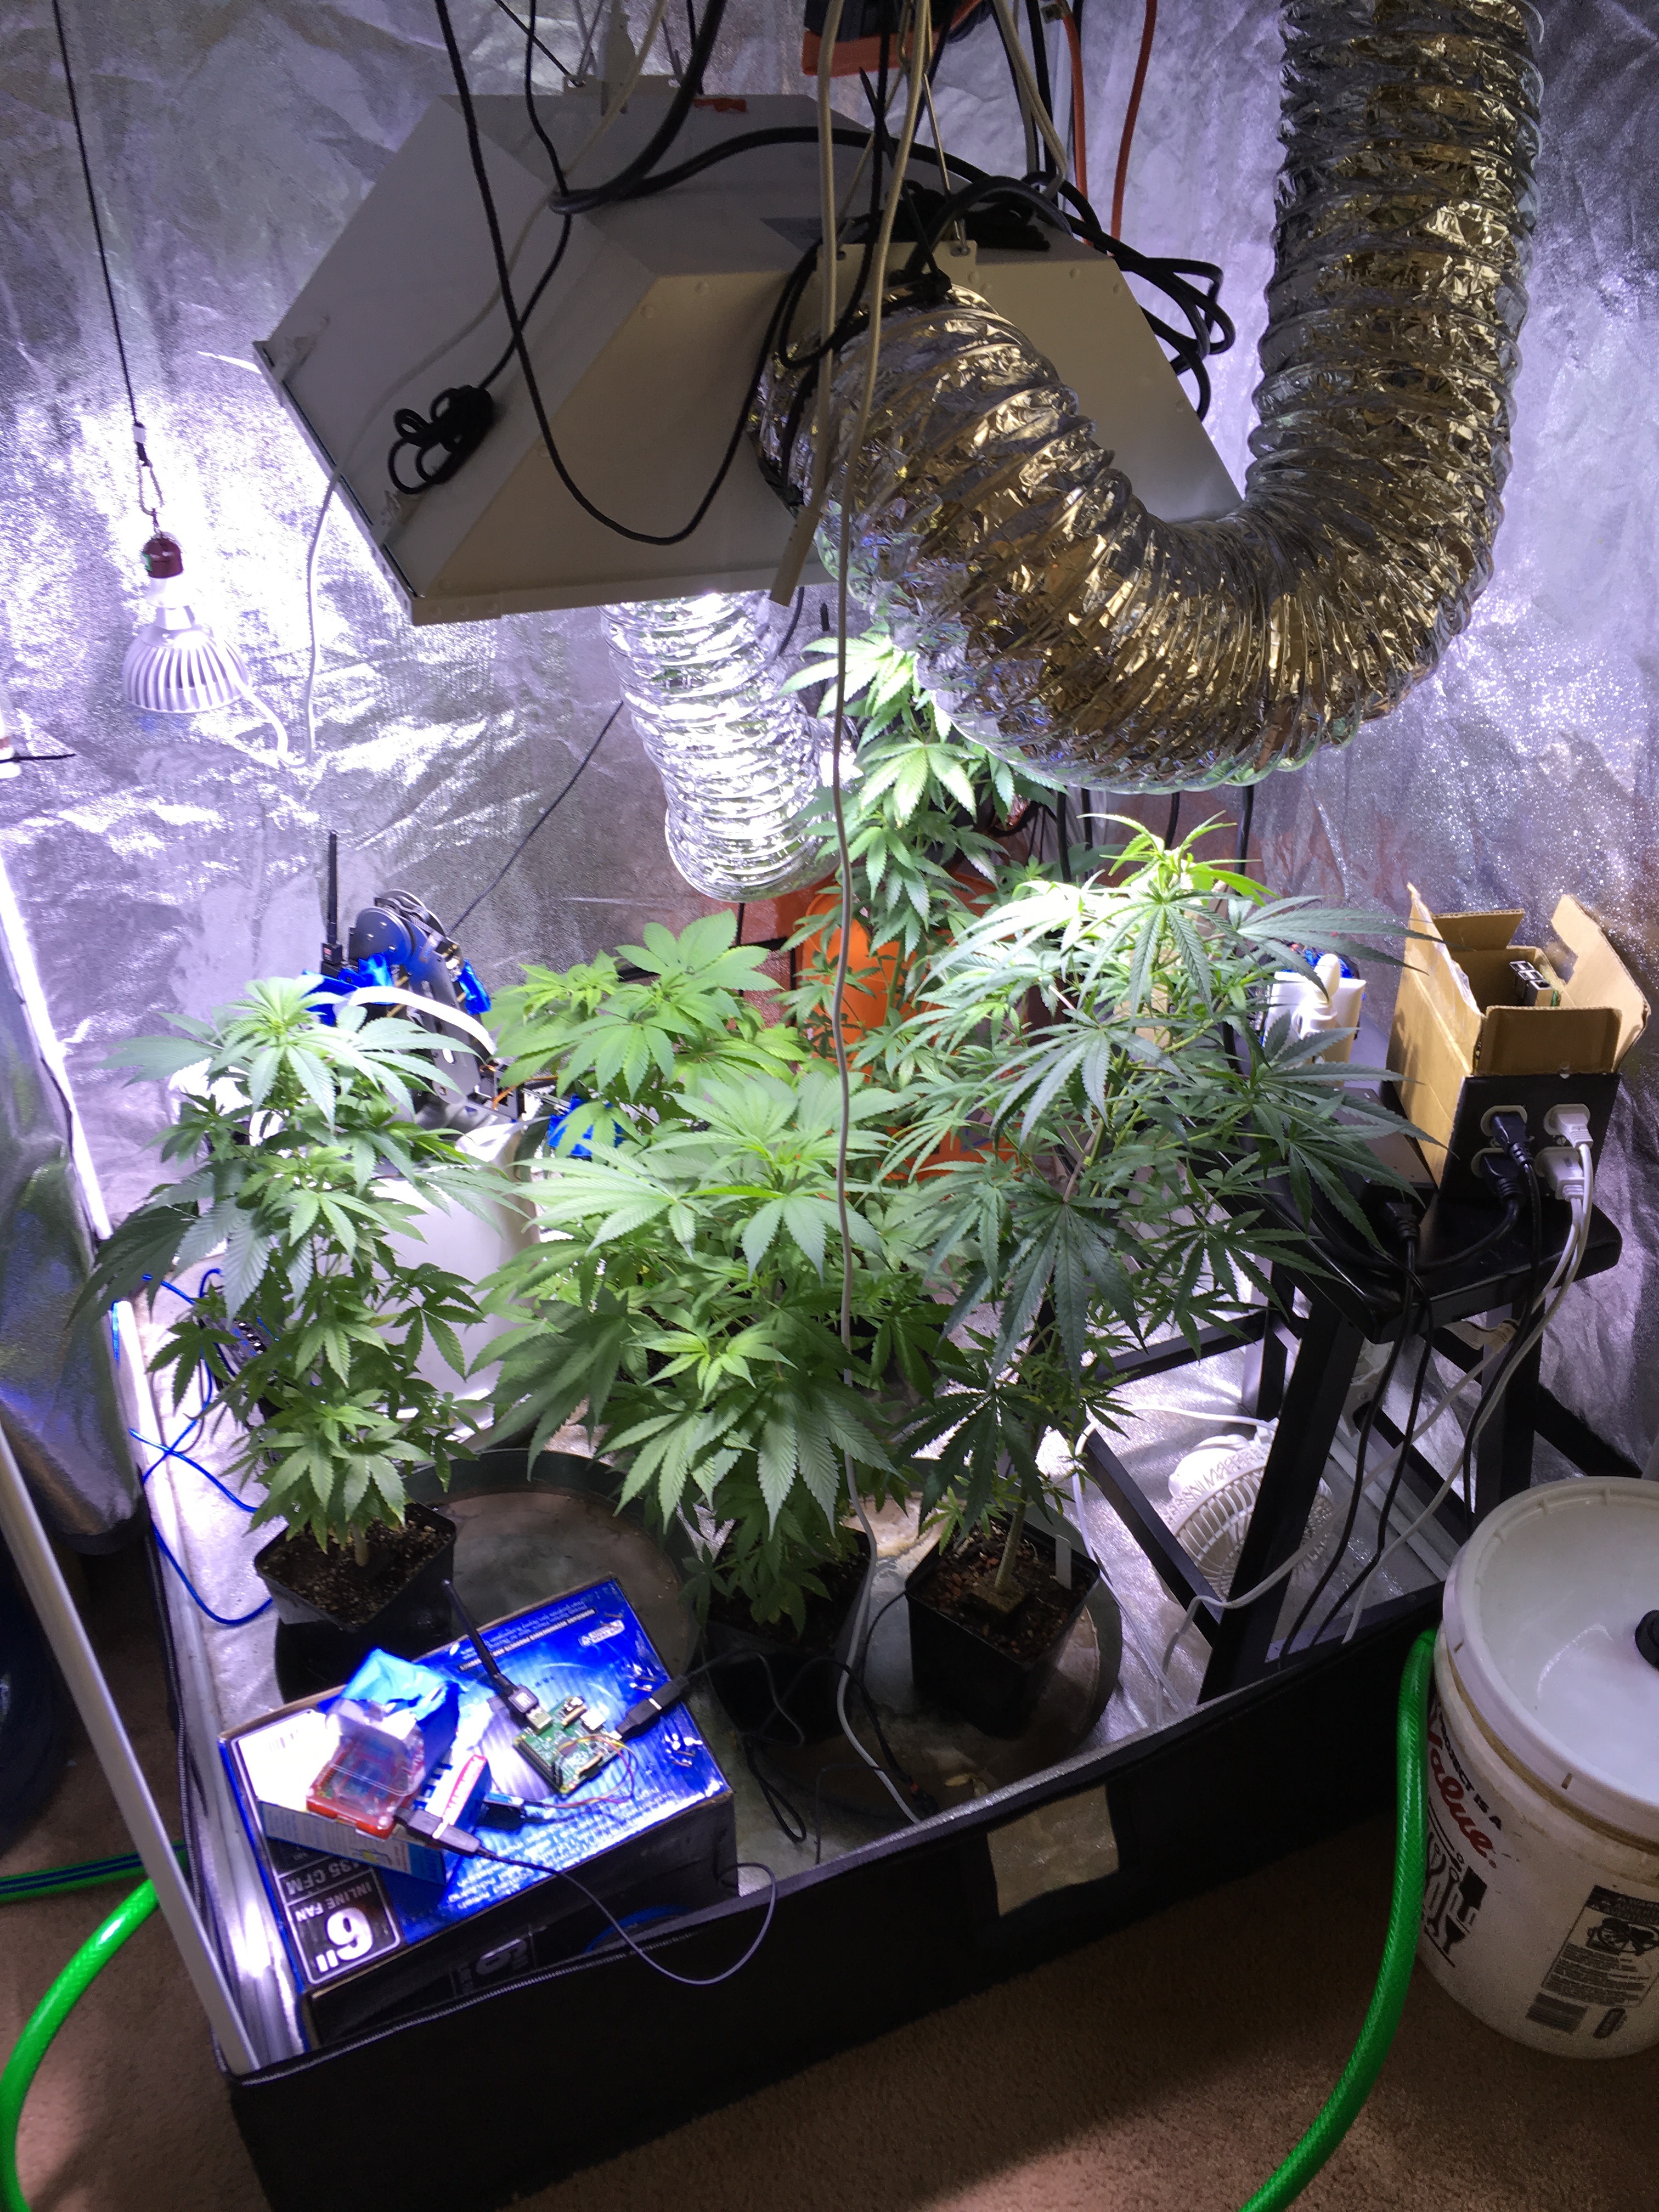
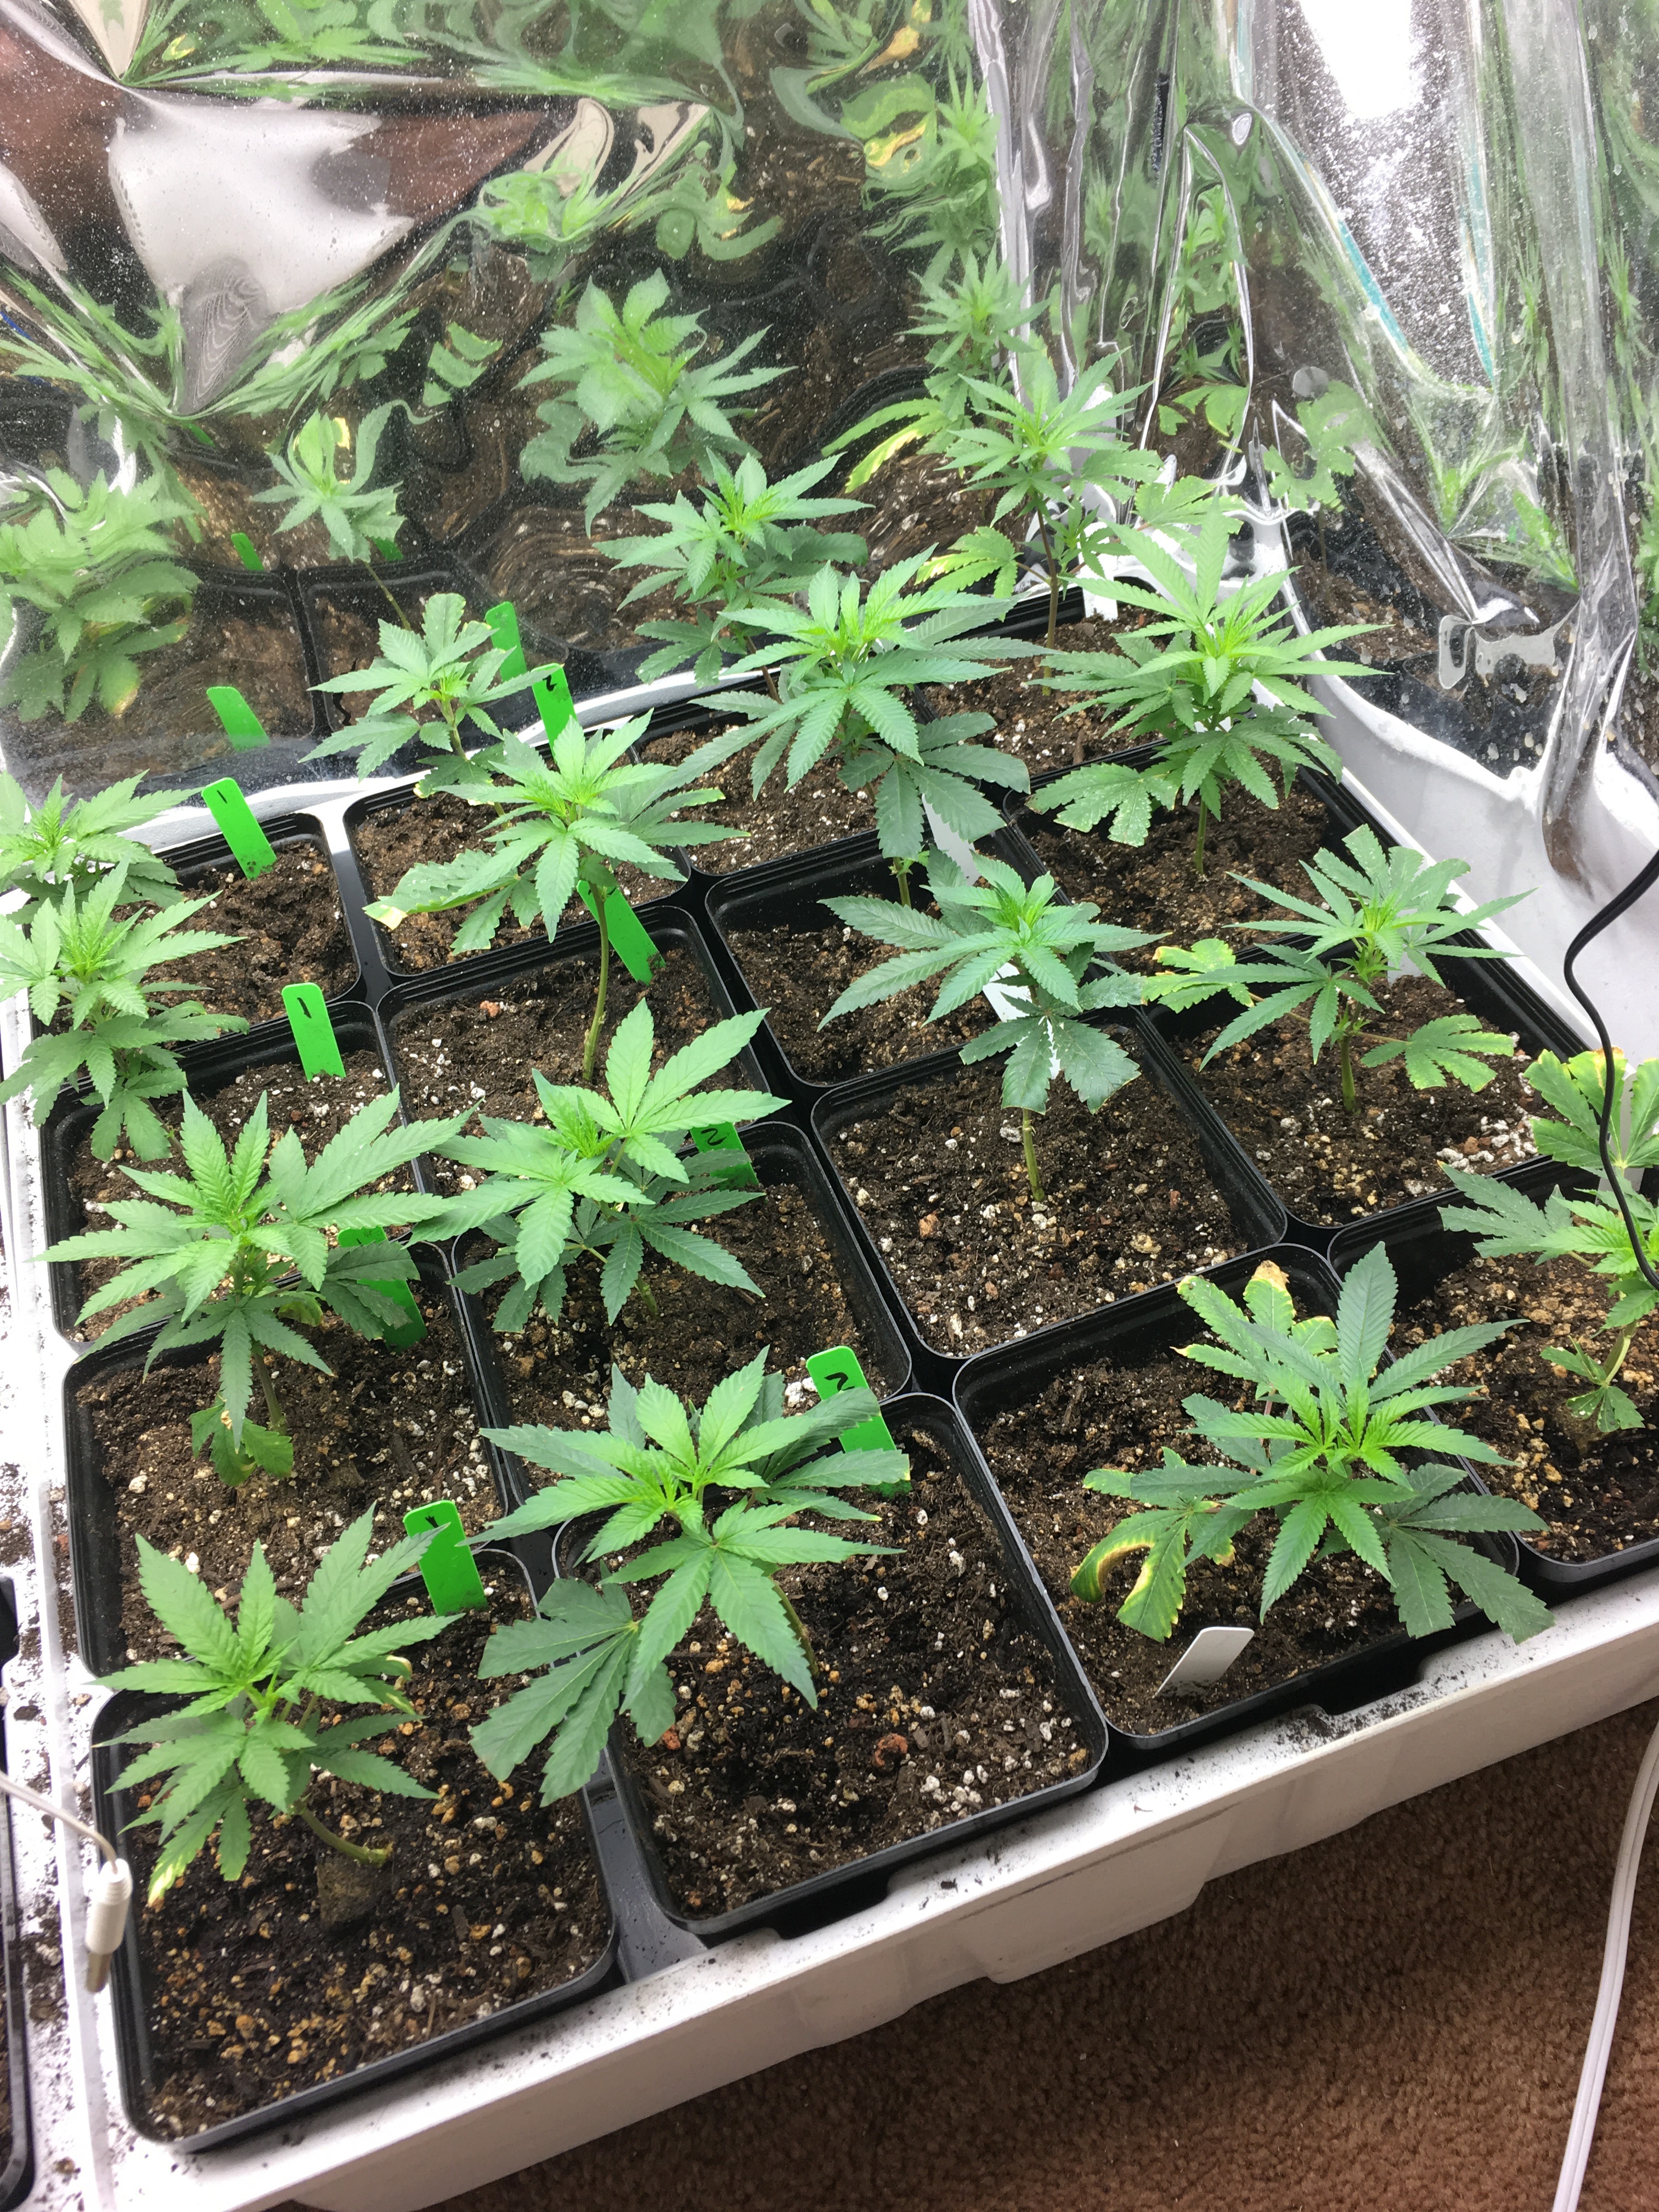
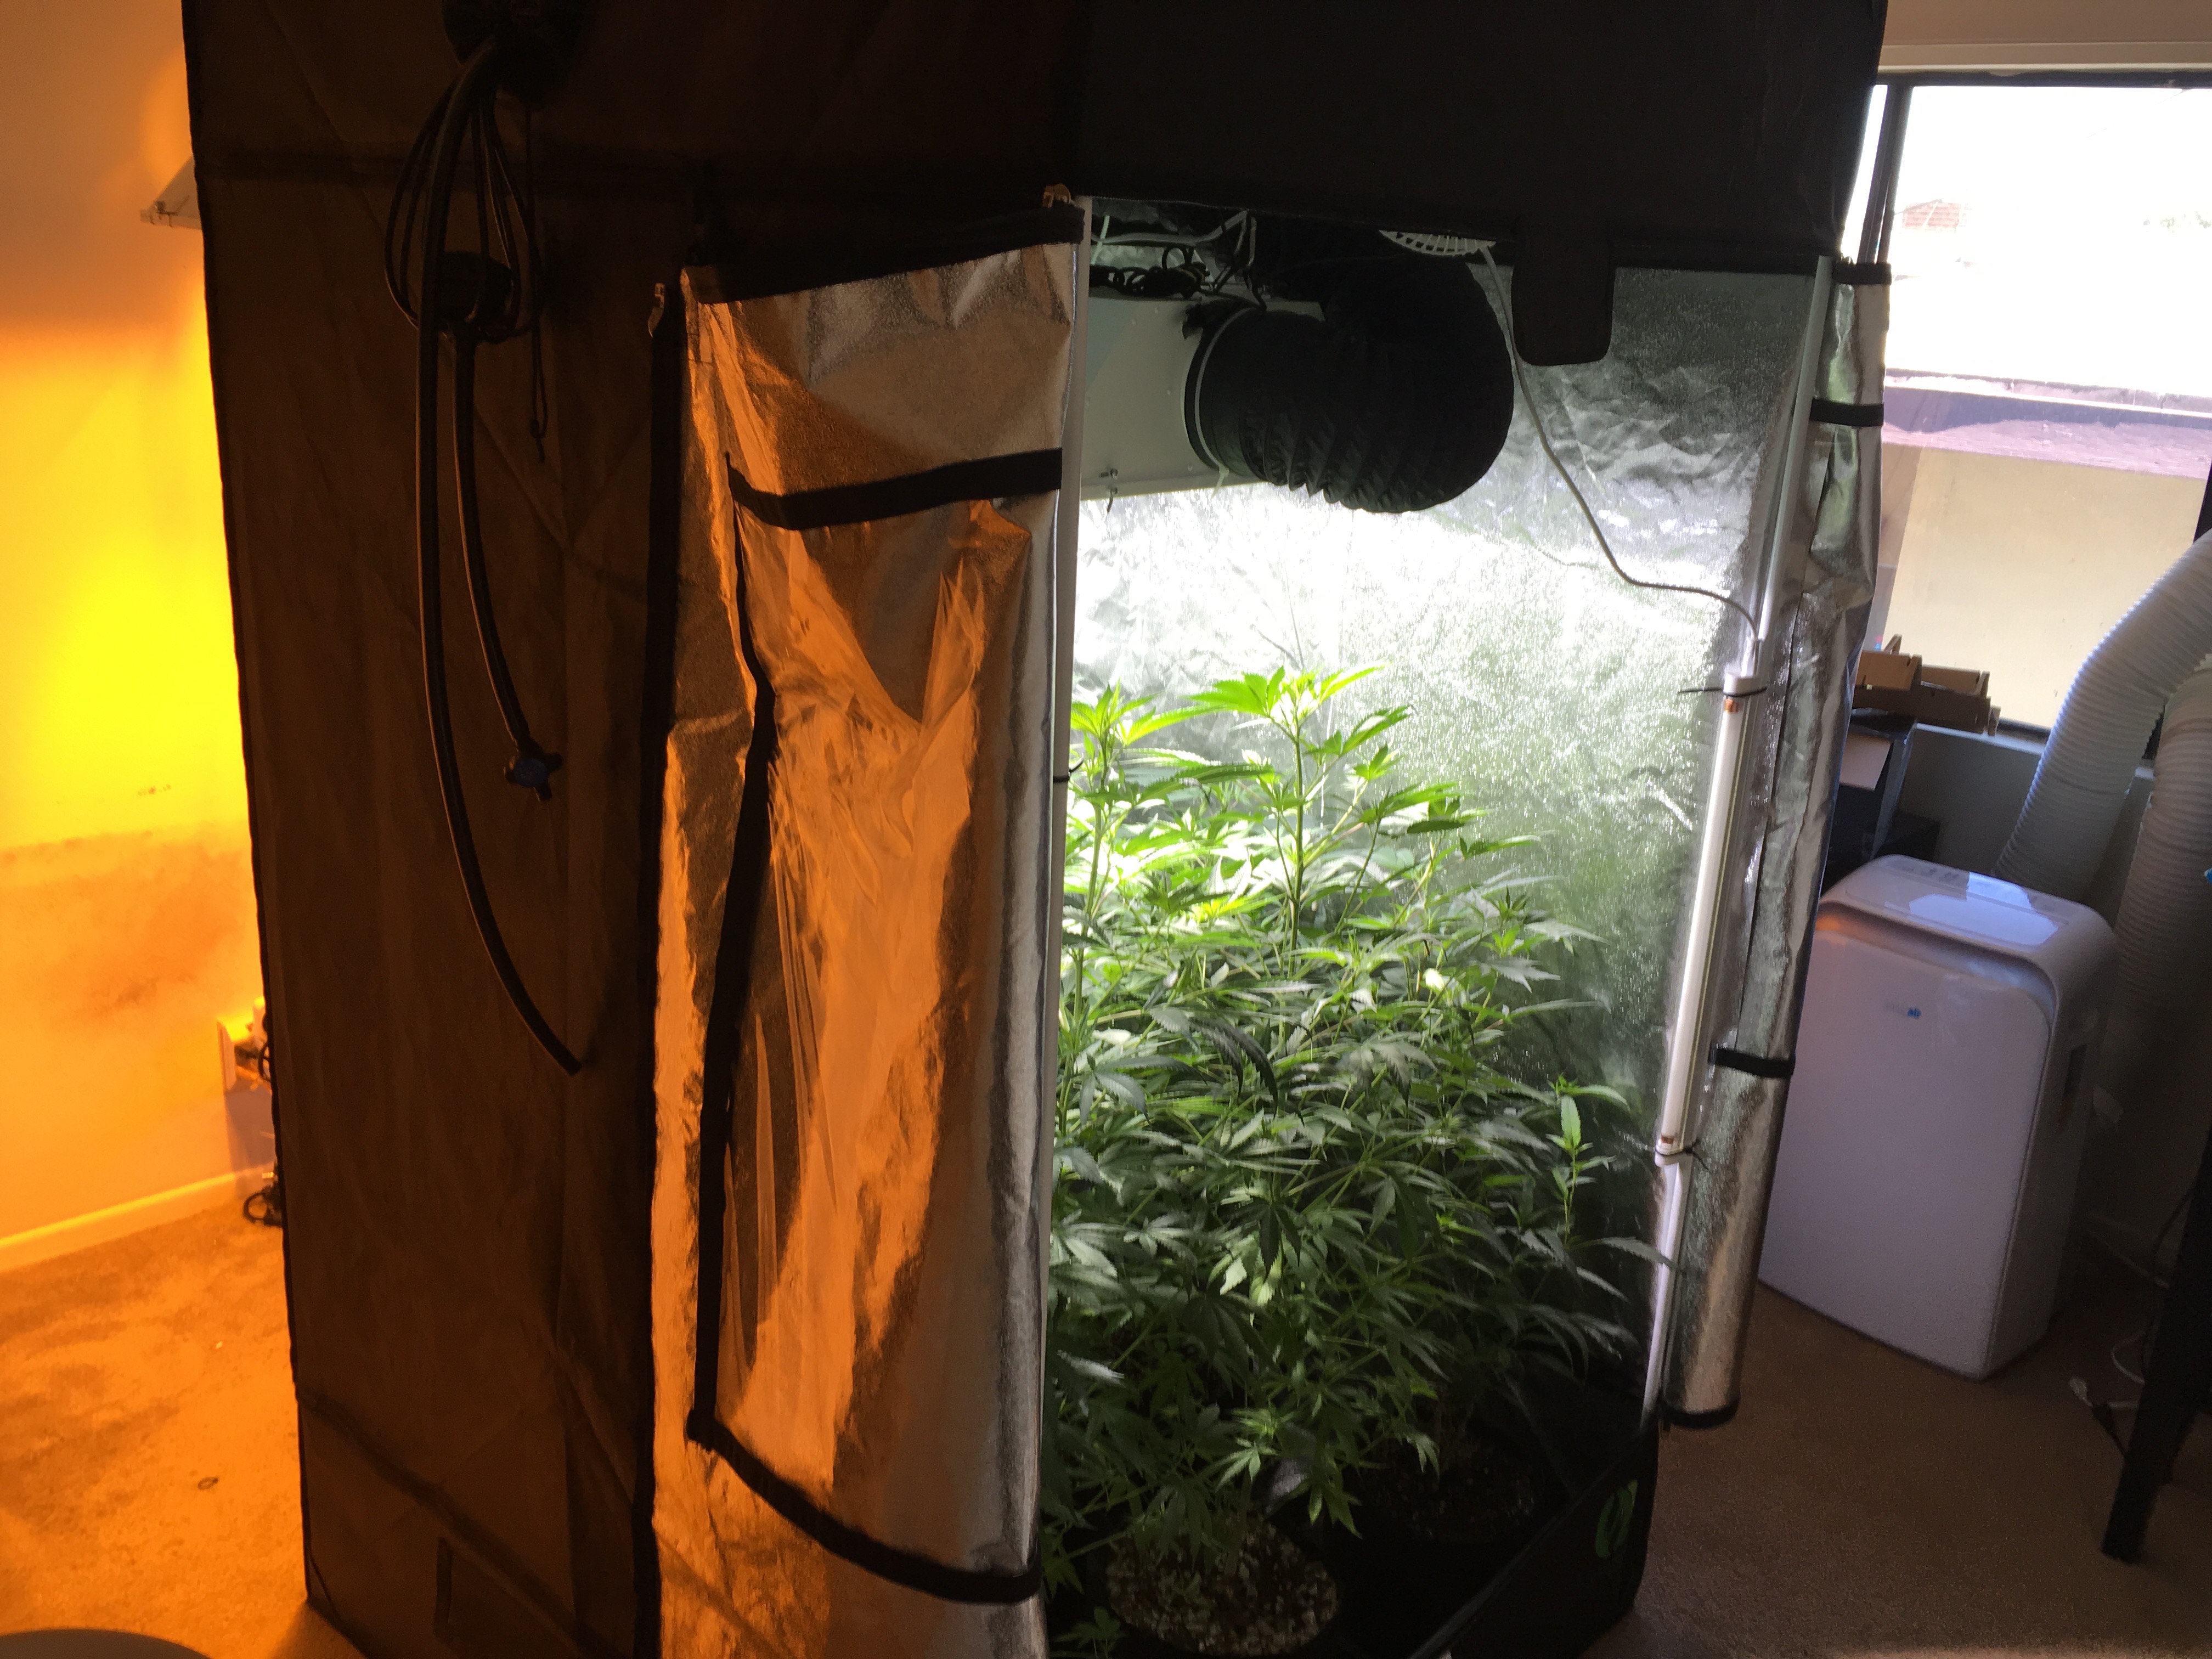
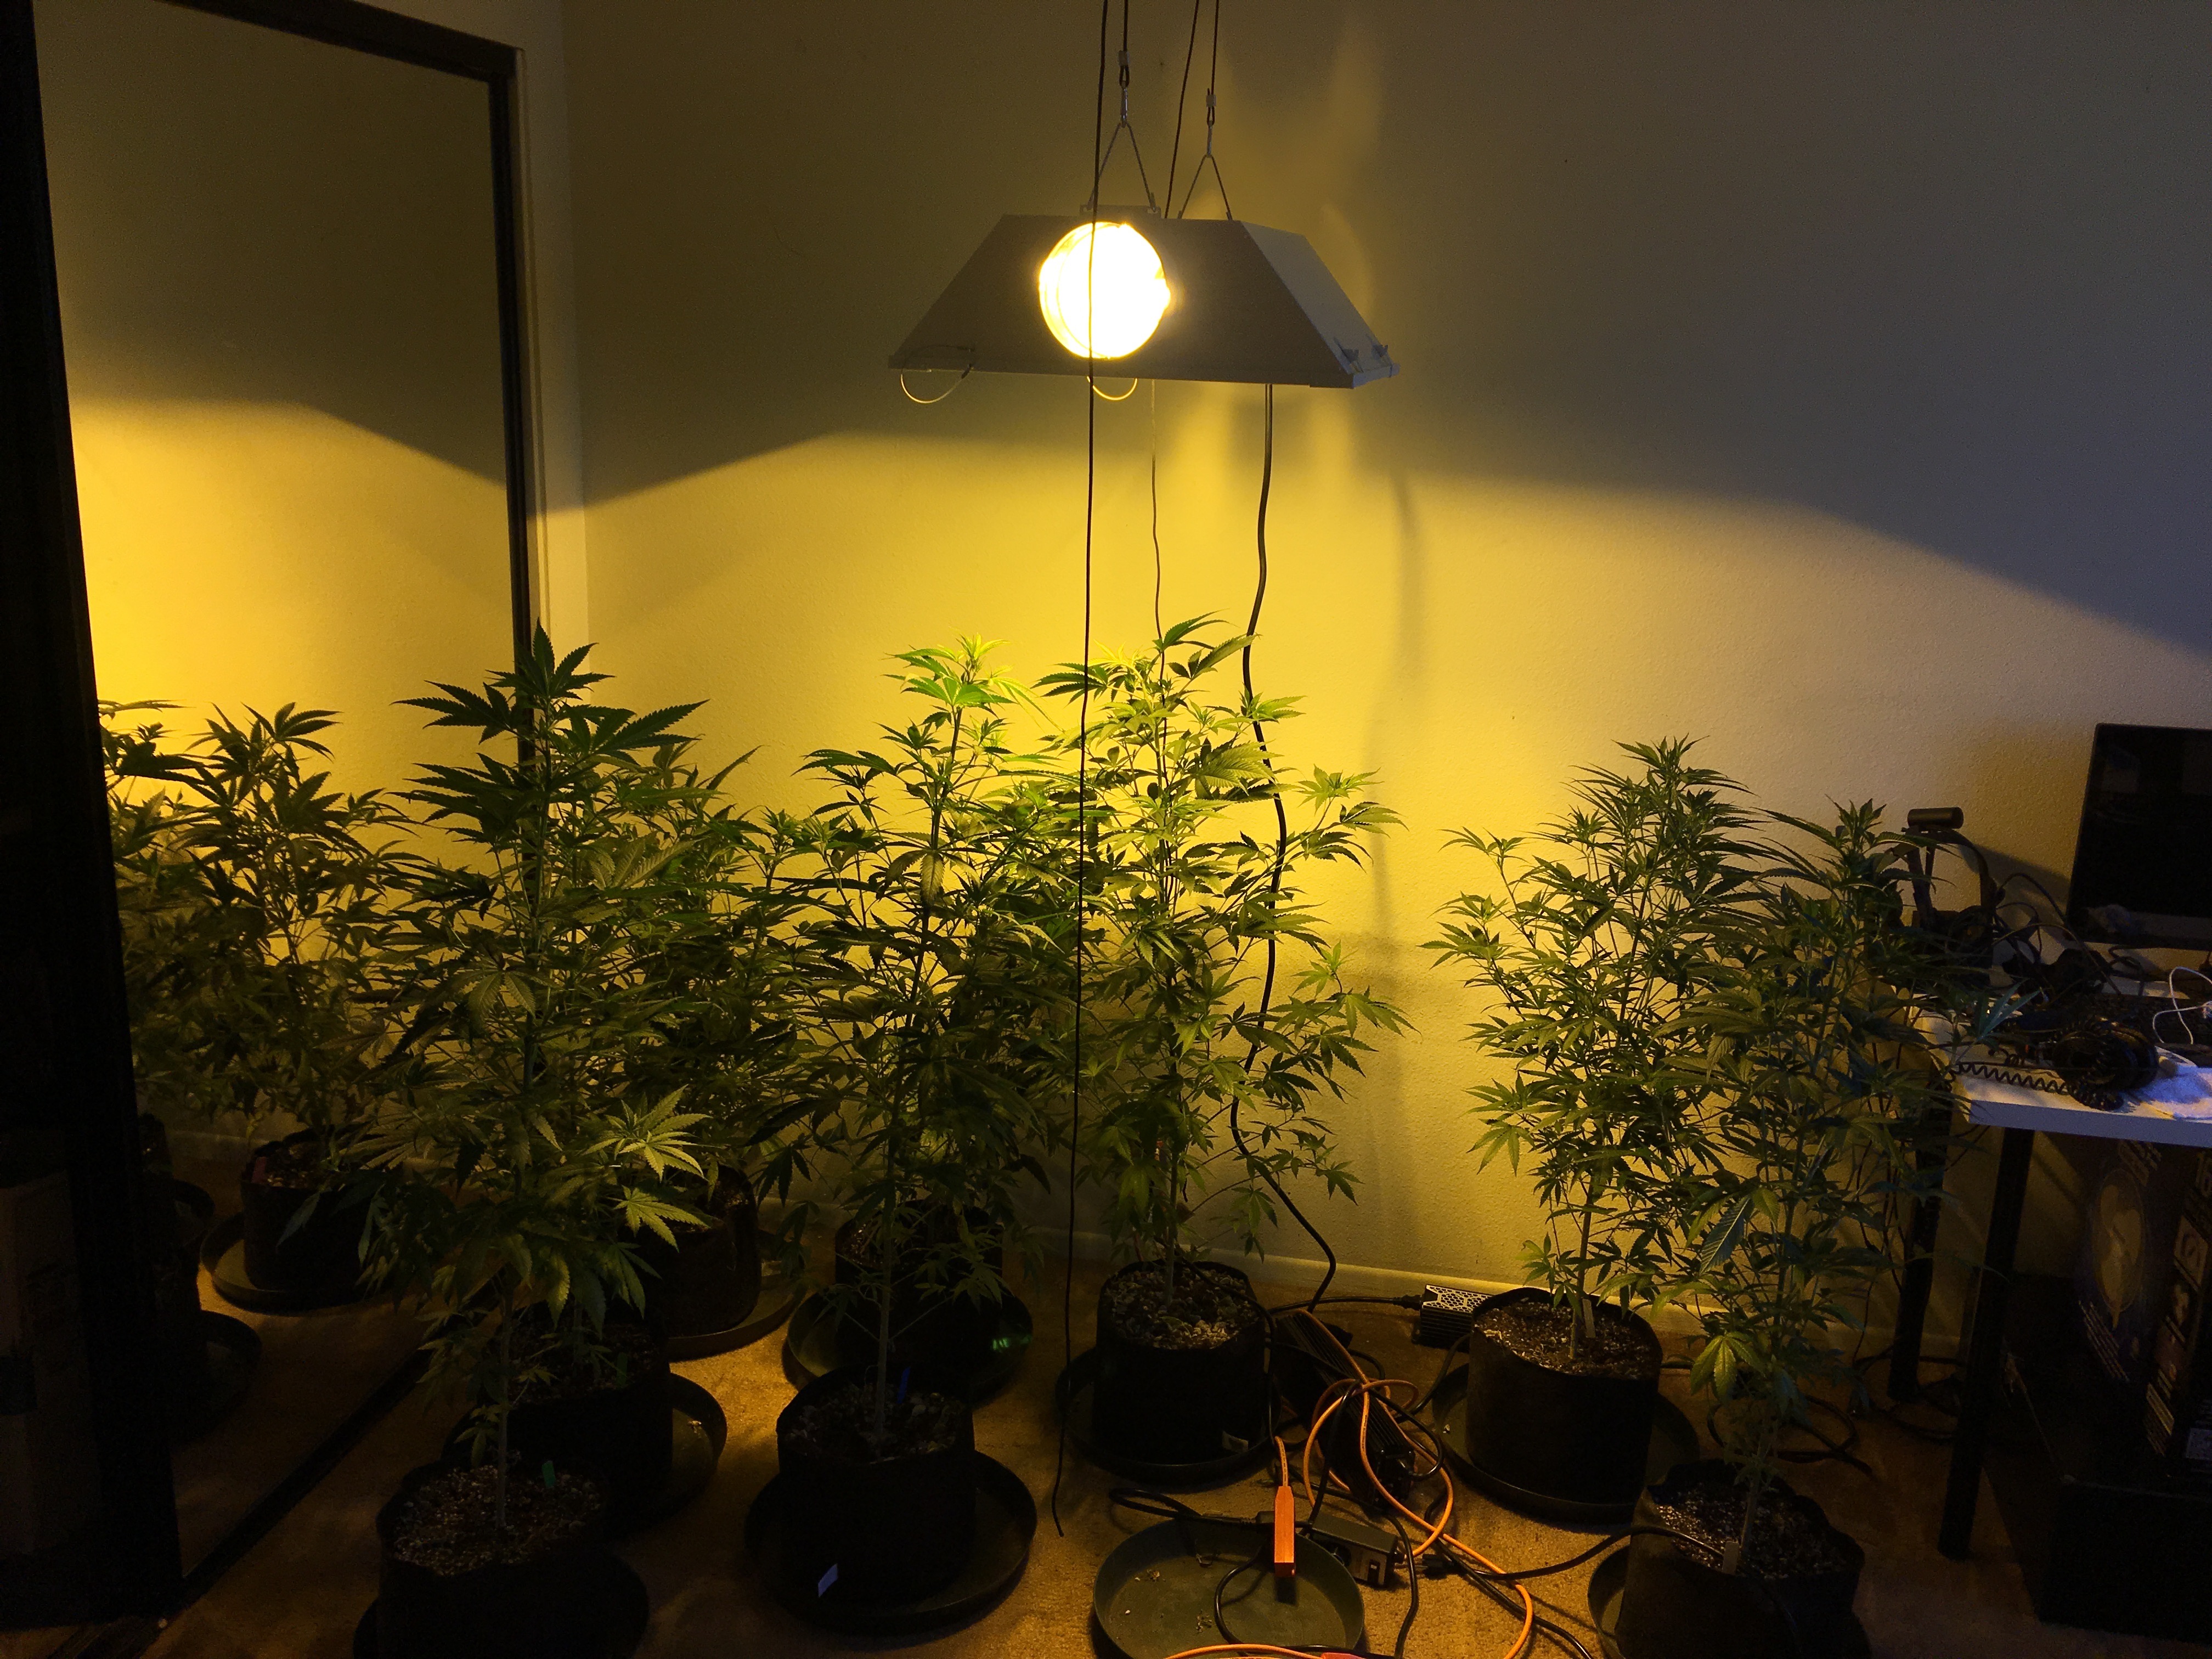
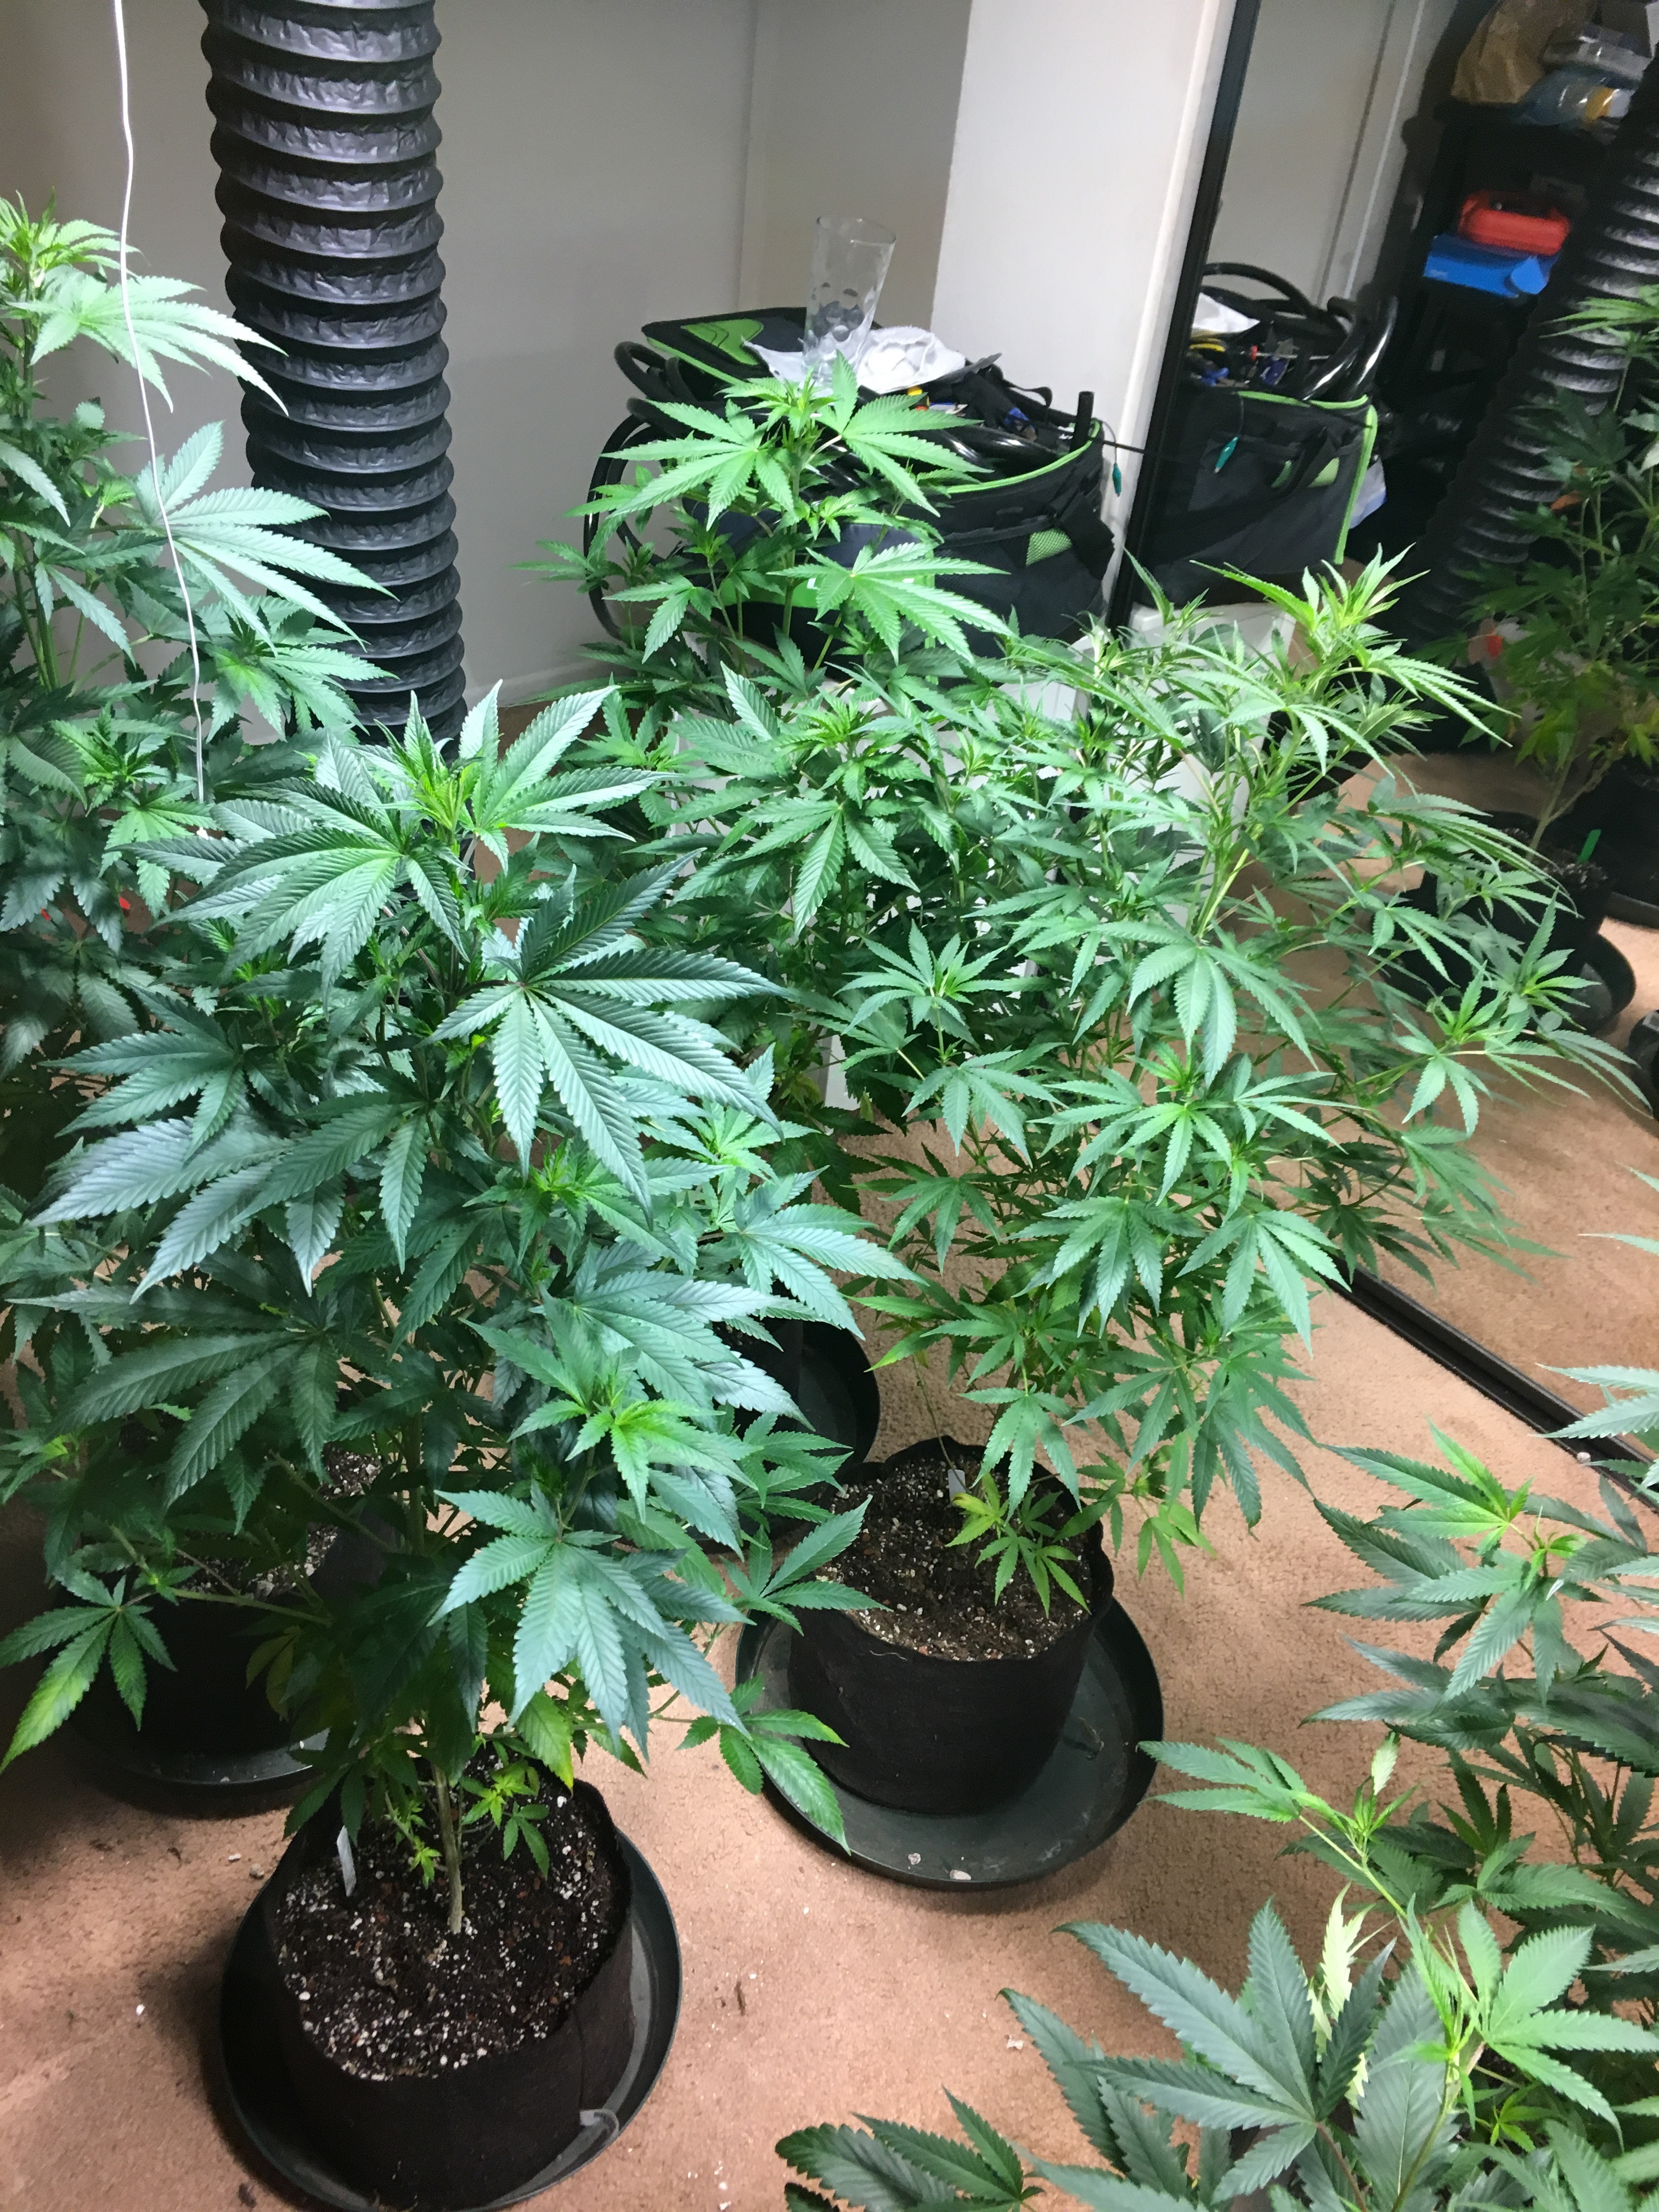
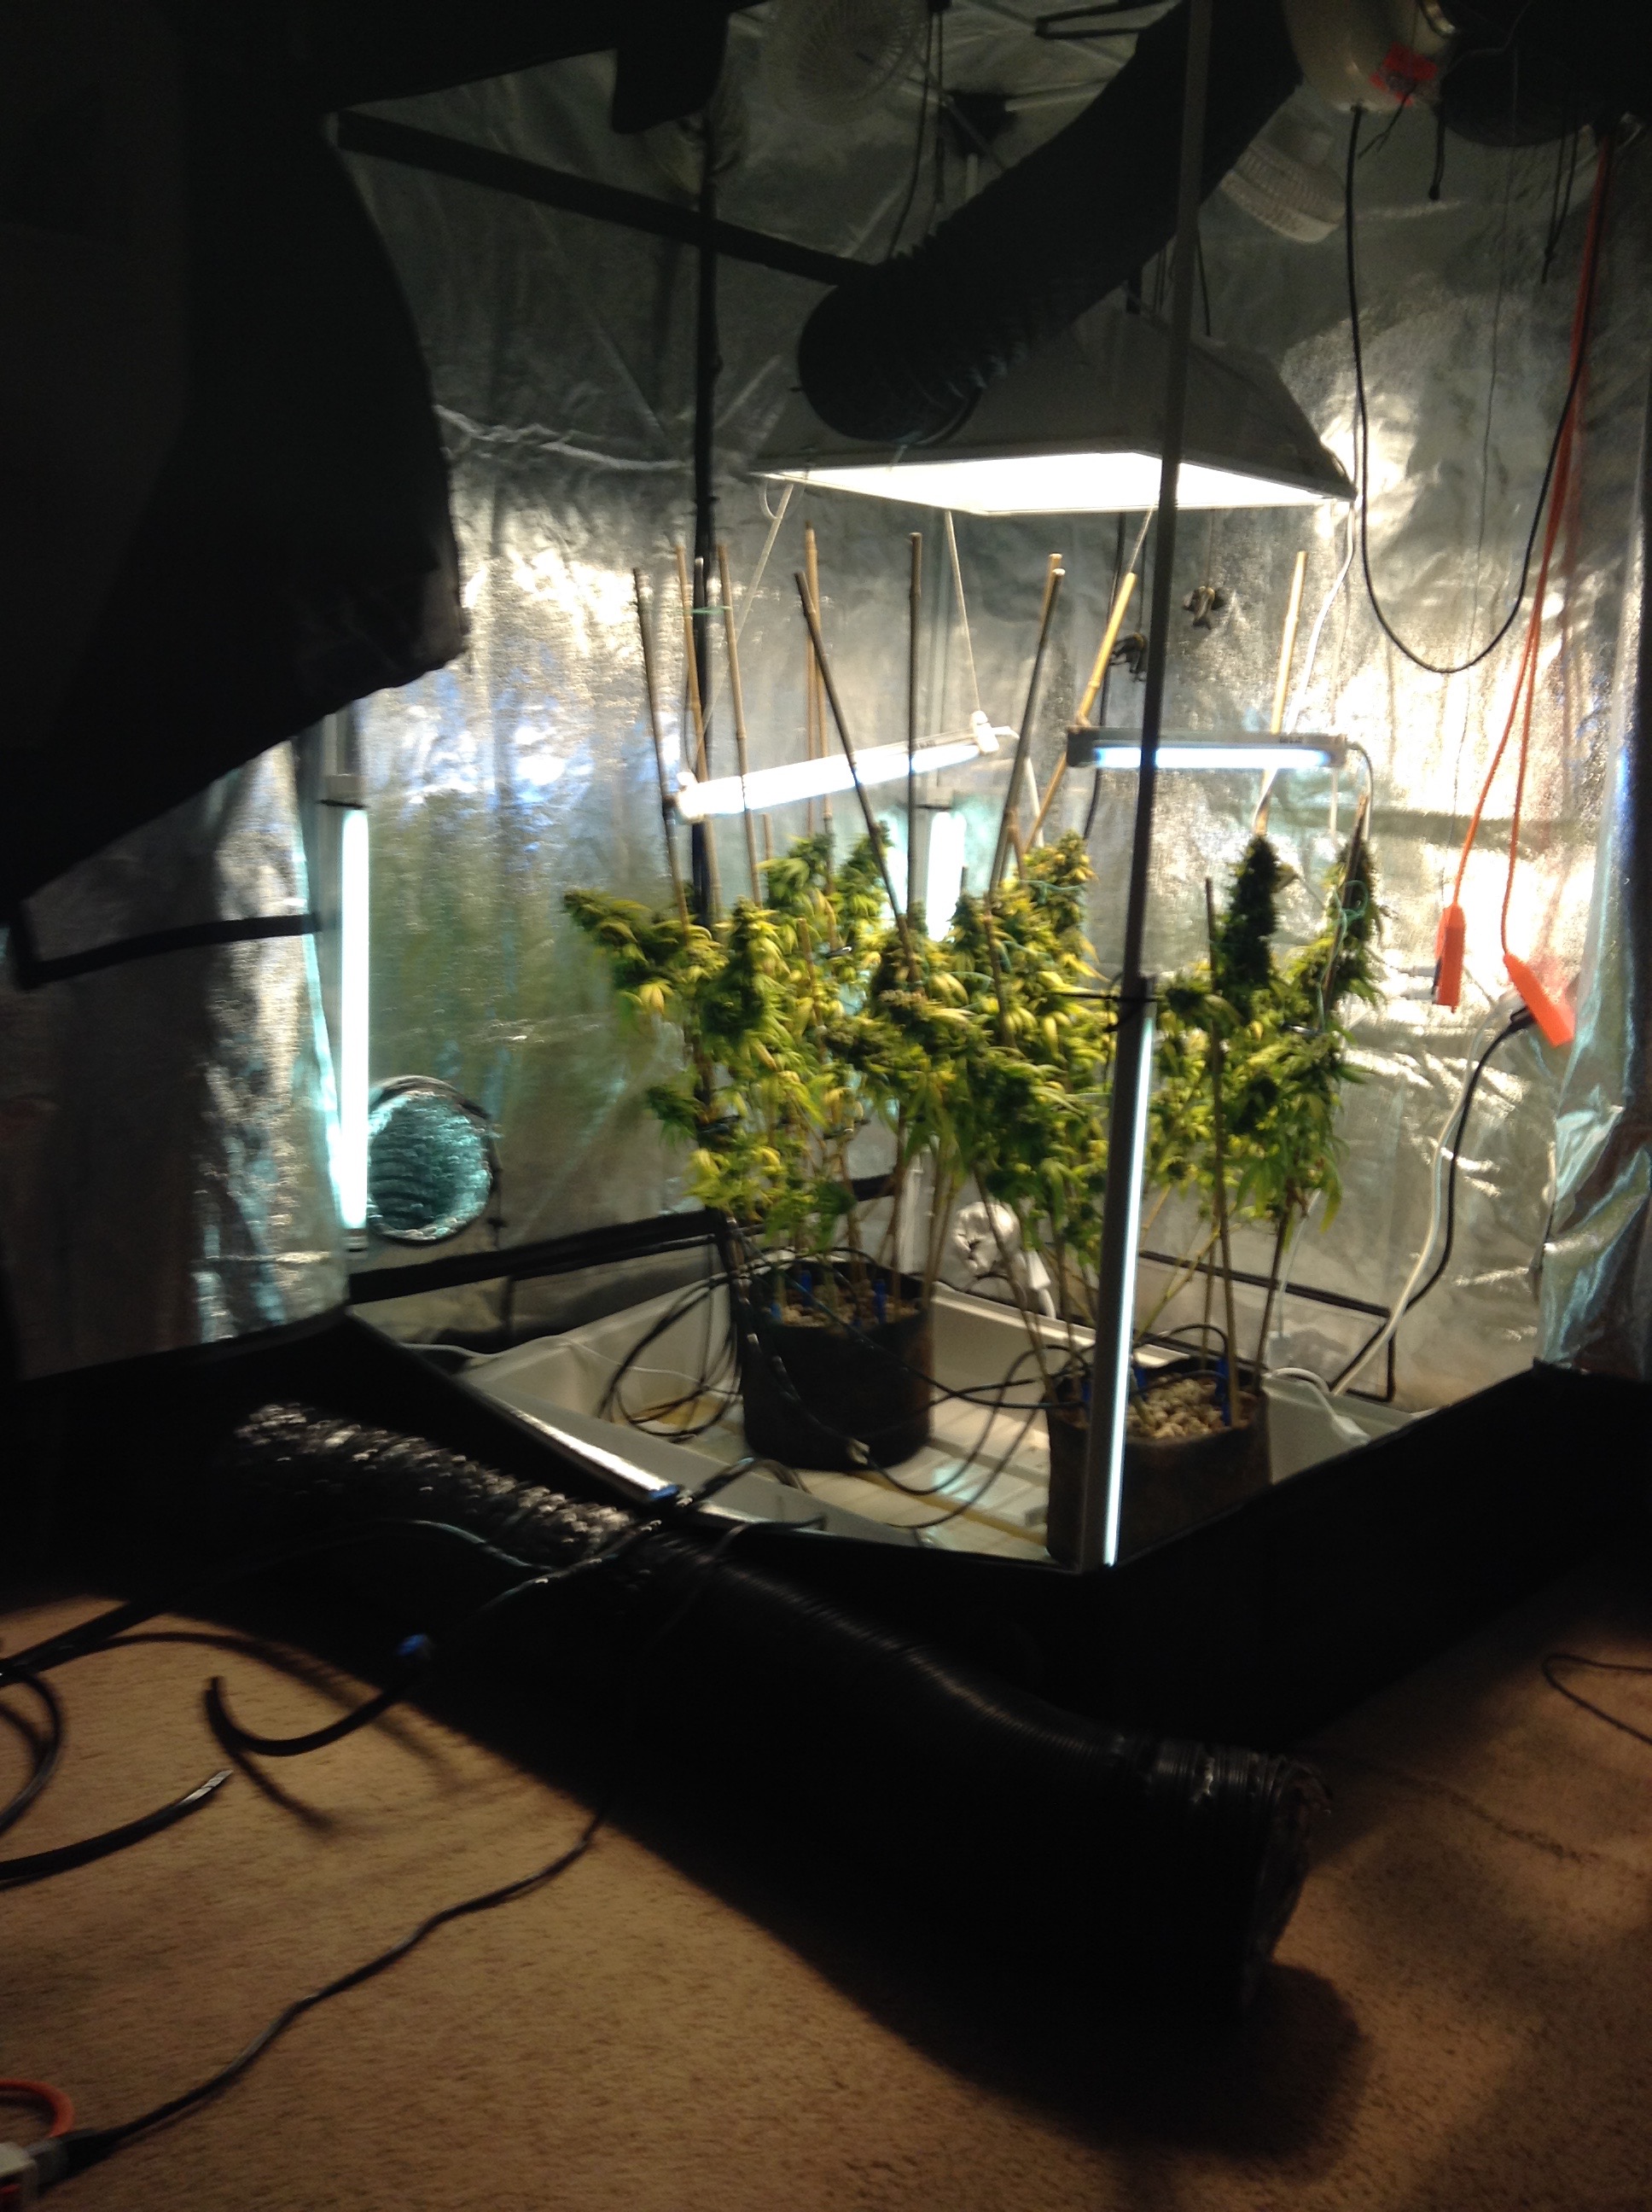
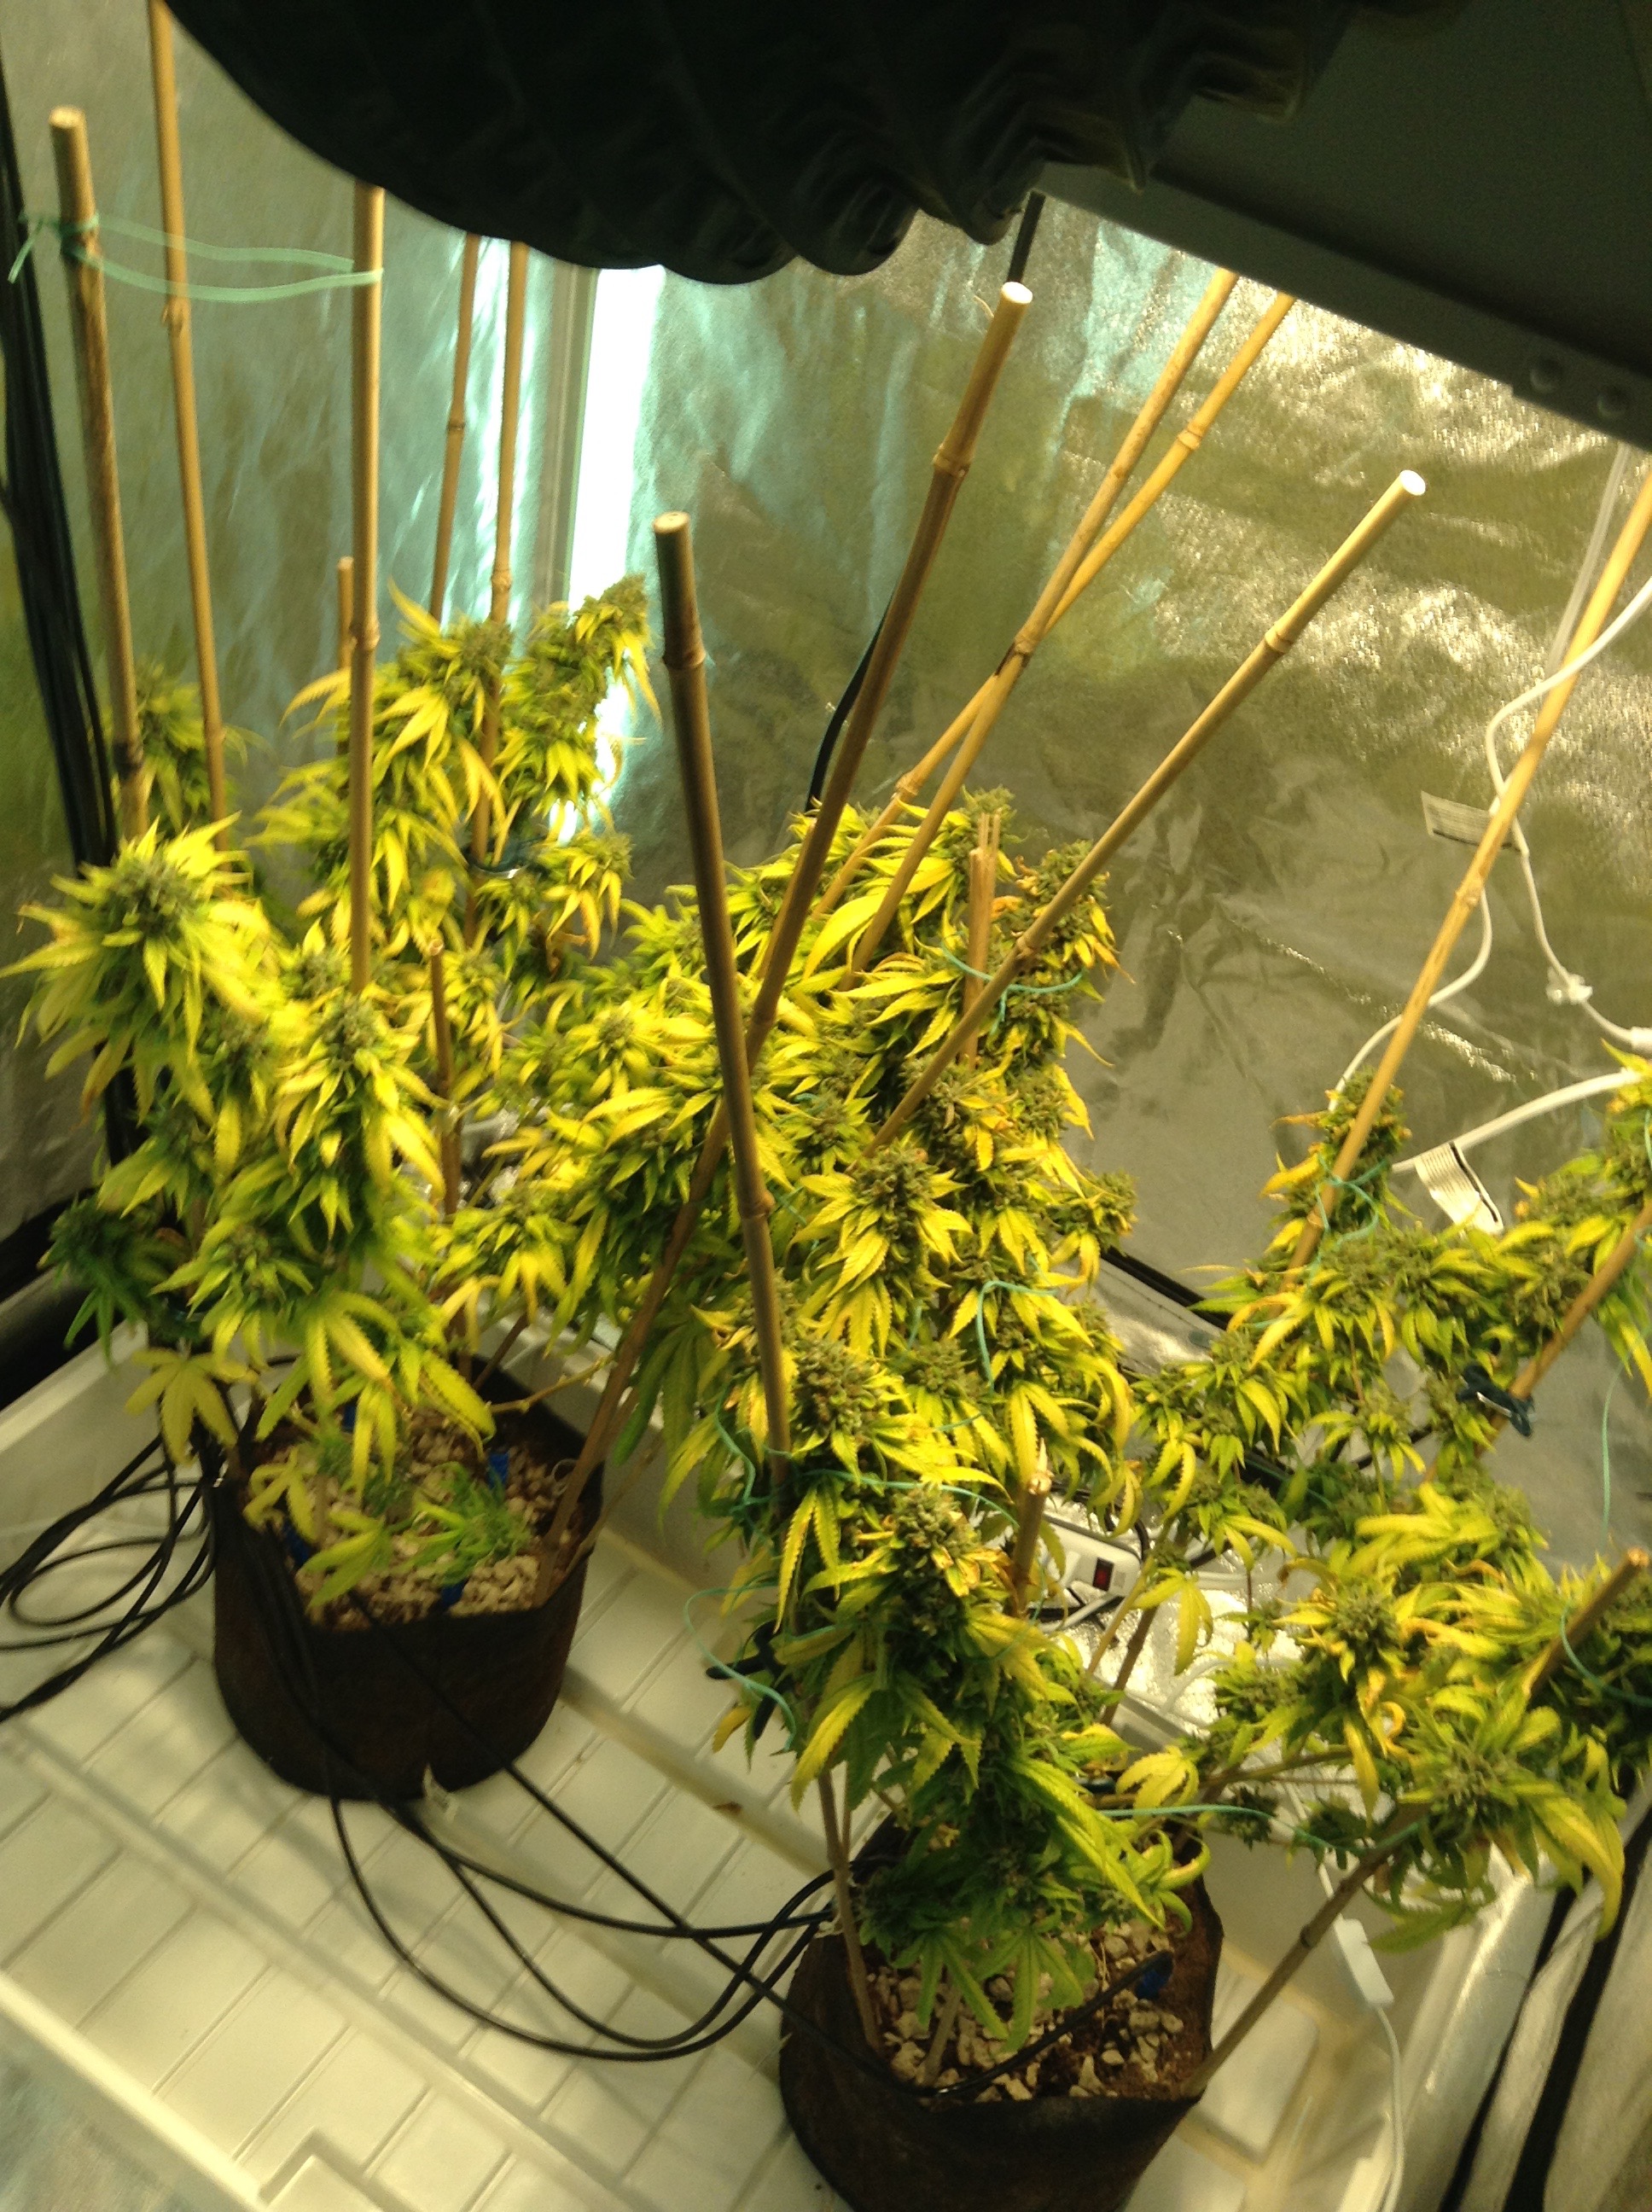
Plants moved to new home under bloom light.


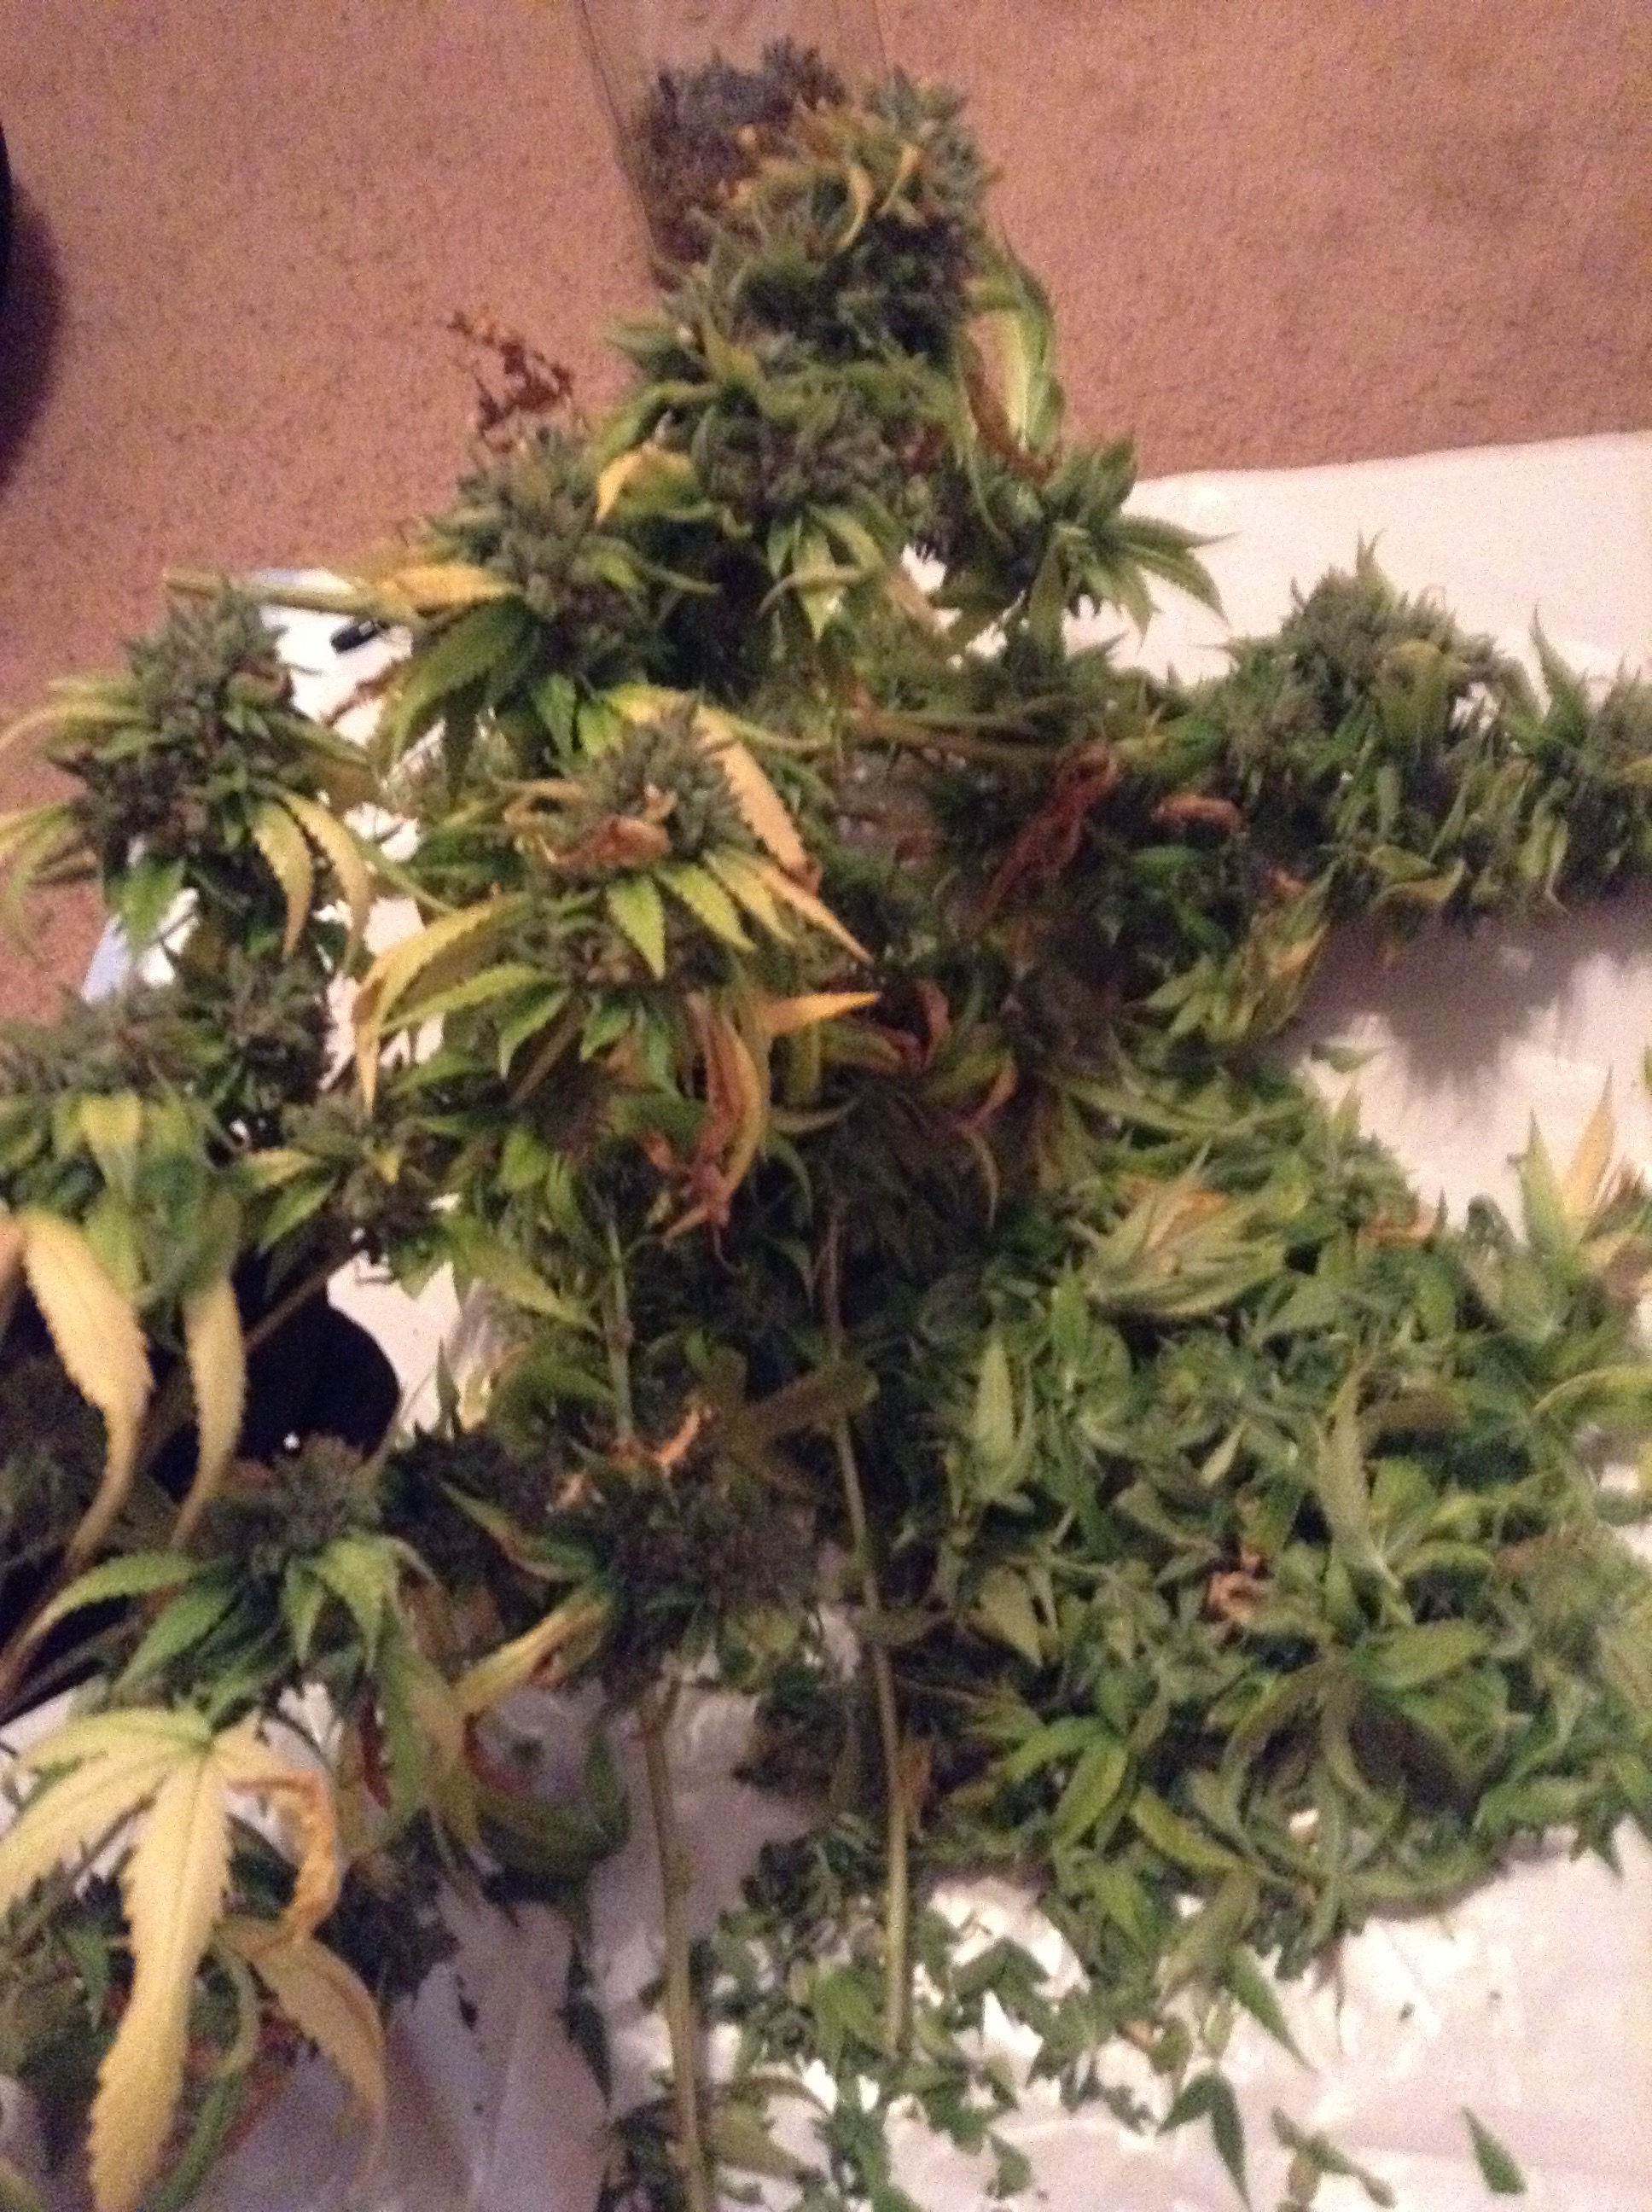
The last man standing.


Plants under bloom light.


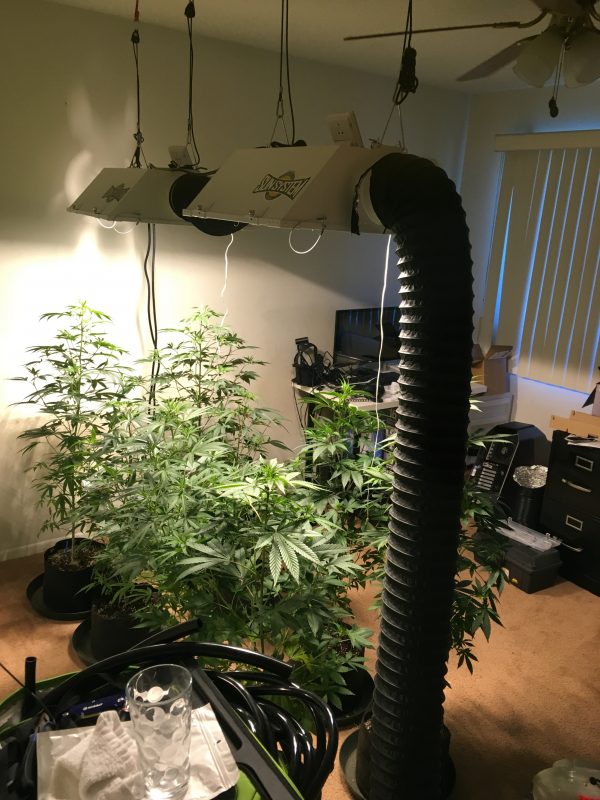
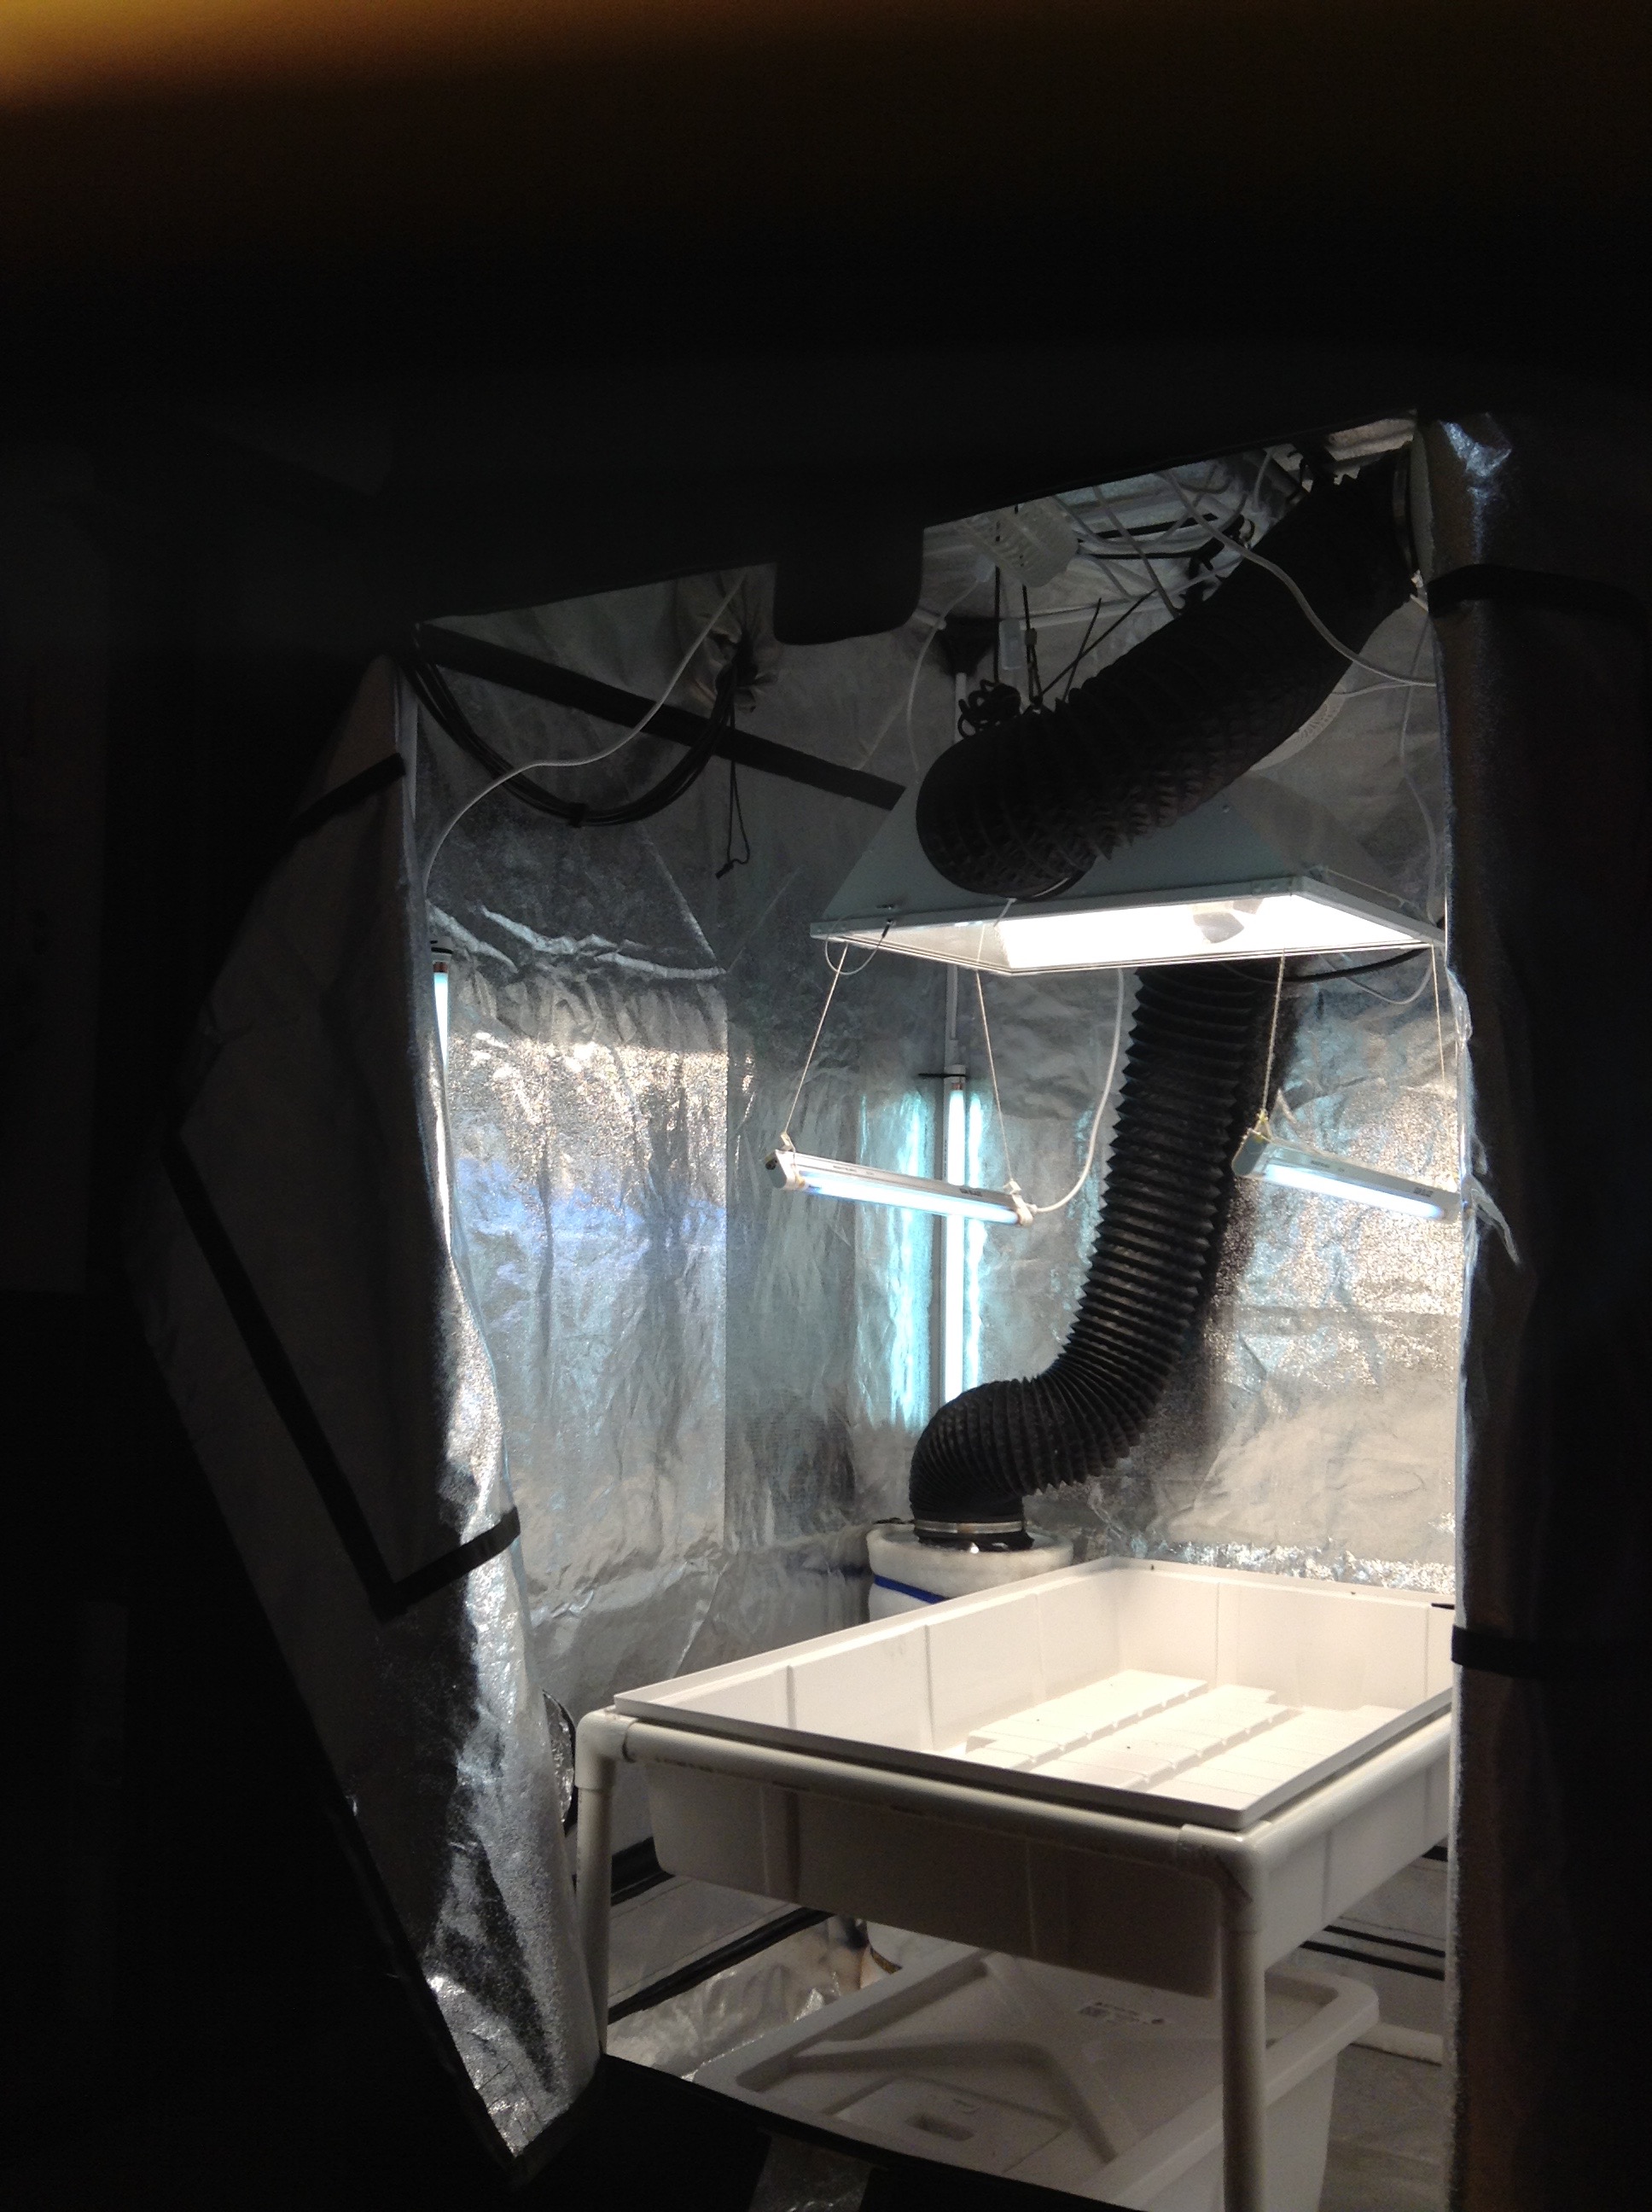
The second light installed and running.


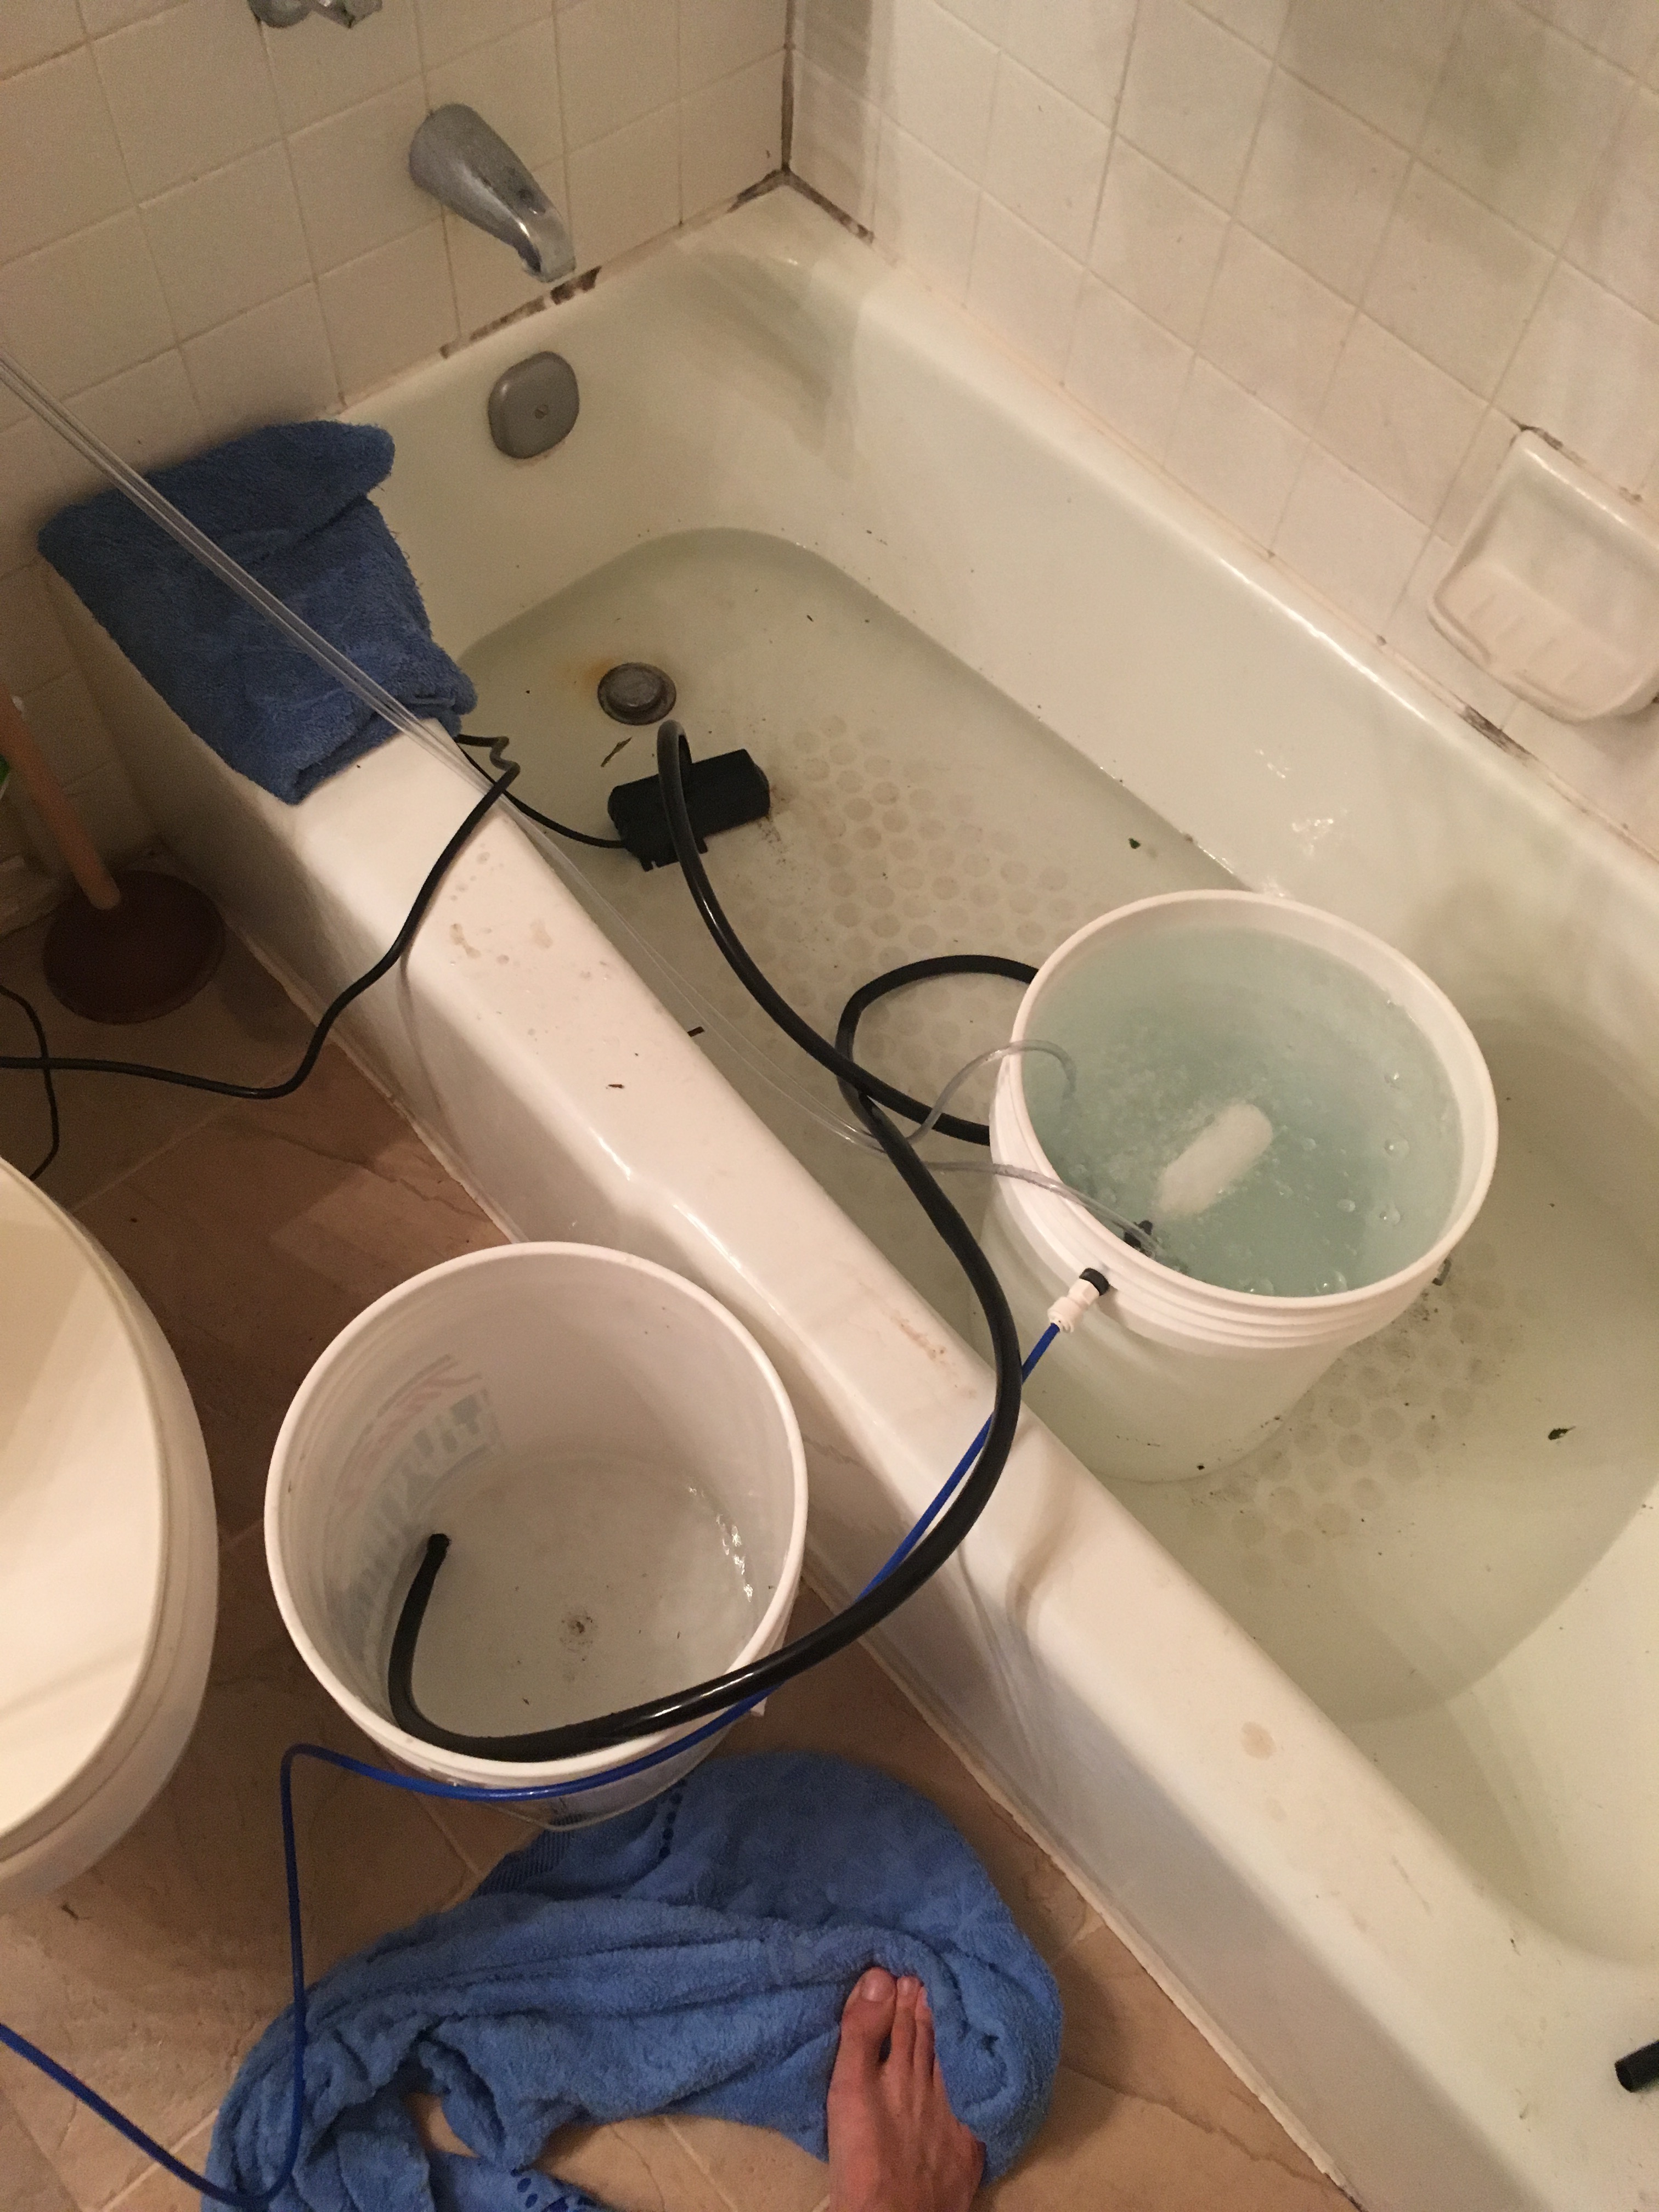
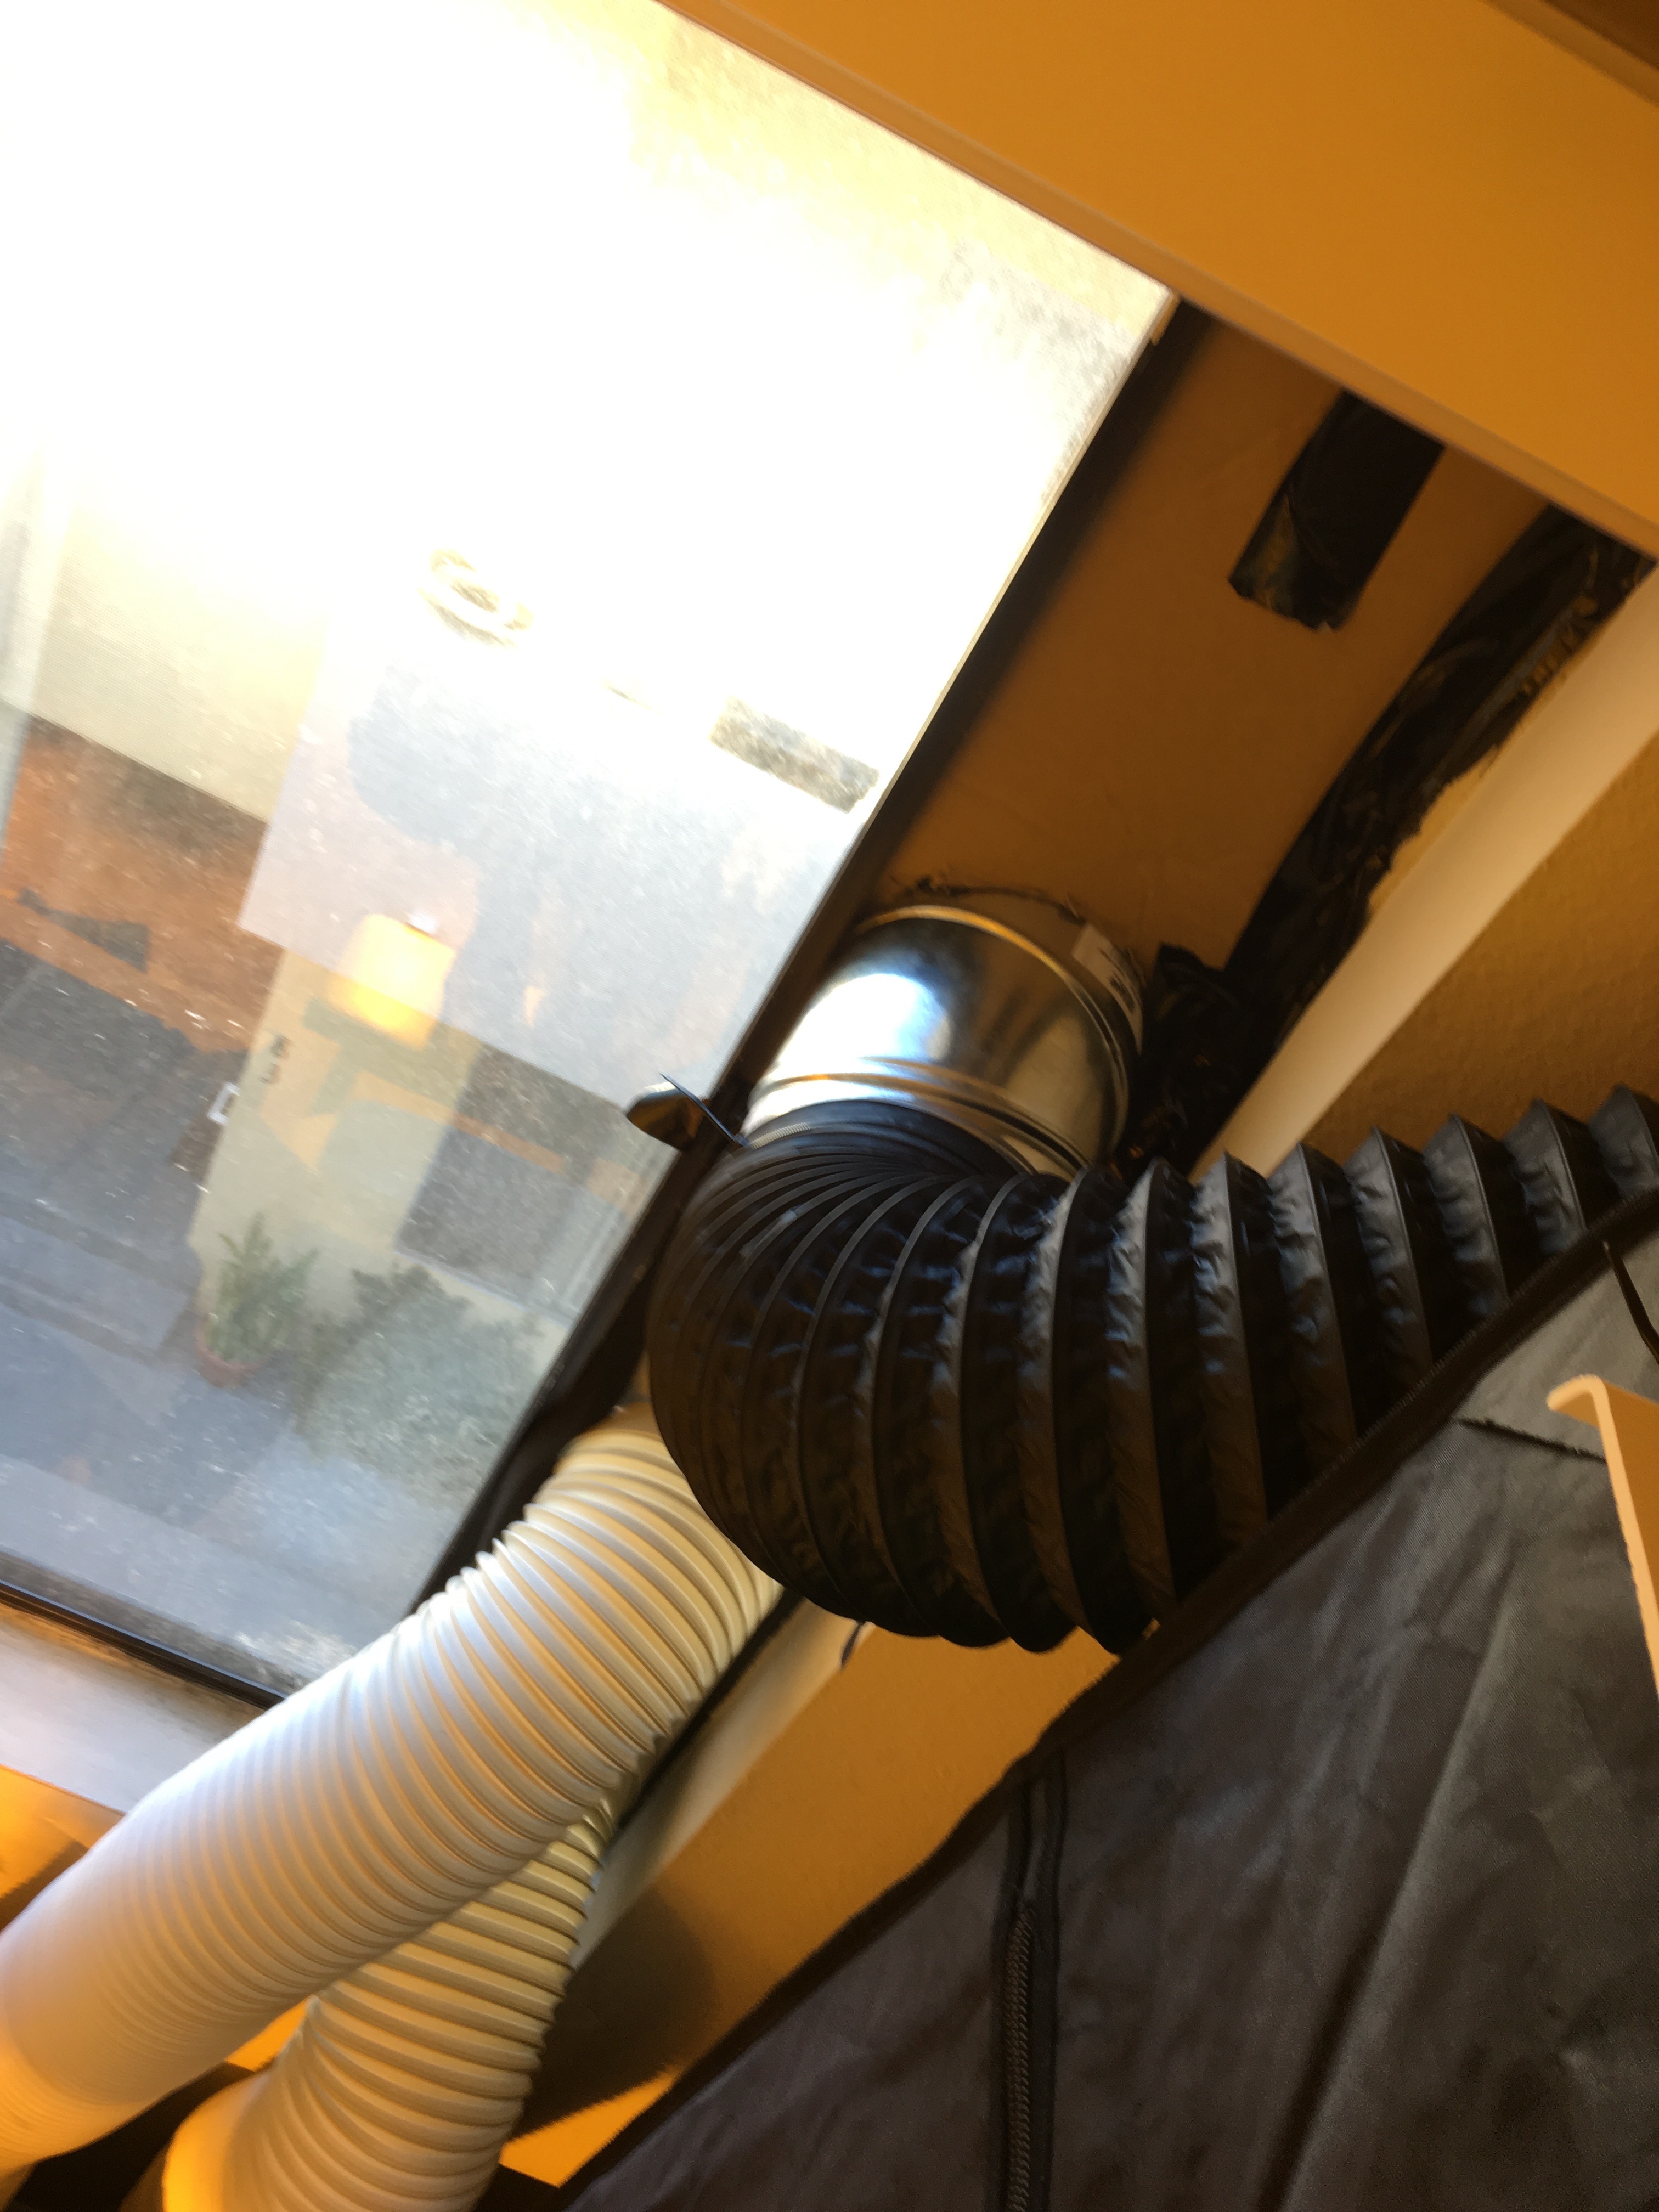
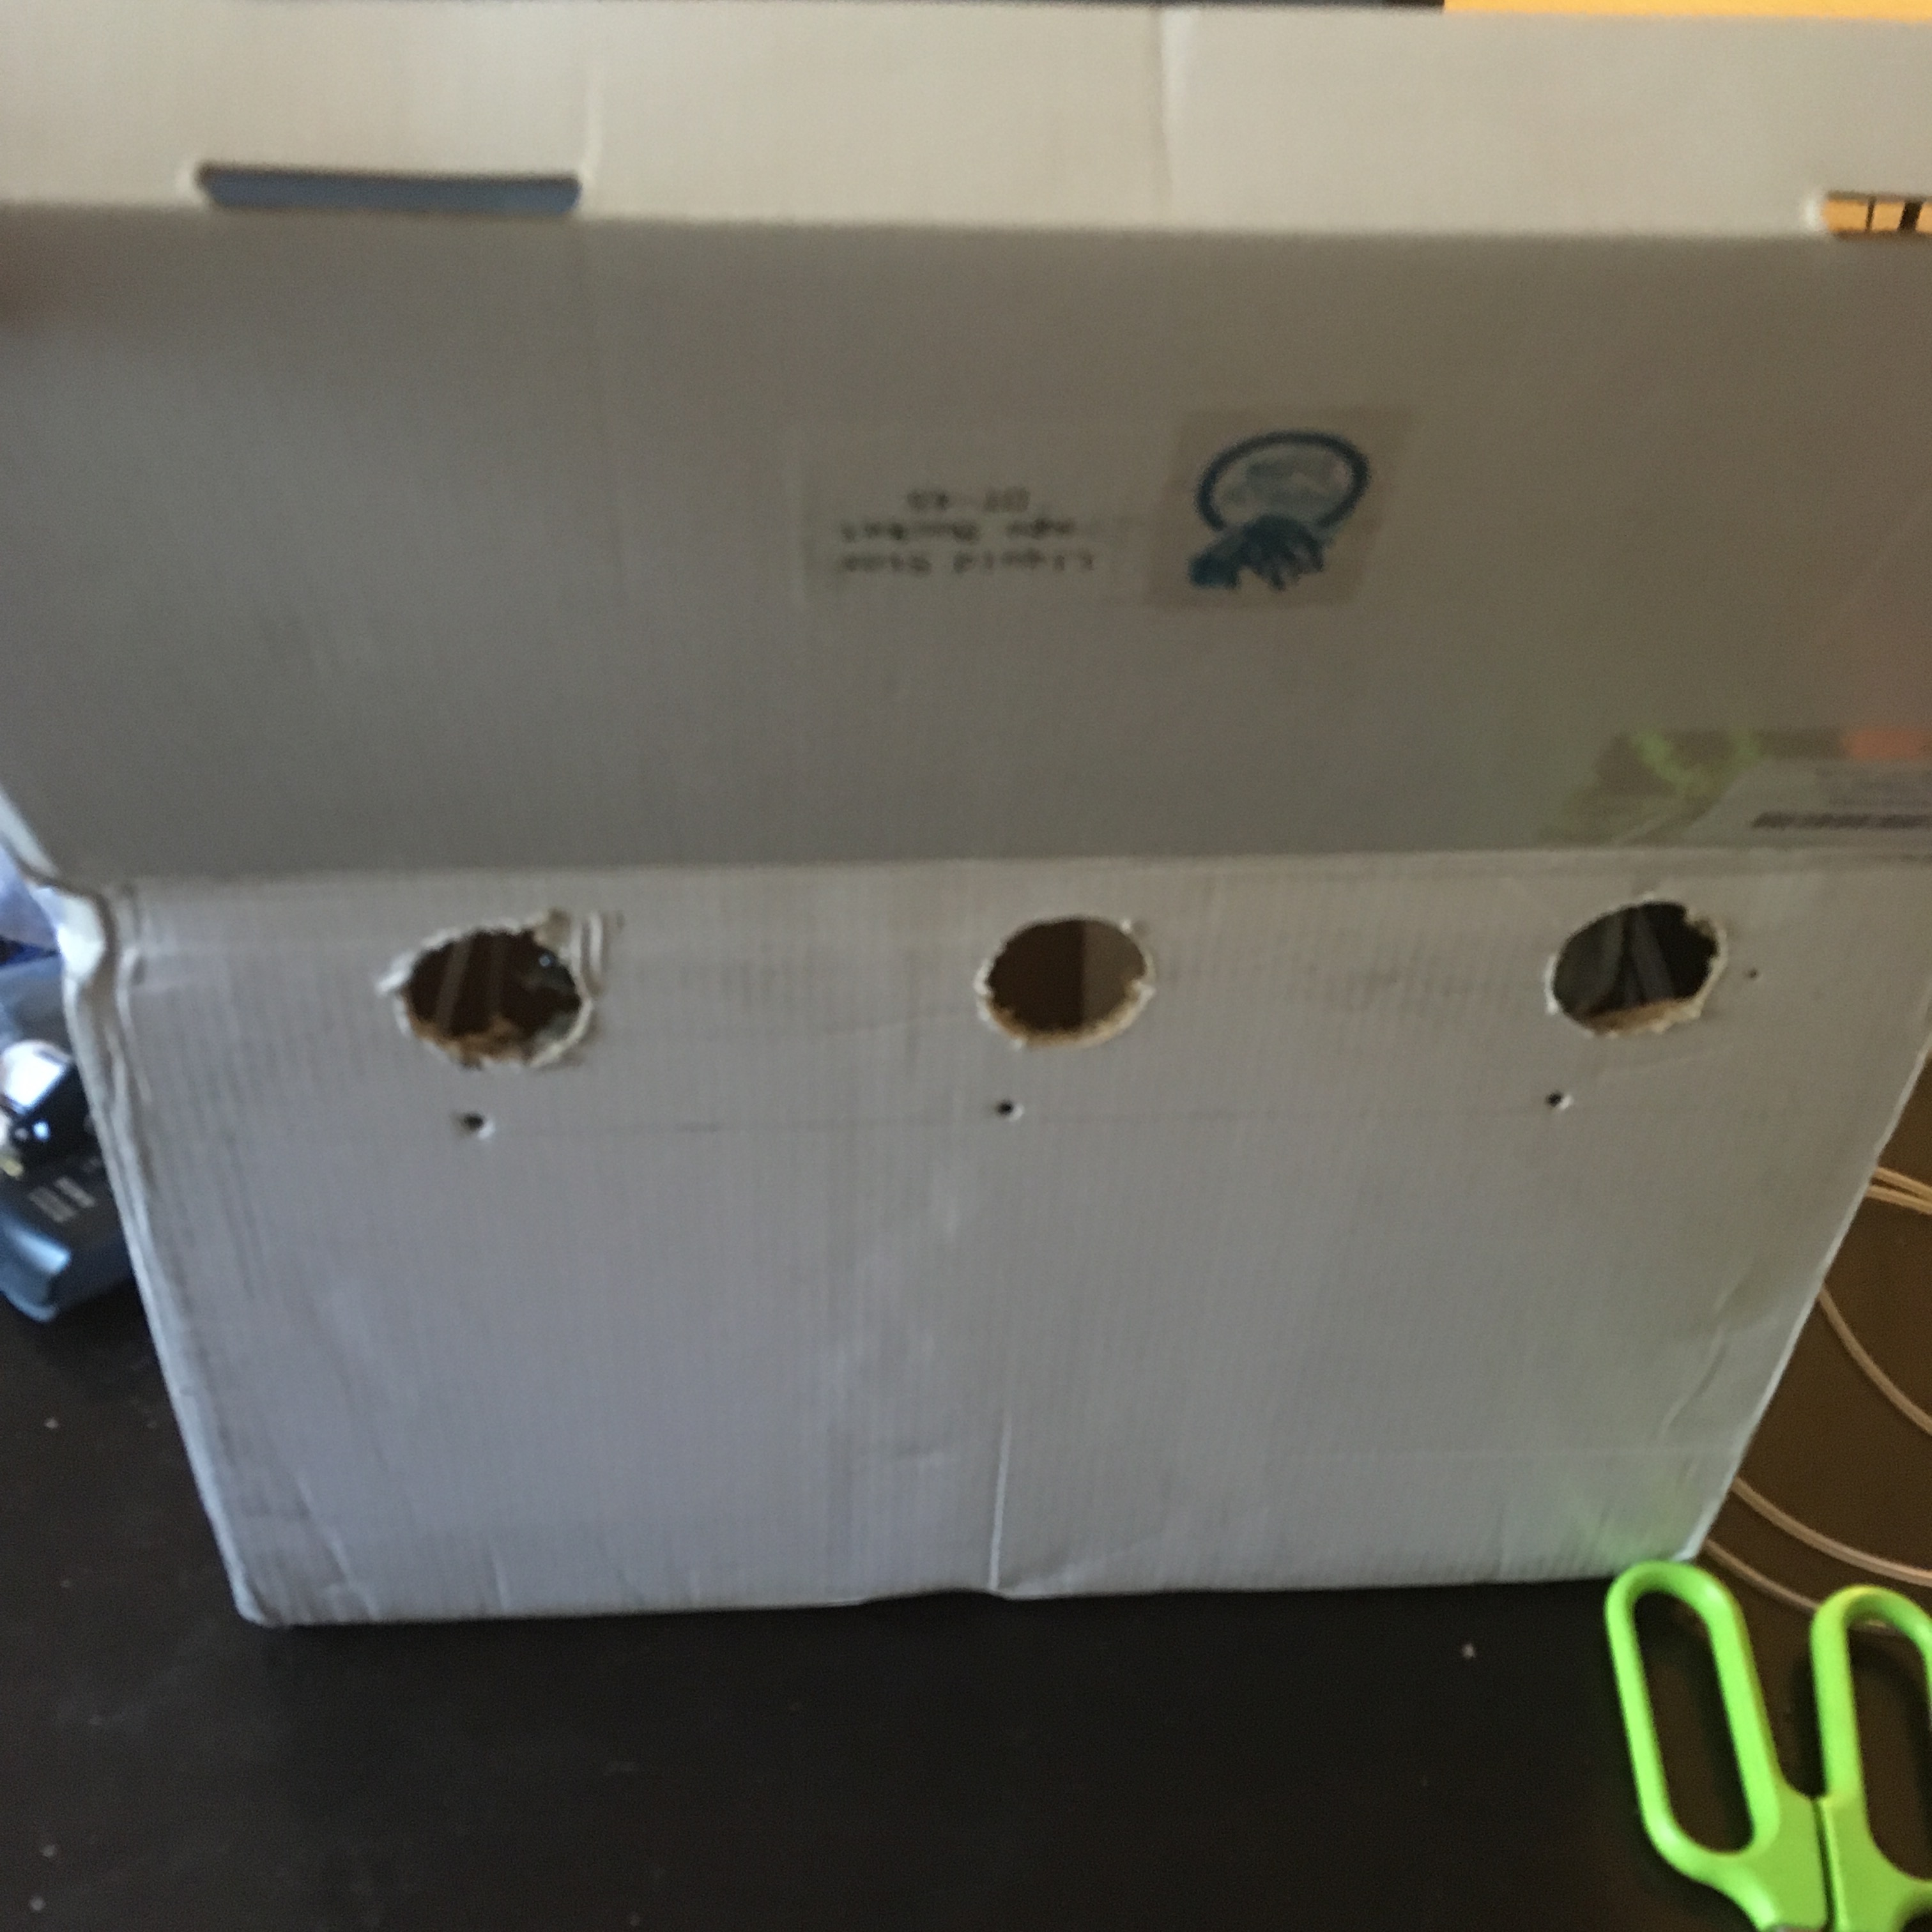
Creating a venting hole for the lighting.


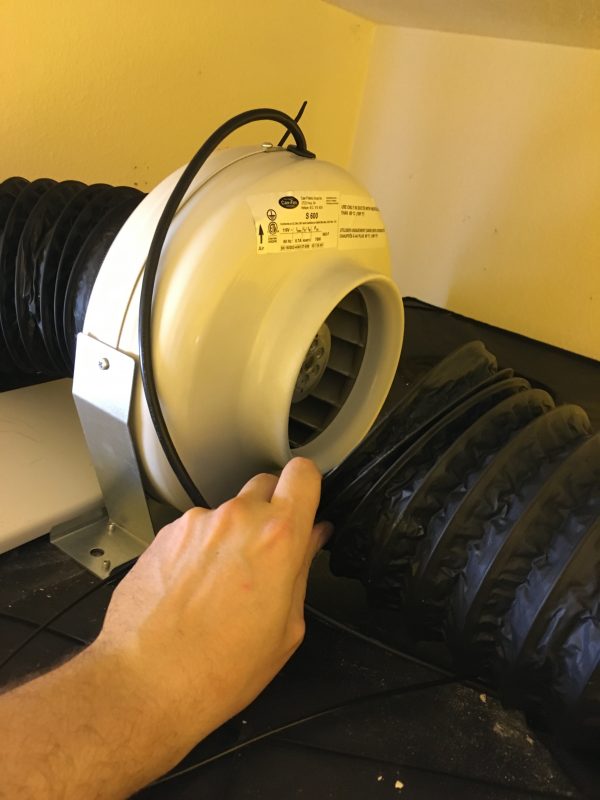
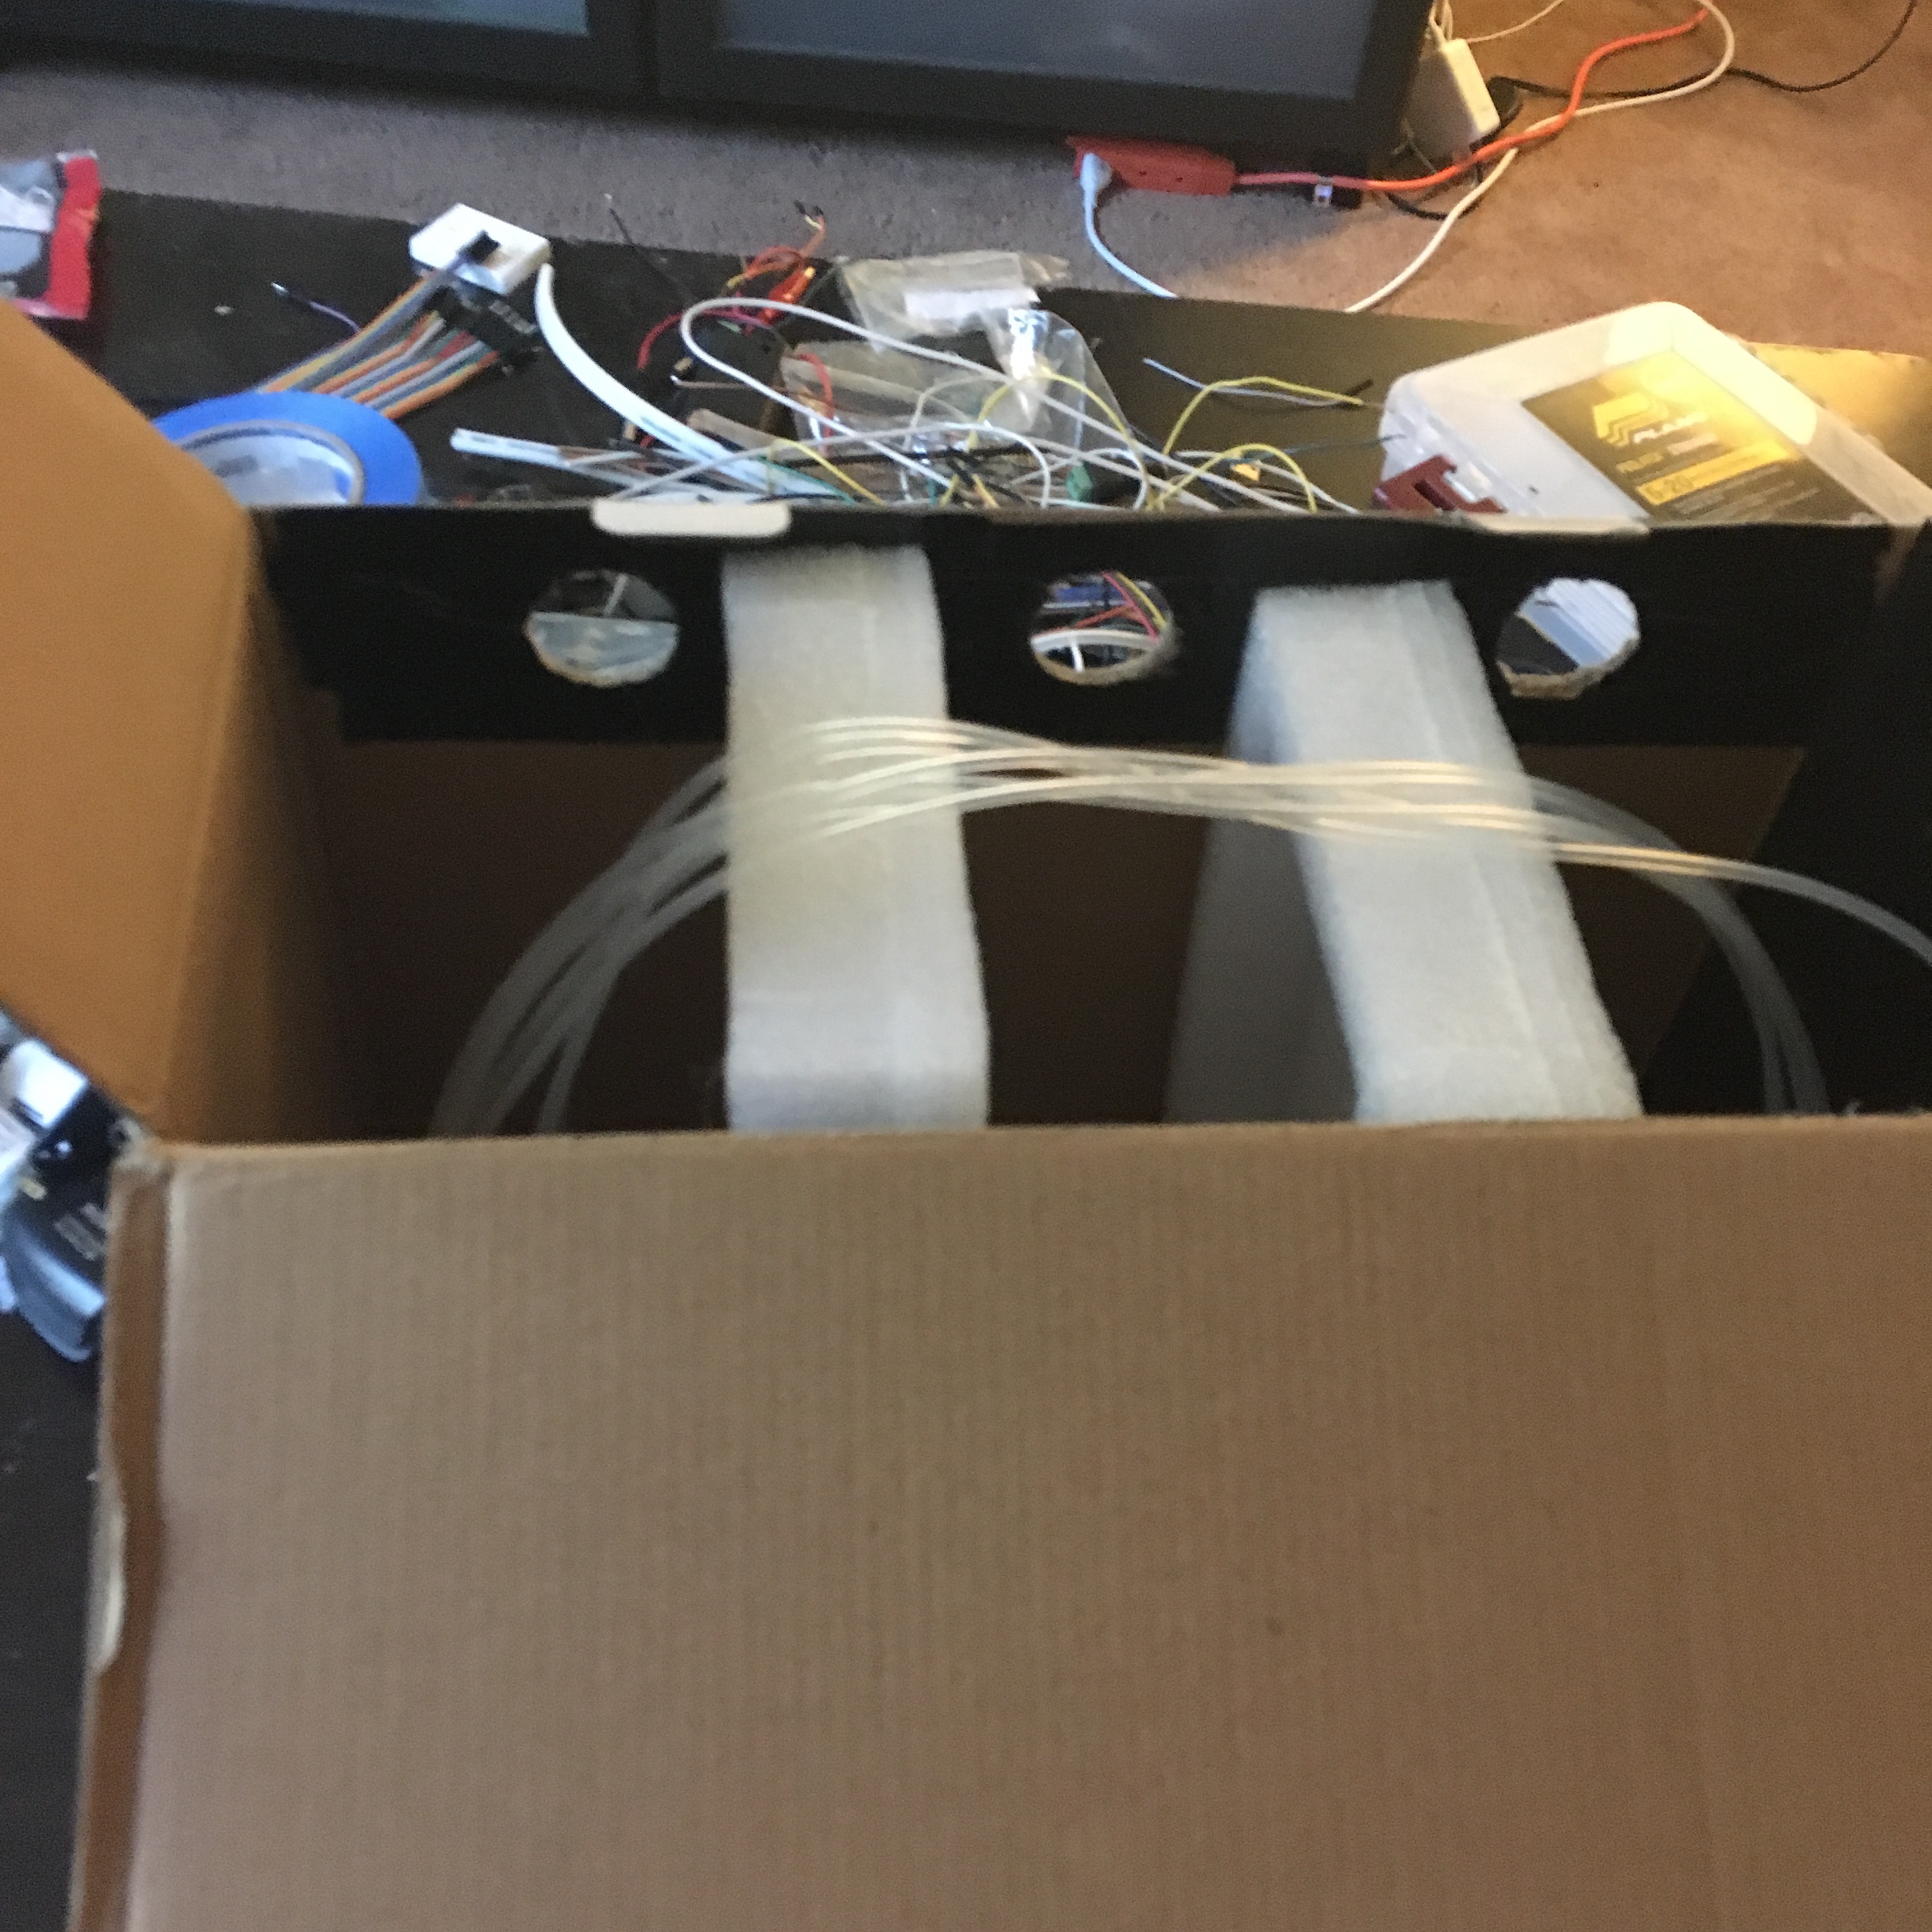
Attaching an in line blower to vent.


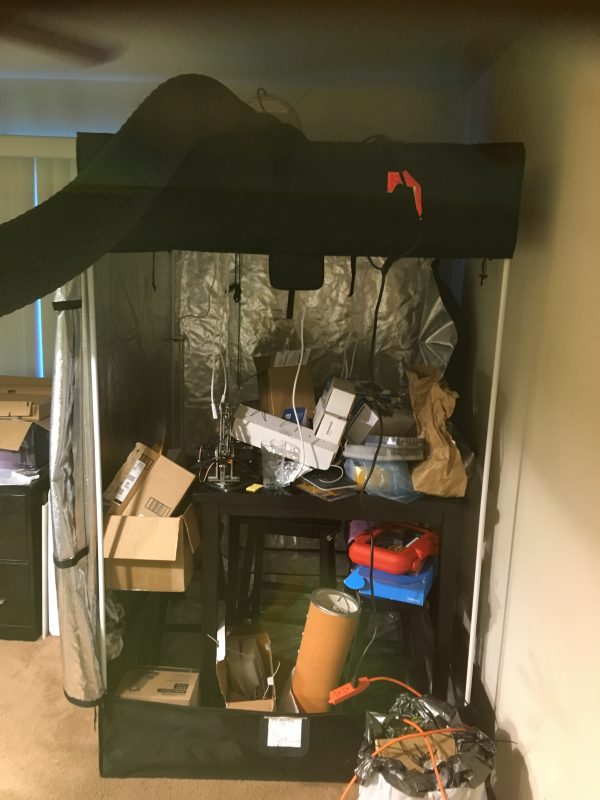
I basically put everything into the old tent to store.

13Sep

Project Nutrient Mixer Mk. II Part 4

by AutoAdmin

Now was the time to move on and create the dosers for the nutrient solution. These were prototype only and ended up needing a bit of software control to function. In the end next time I’ll likely try a different way to dose the nutes.

Gathering the tools needed


Cutting out each doser hole from the prototype container.


Cutting the holes for the dosers.


Getting all my dosers in a row ๐Ÿ˜€


Wiring each doser up.


More wiring.


Wiring each doser to the electrical panel.


11Sep

Project Nutrient Mixer Mk. II Part 3

by AutoAdmin

Now the electrical and framing for the case is complete we need to add the plumbing. This ended up being a bad system design as the valves I used require main line water pressure to open and the pumps I used in the system couldn’t reach it. In the end I cut the values out and just directly fed everything.

Wiring up the valves.


Laying the parts out.


All glued together to ensure it can’t be taken apart later ๐Ÿ™


Amazon coming through last minute.


Plumbing all wired up.


Water intake working.


10Sep

Project Nutrient Mixer Mk. II Part 2

by AutoAdmin

Continuing on with the nutrient mixing system it was time to put the cabinet together that would house the prototype. Lumber was purchased and cut at the local mill and the assembly began. I was able to mount the mixing buckets and overflow containers into the frame at the end.


The purchased lumber


The initial framing of the back of the cabnet.


The initial framing of the back of the cabnet.


Both frames put together.


Both parts joined and the cabnet box is formed.


At this time I had mounted the electrical system from the previous project.


Tagging the clean side. Finally had a use for all those stickers.


The cabnet with the water equipment added.


The cabnet with the water equipment added.


30Aug

Project Nutrient Mixer Mk. II

by AutoAdmin

Work began on the next version of the nutrient mixing machine. Chemical grade dosing containers were purchased and the system work began.


Initial Sketch of Mixer.


Wiring the electrical system for the pumps.


The nutrient dosers.


The electrical system being screwed into place.


On it’s side before mounting.


The interface connection to the power system.

21Jun

Third Harvest

by AutoAdmin

At this point the environment was easier to cultivate but the temp was still and issue. This grow suffered from high heat stress and was harvested early. Ended up making really good pre-rolls.

The environment had come a long way. Feeding was automated via the system in the shower which delivered to the dosers tubes you can see running into the tent.


This grow suffered from lots of heat issues. The plant on the right actually split down the middle I believe.


The grow was cultivated early with very little tricomb development.


Hung to dry.


Modified the tent to raise the plants off the ground. This ended up being a costly mistake in the long run.


The mixing feeding setup was becoming cluttered and more of a hassle then it automated.


Closer inspection of the harvest shows a lot of fresh flower. It needed 2 more weeks.


17Jun

Project Nutrient Mixer Mk. I

by AutoAdmin

Began the first stages of an actual automated nutrient mixer. Designing a water treatment and mixing 5 gallon tank system. It was not the greatest concept and often leaked.

Creating the outflow for the mixer.


Designed the mixer built into the bench. Not the best design I’ve ever had.


Wiring up the power controller.


Initial mixer system was created in the shower to prevent drainage issues if a seal was breached.


Working on the pumping and piping.


The early maker area.