by AutoAdmin
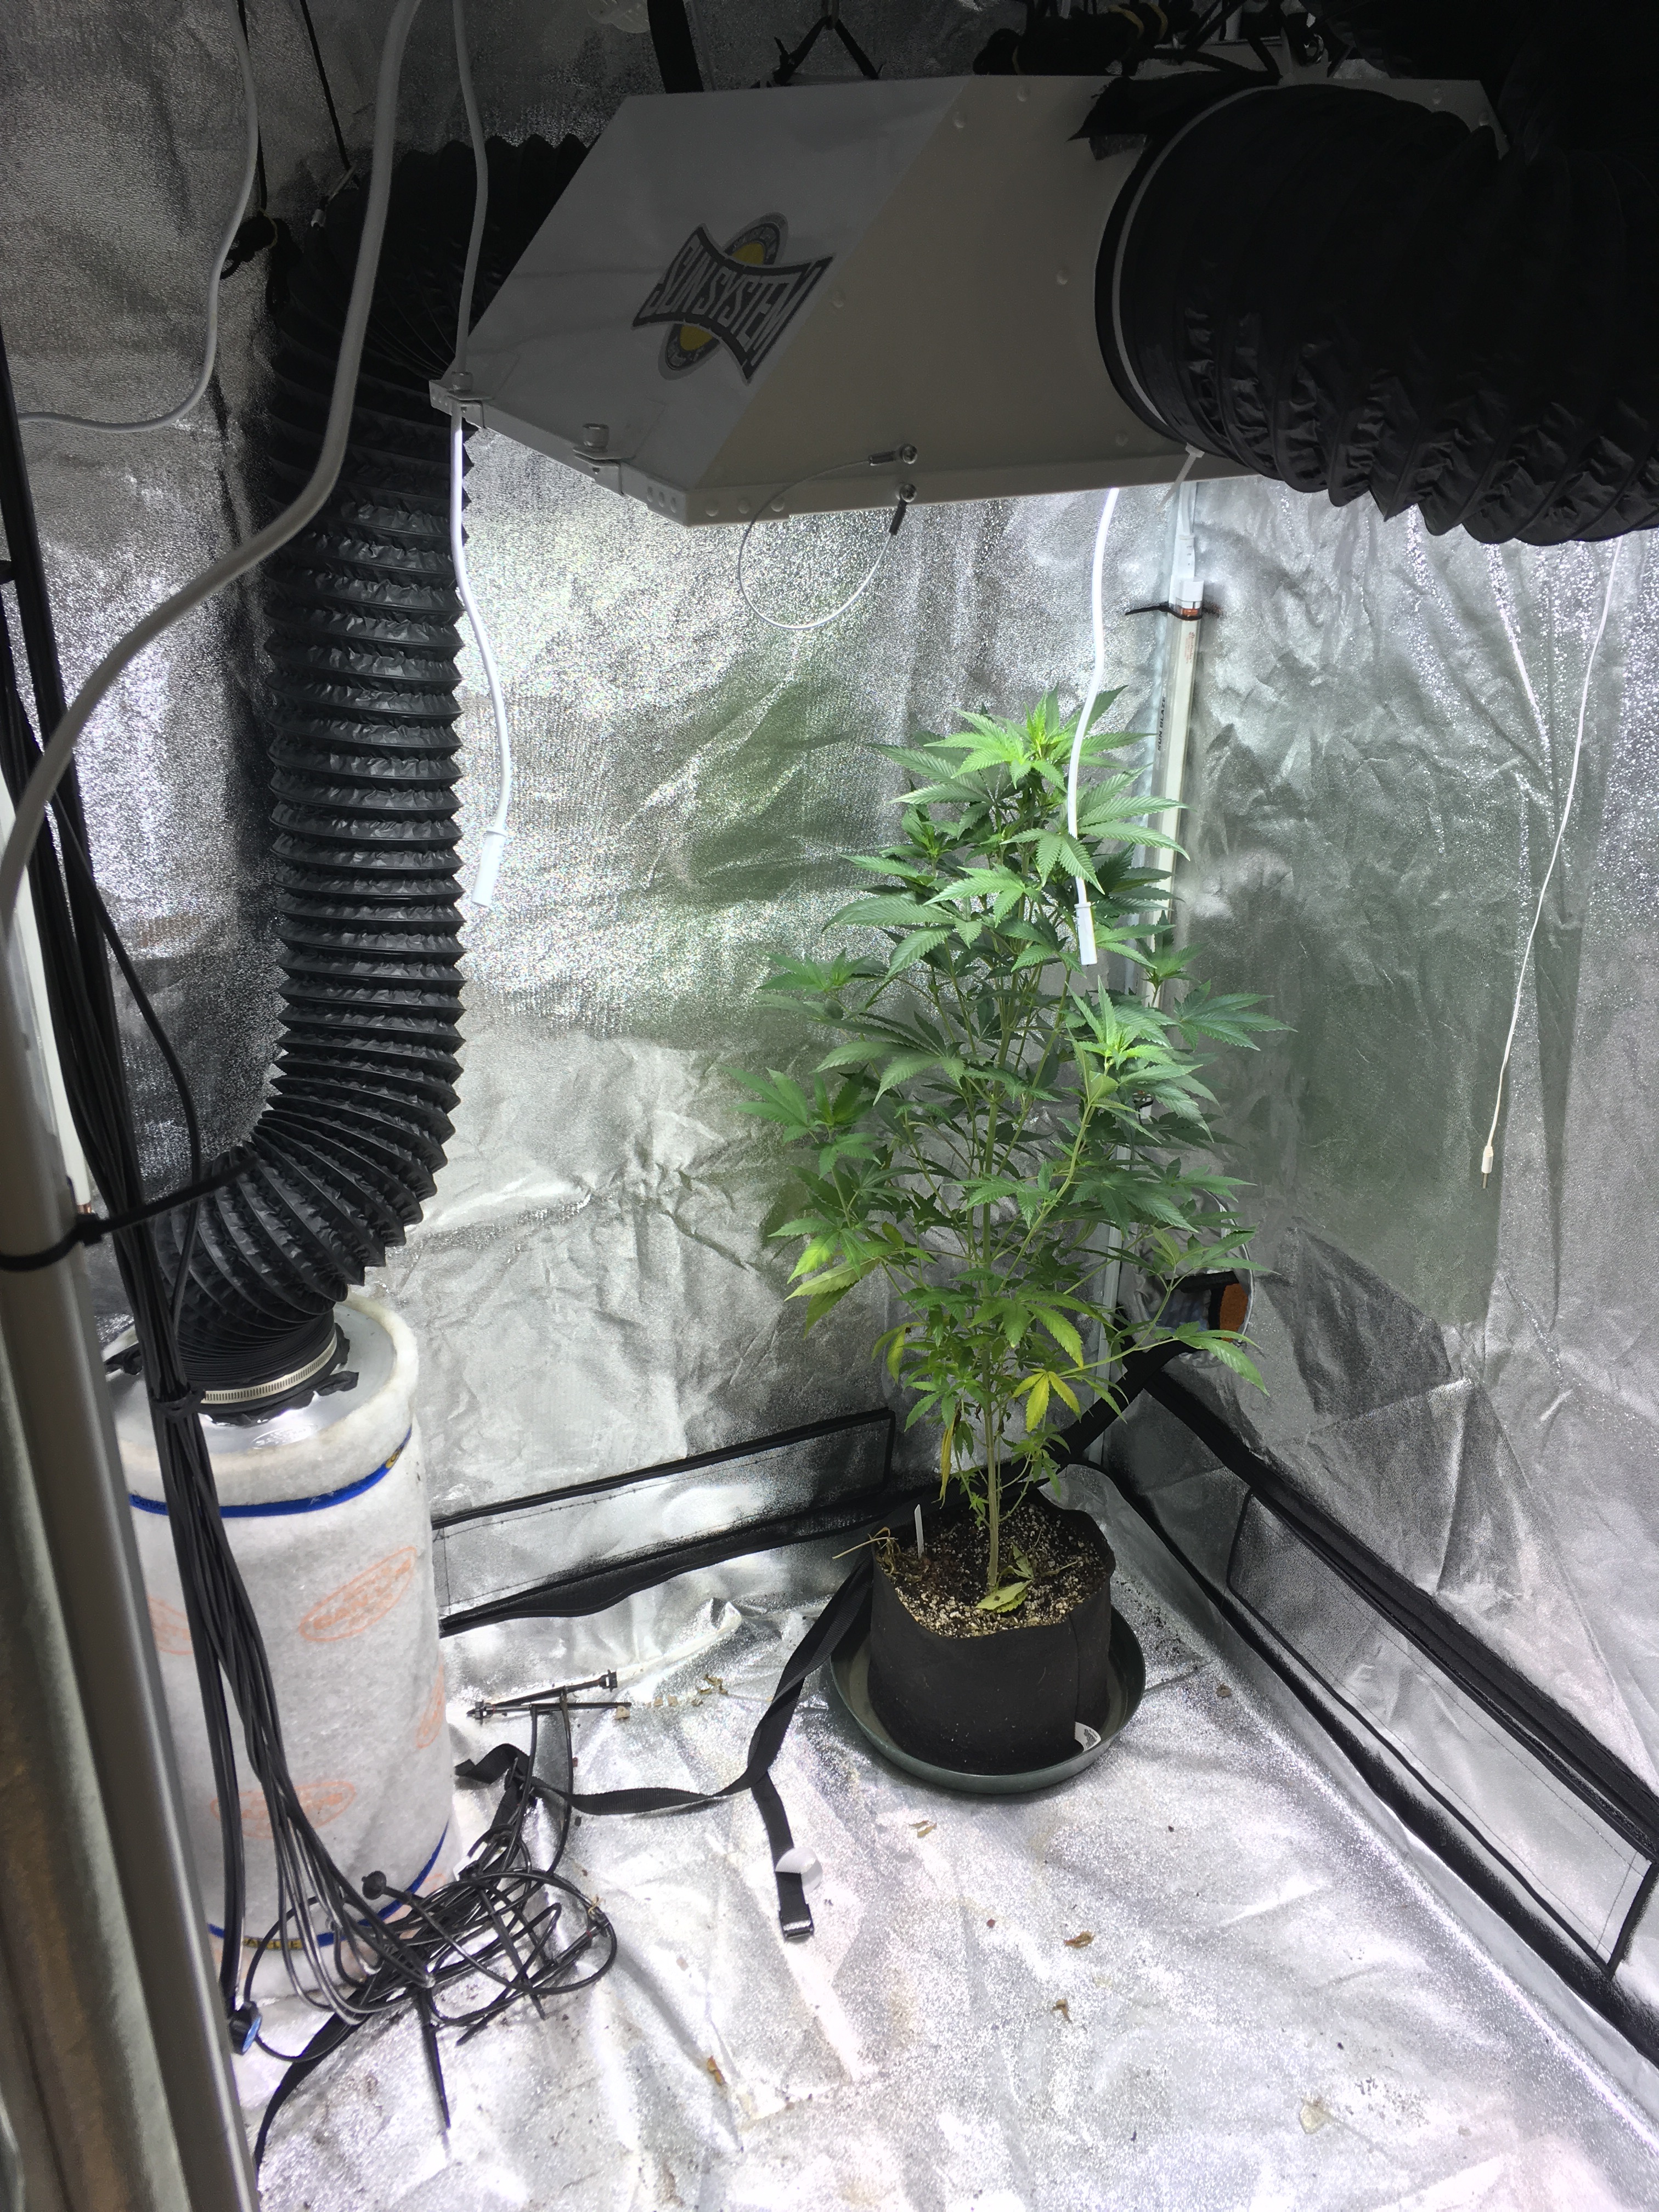
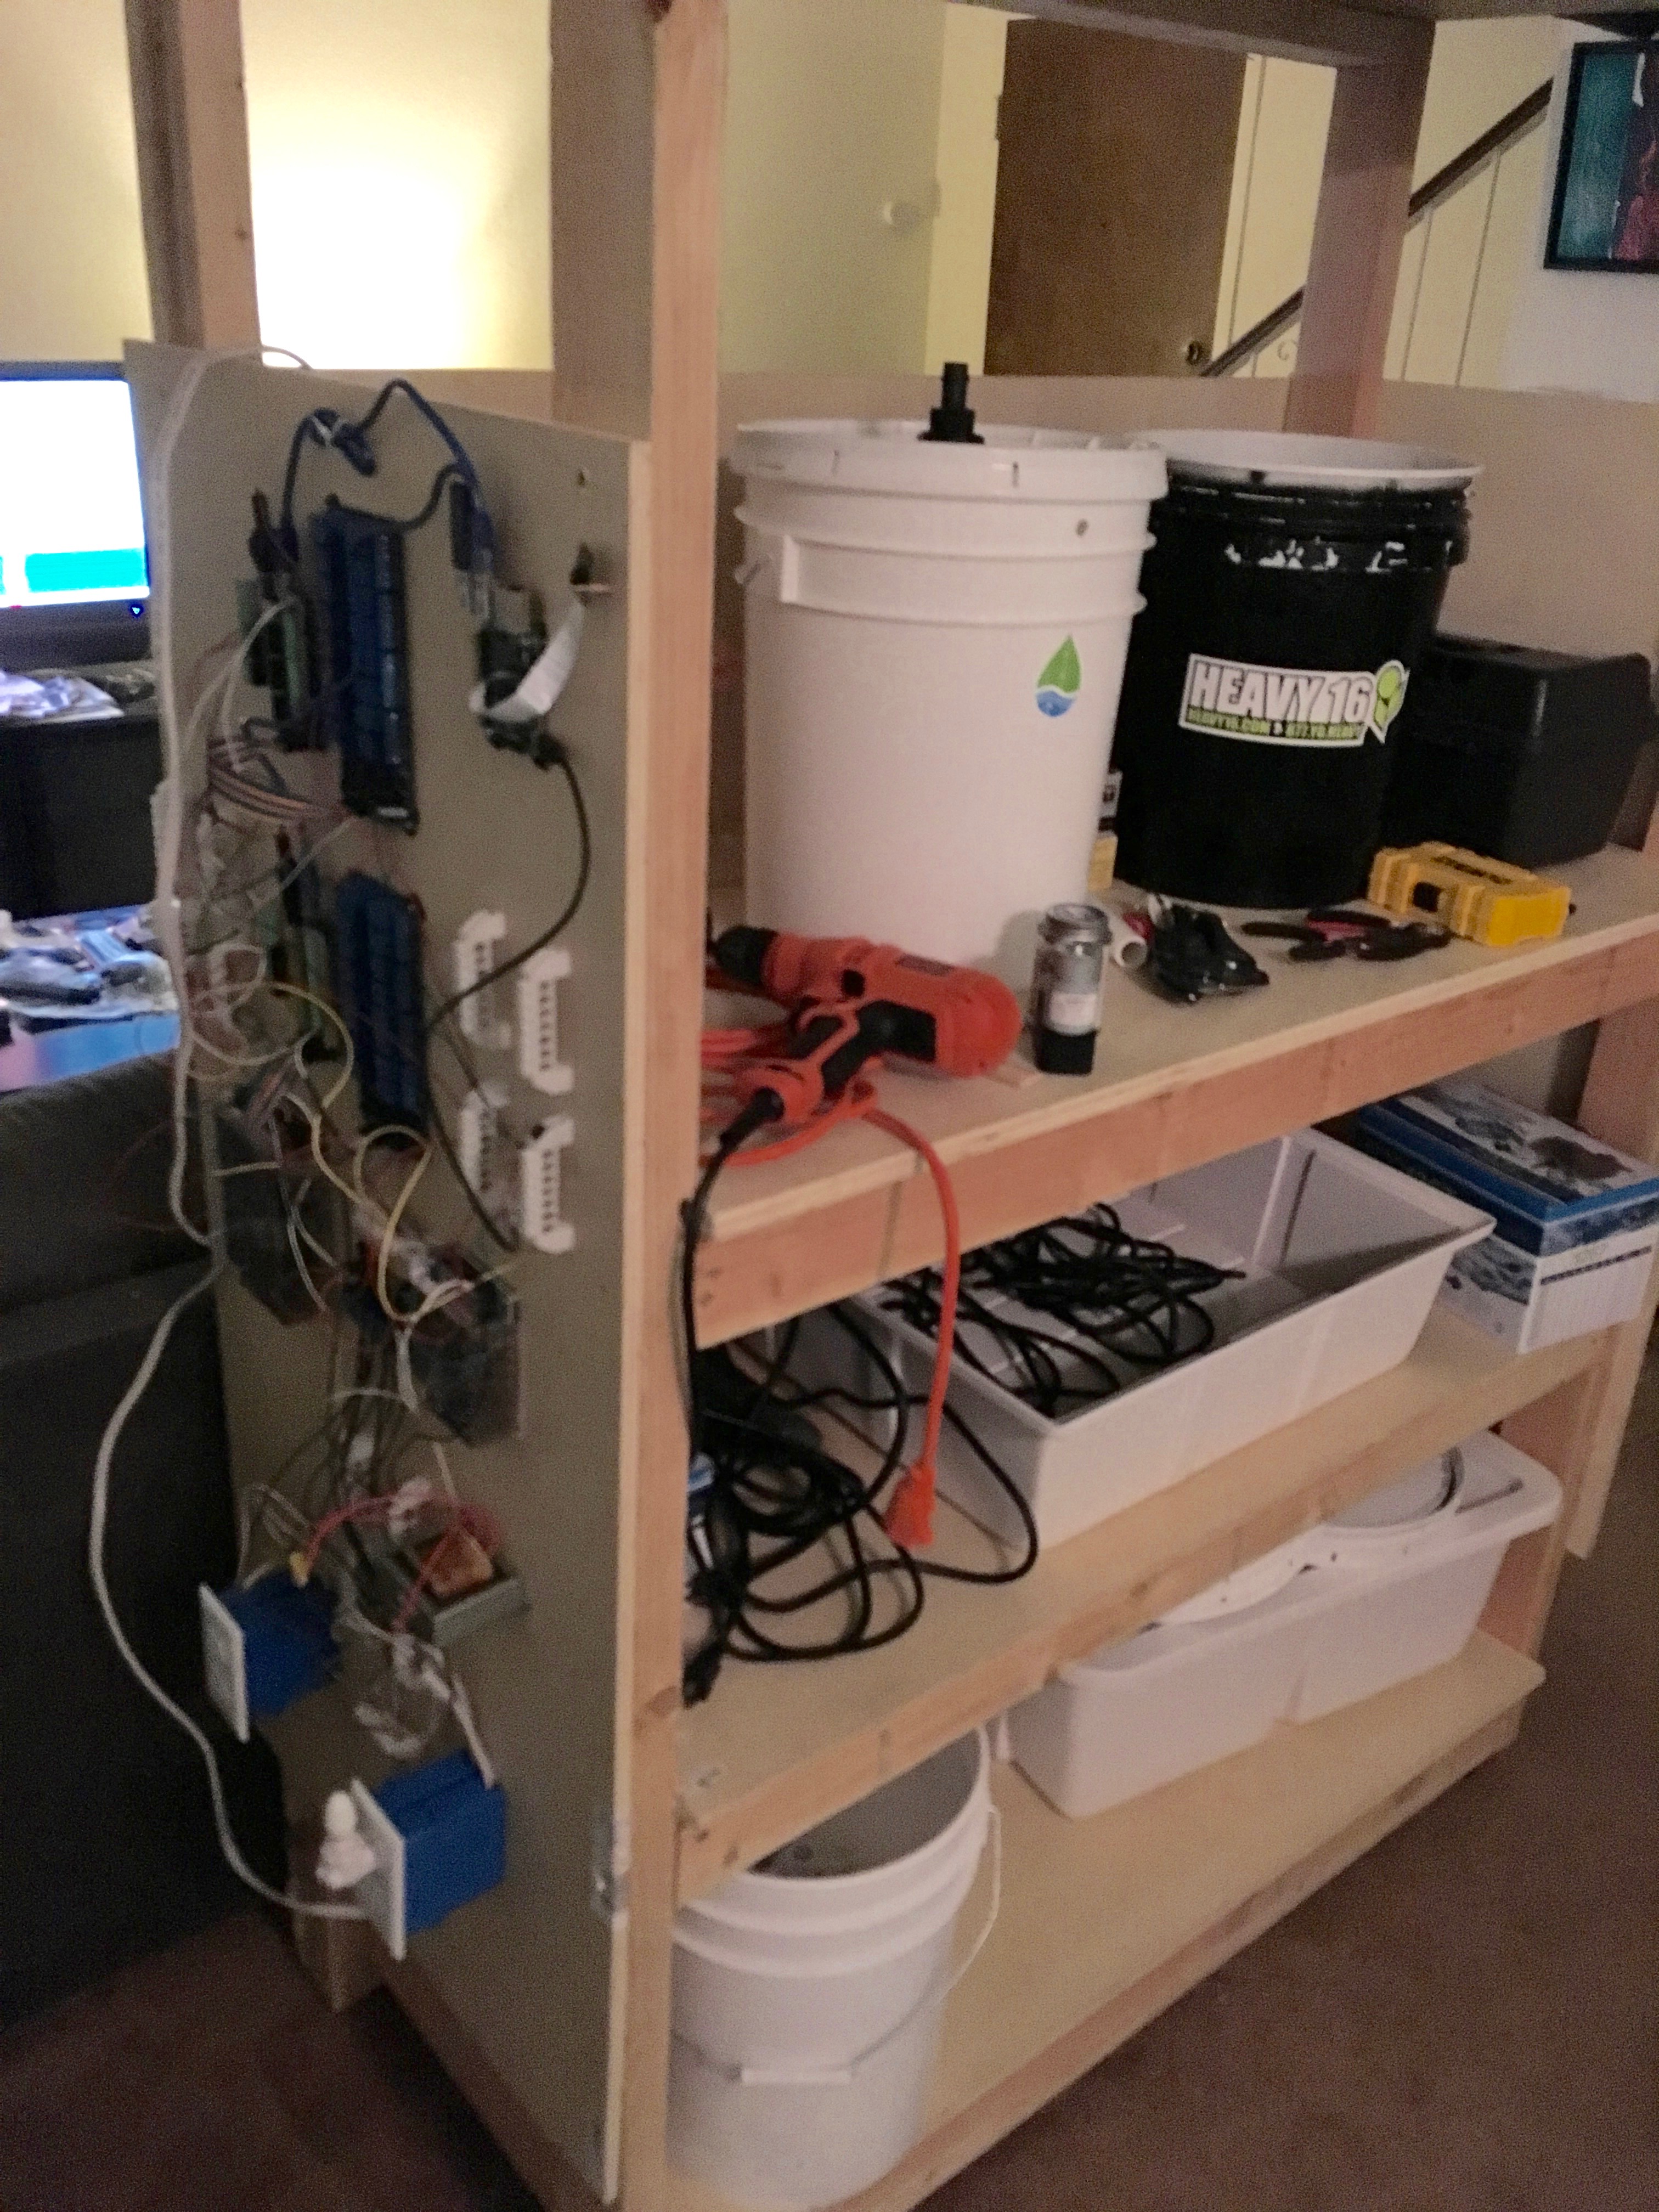
The downstairs closet was converted over to a veg room again and I decided to try cloning out at a larger scale.
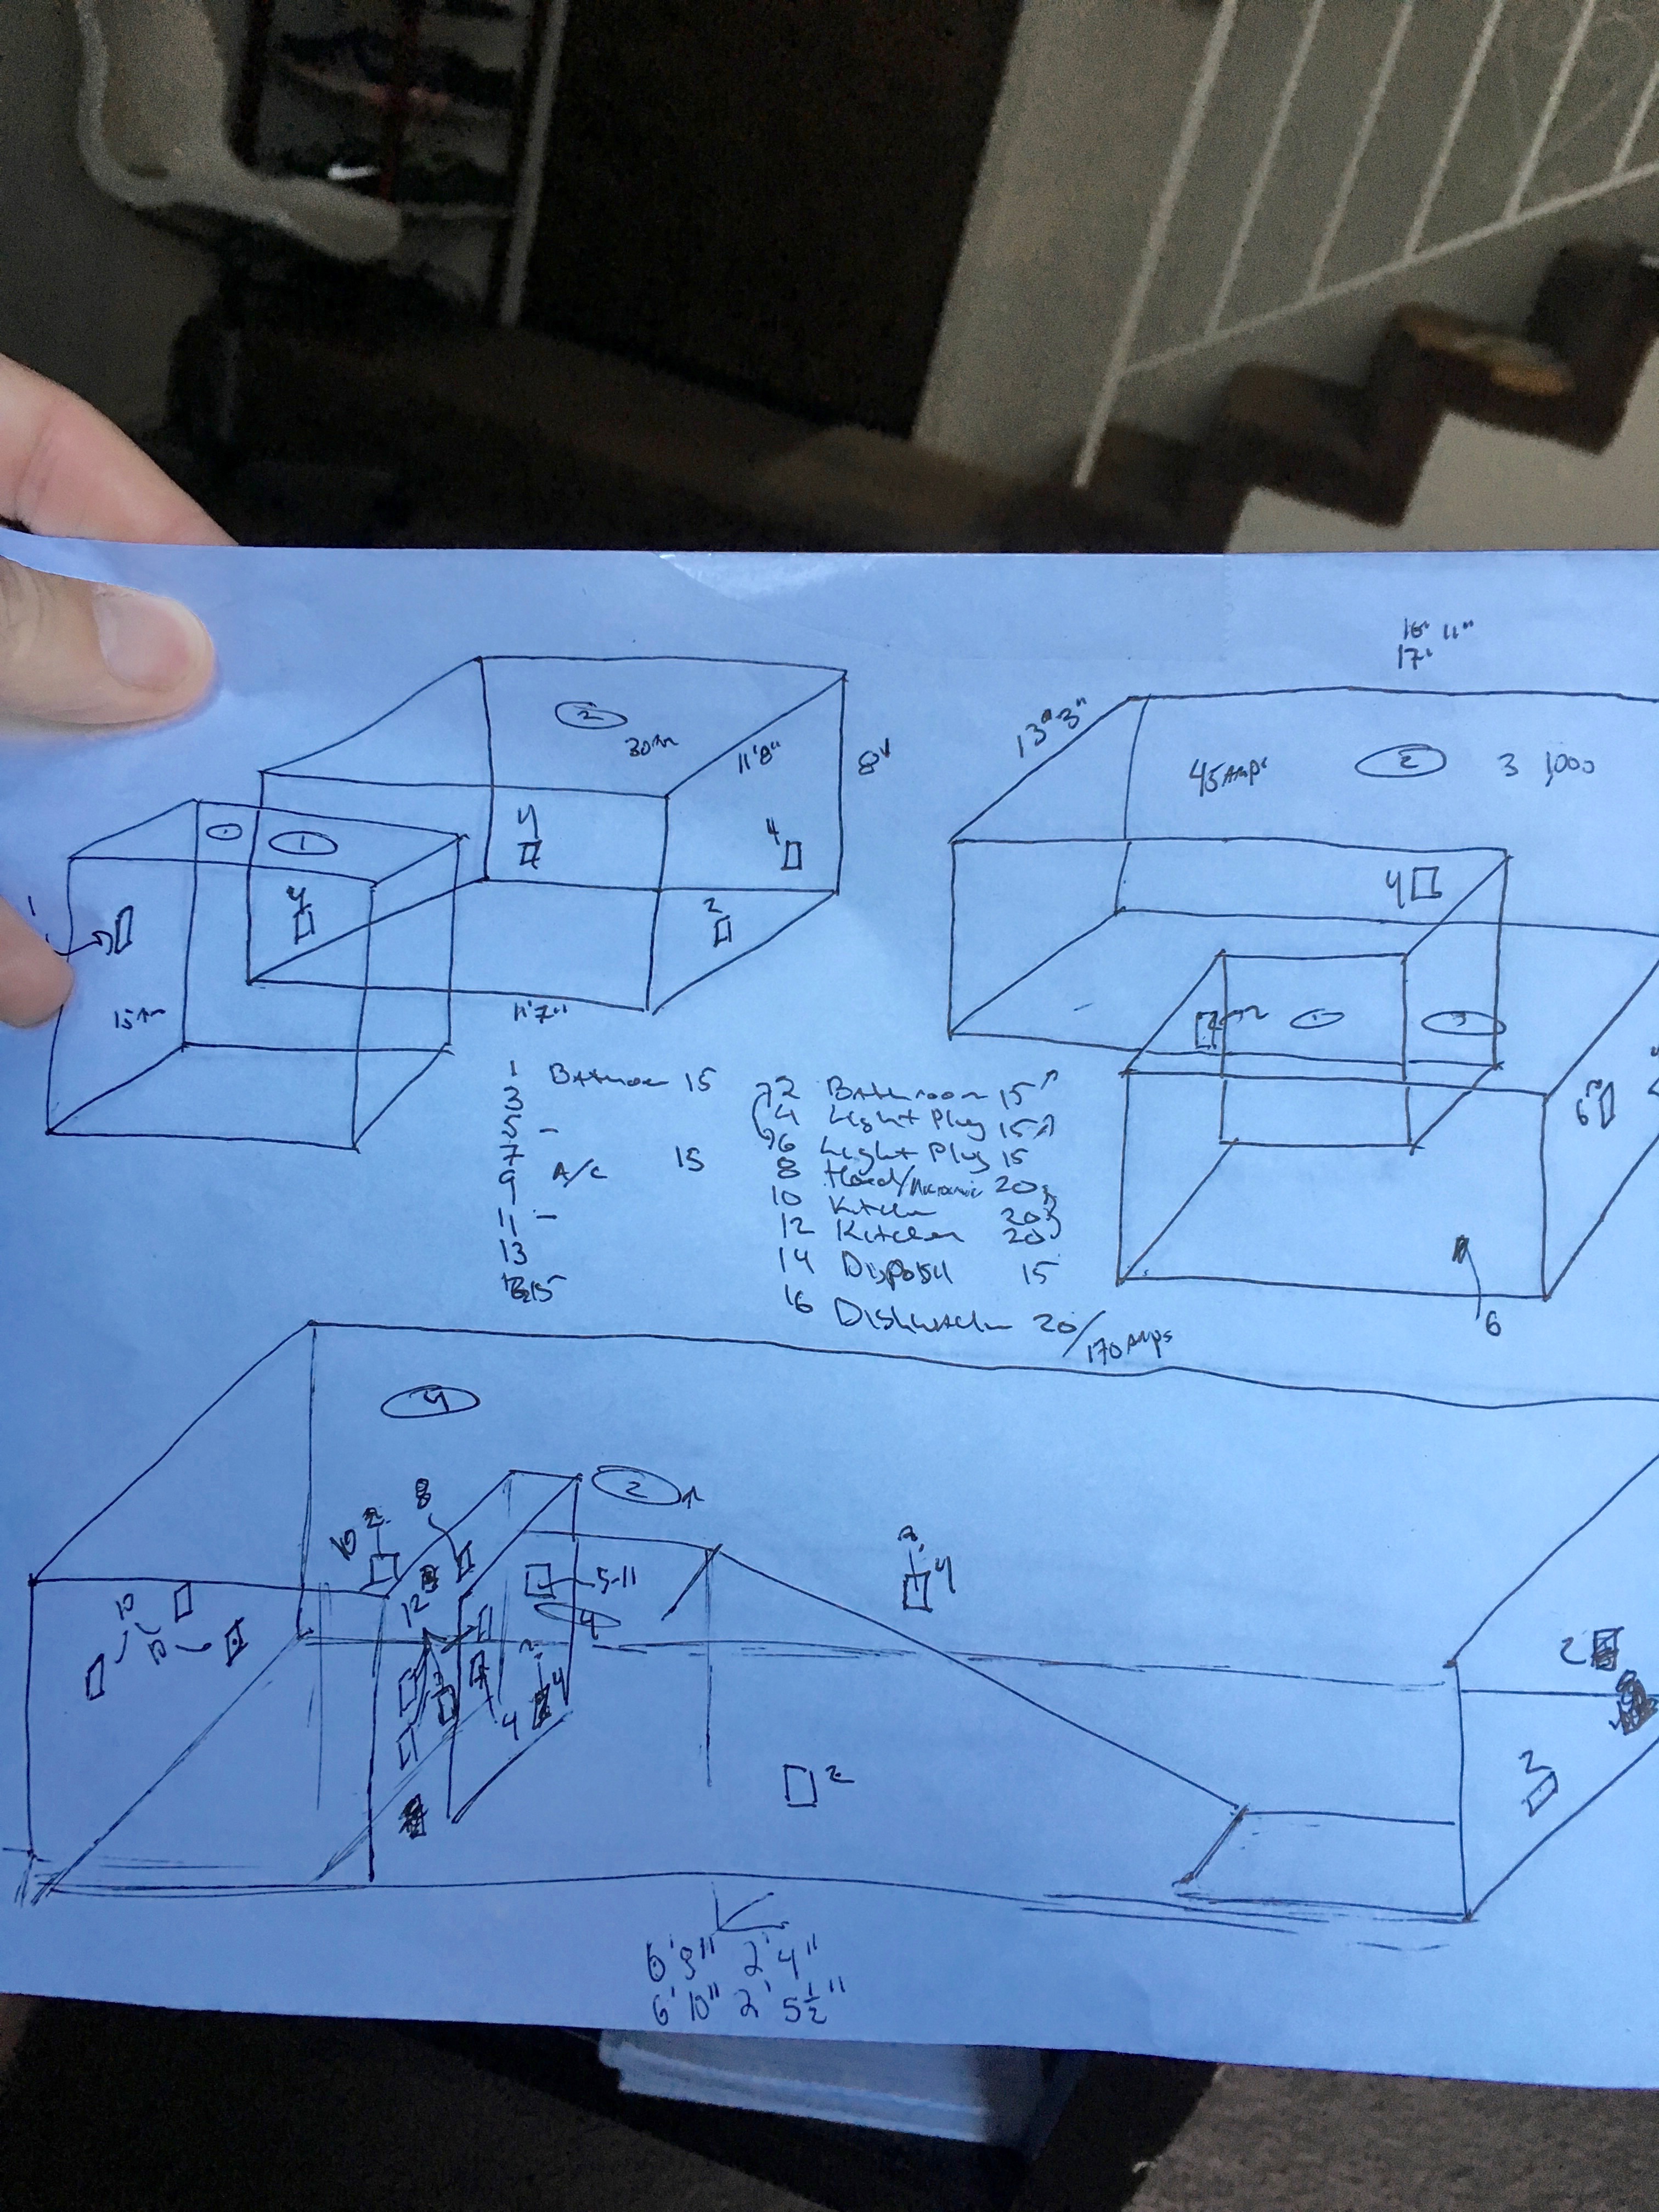
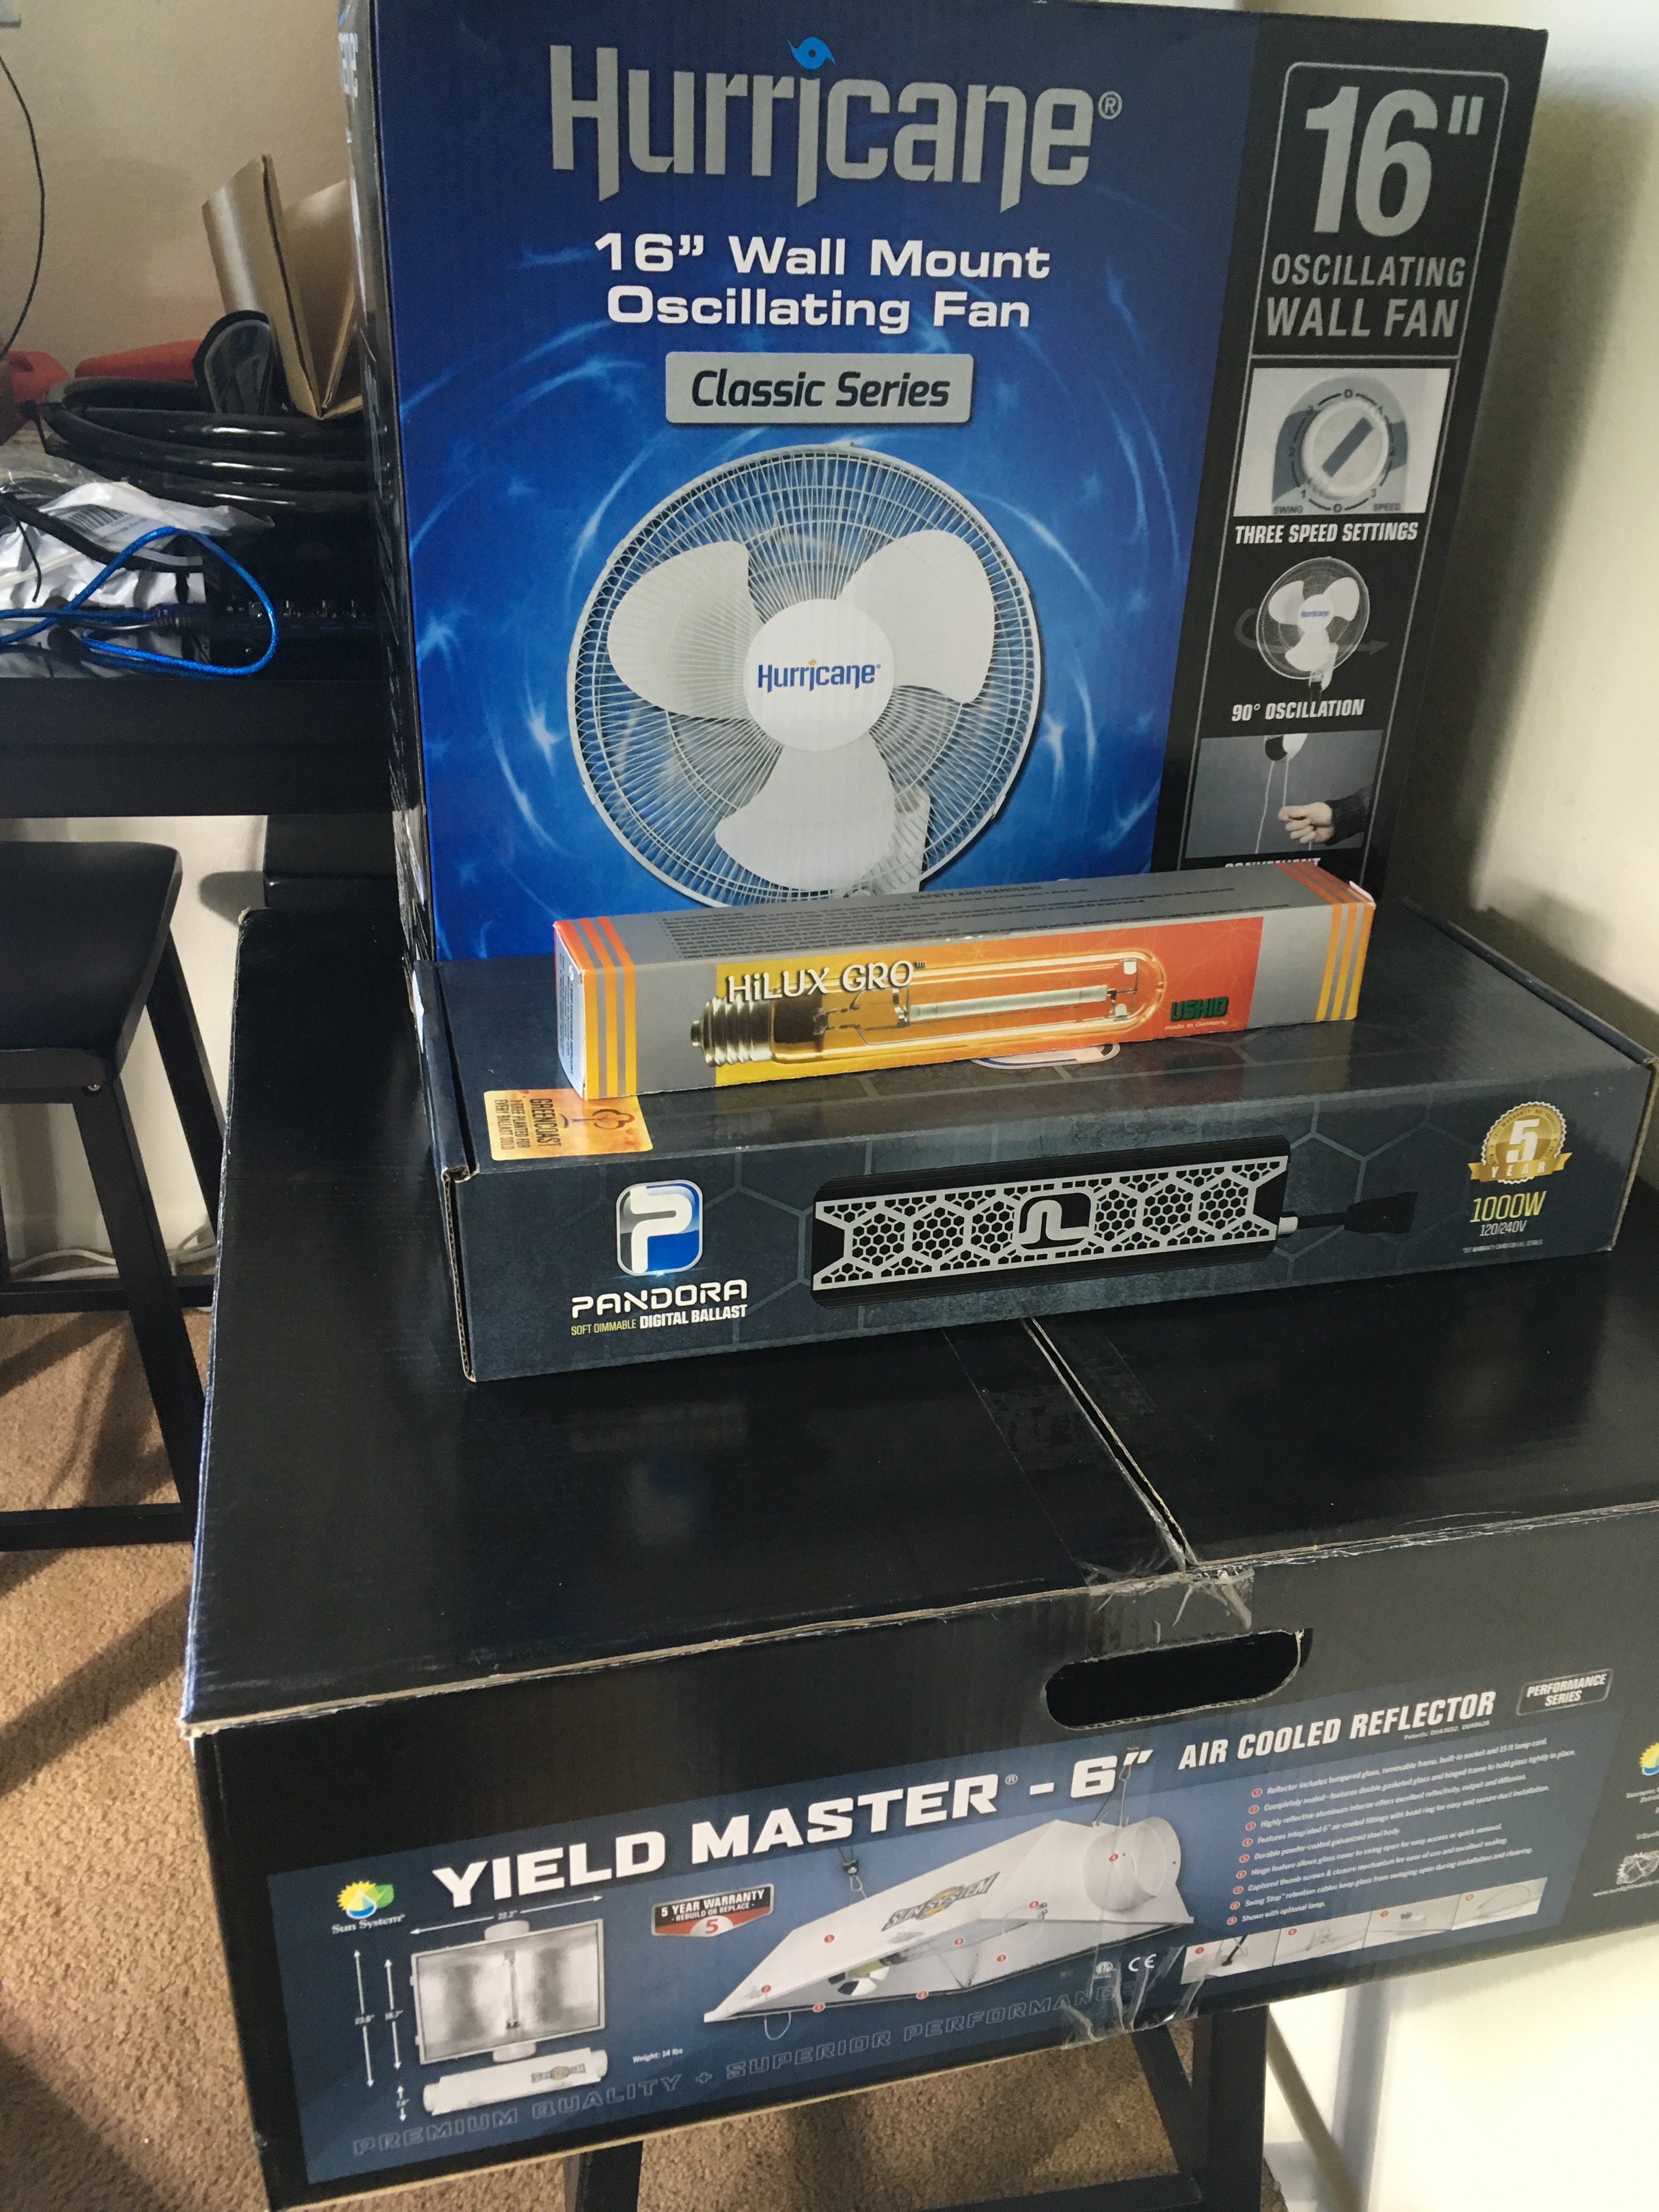
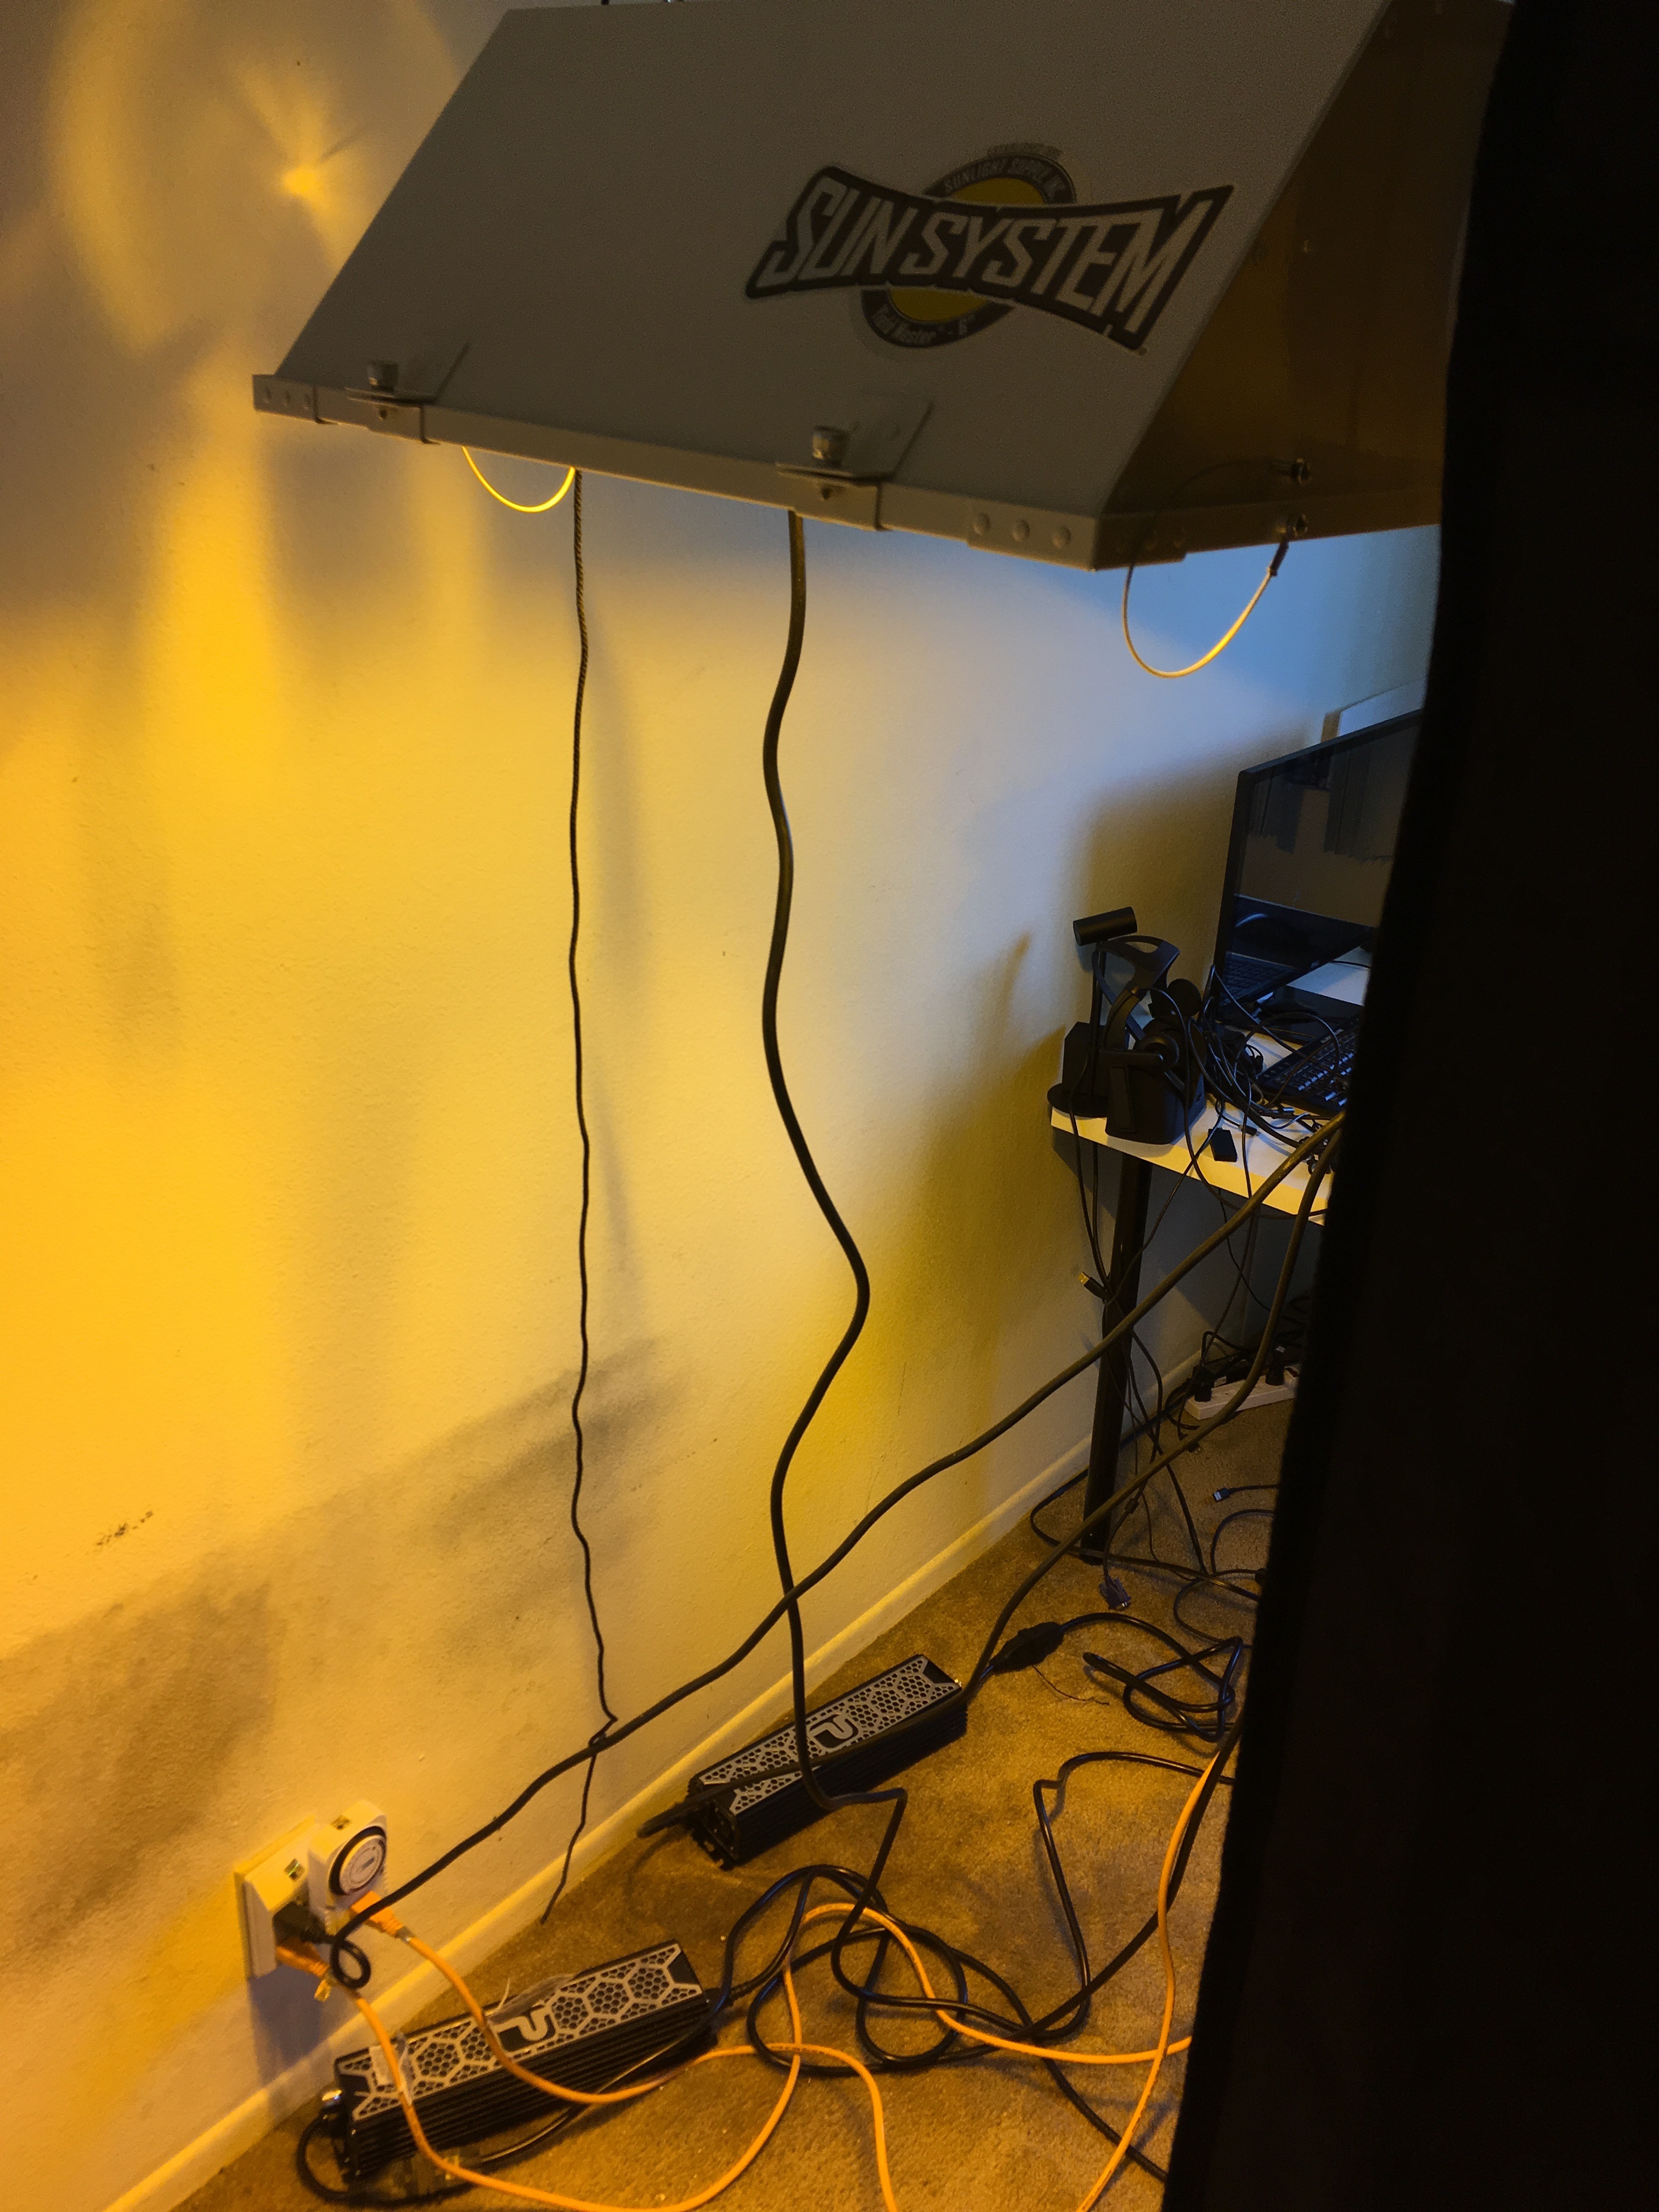
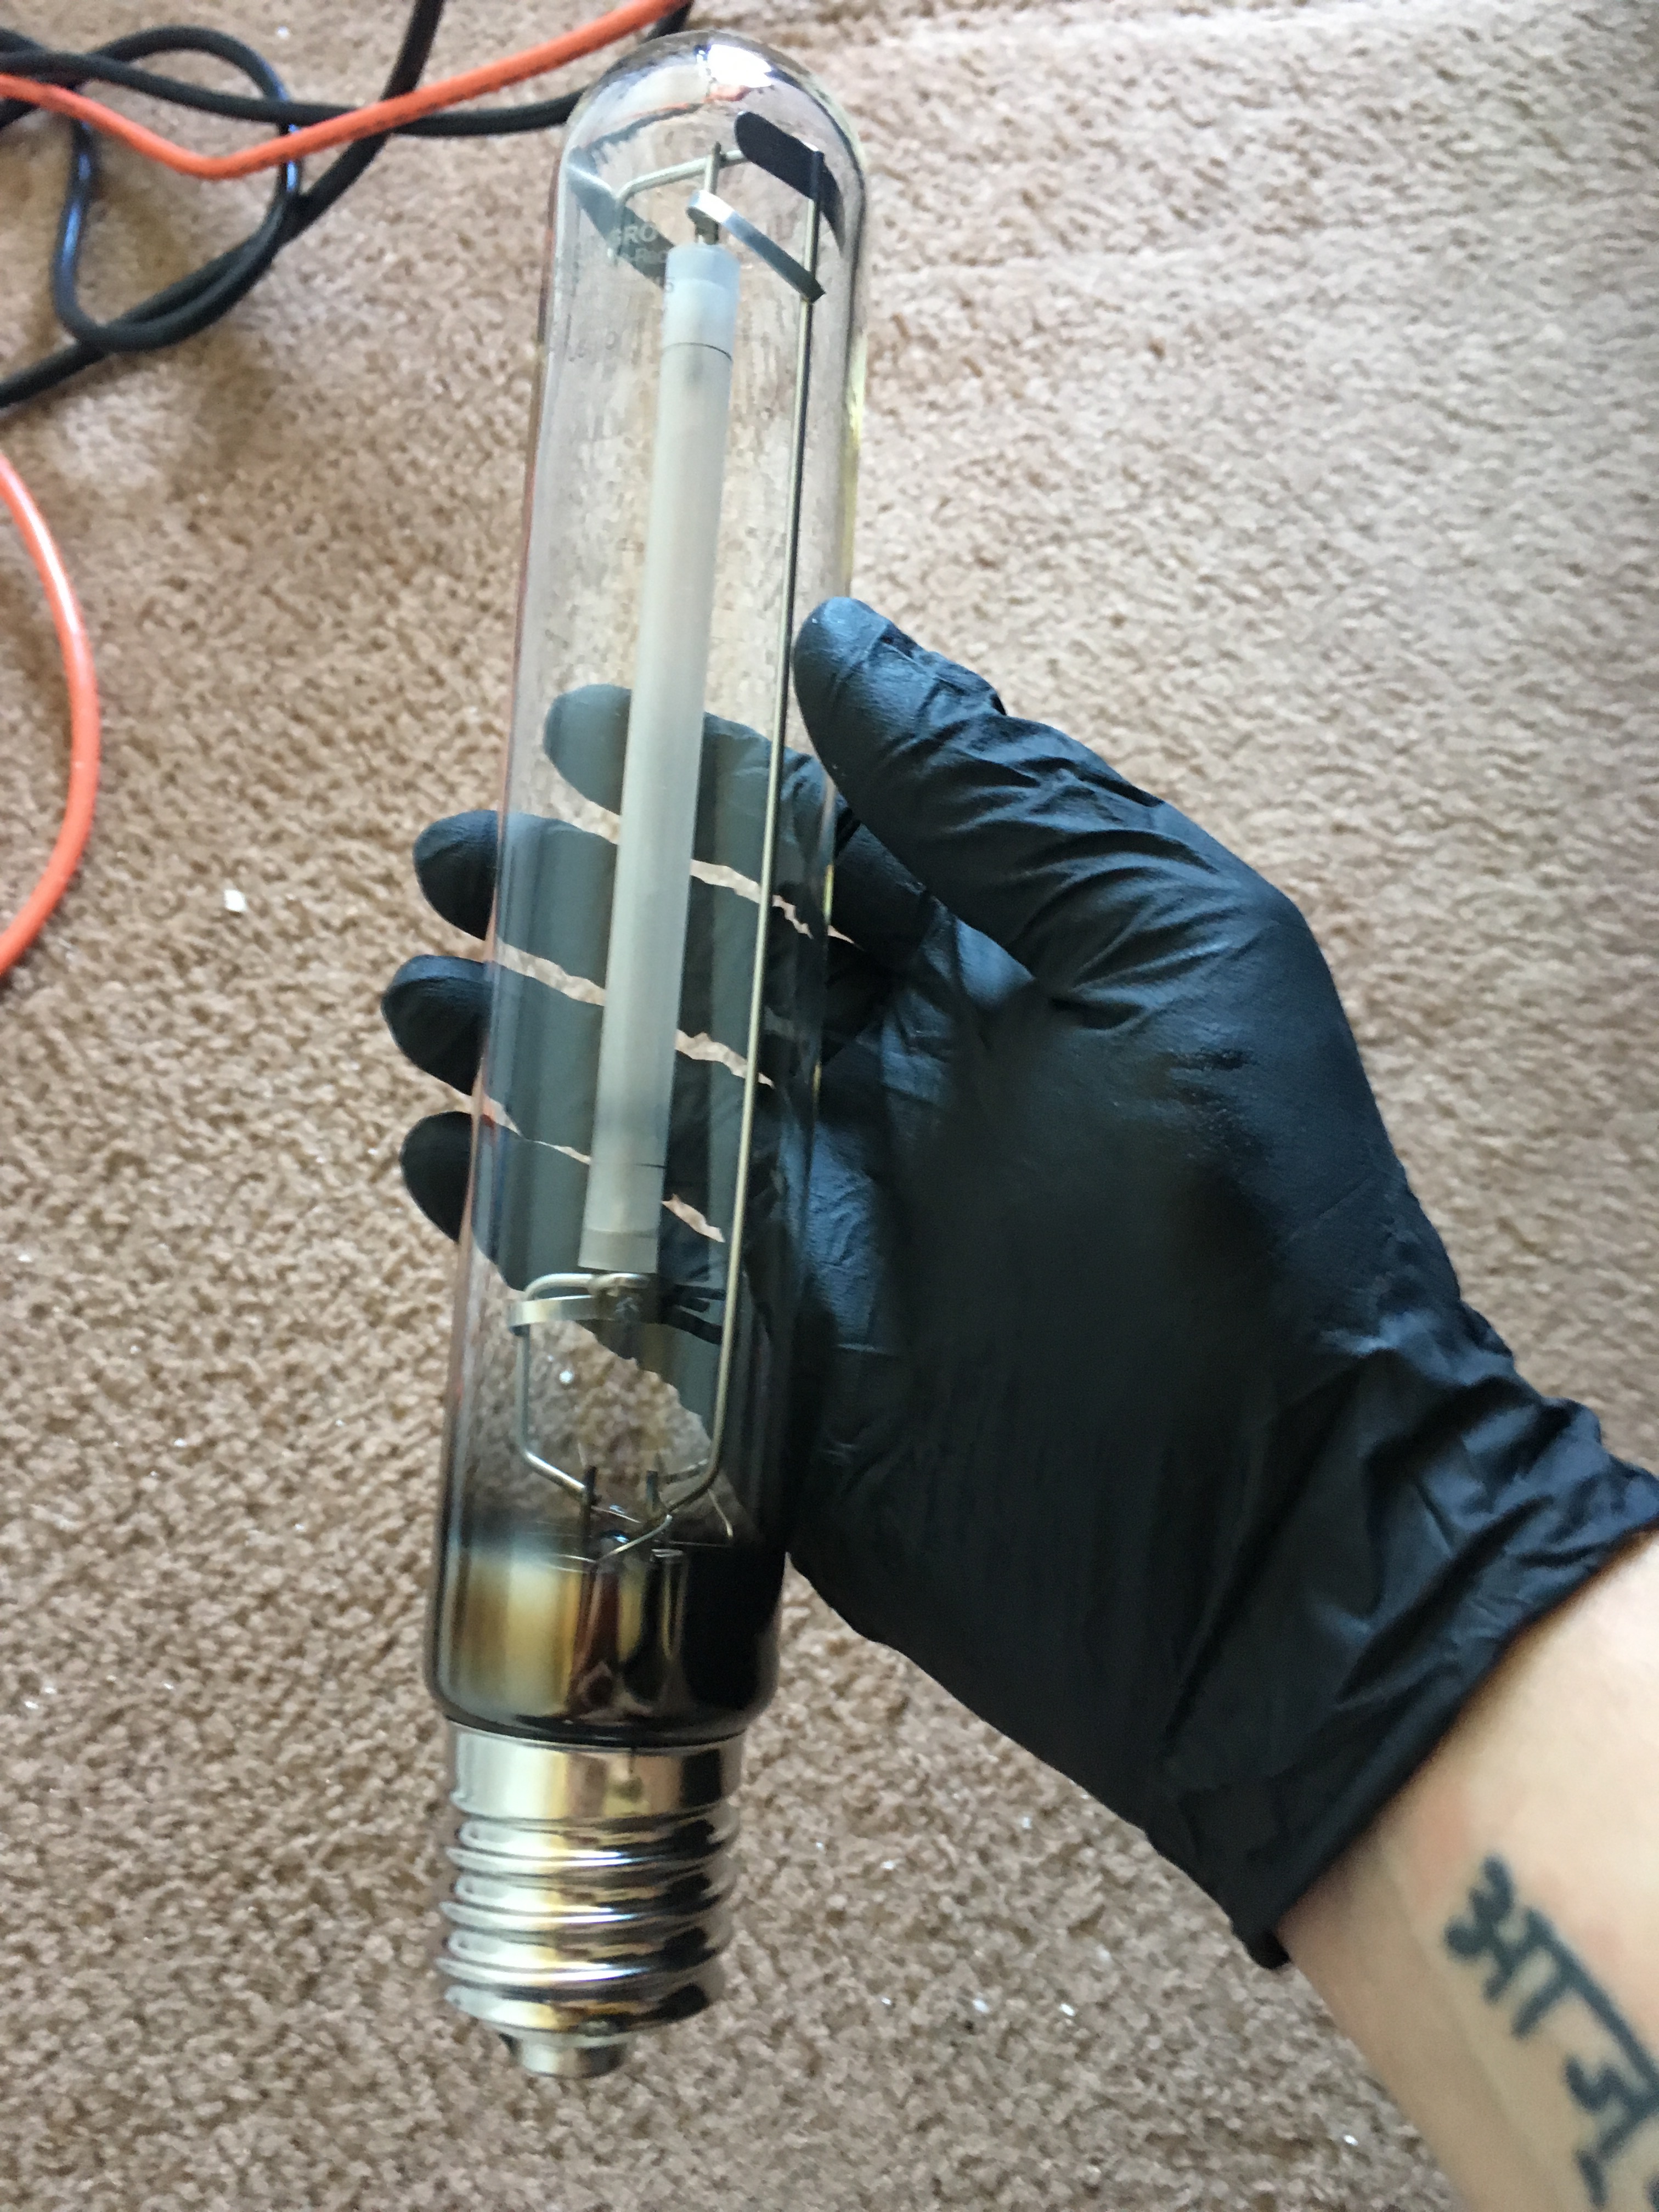
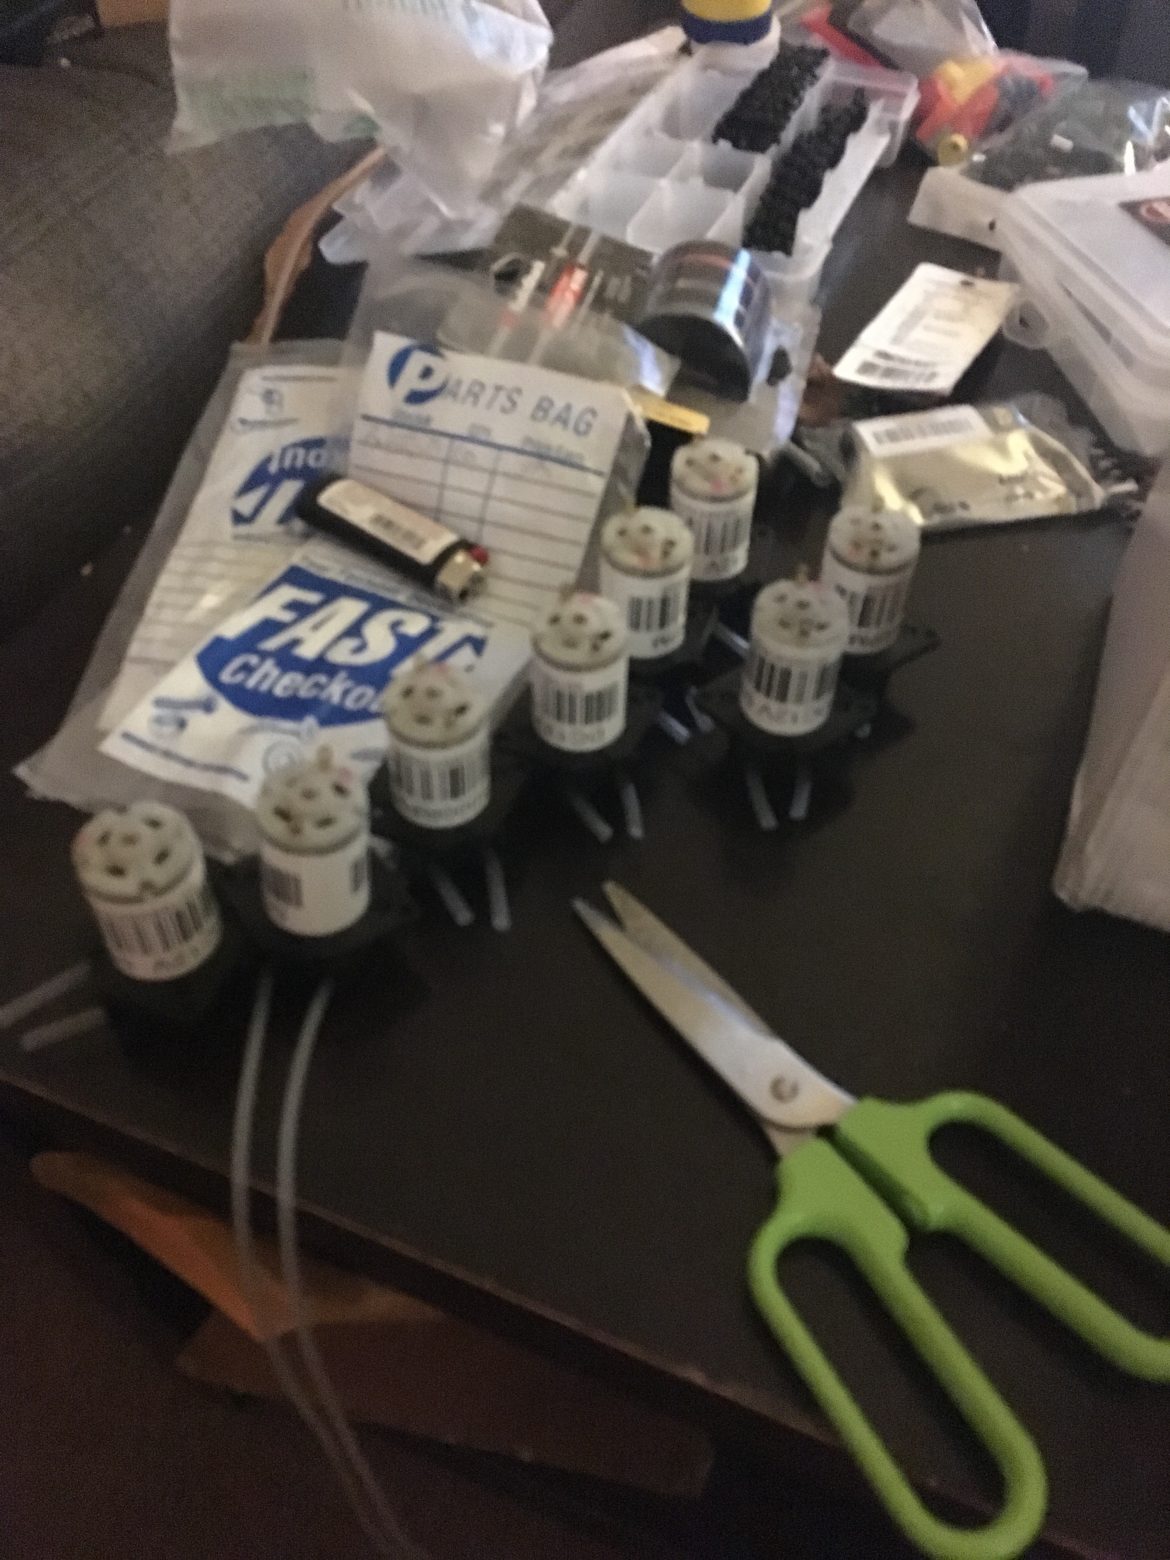
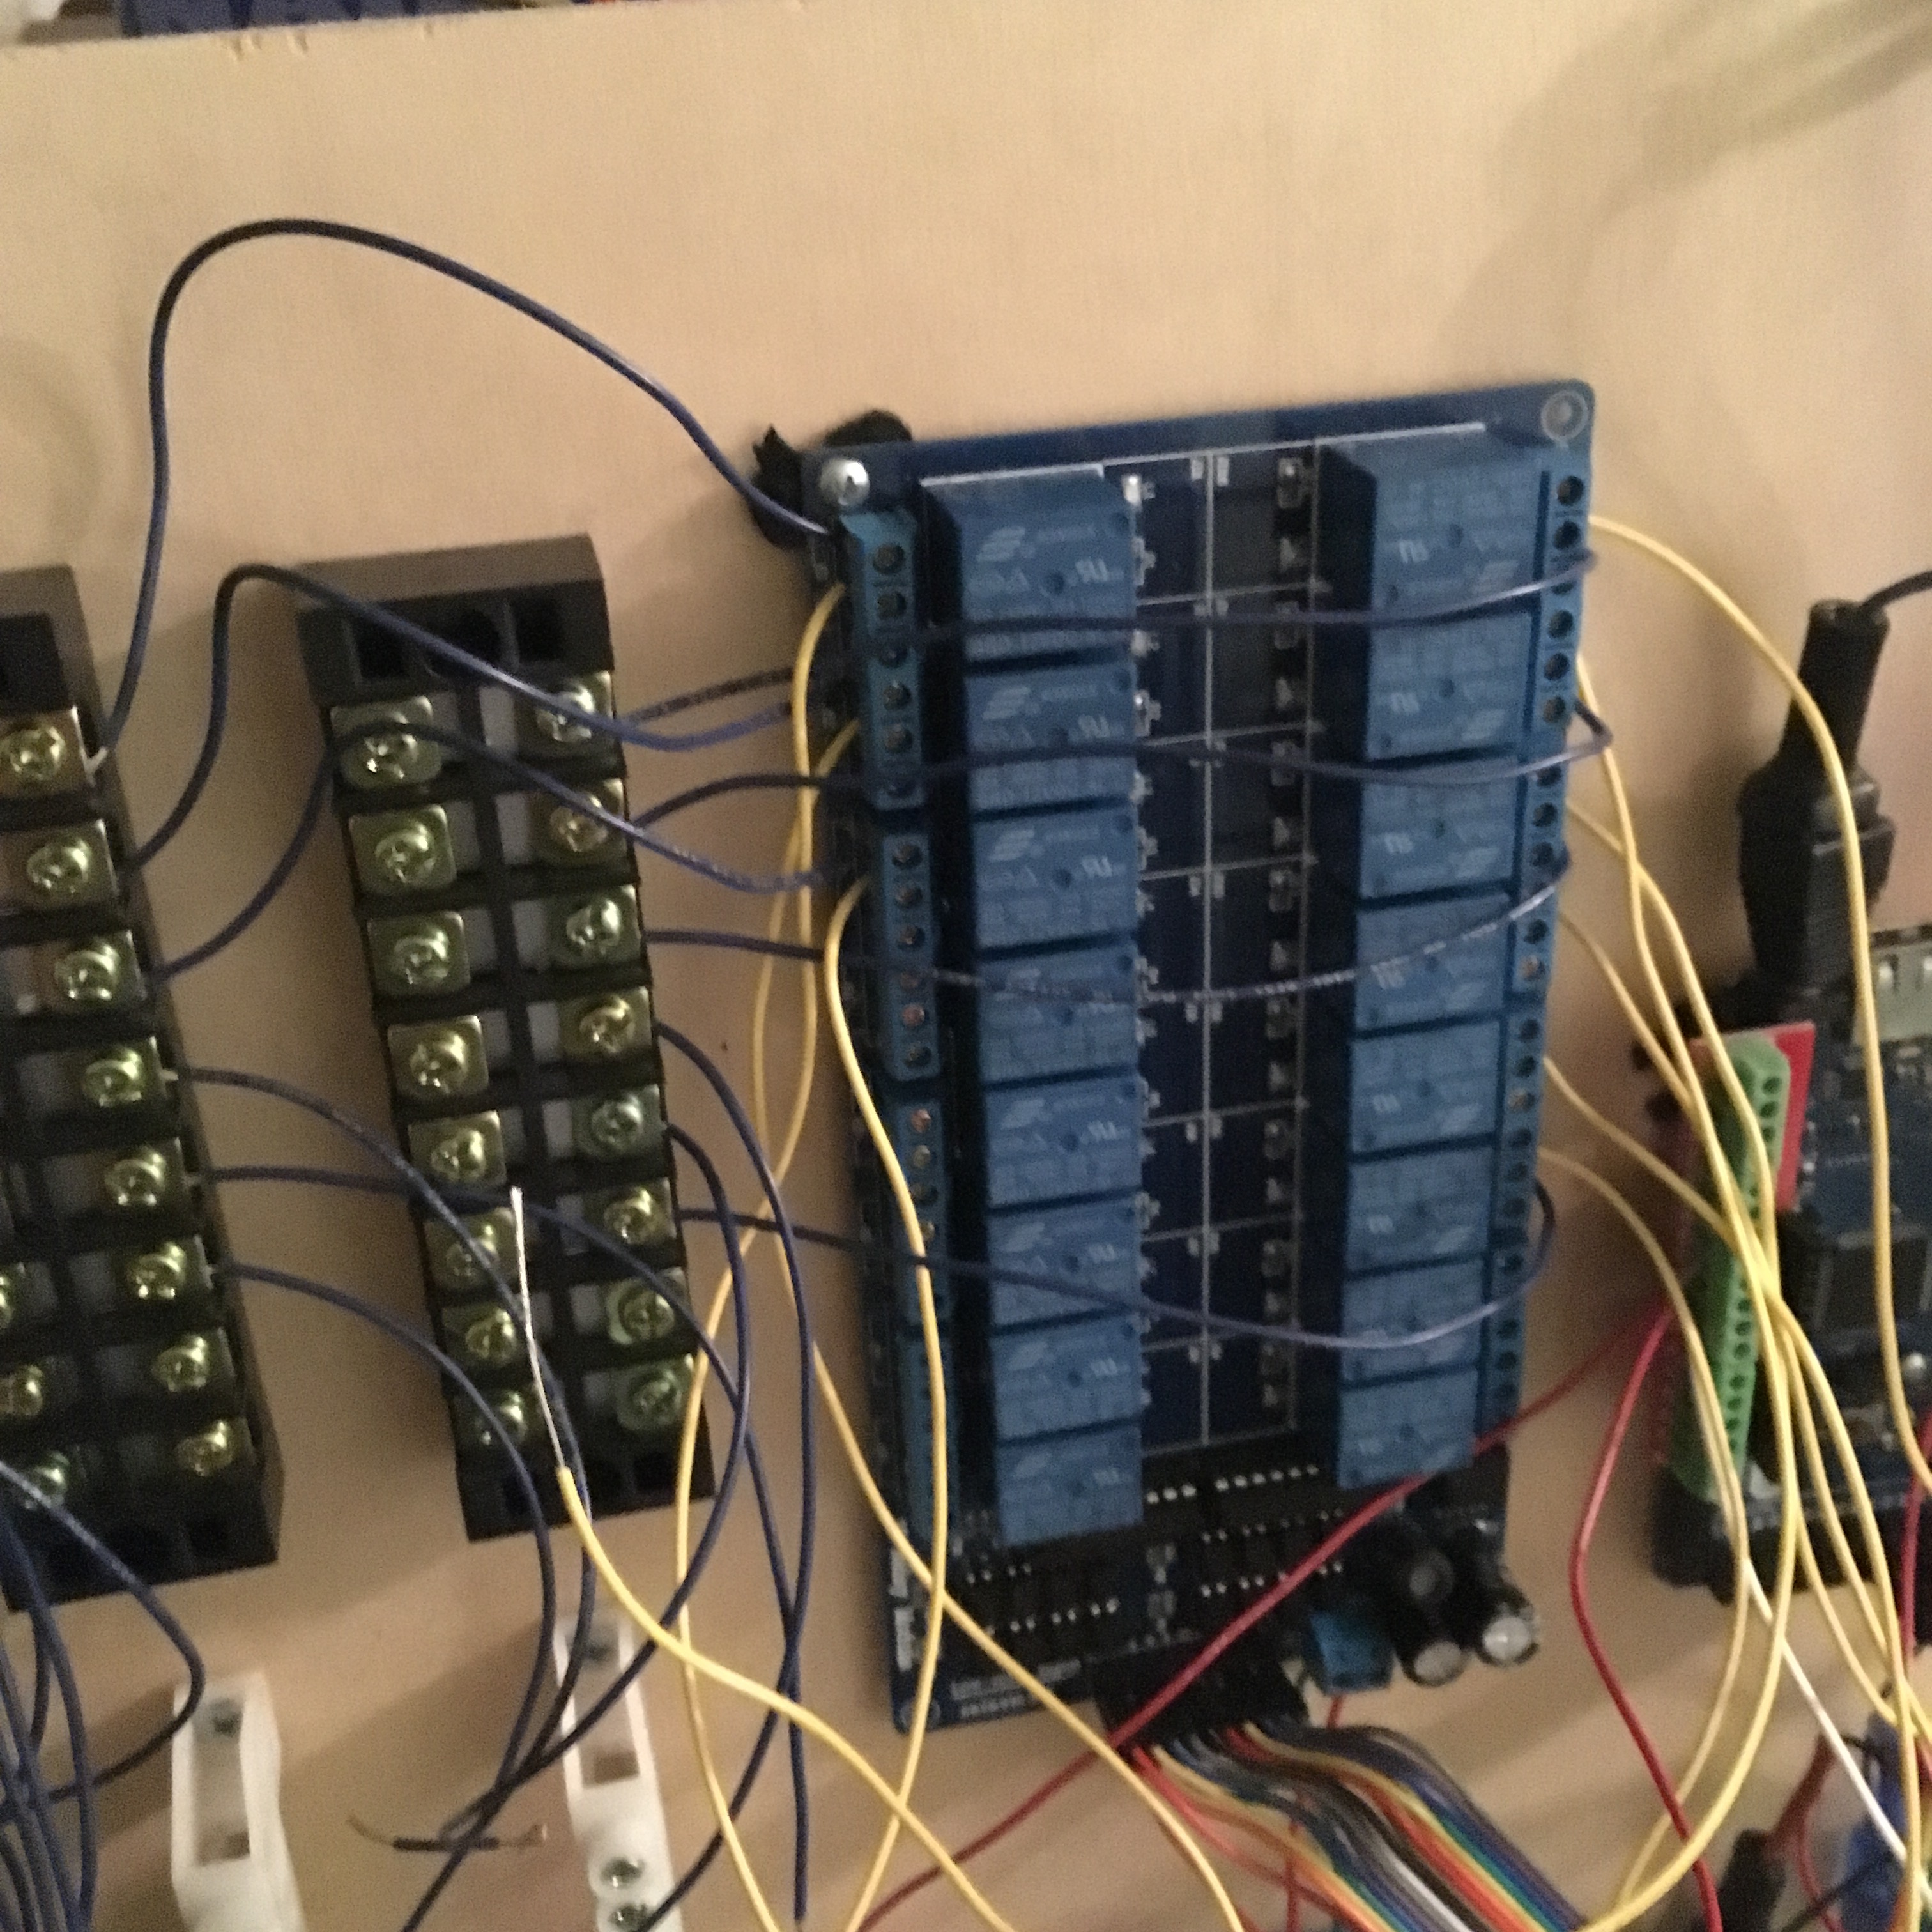
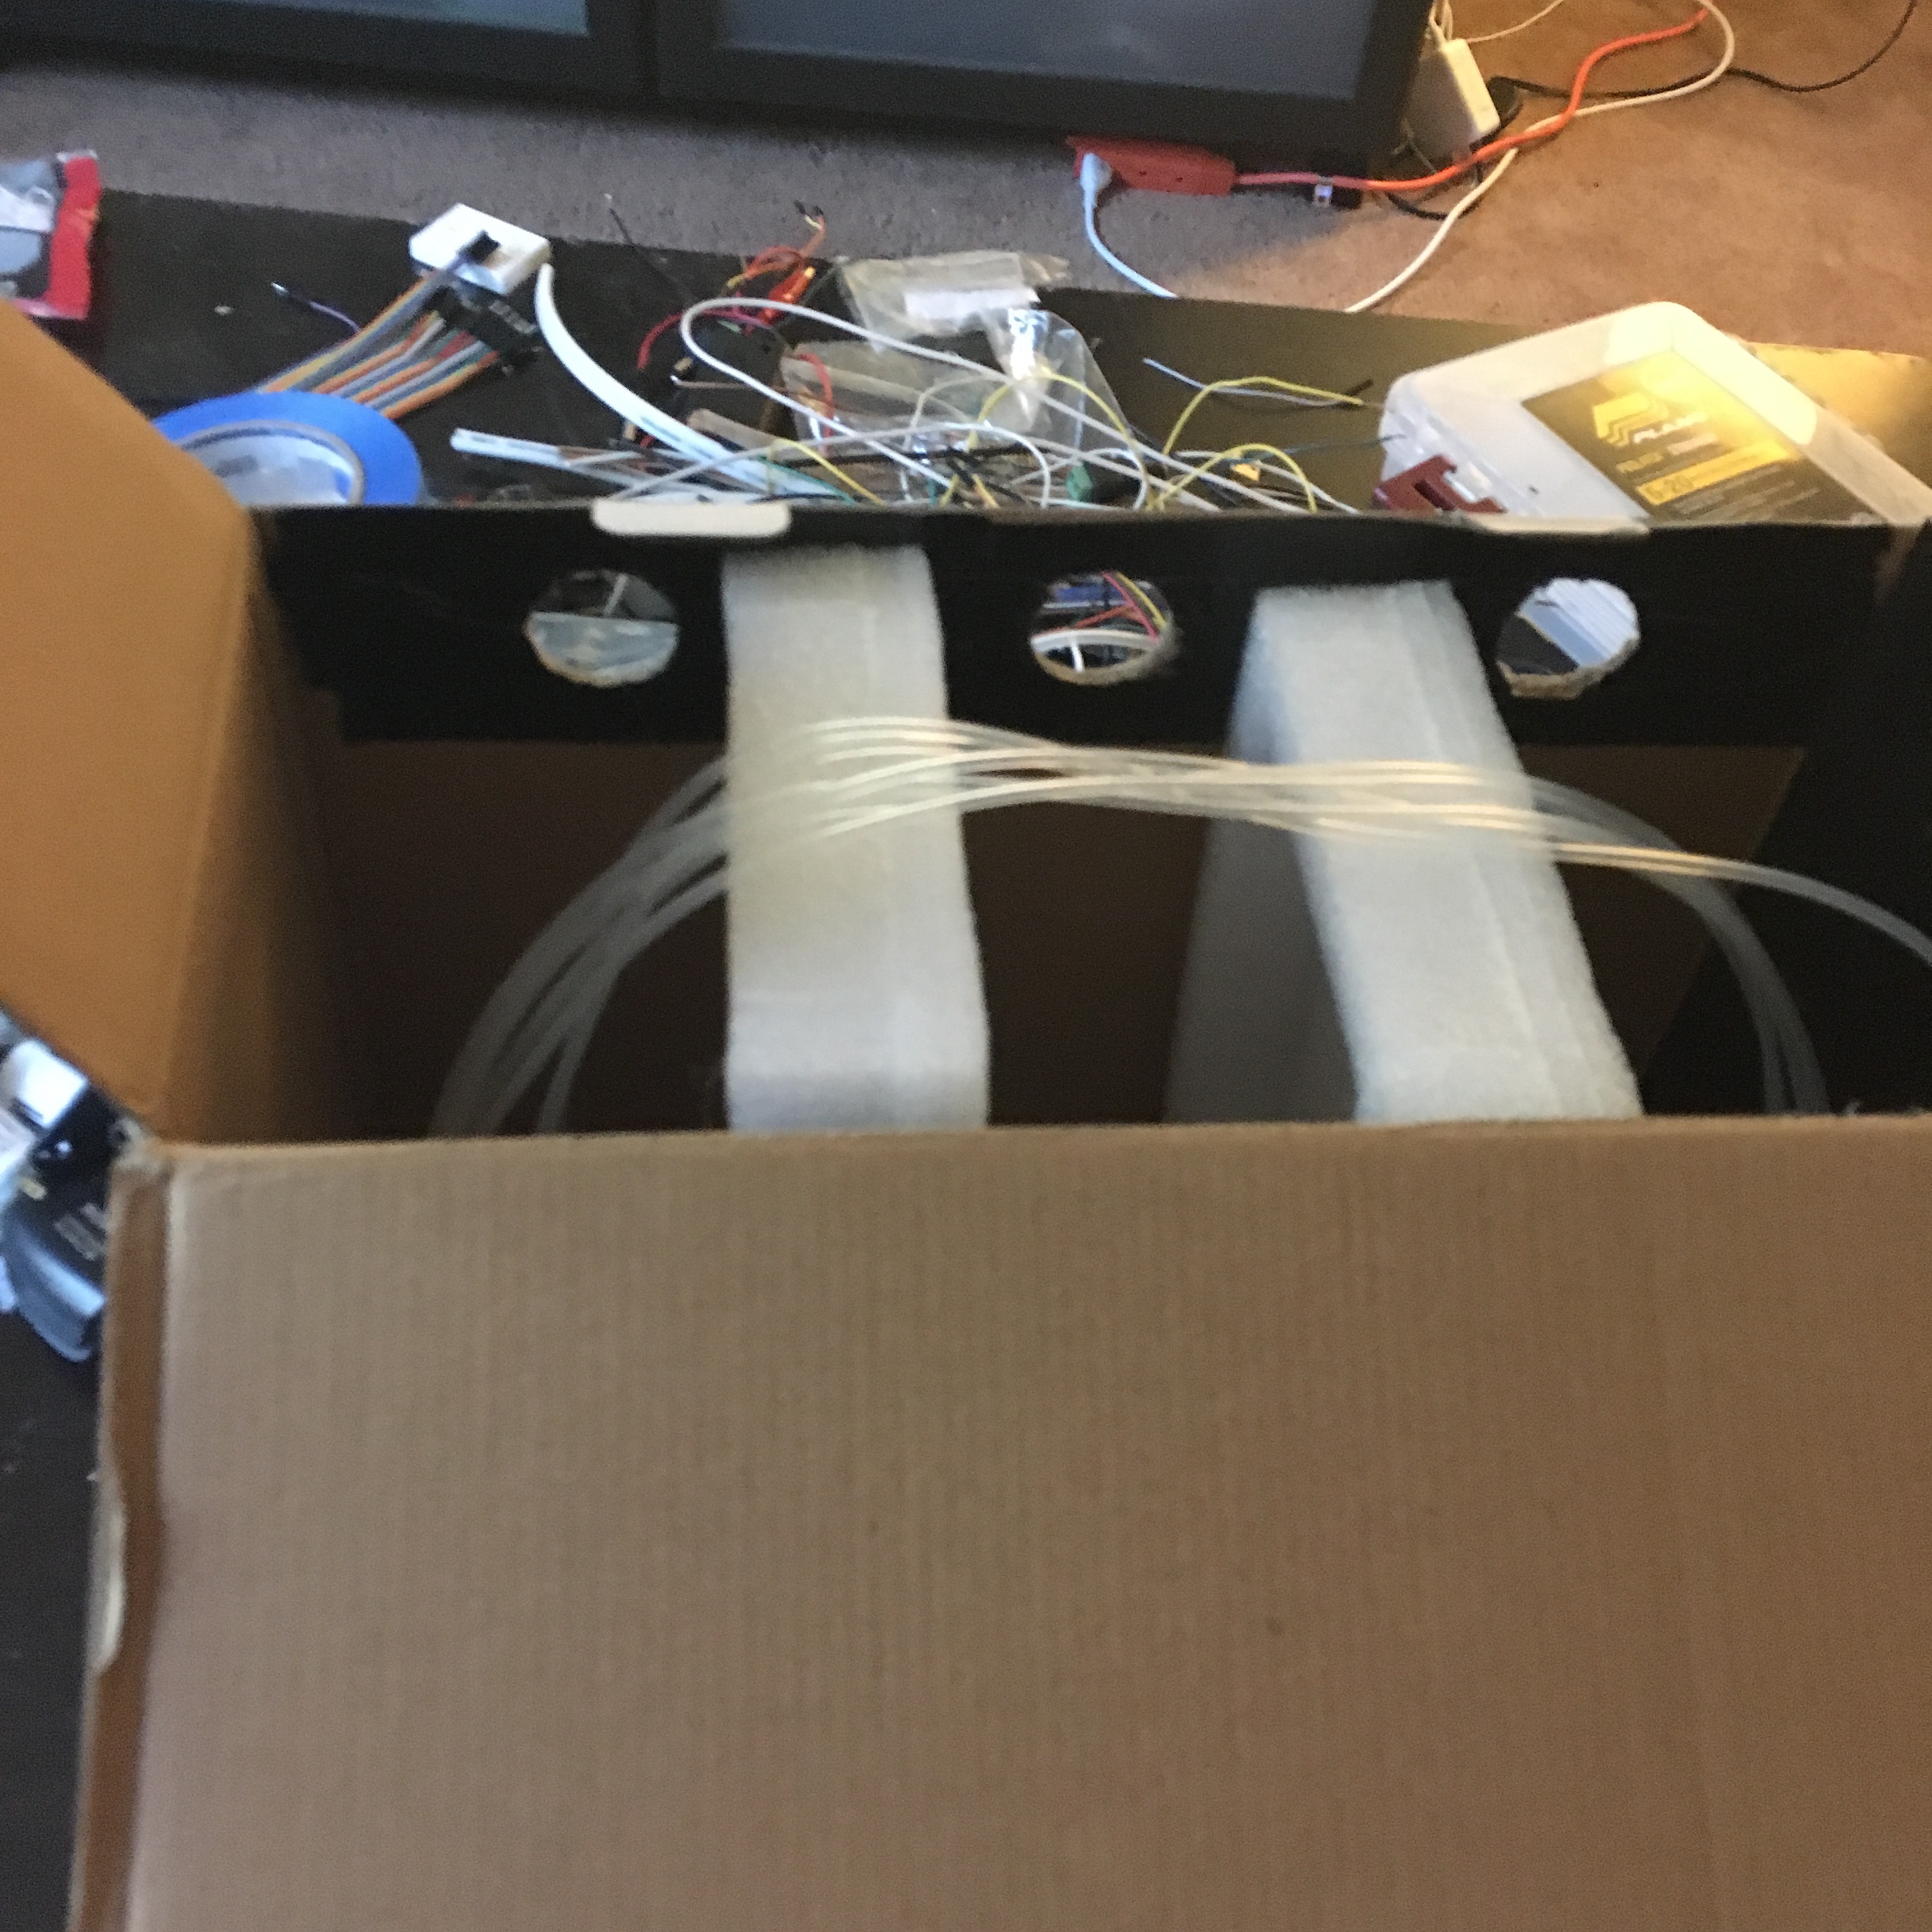
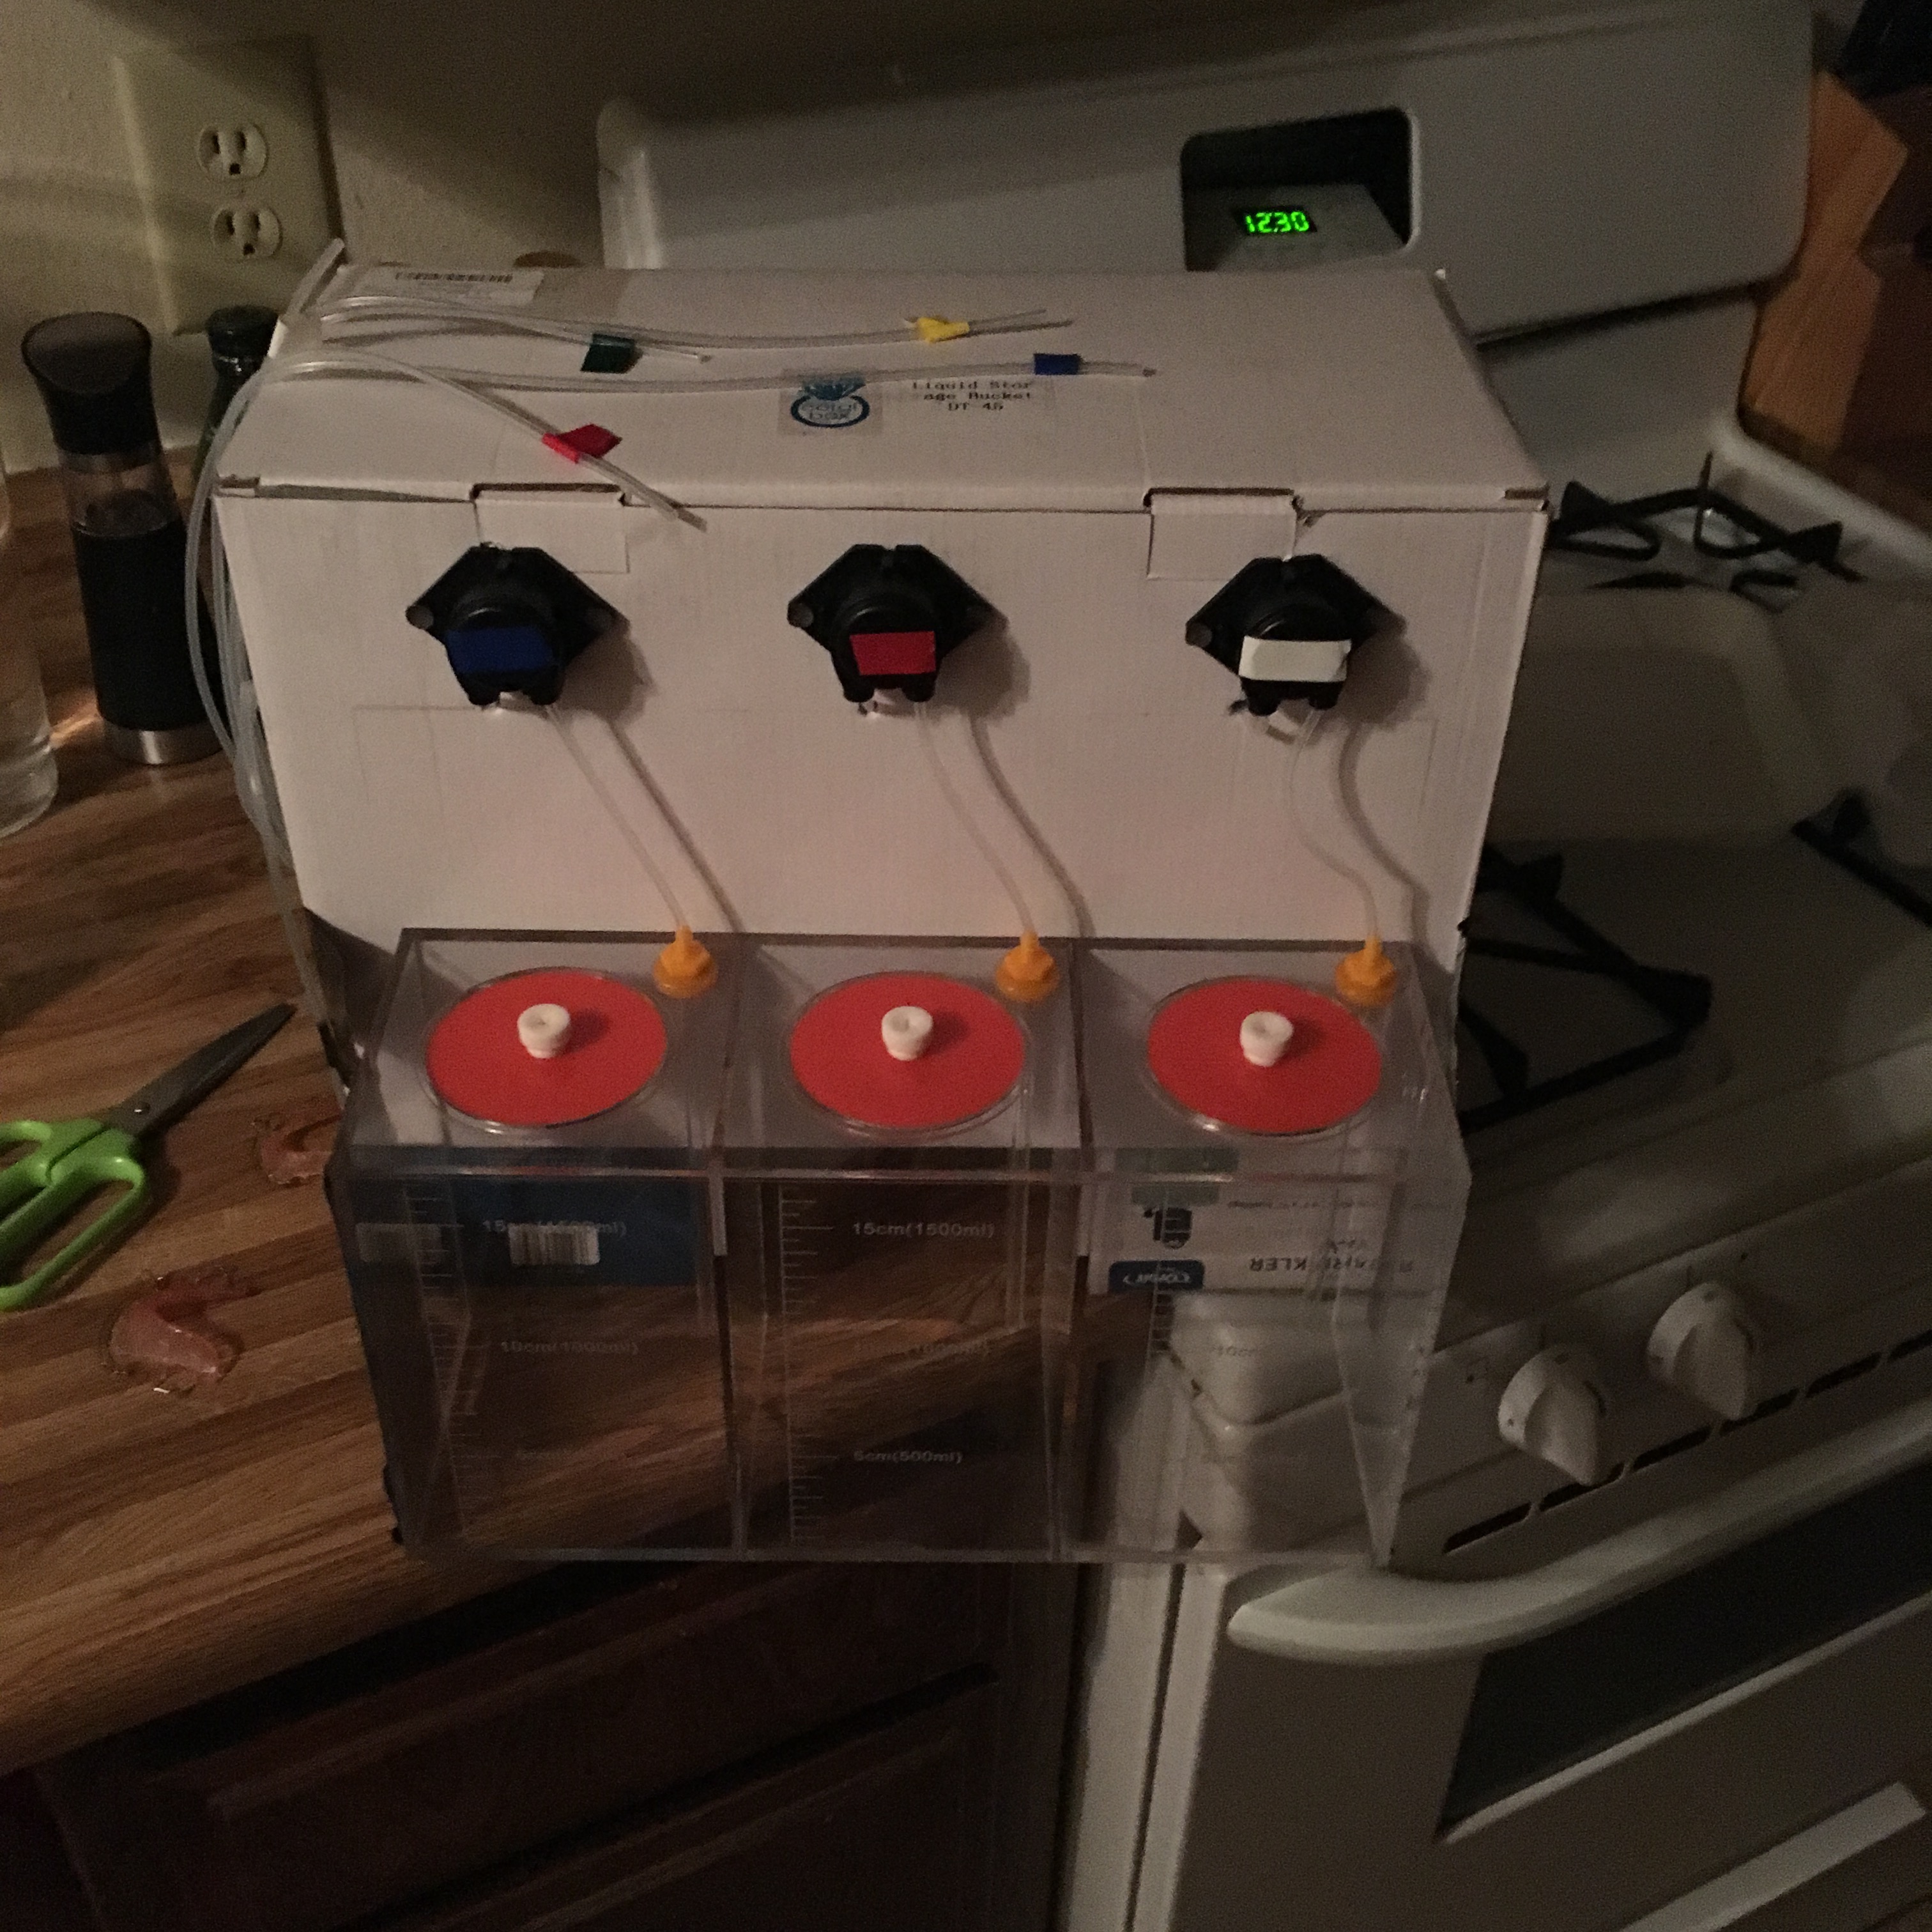
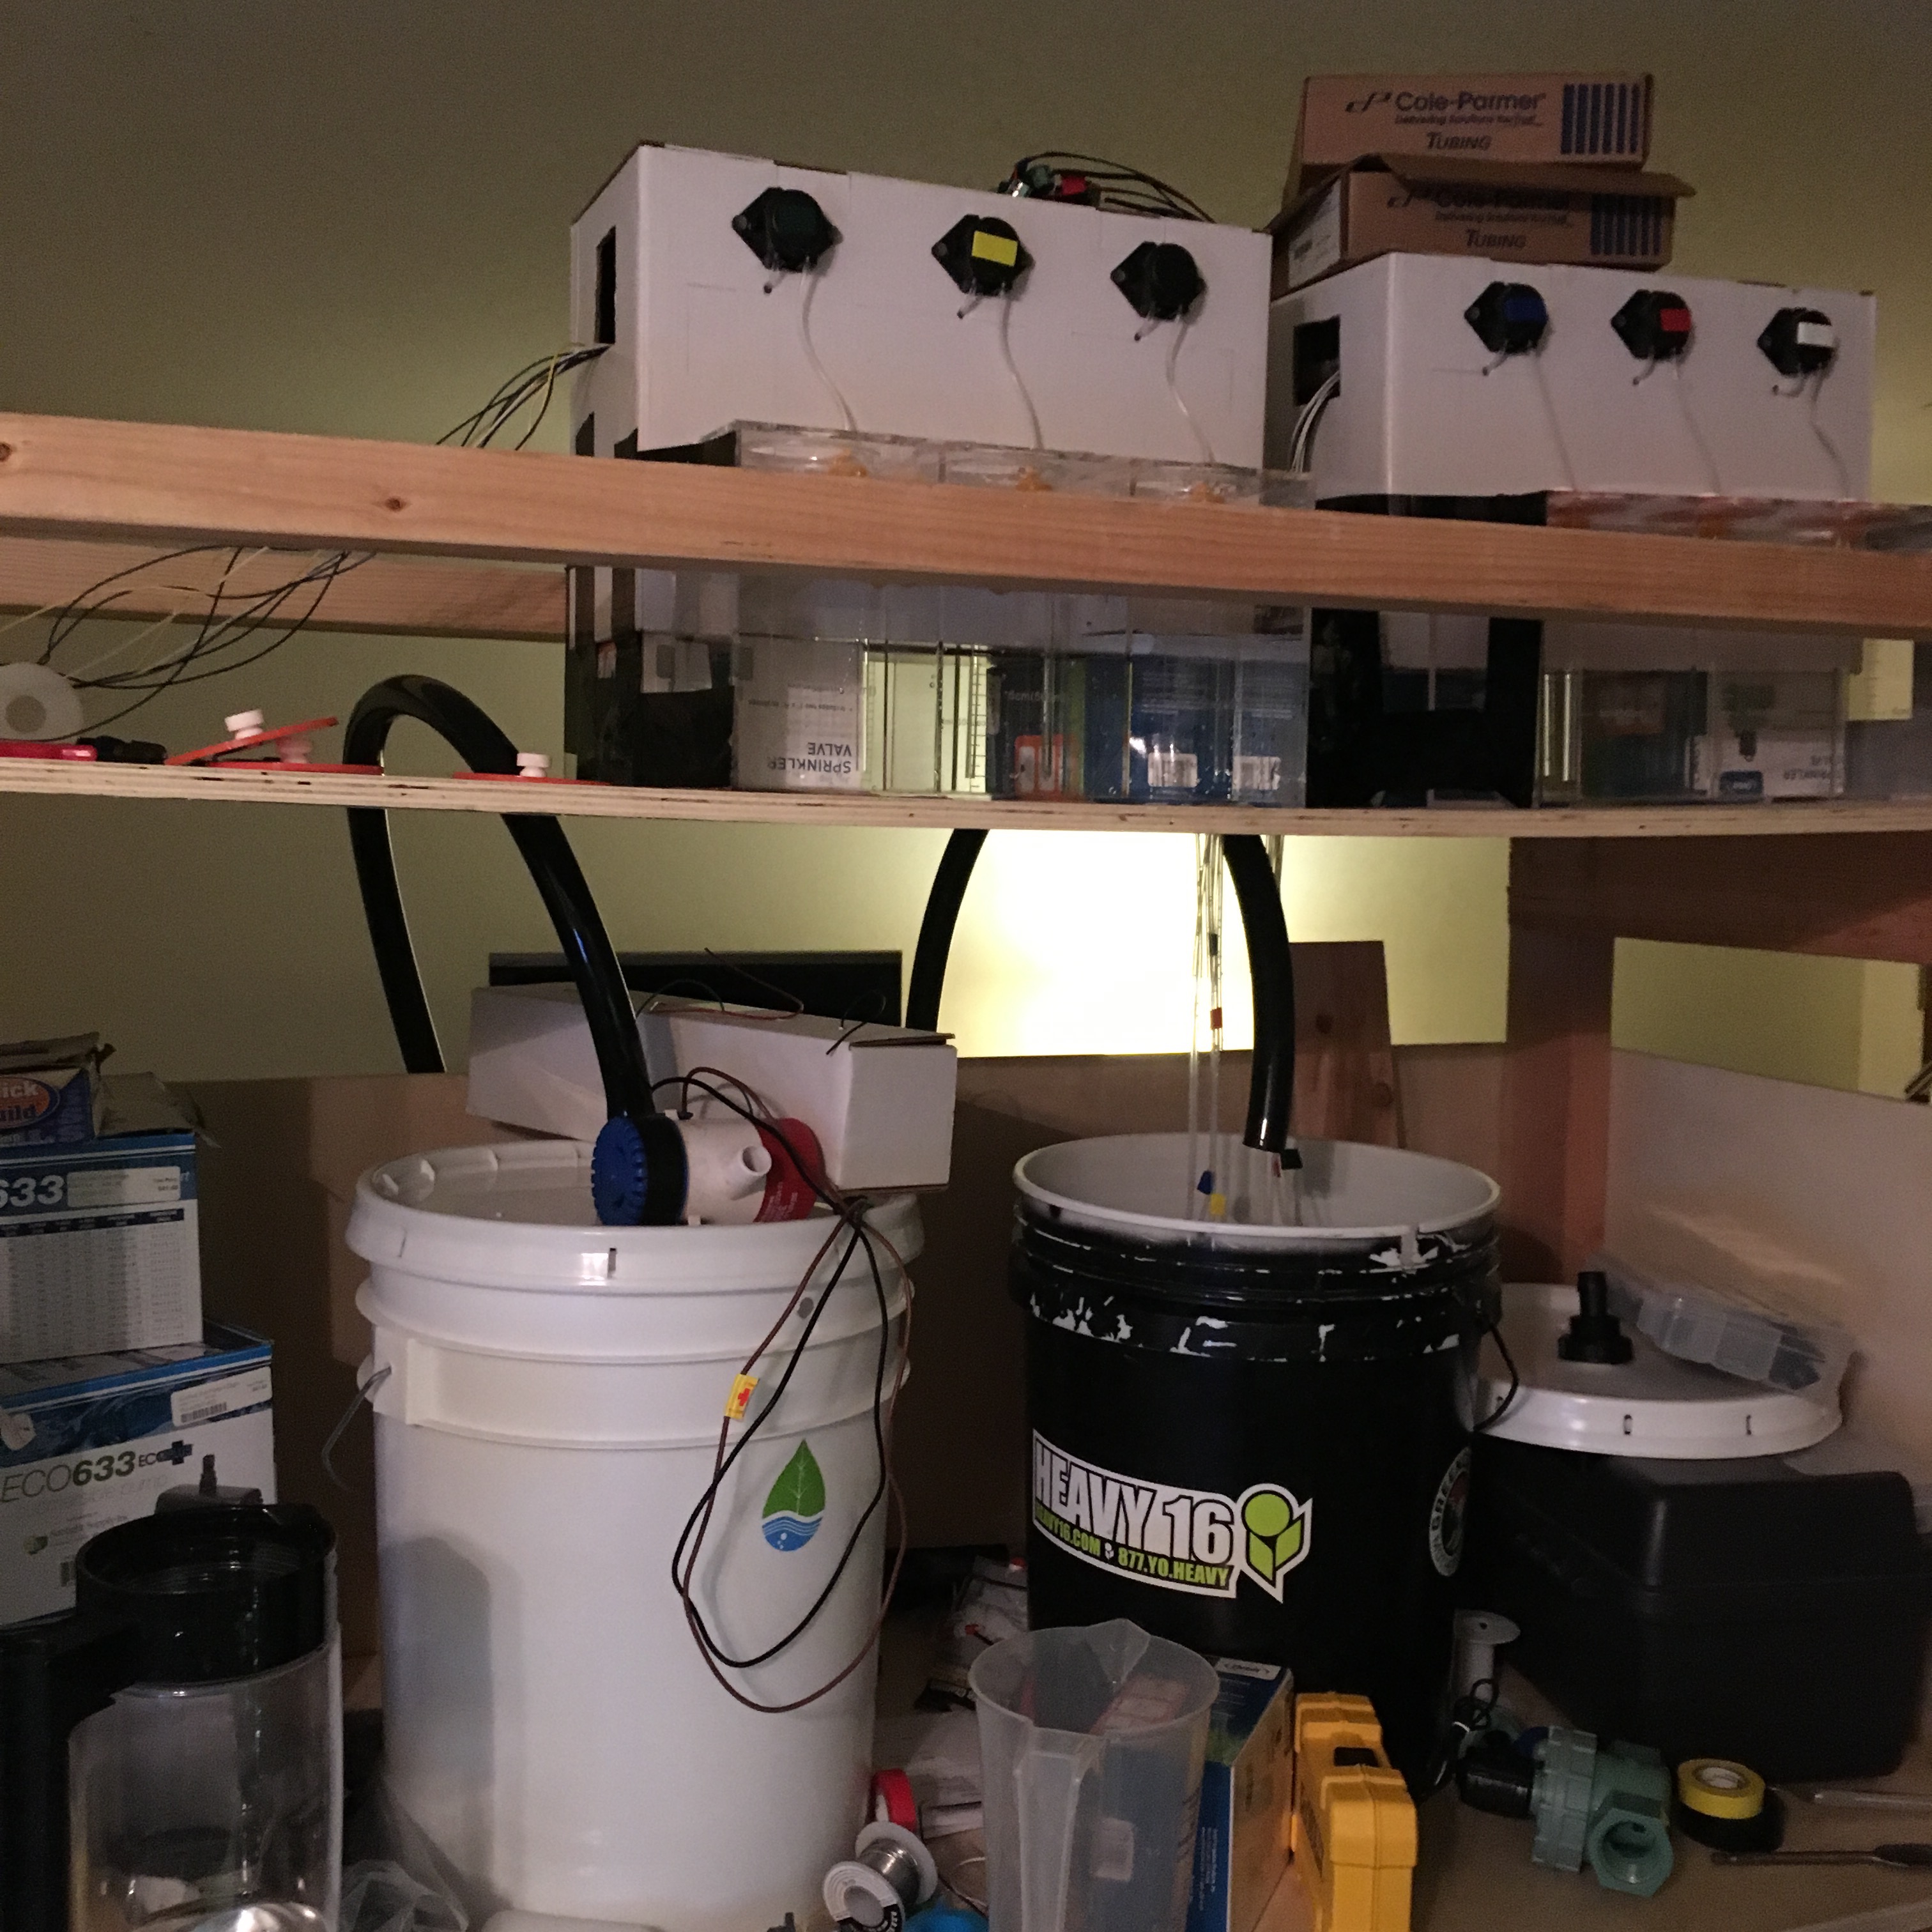
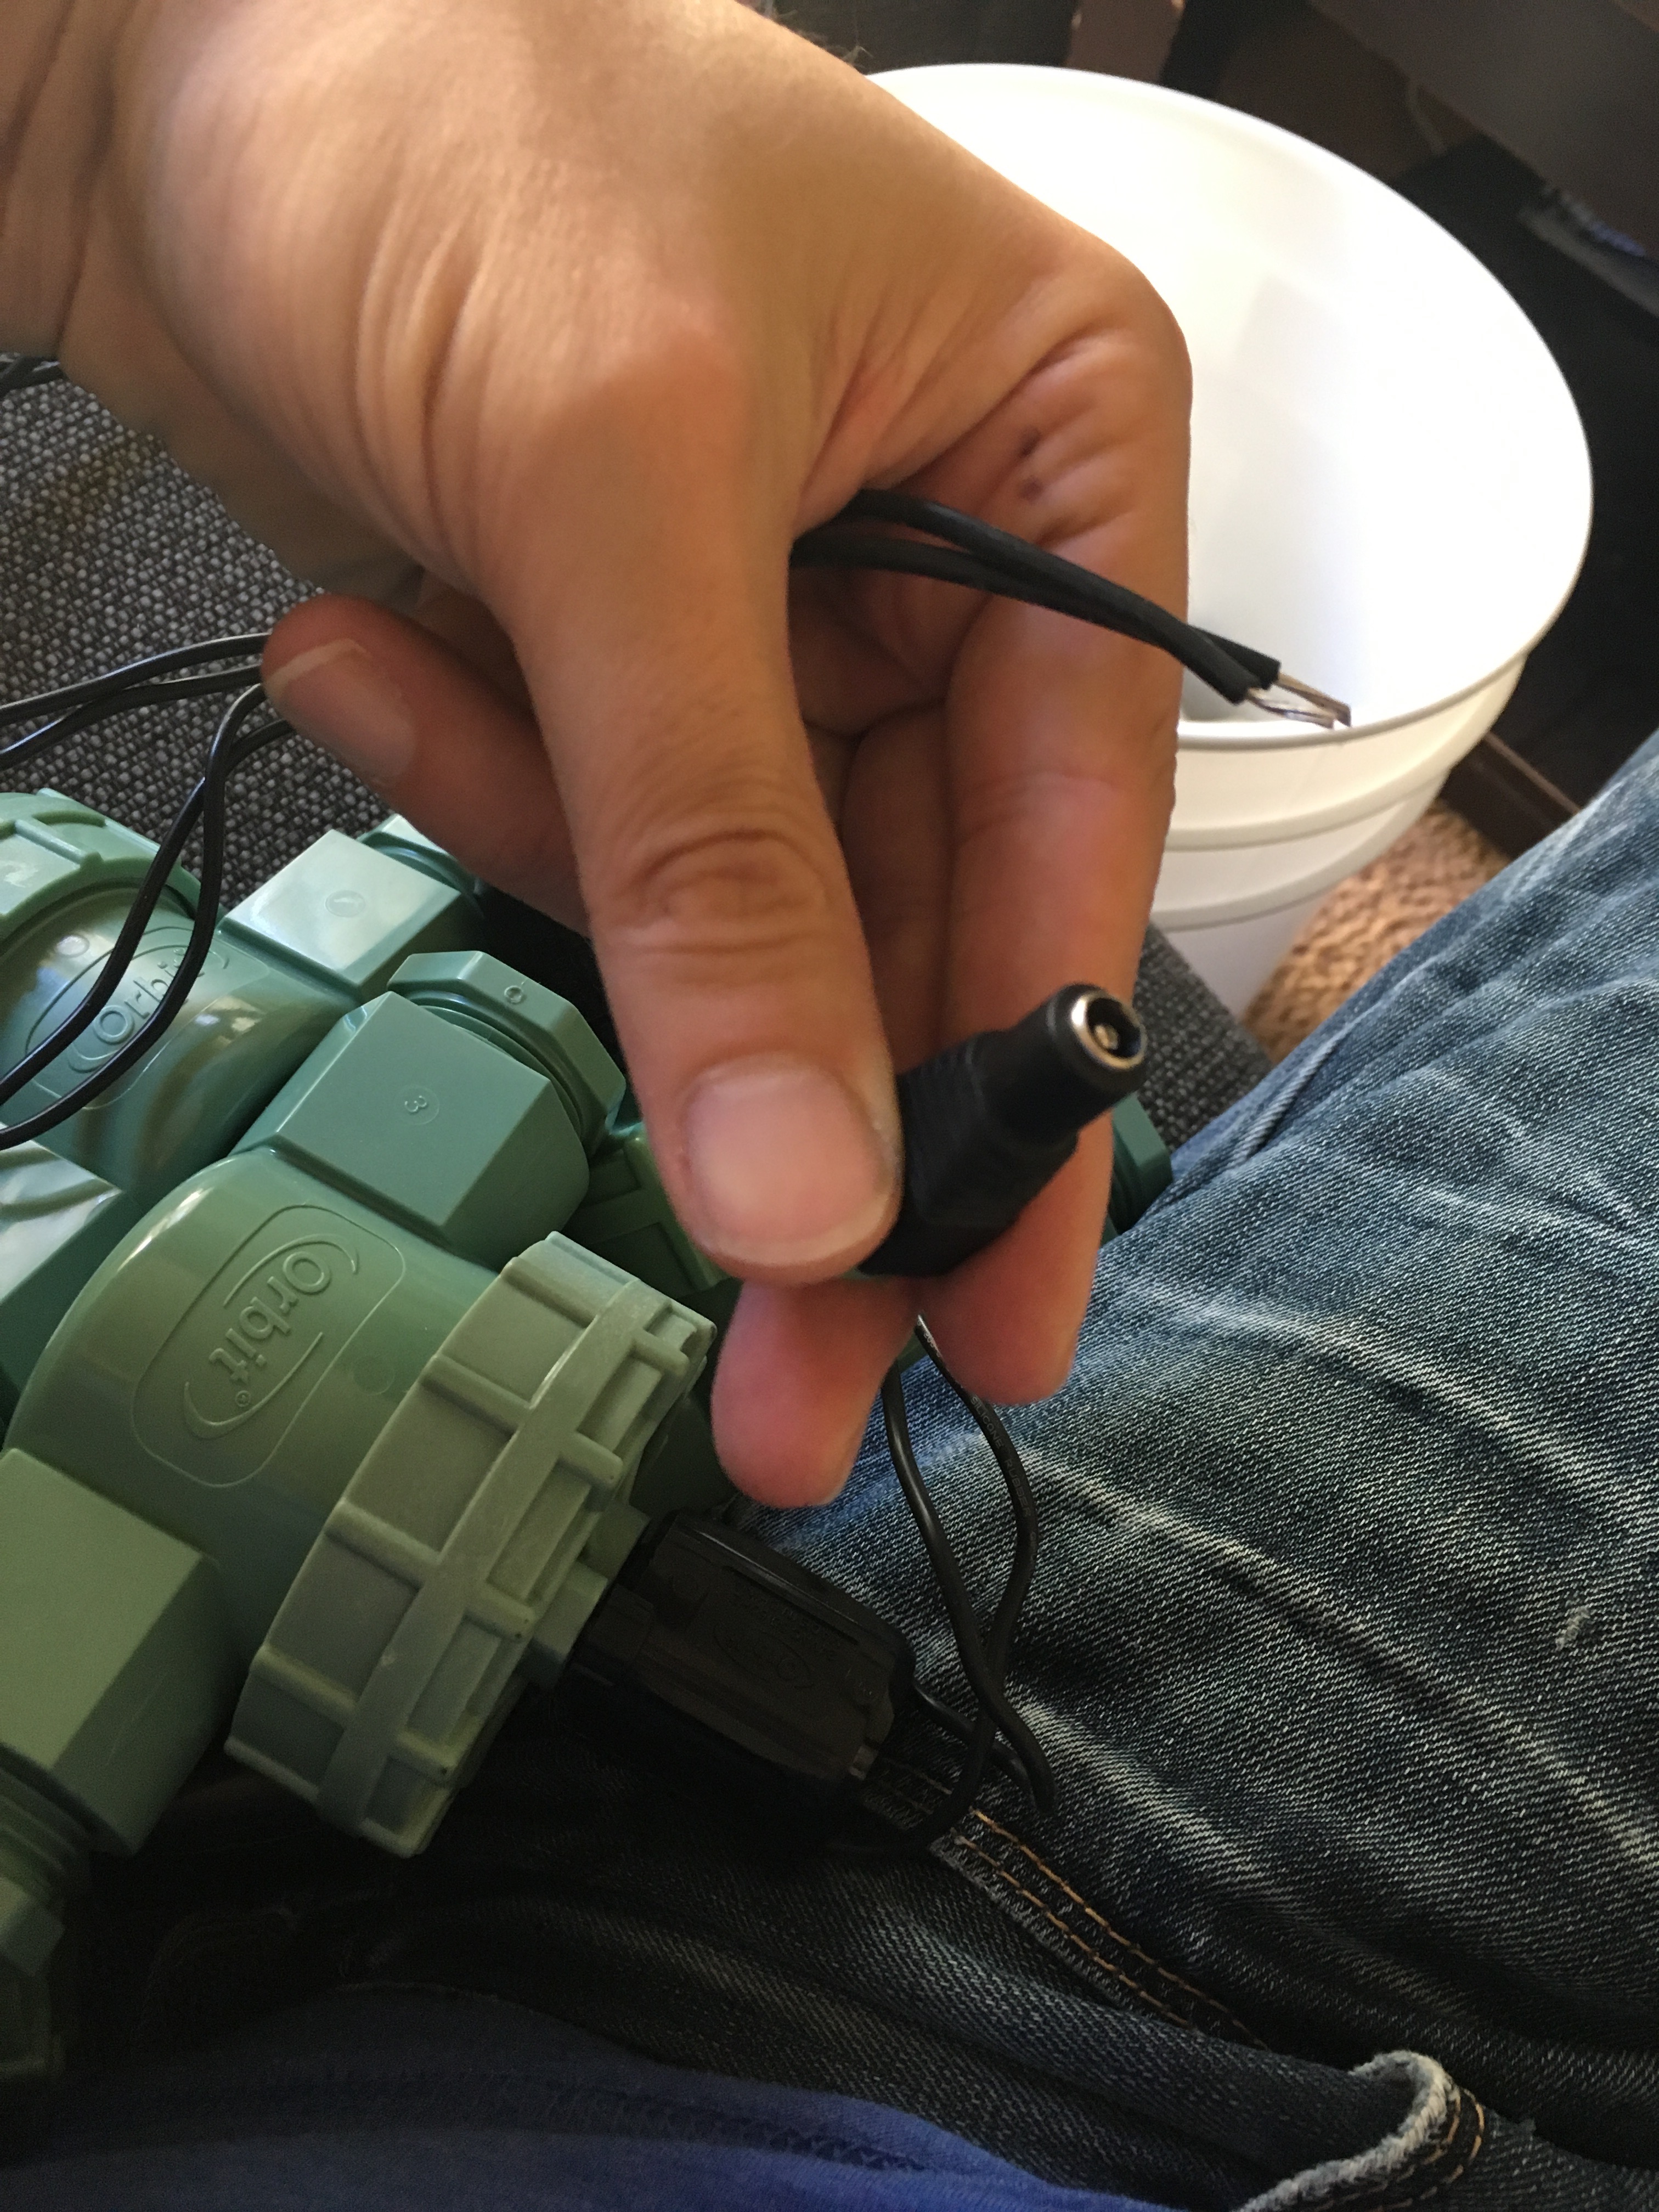
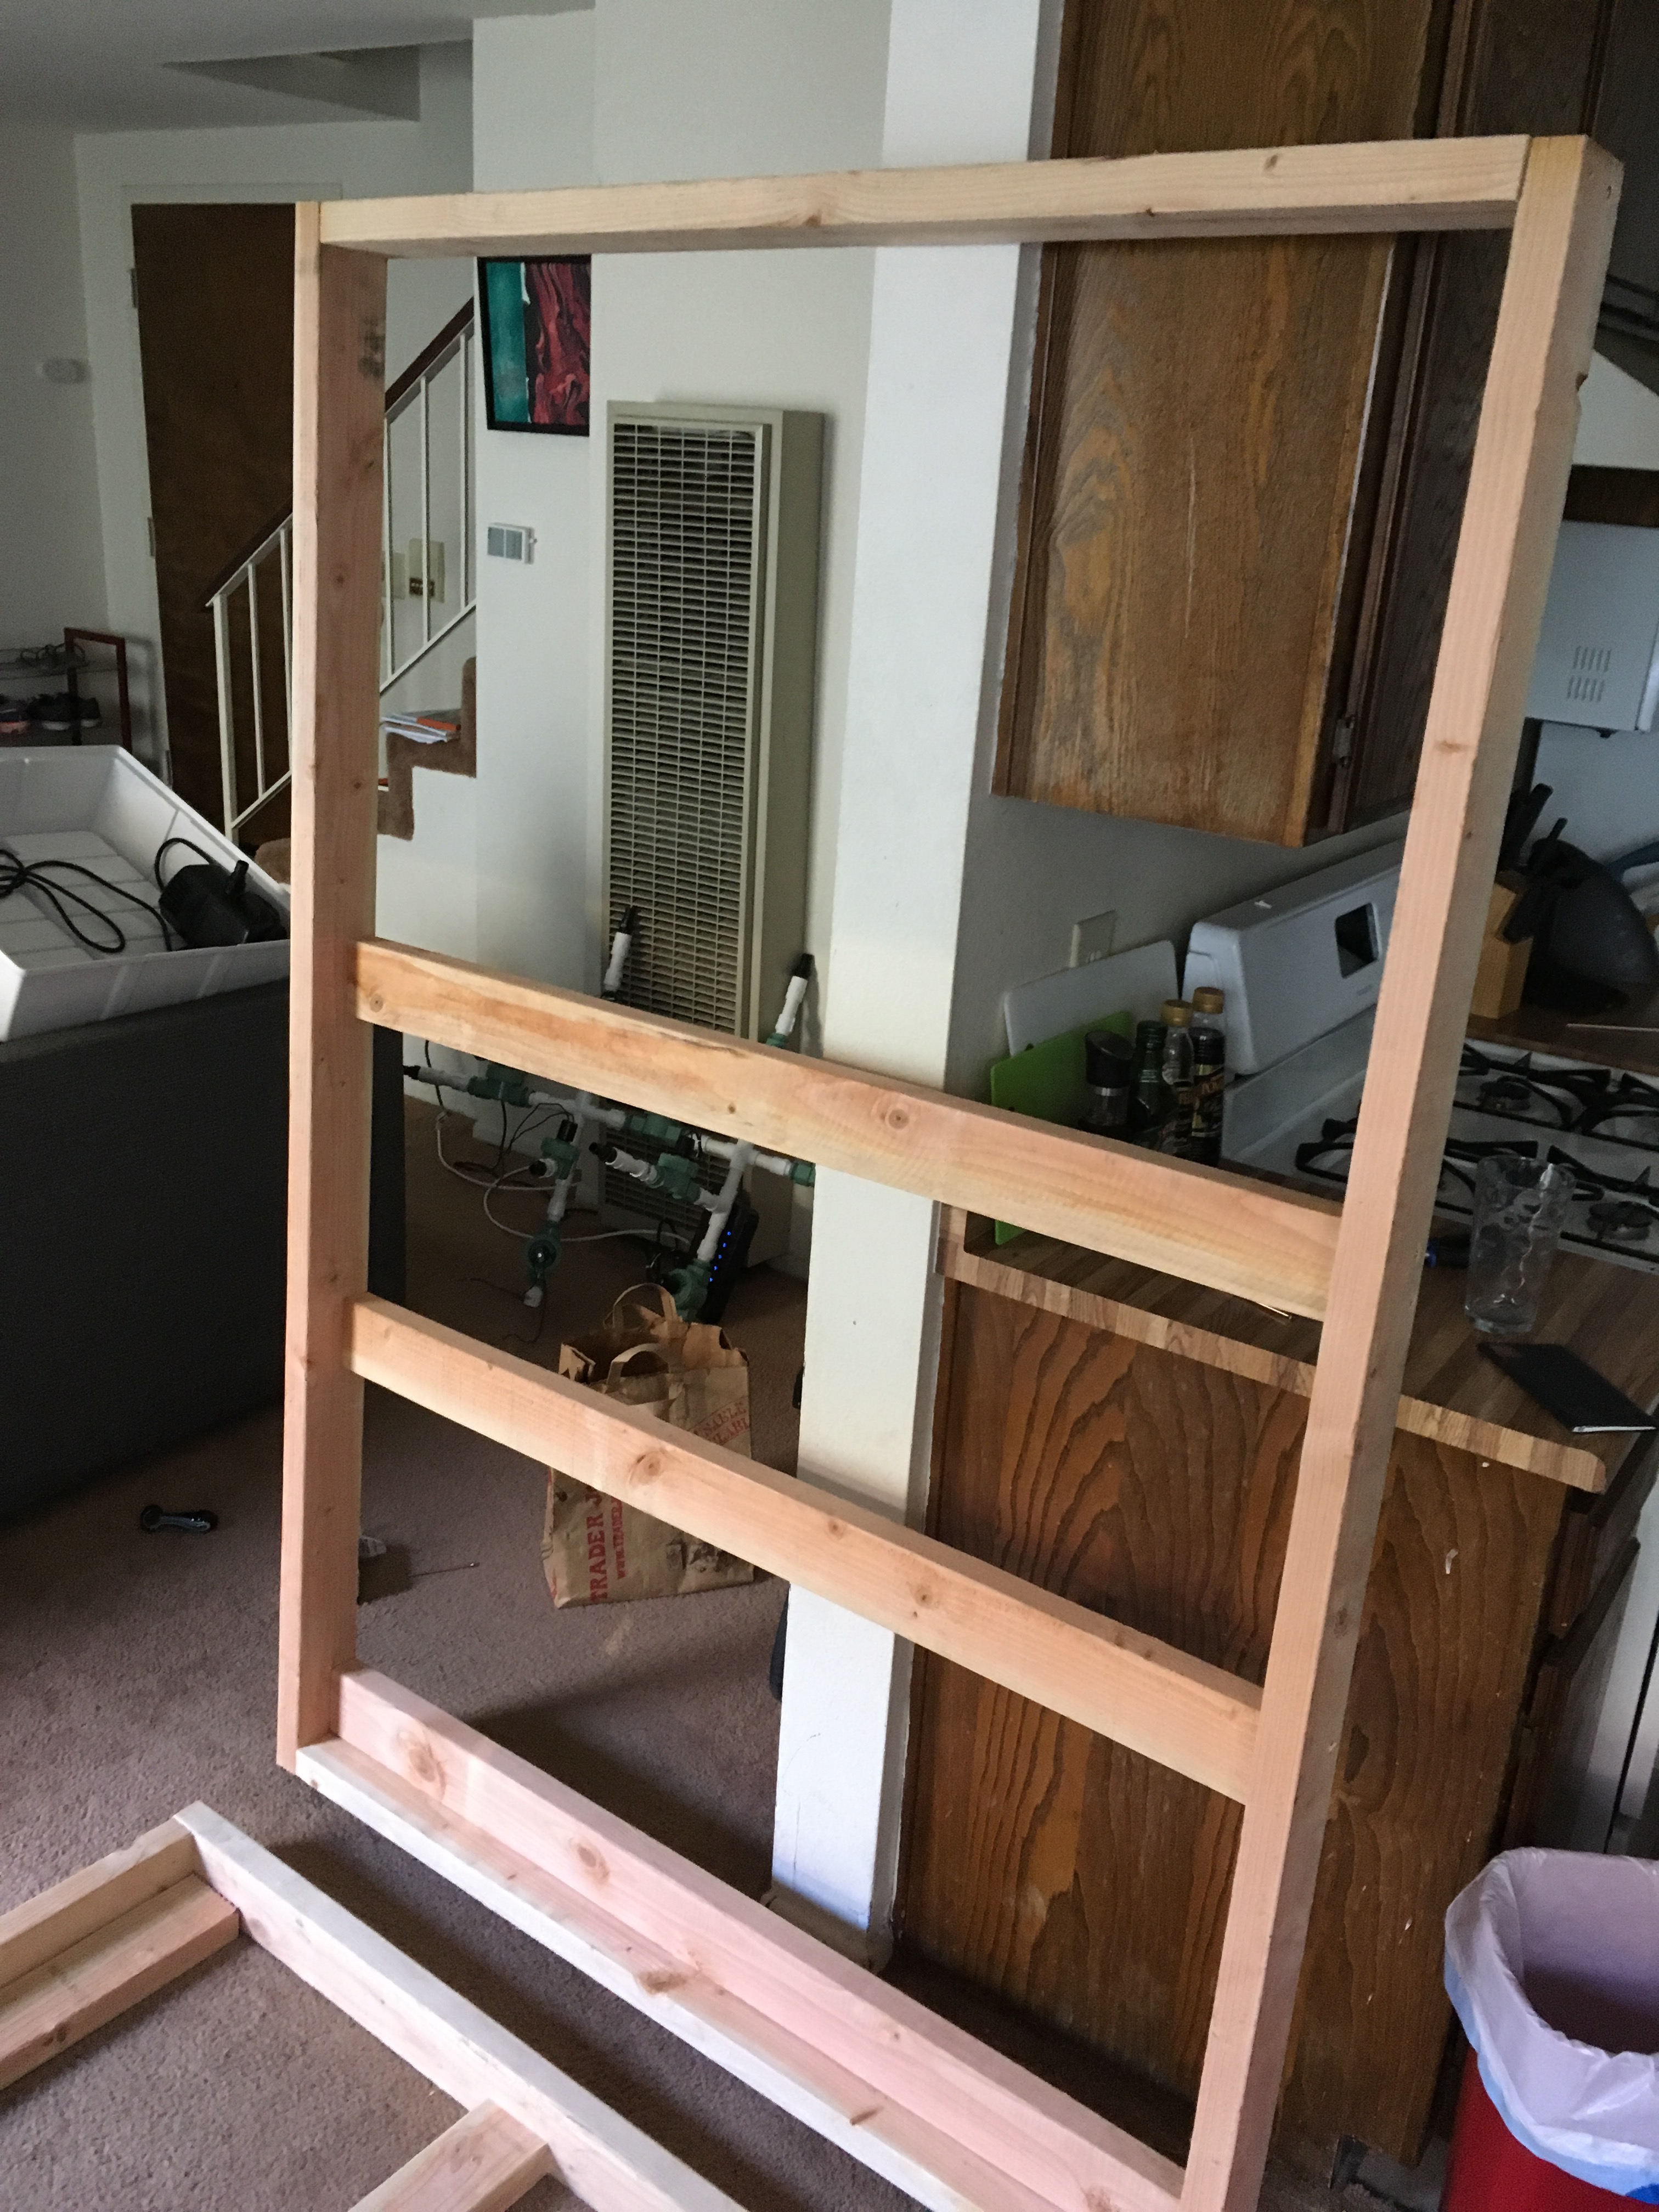
I wanted to make sure I could run all the lighting in my unit so I did a blueprint and mapped out the electrical system.

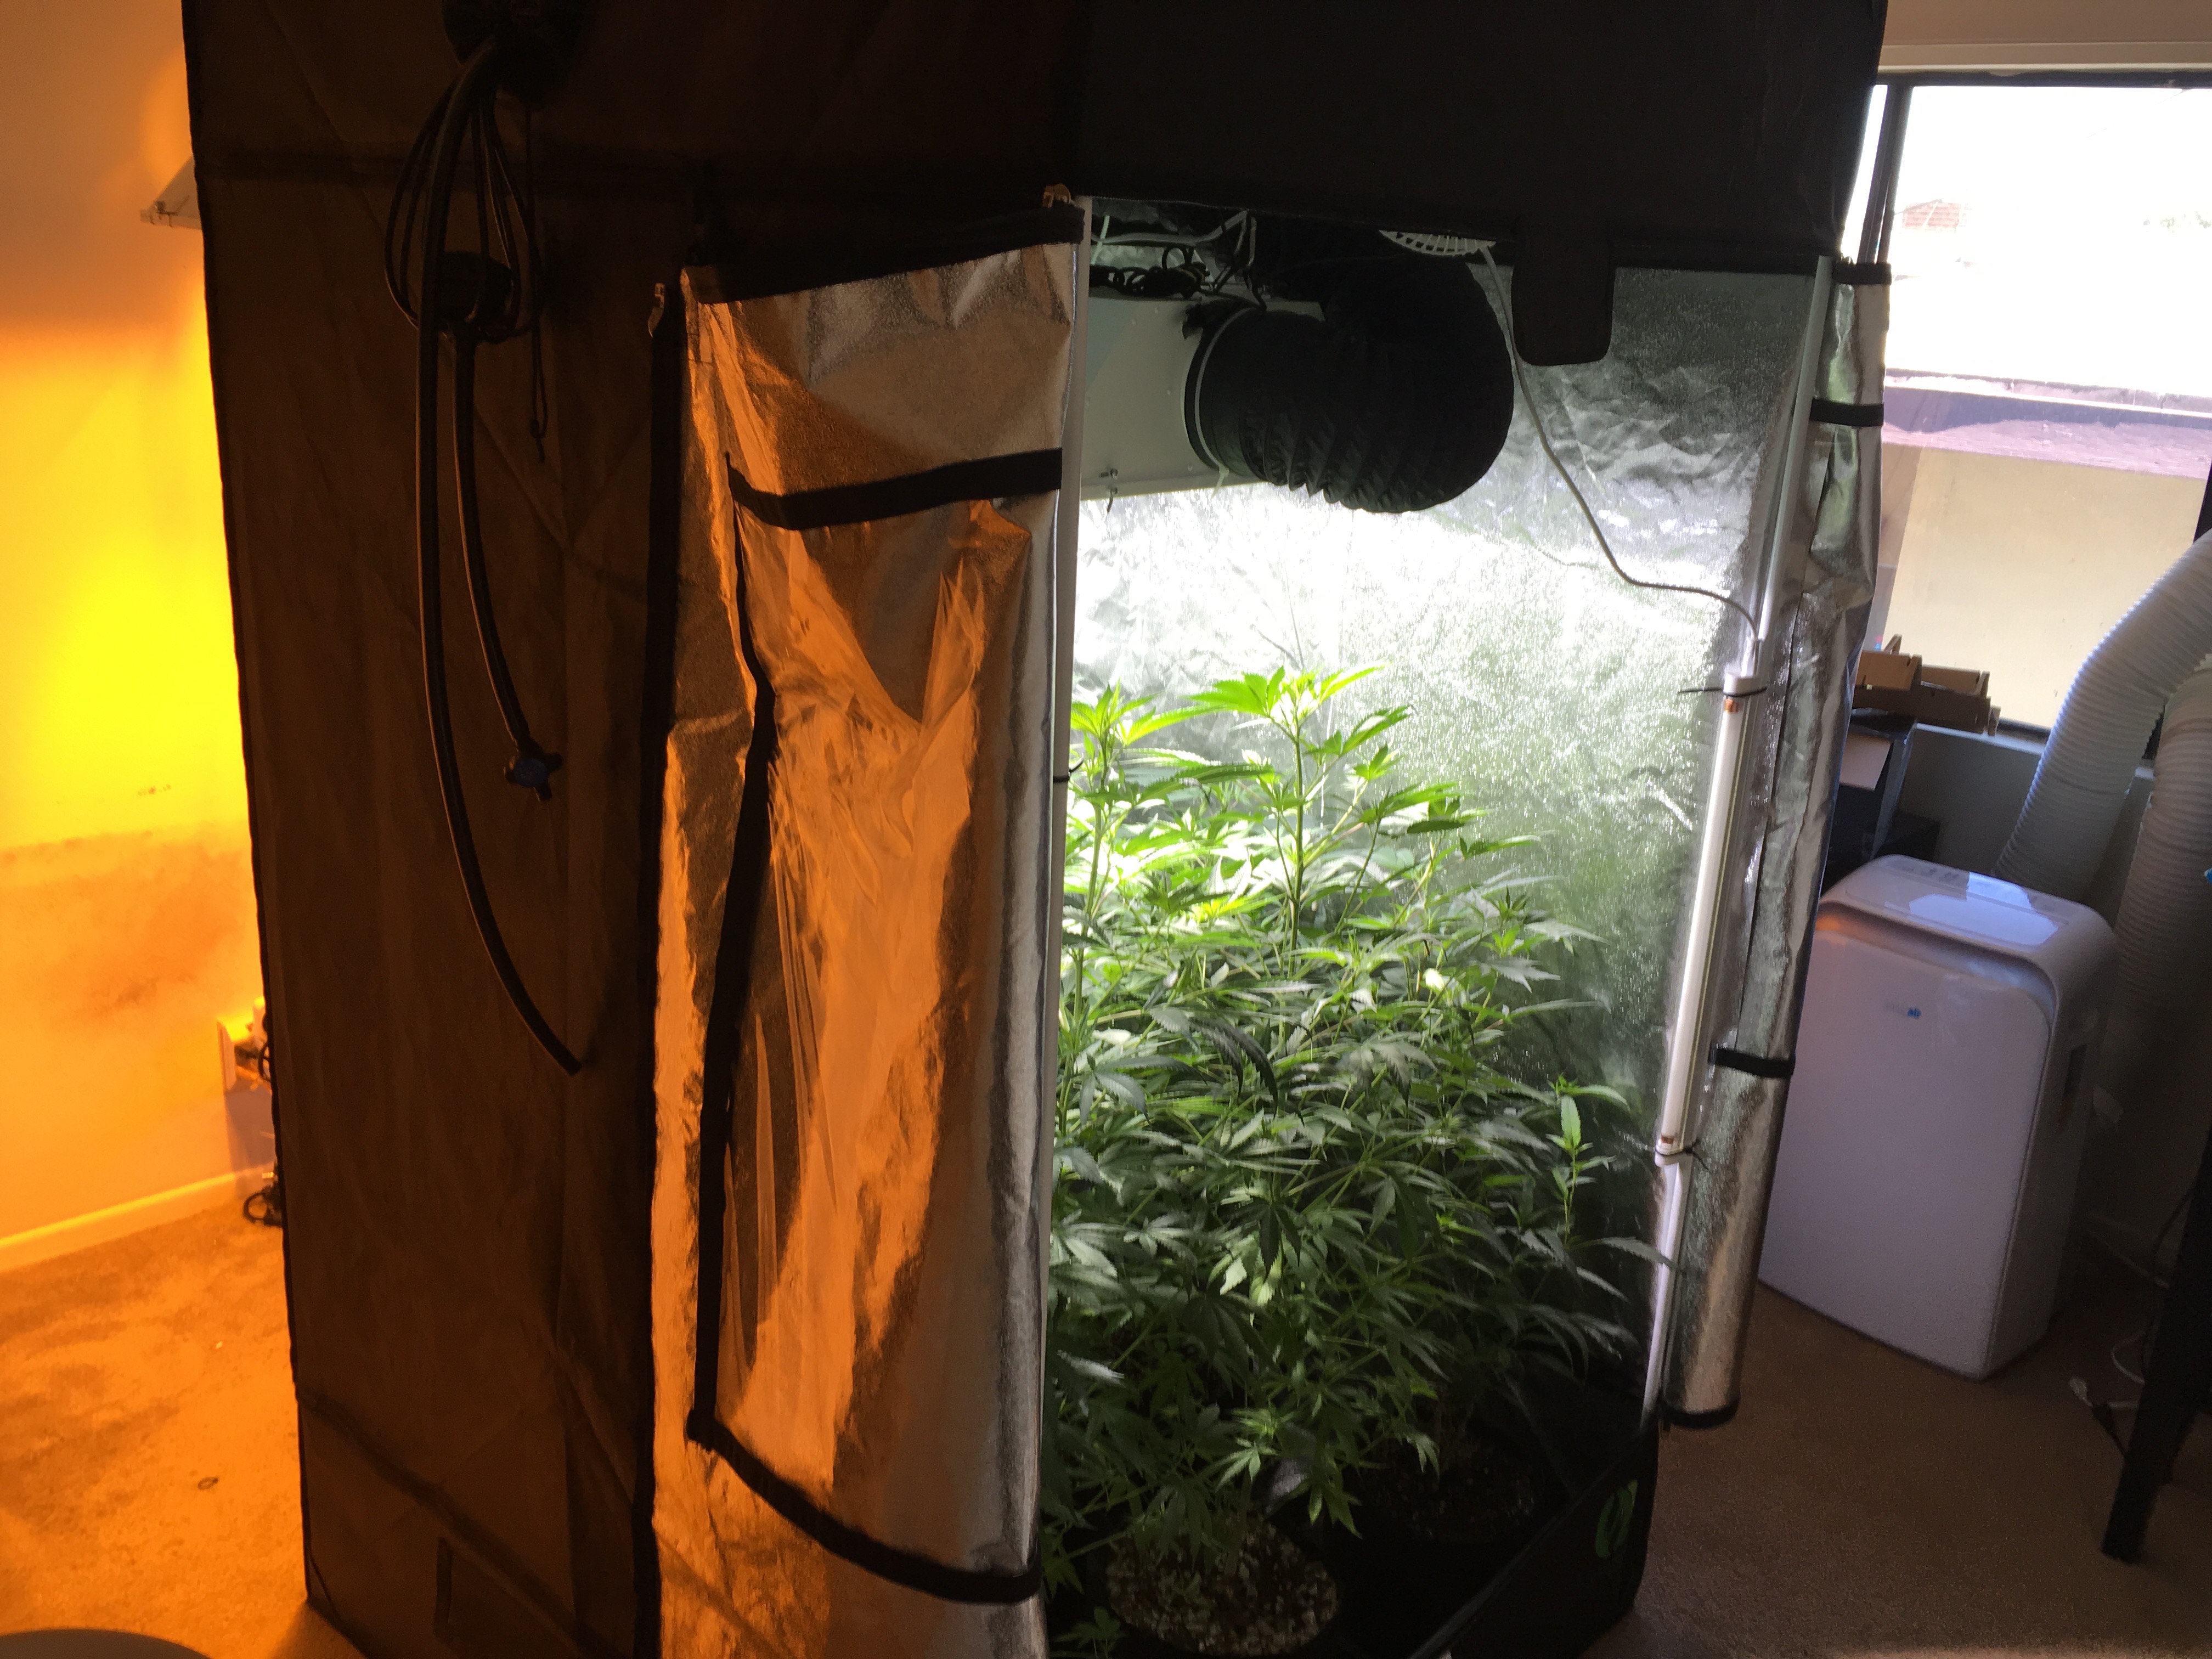
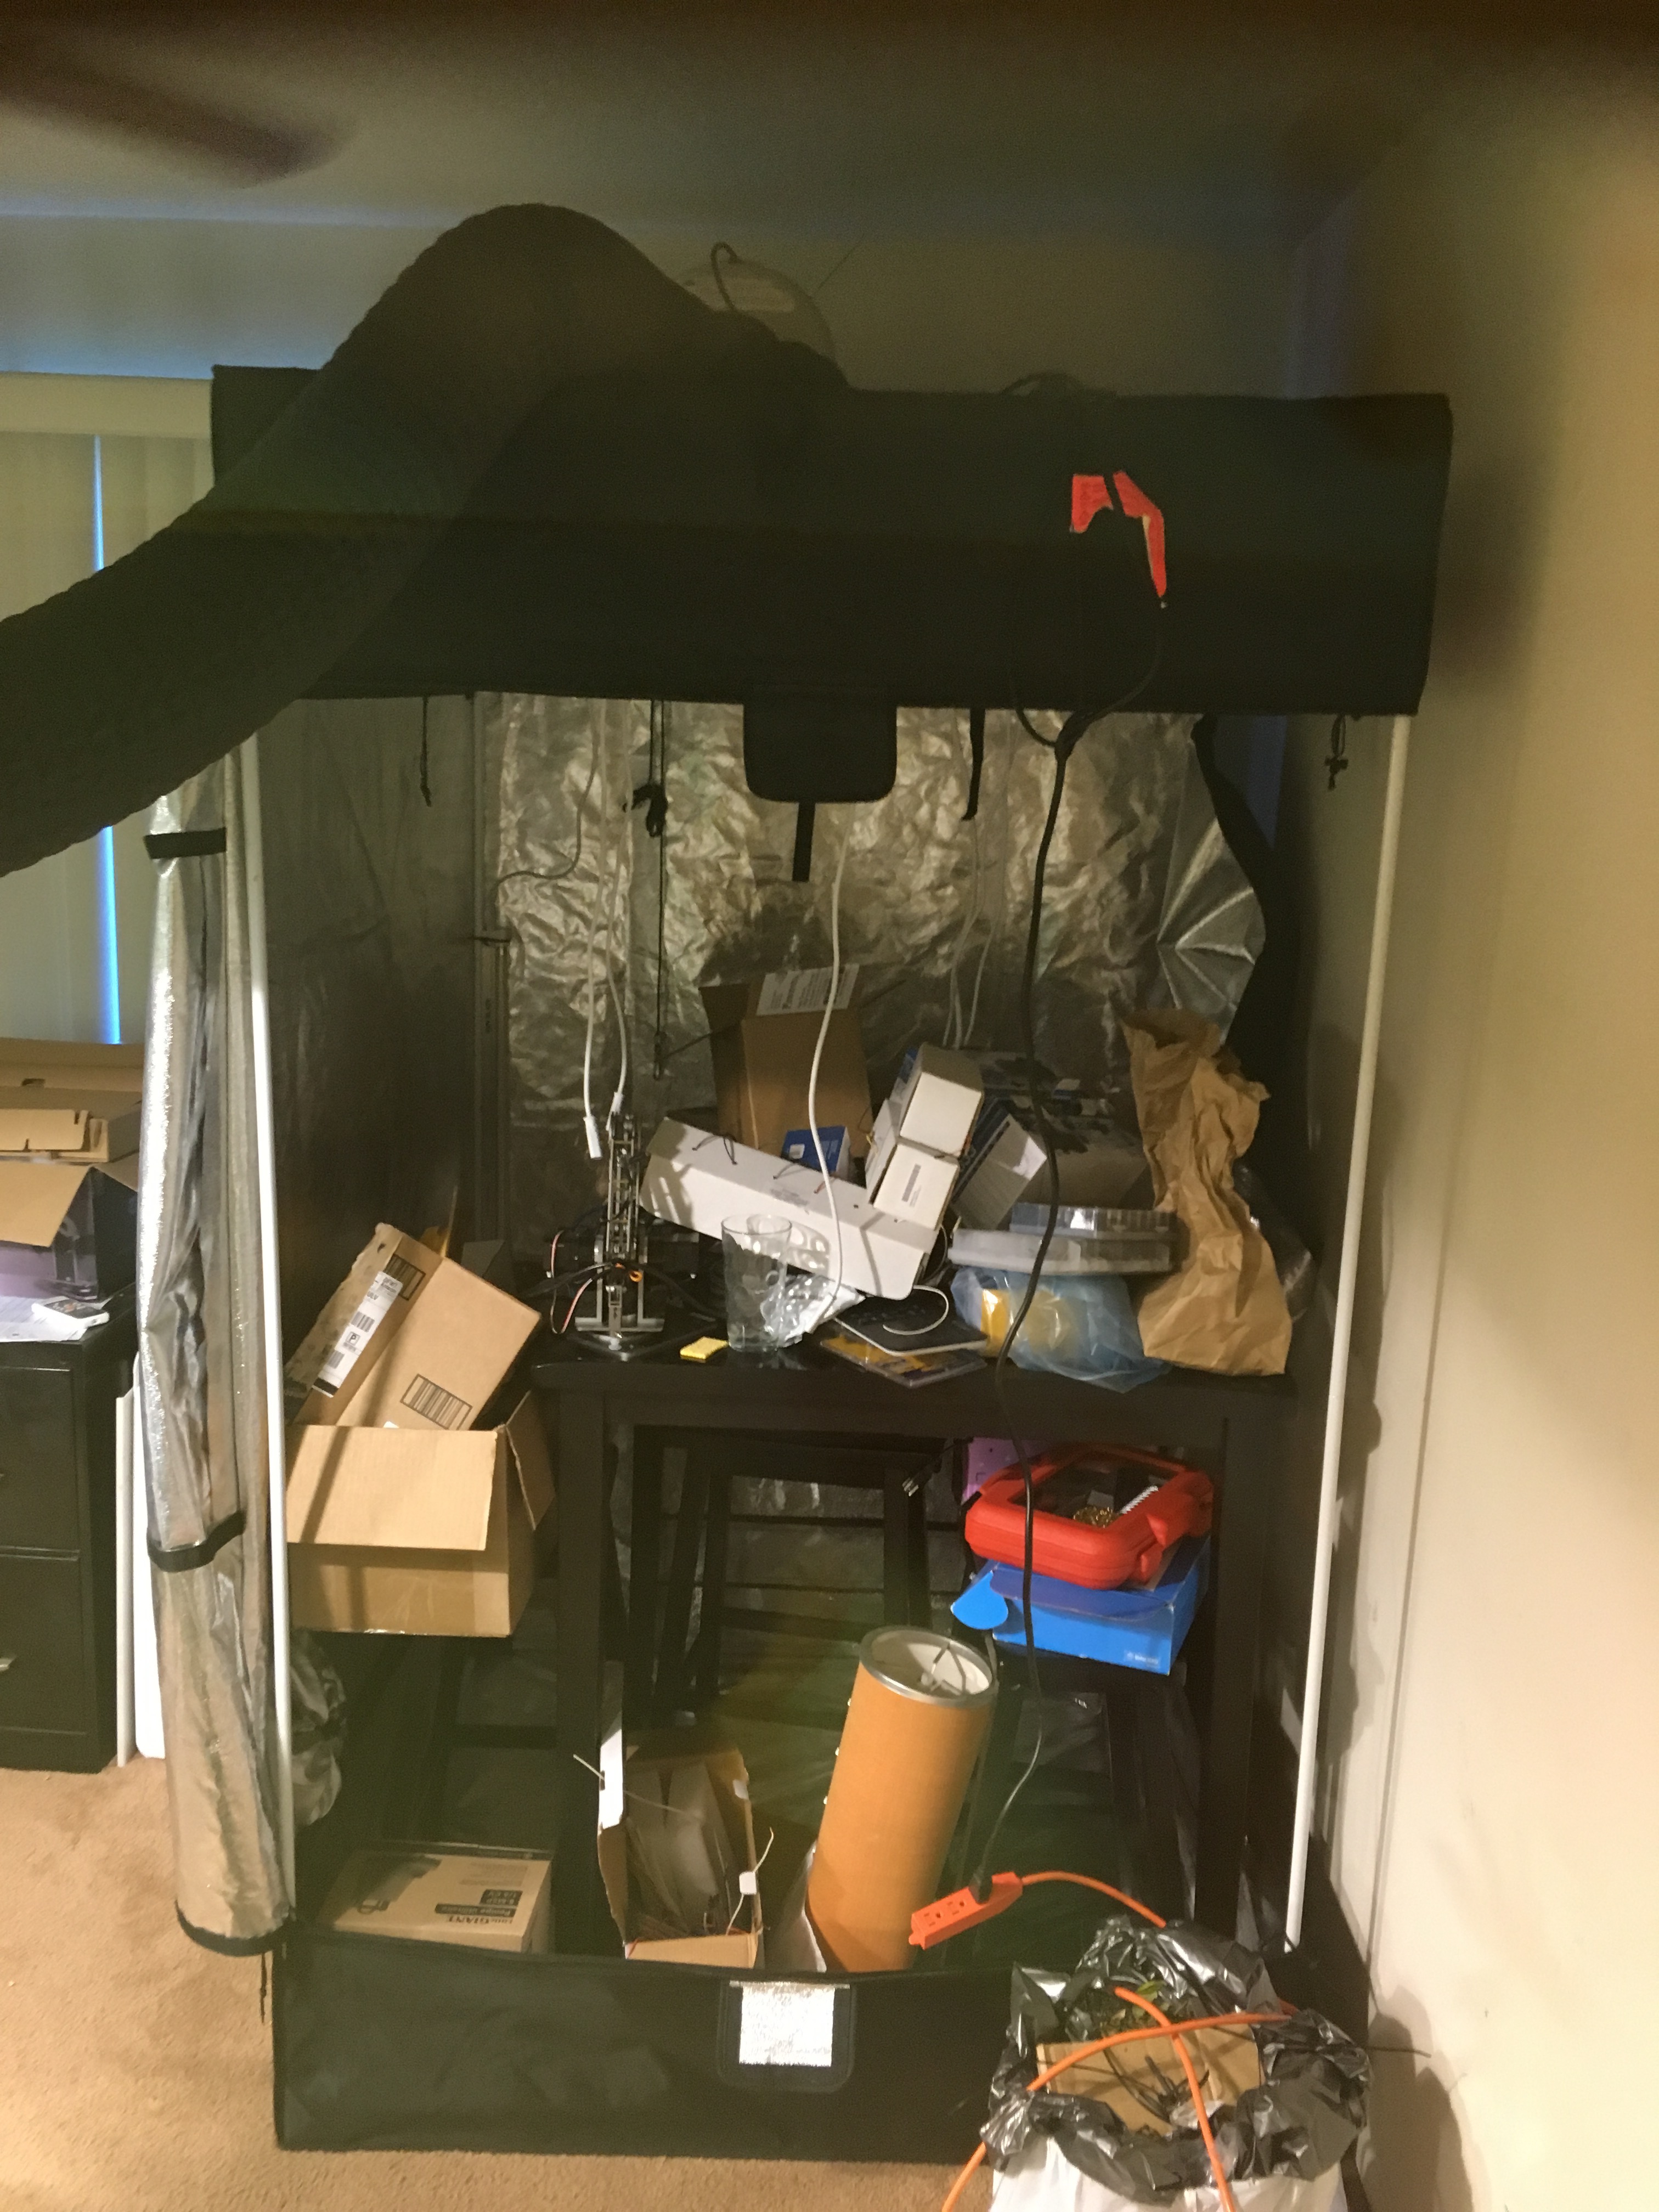
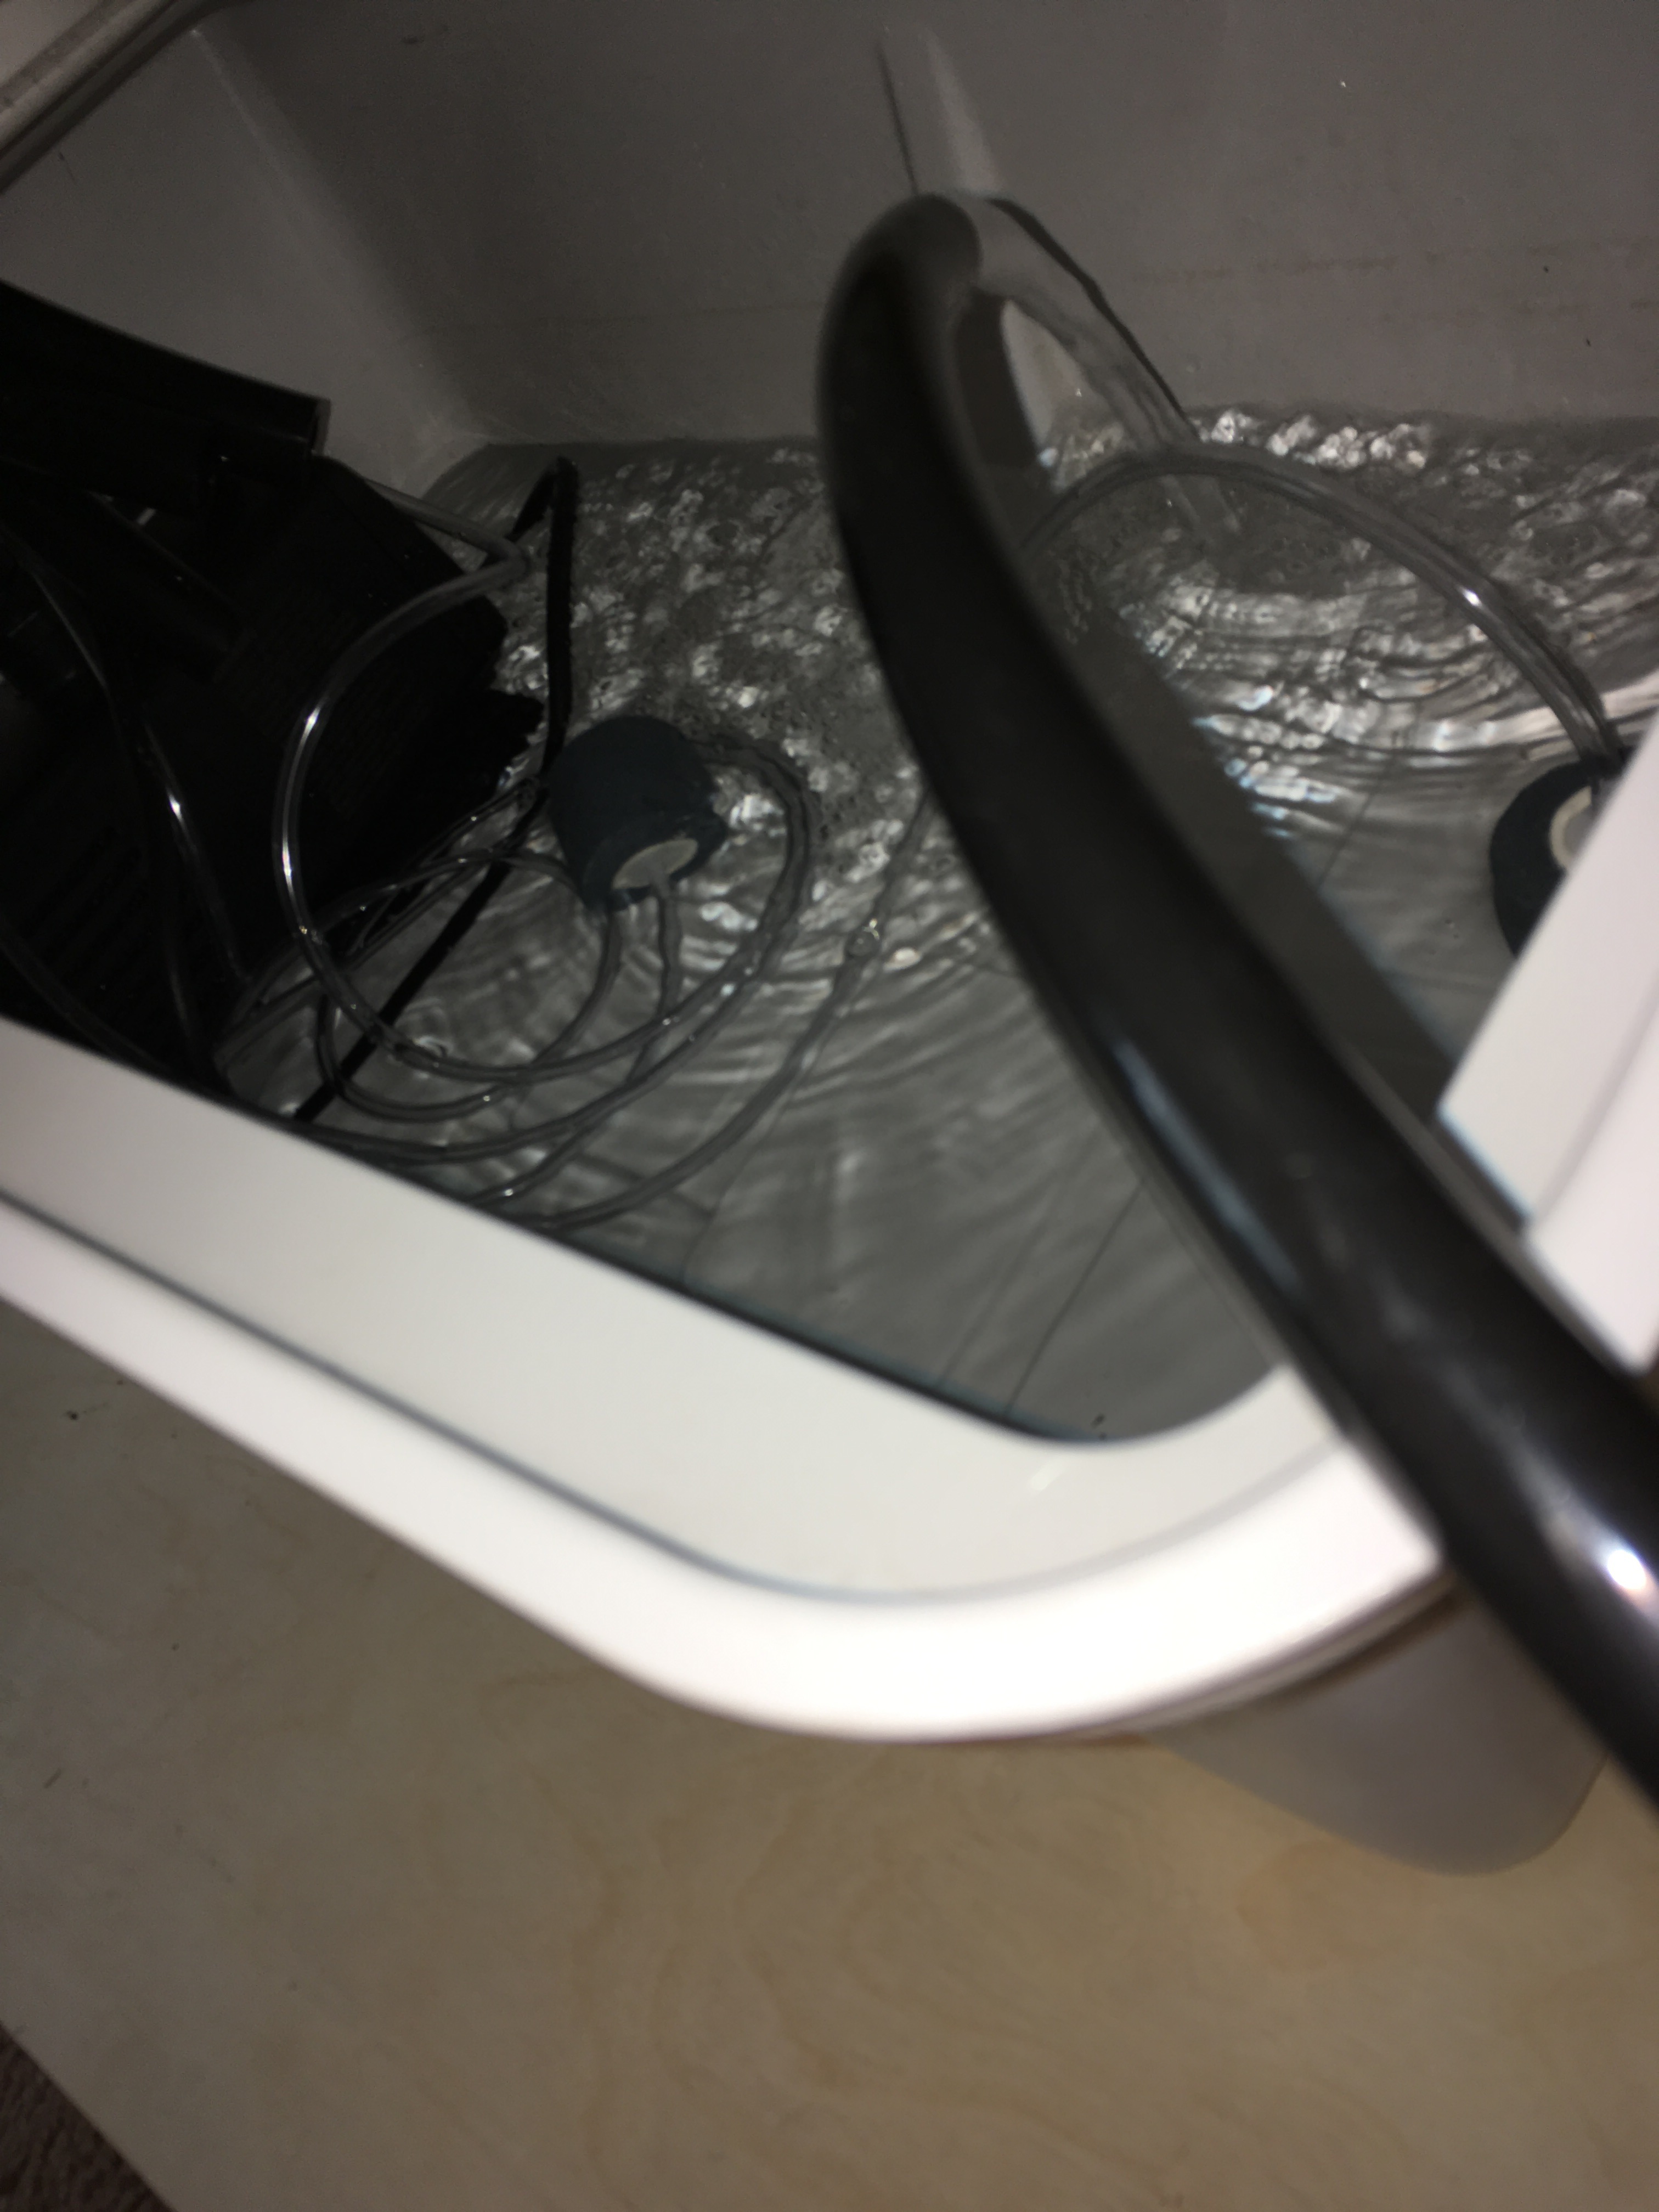
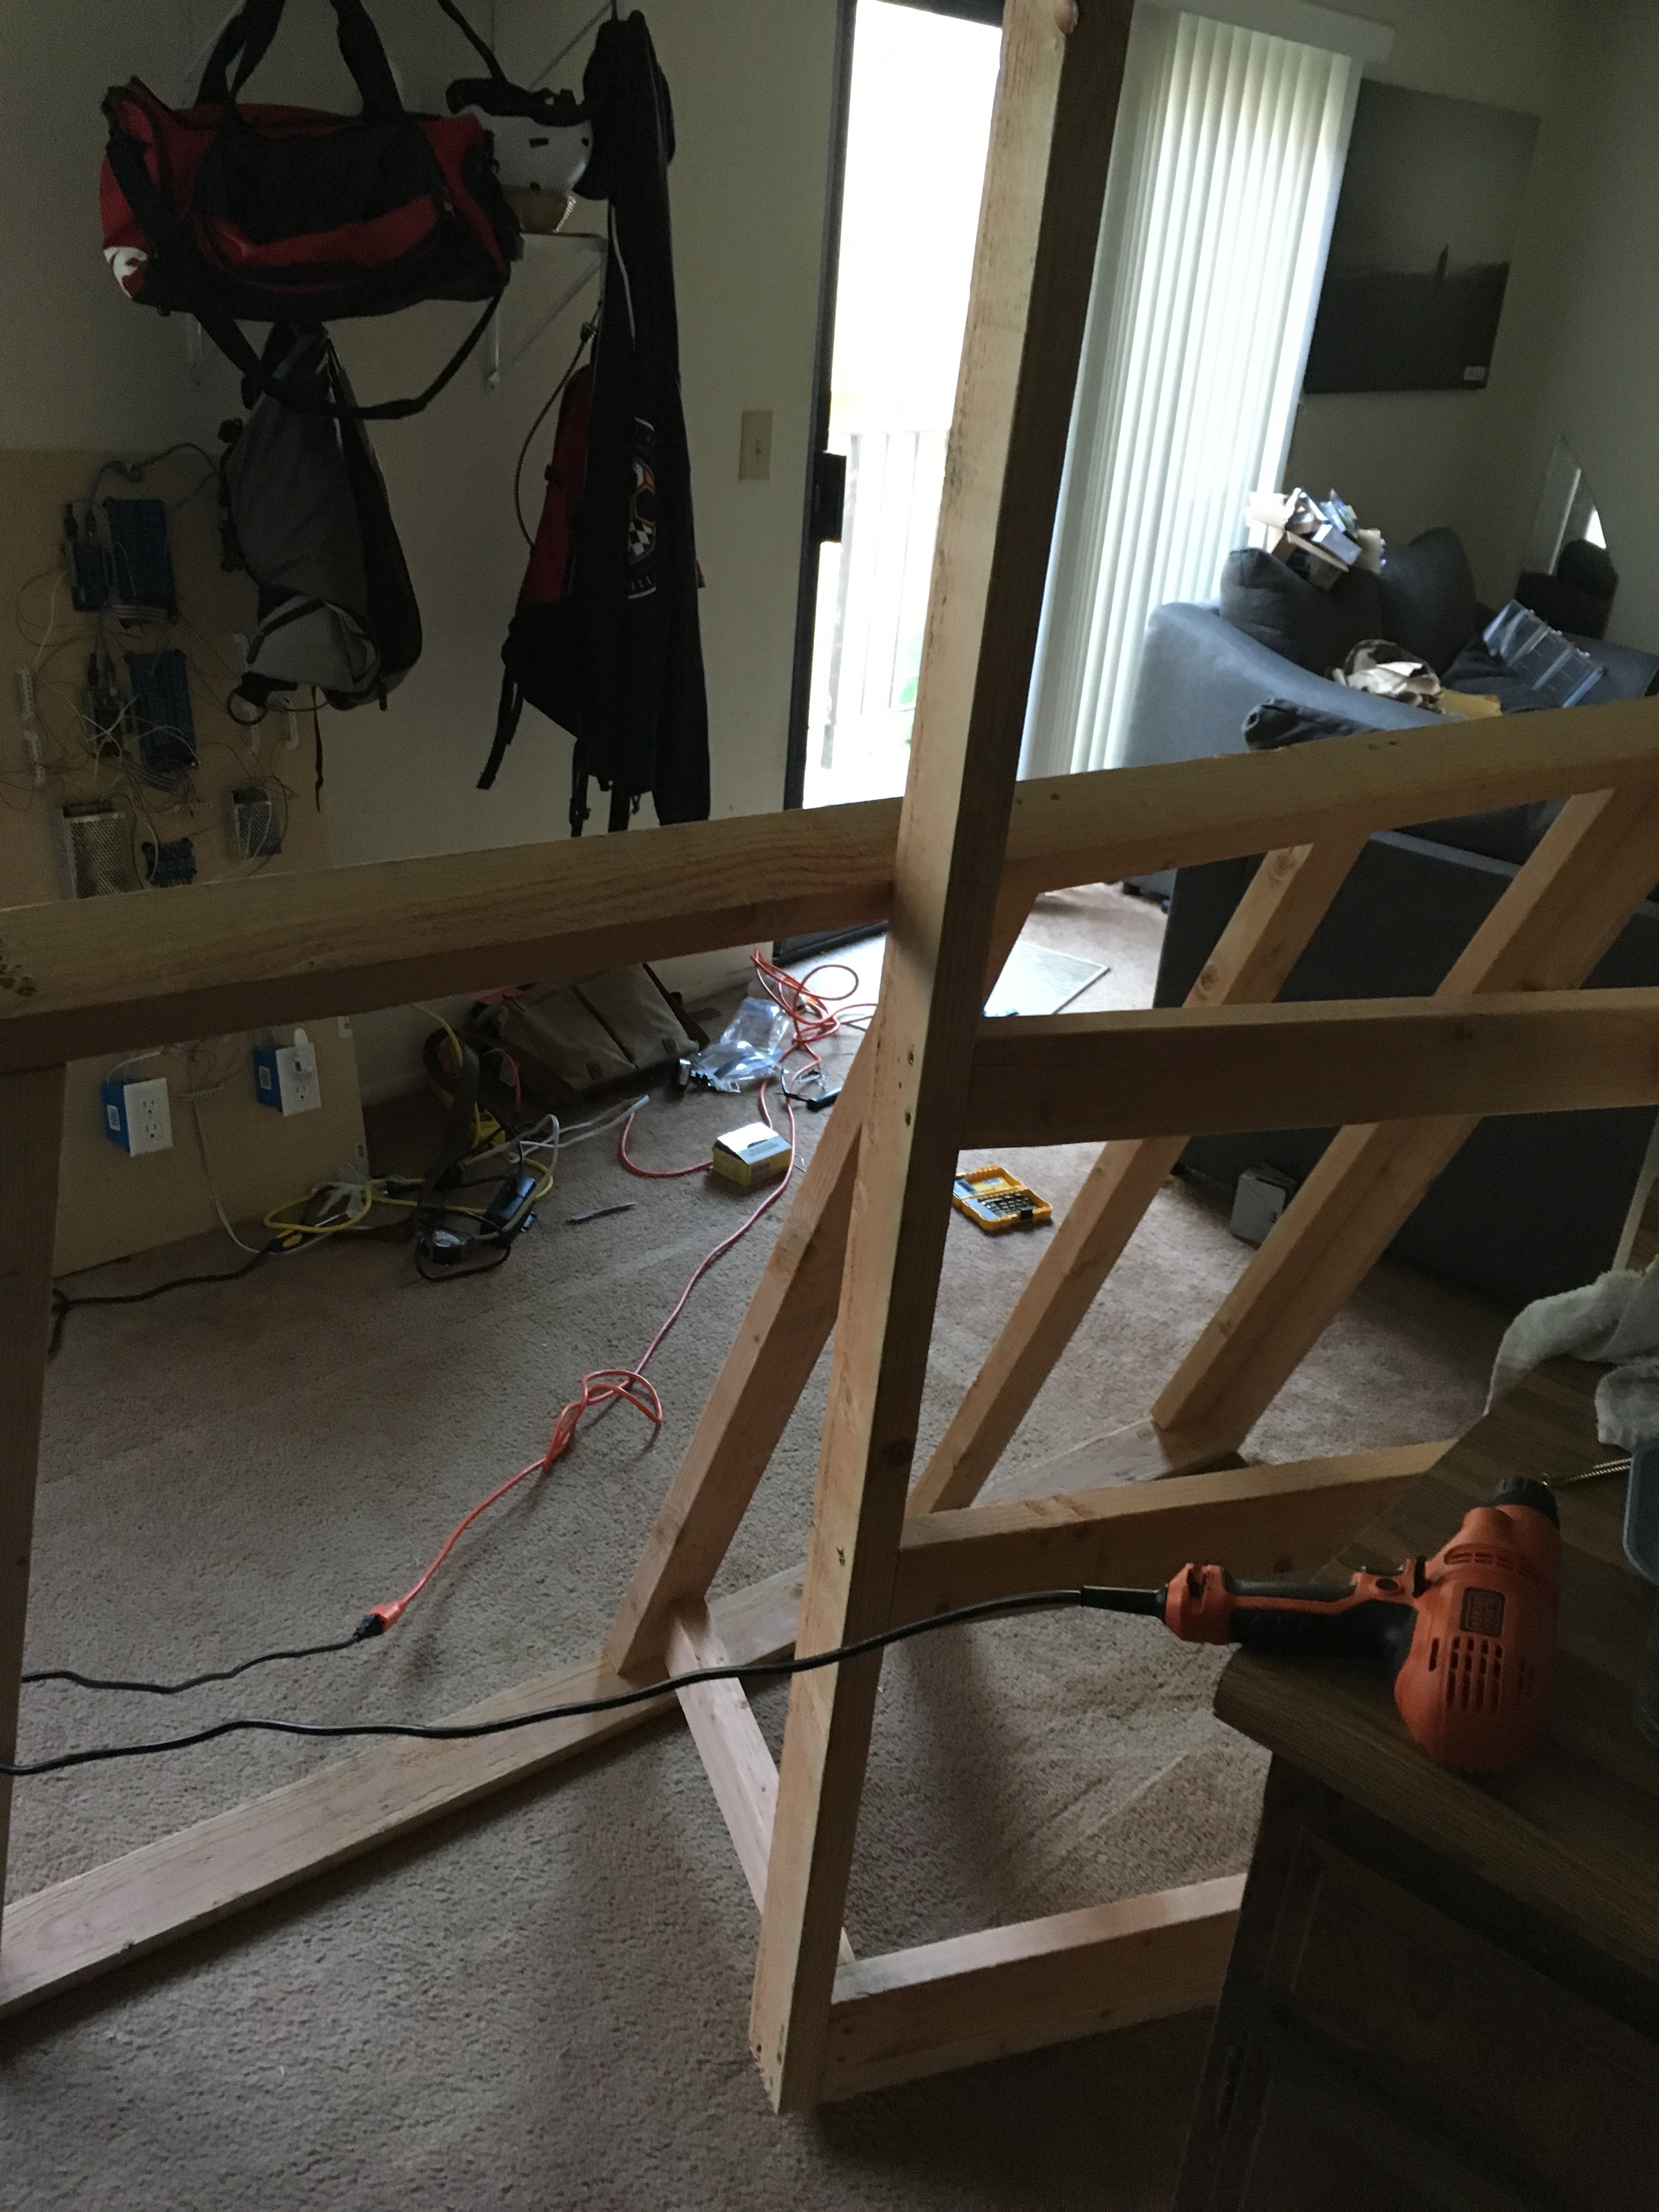
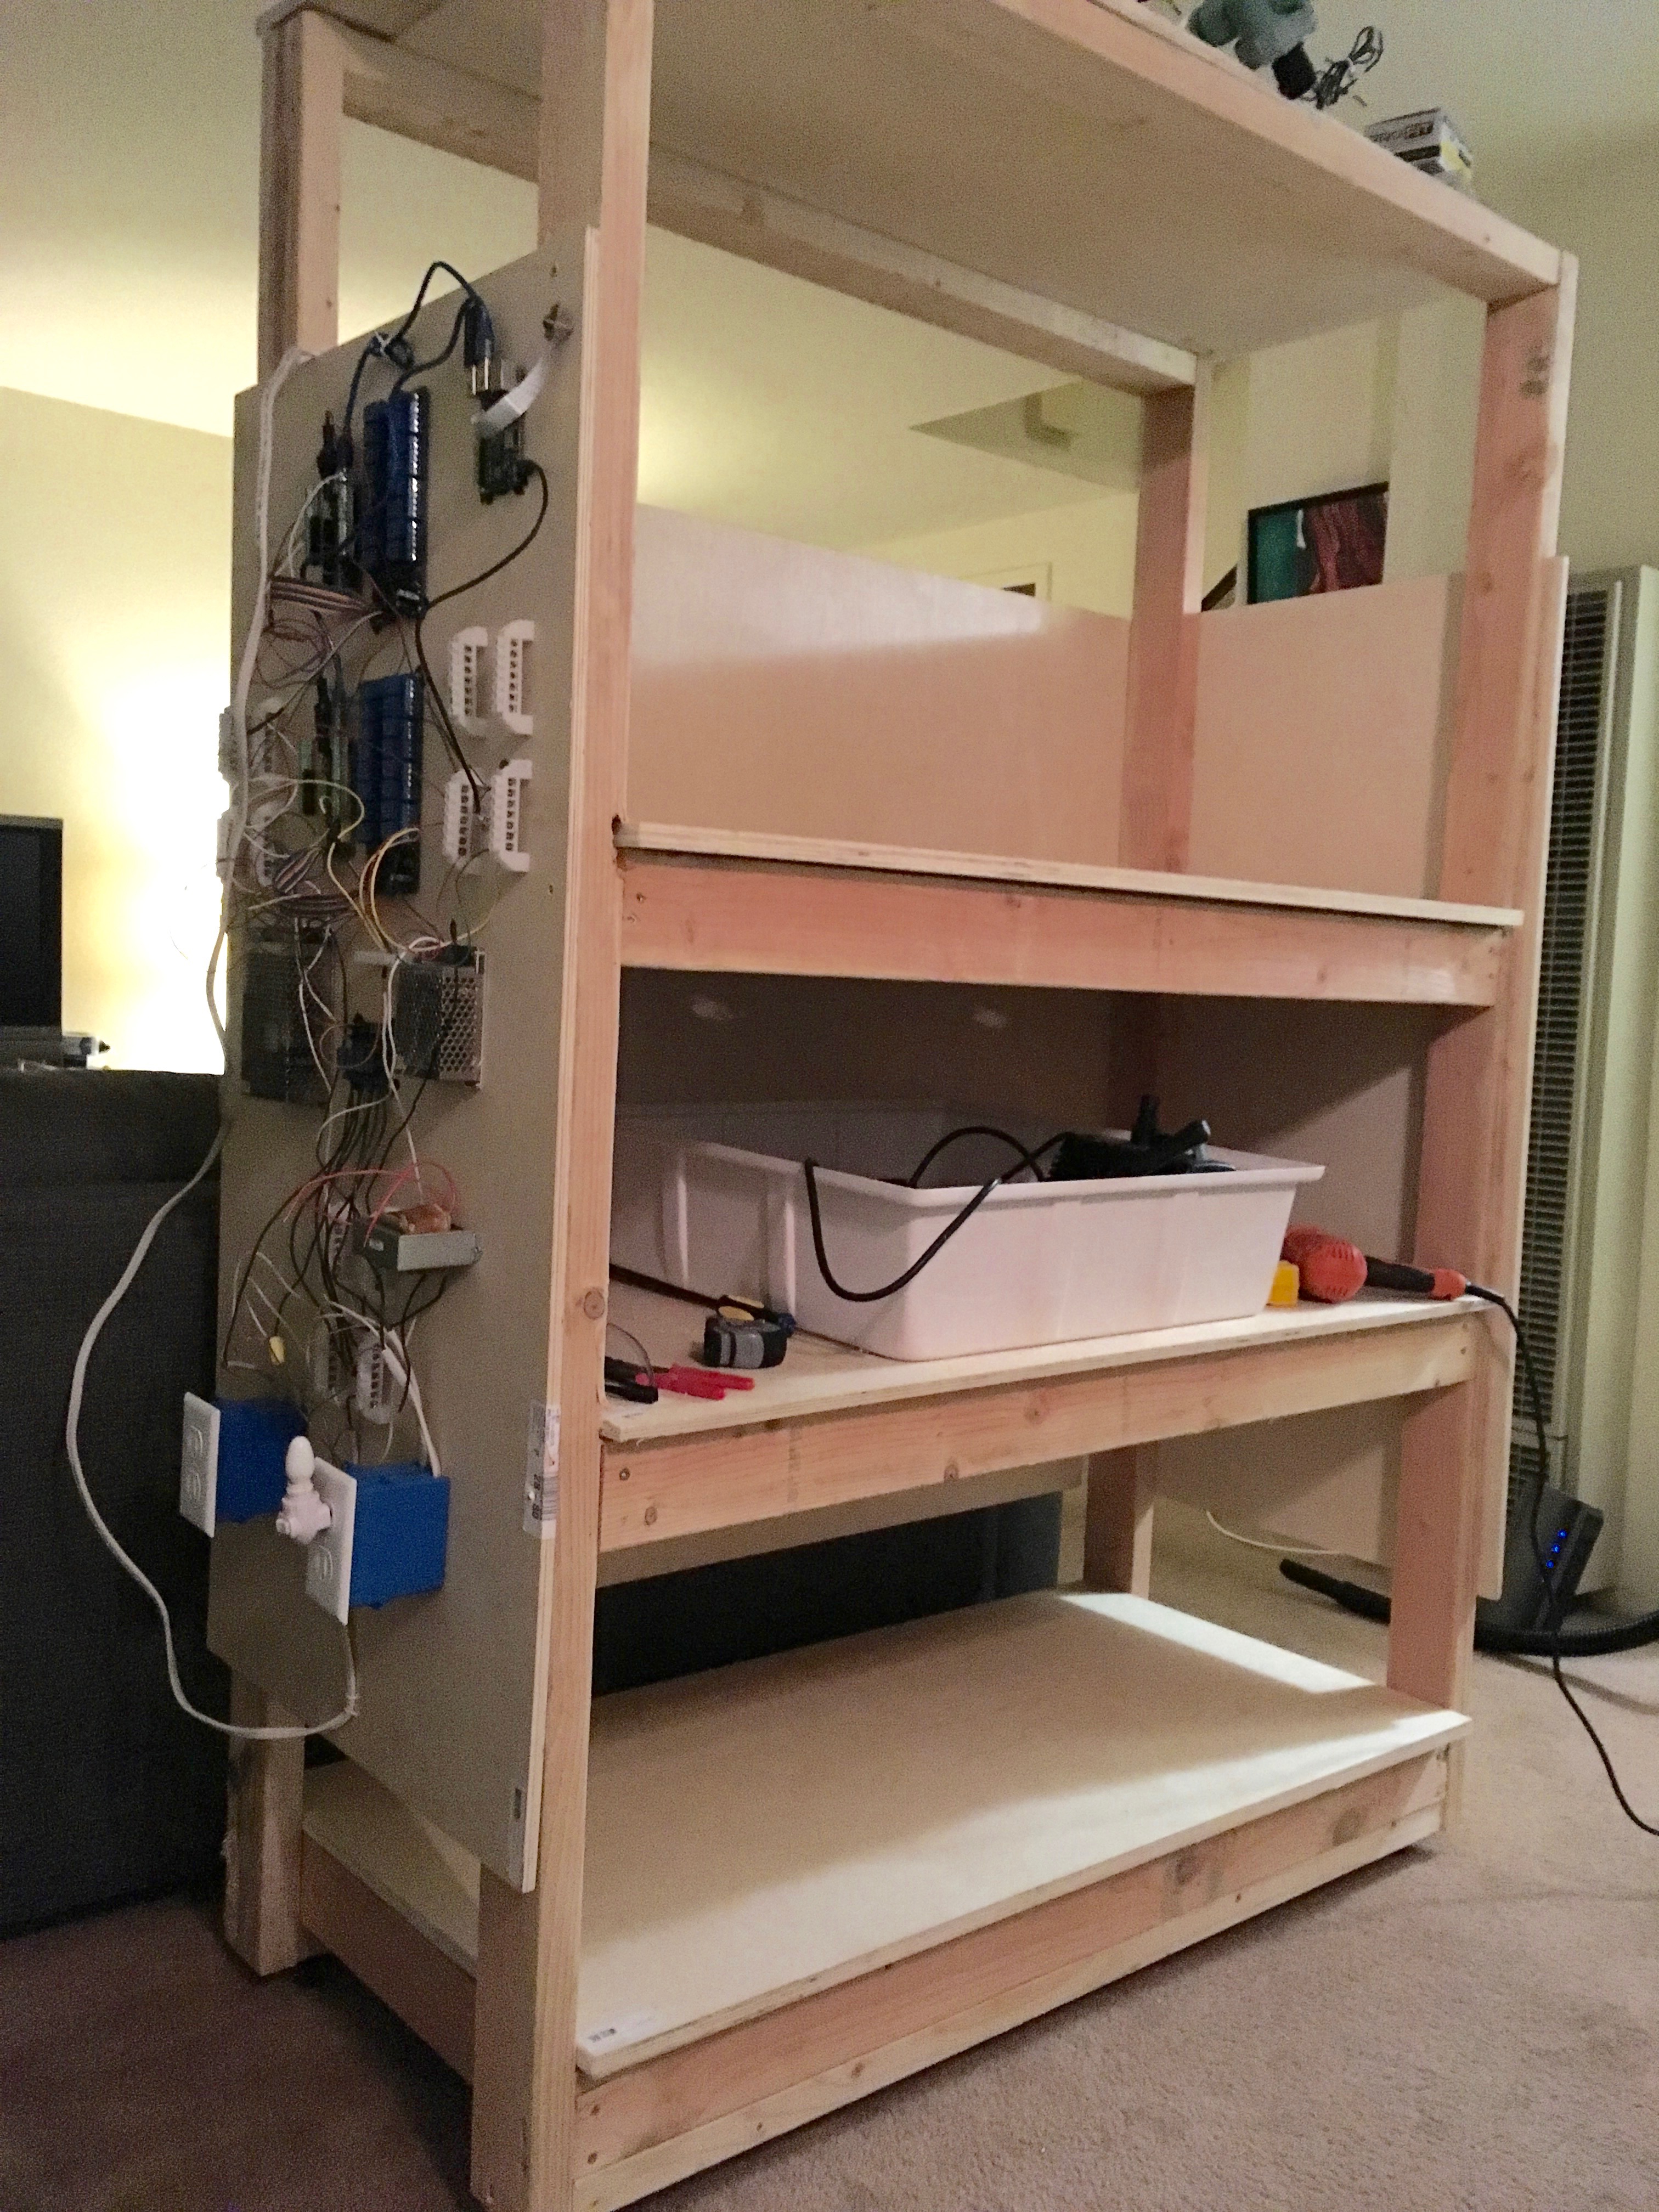
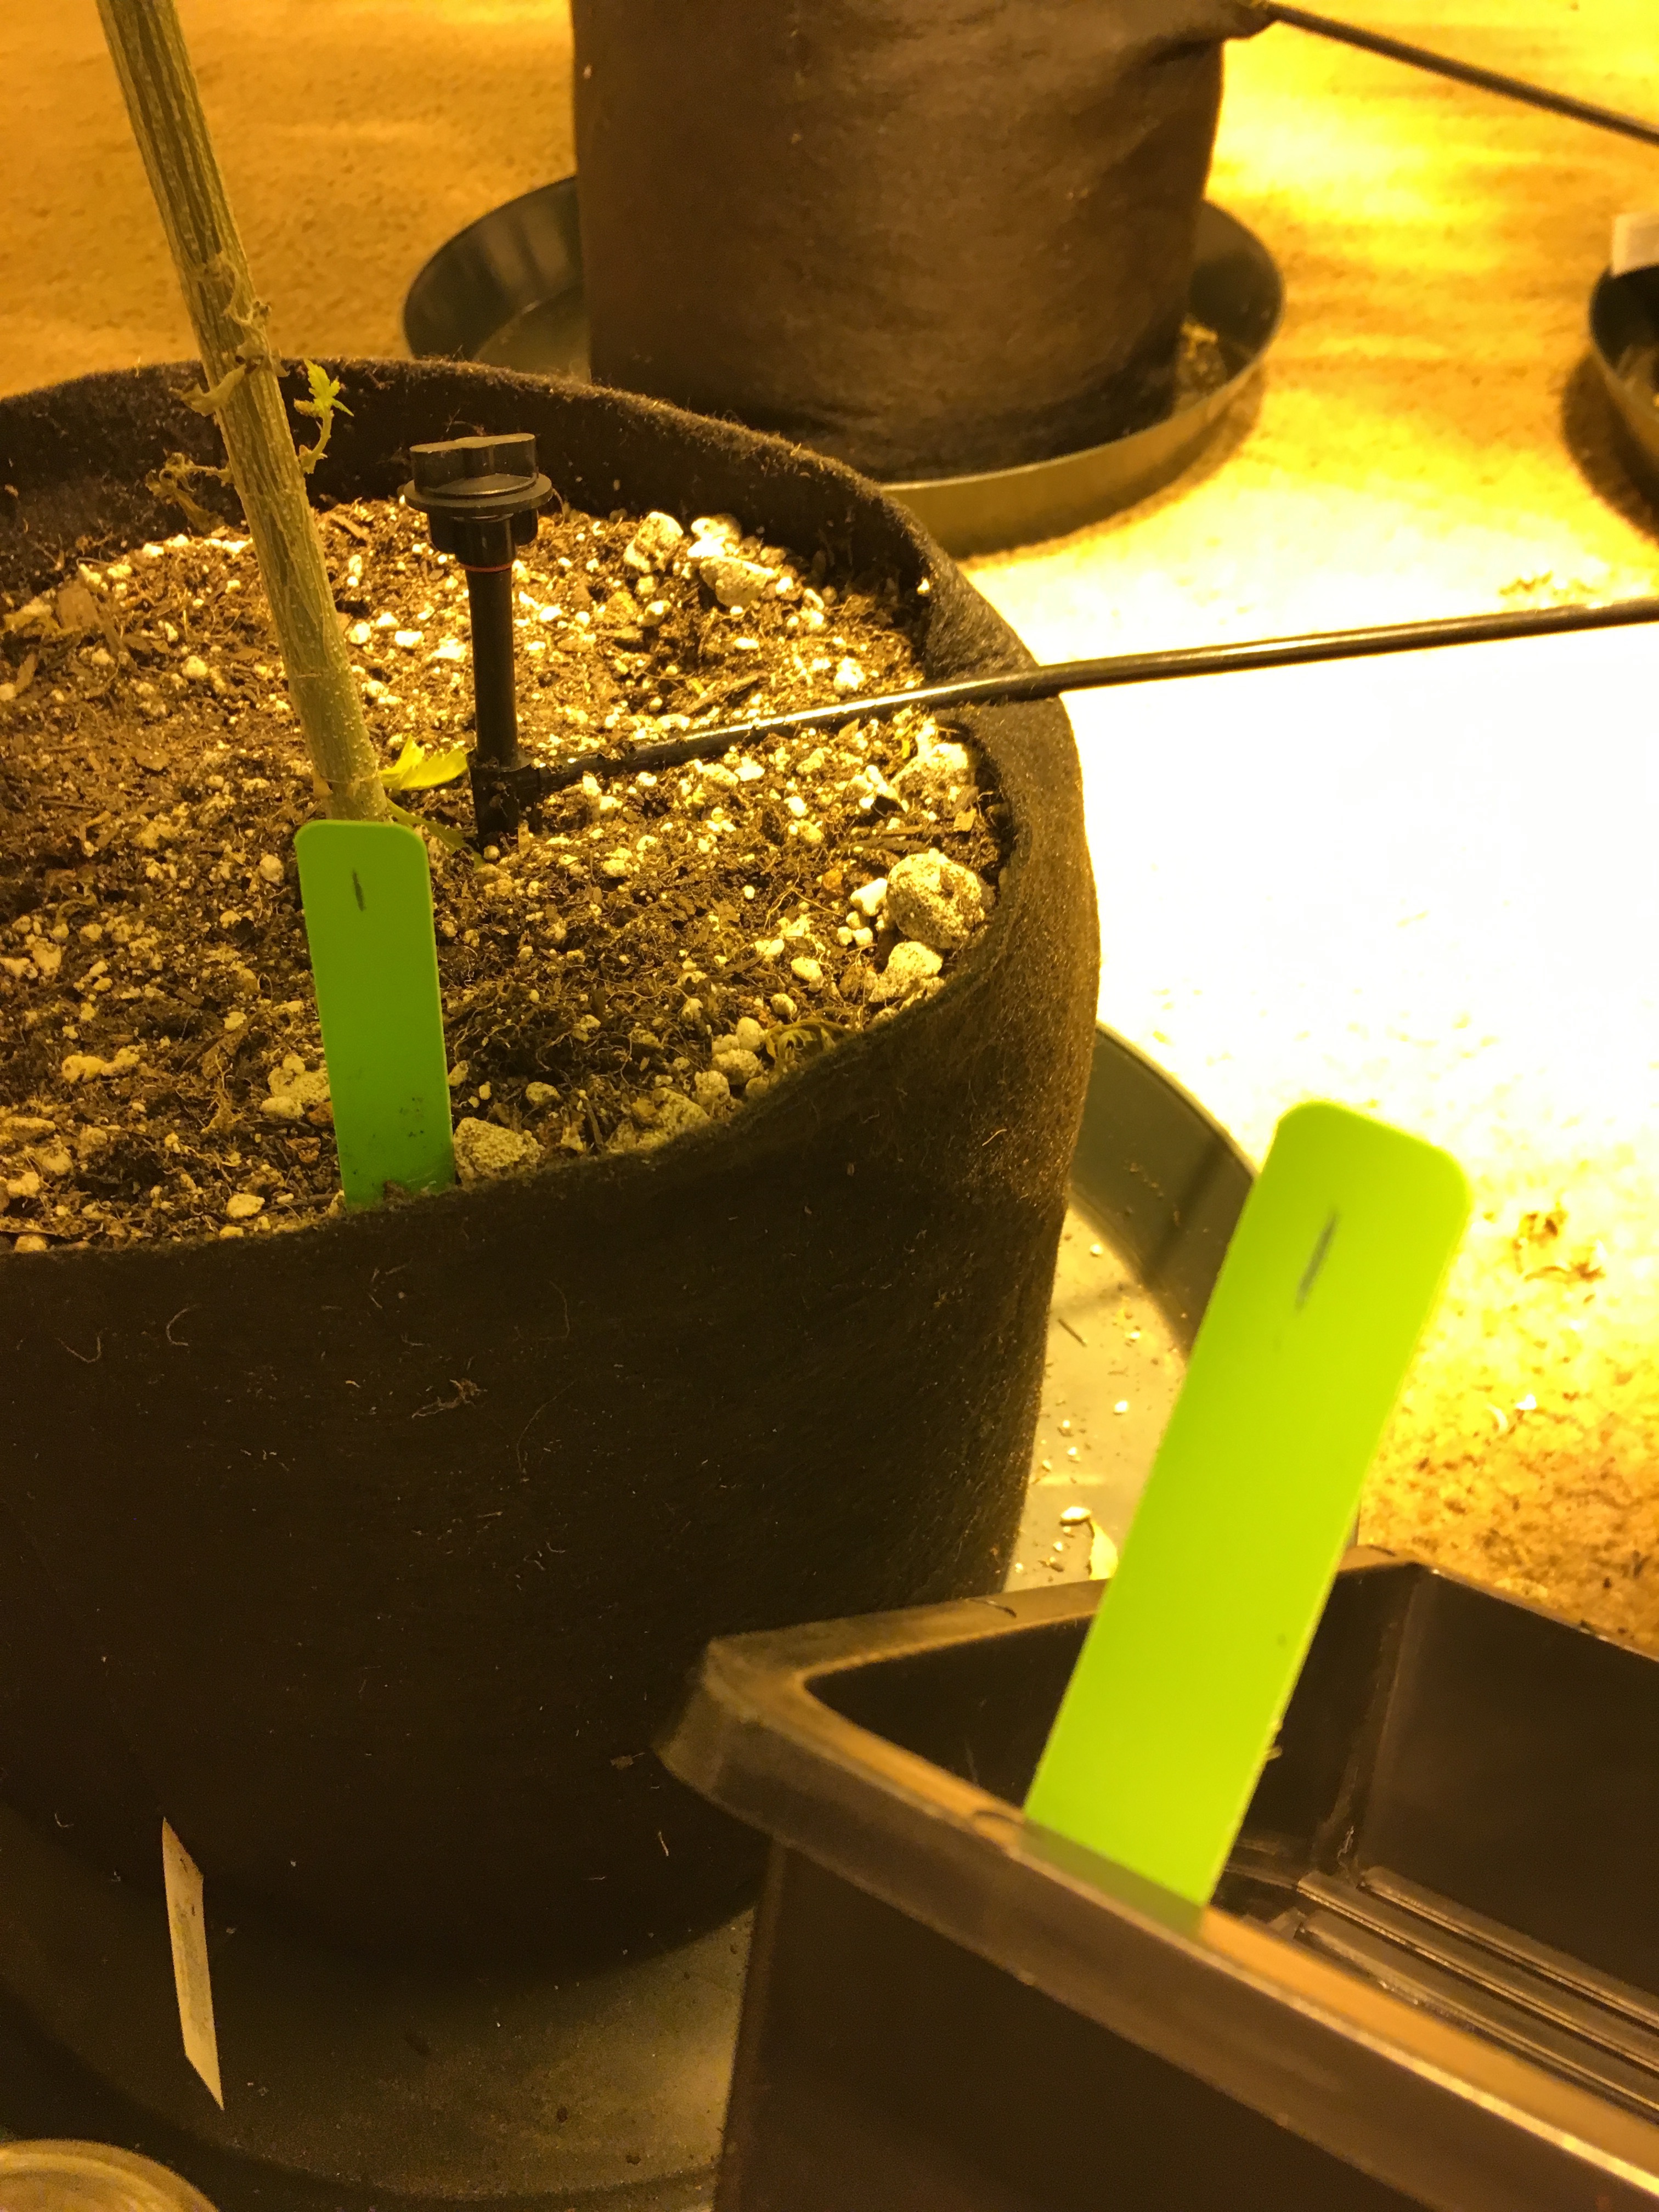
Setting up the closet for cloning.

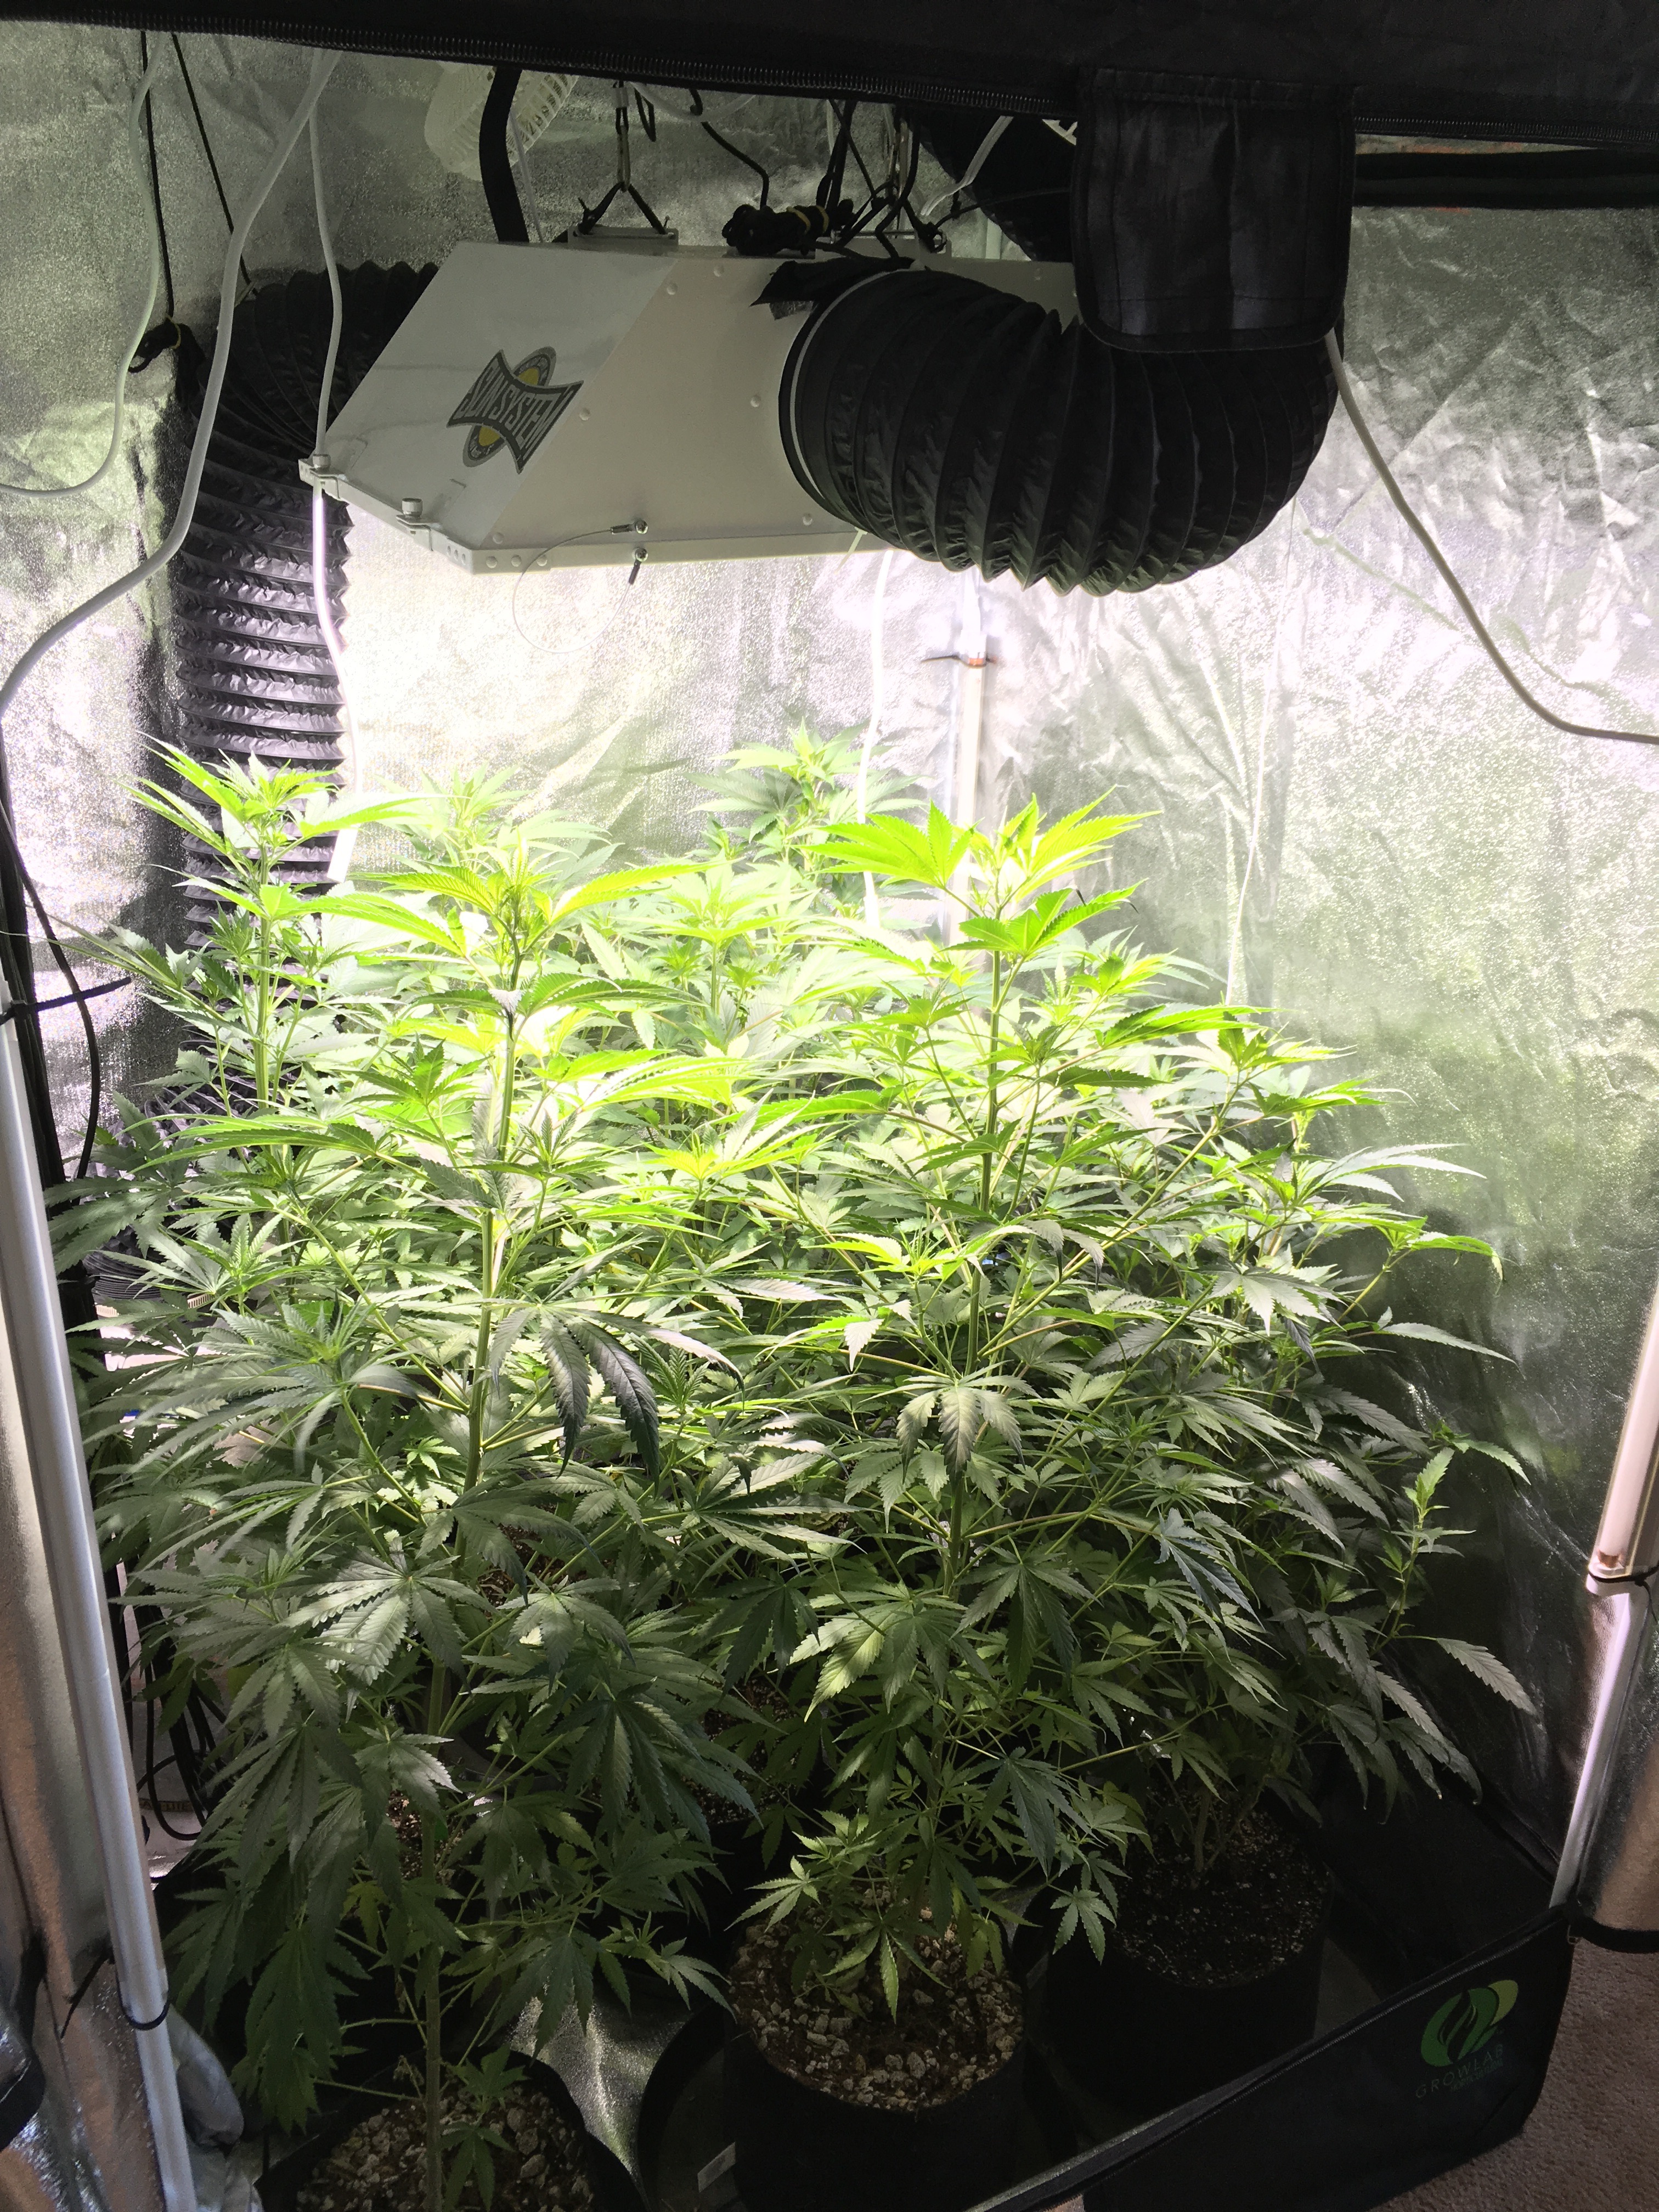
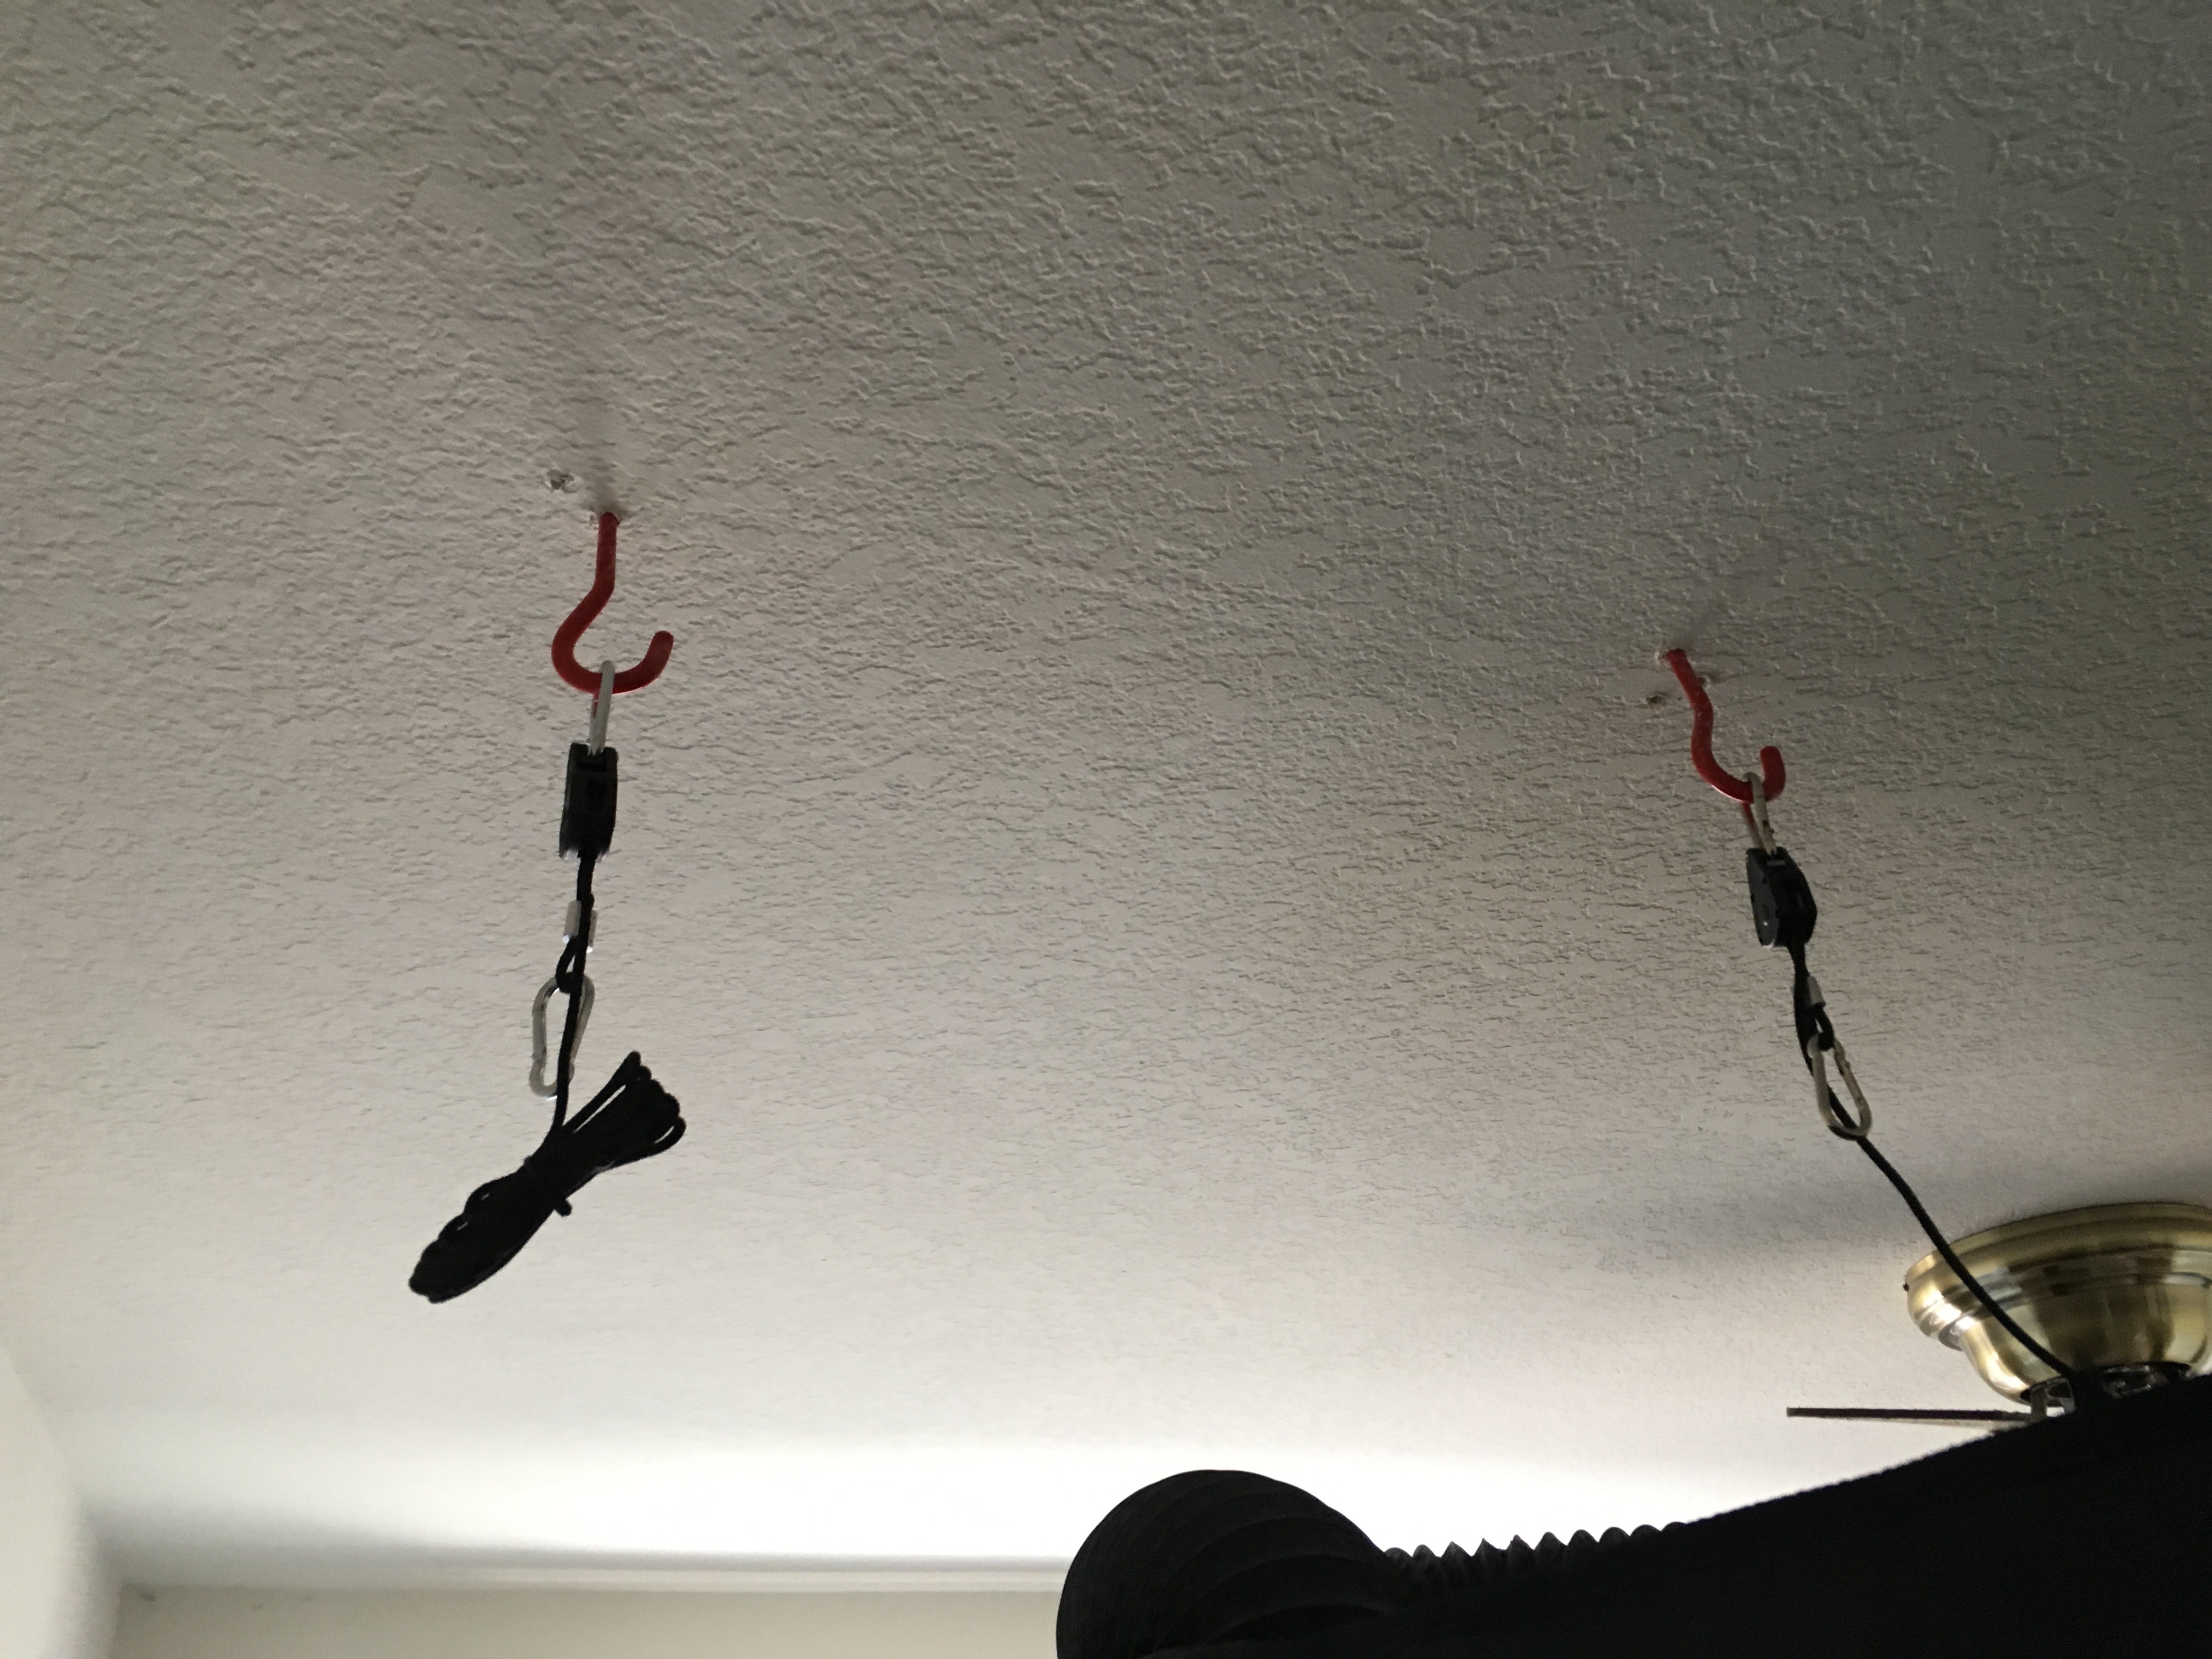
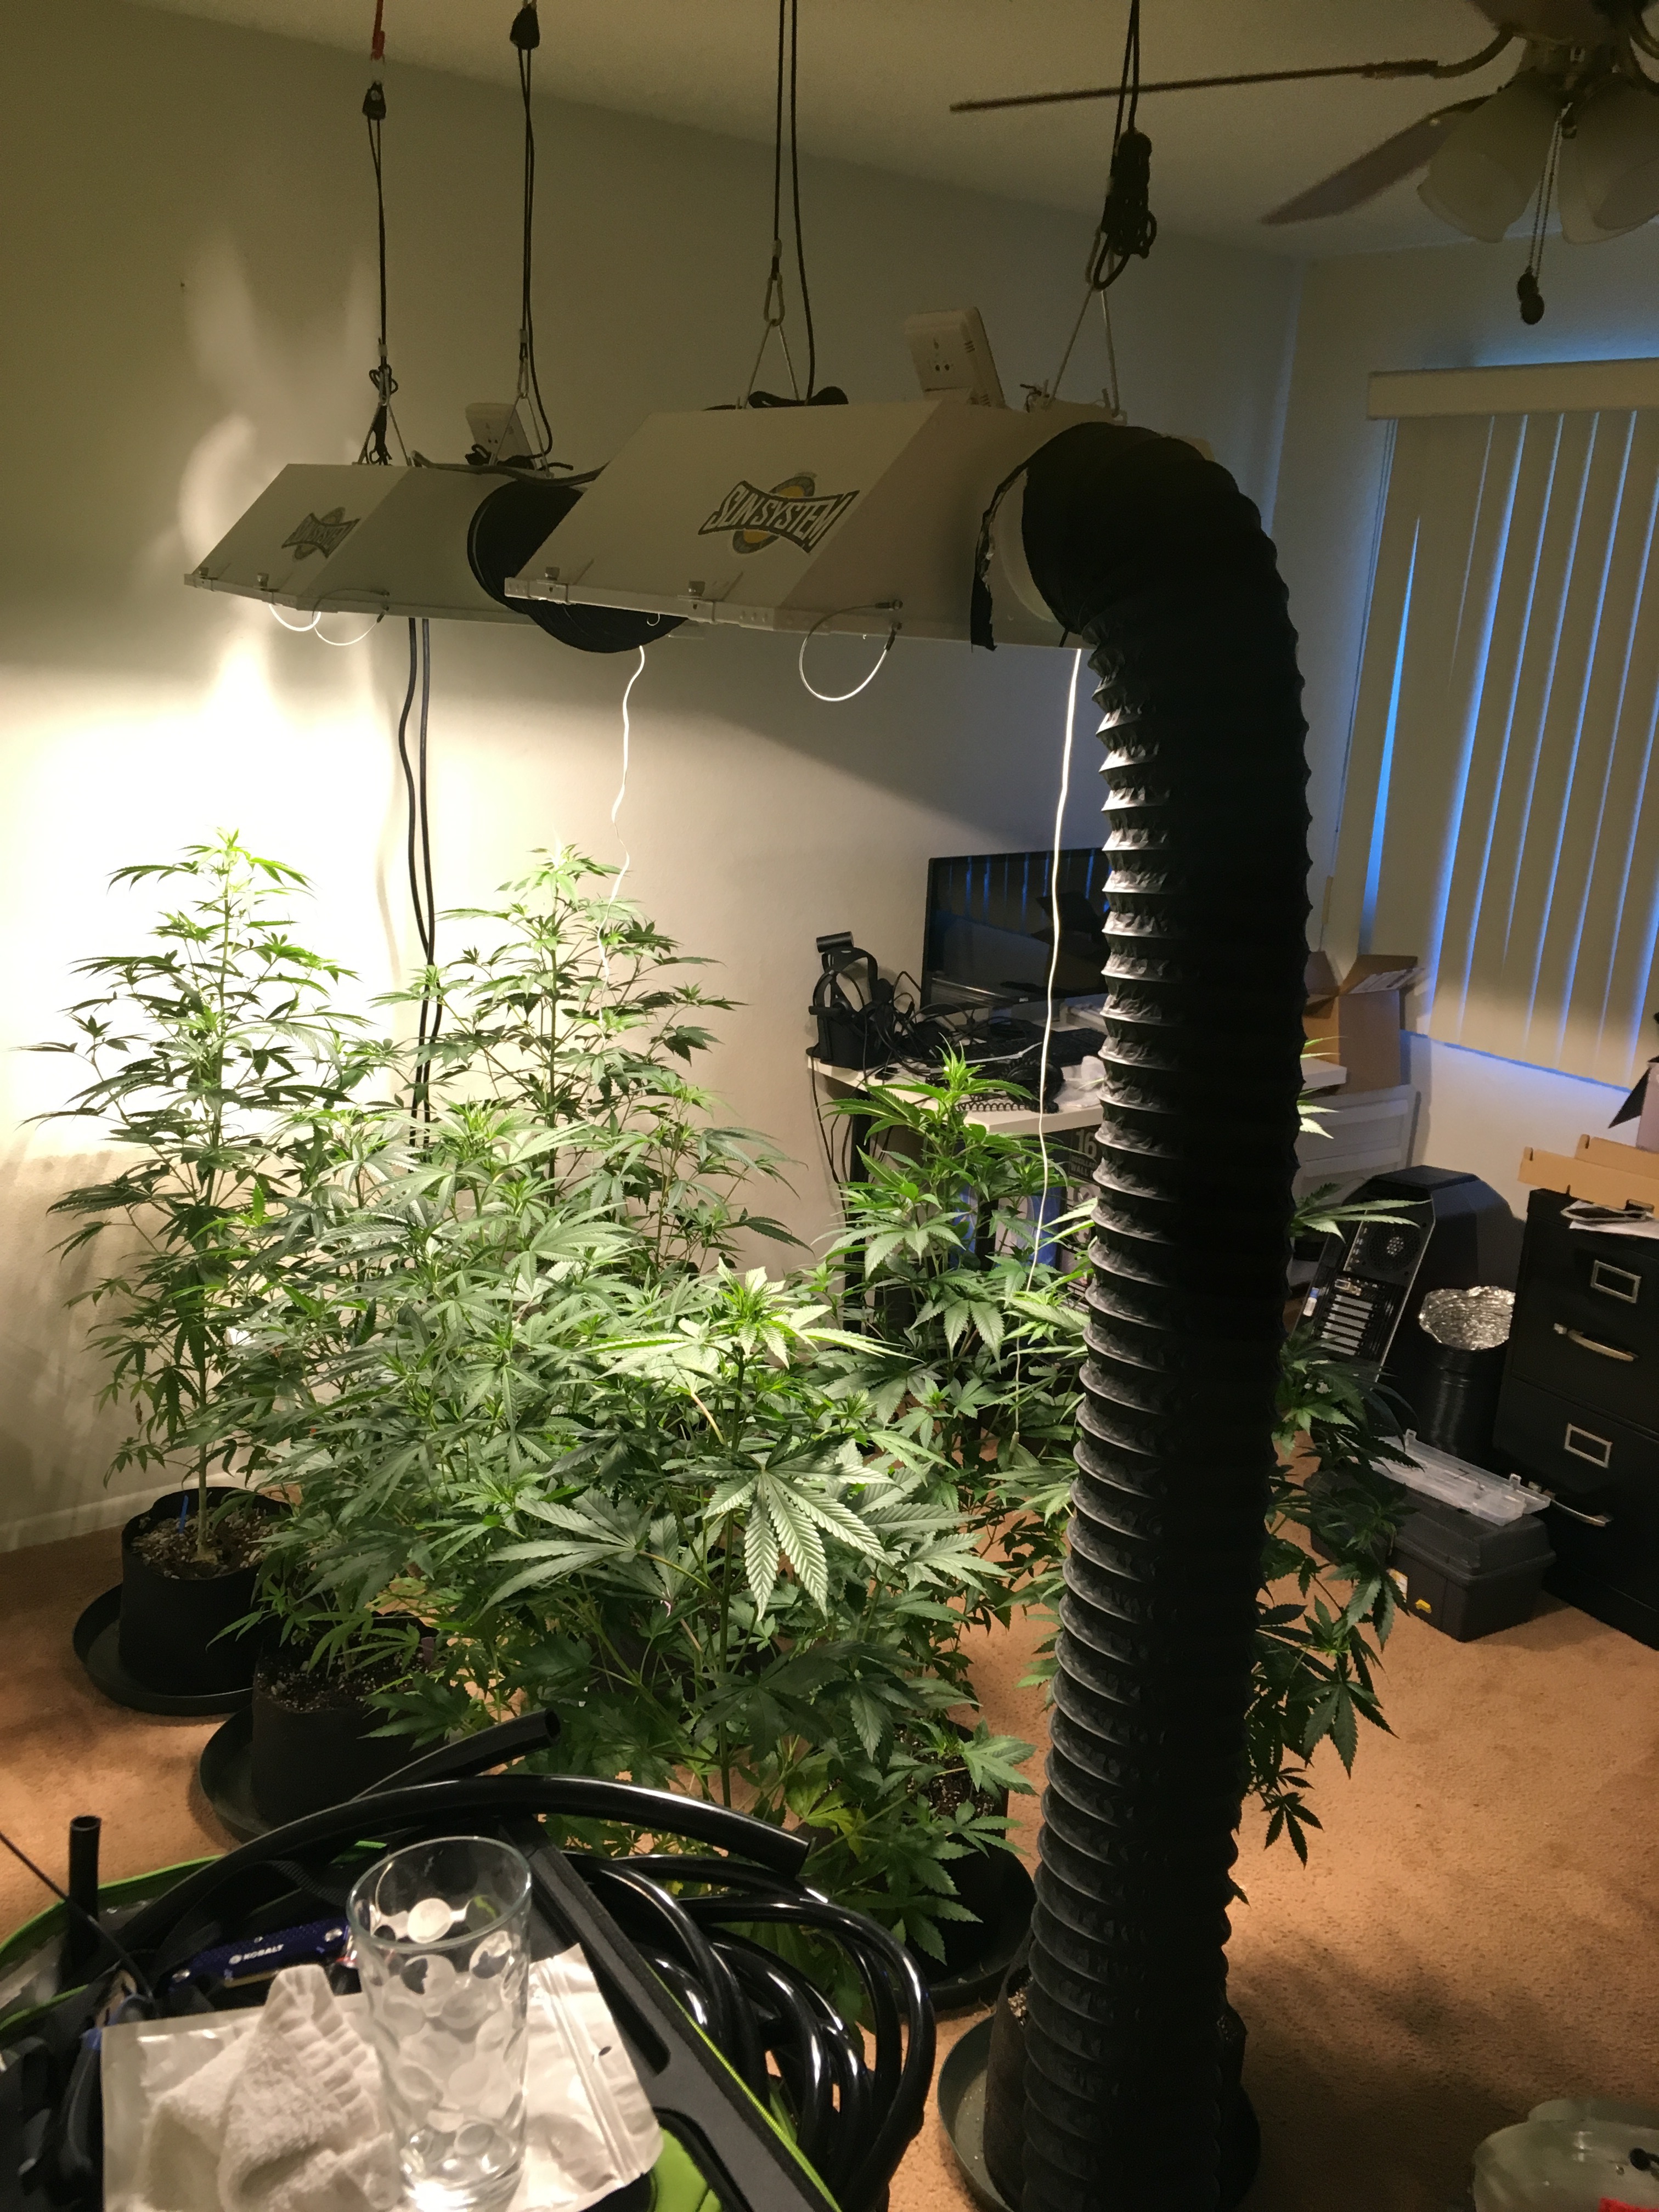
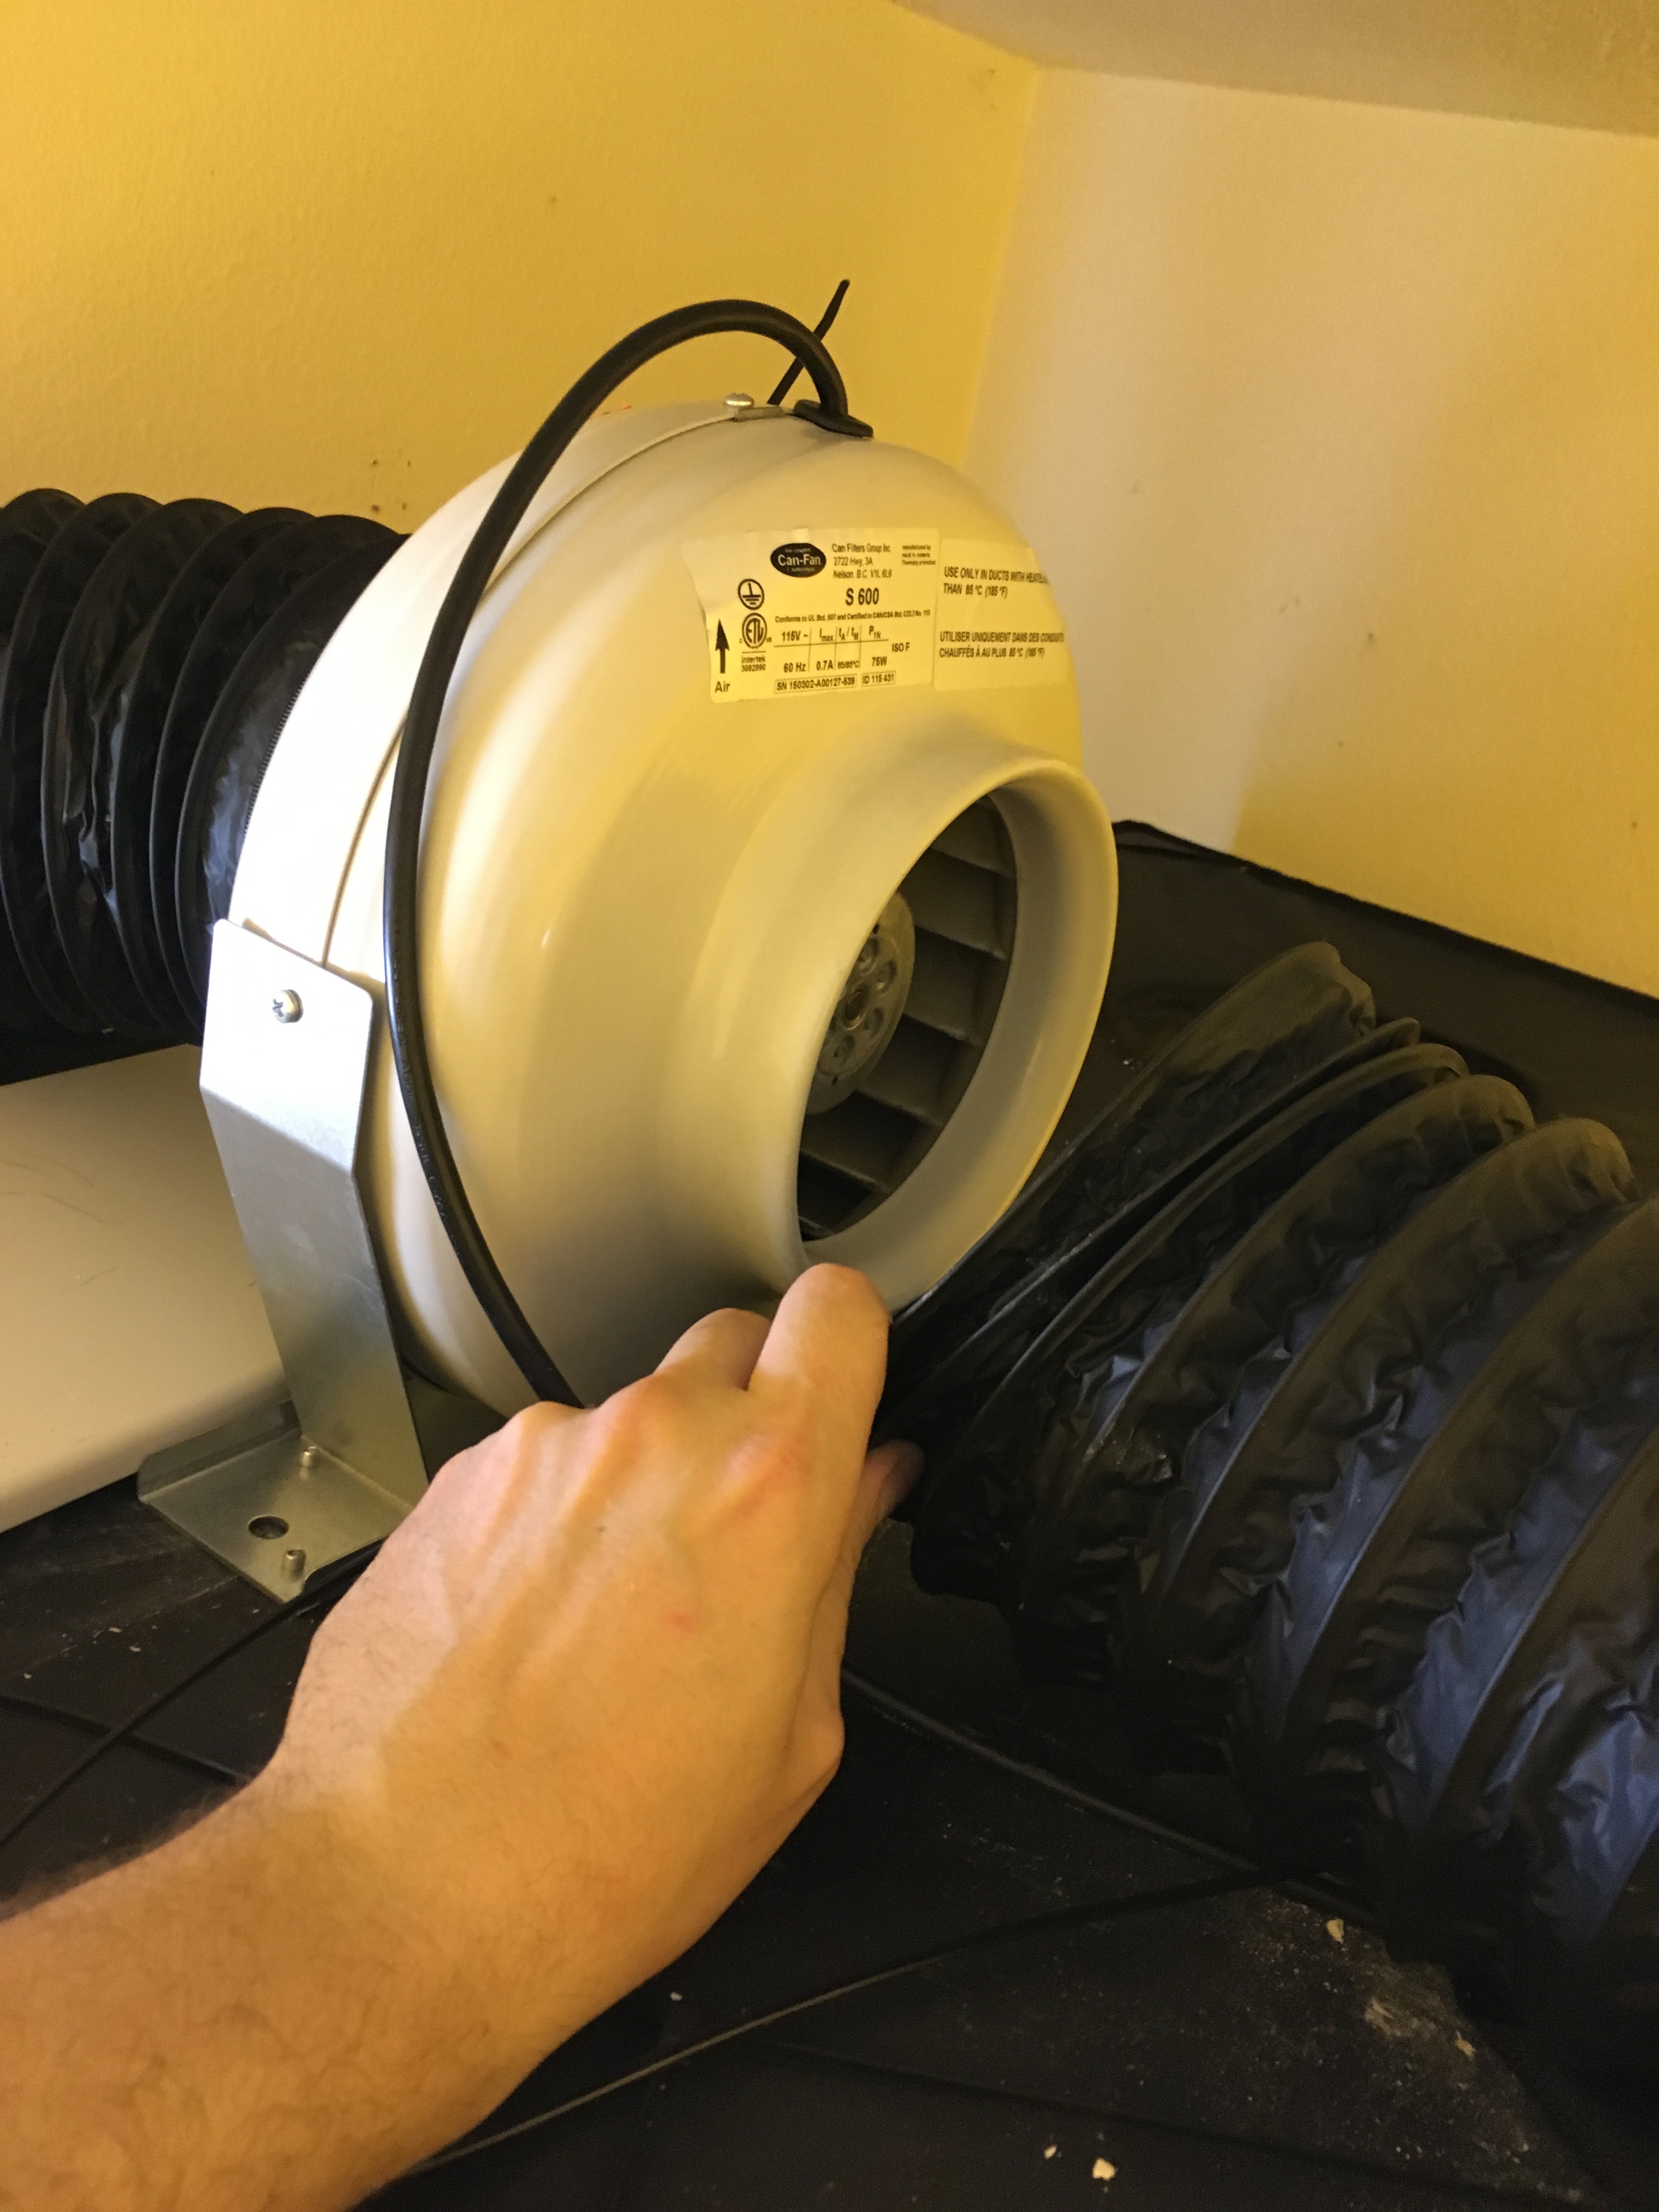
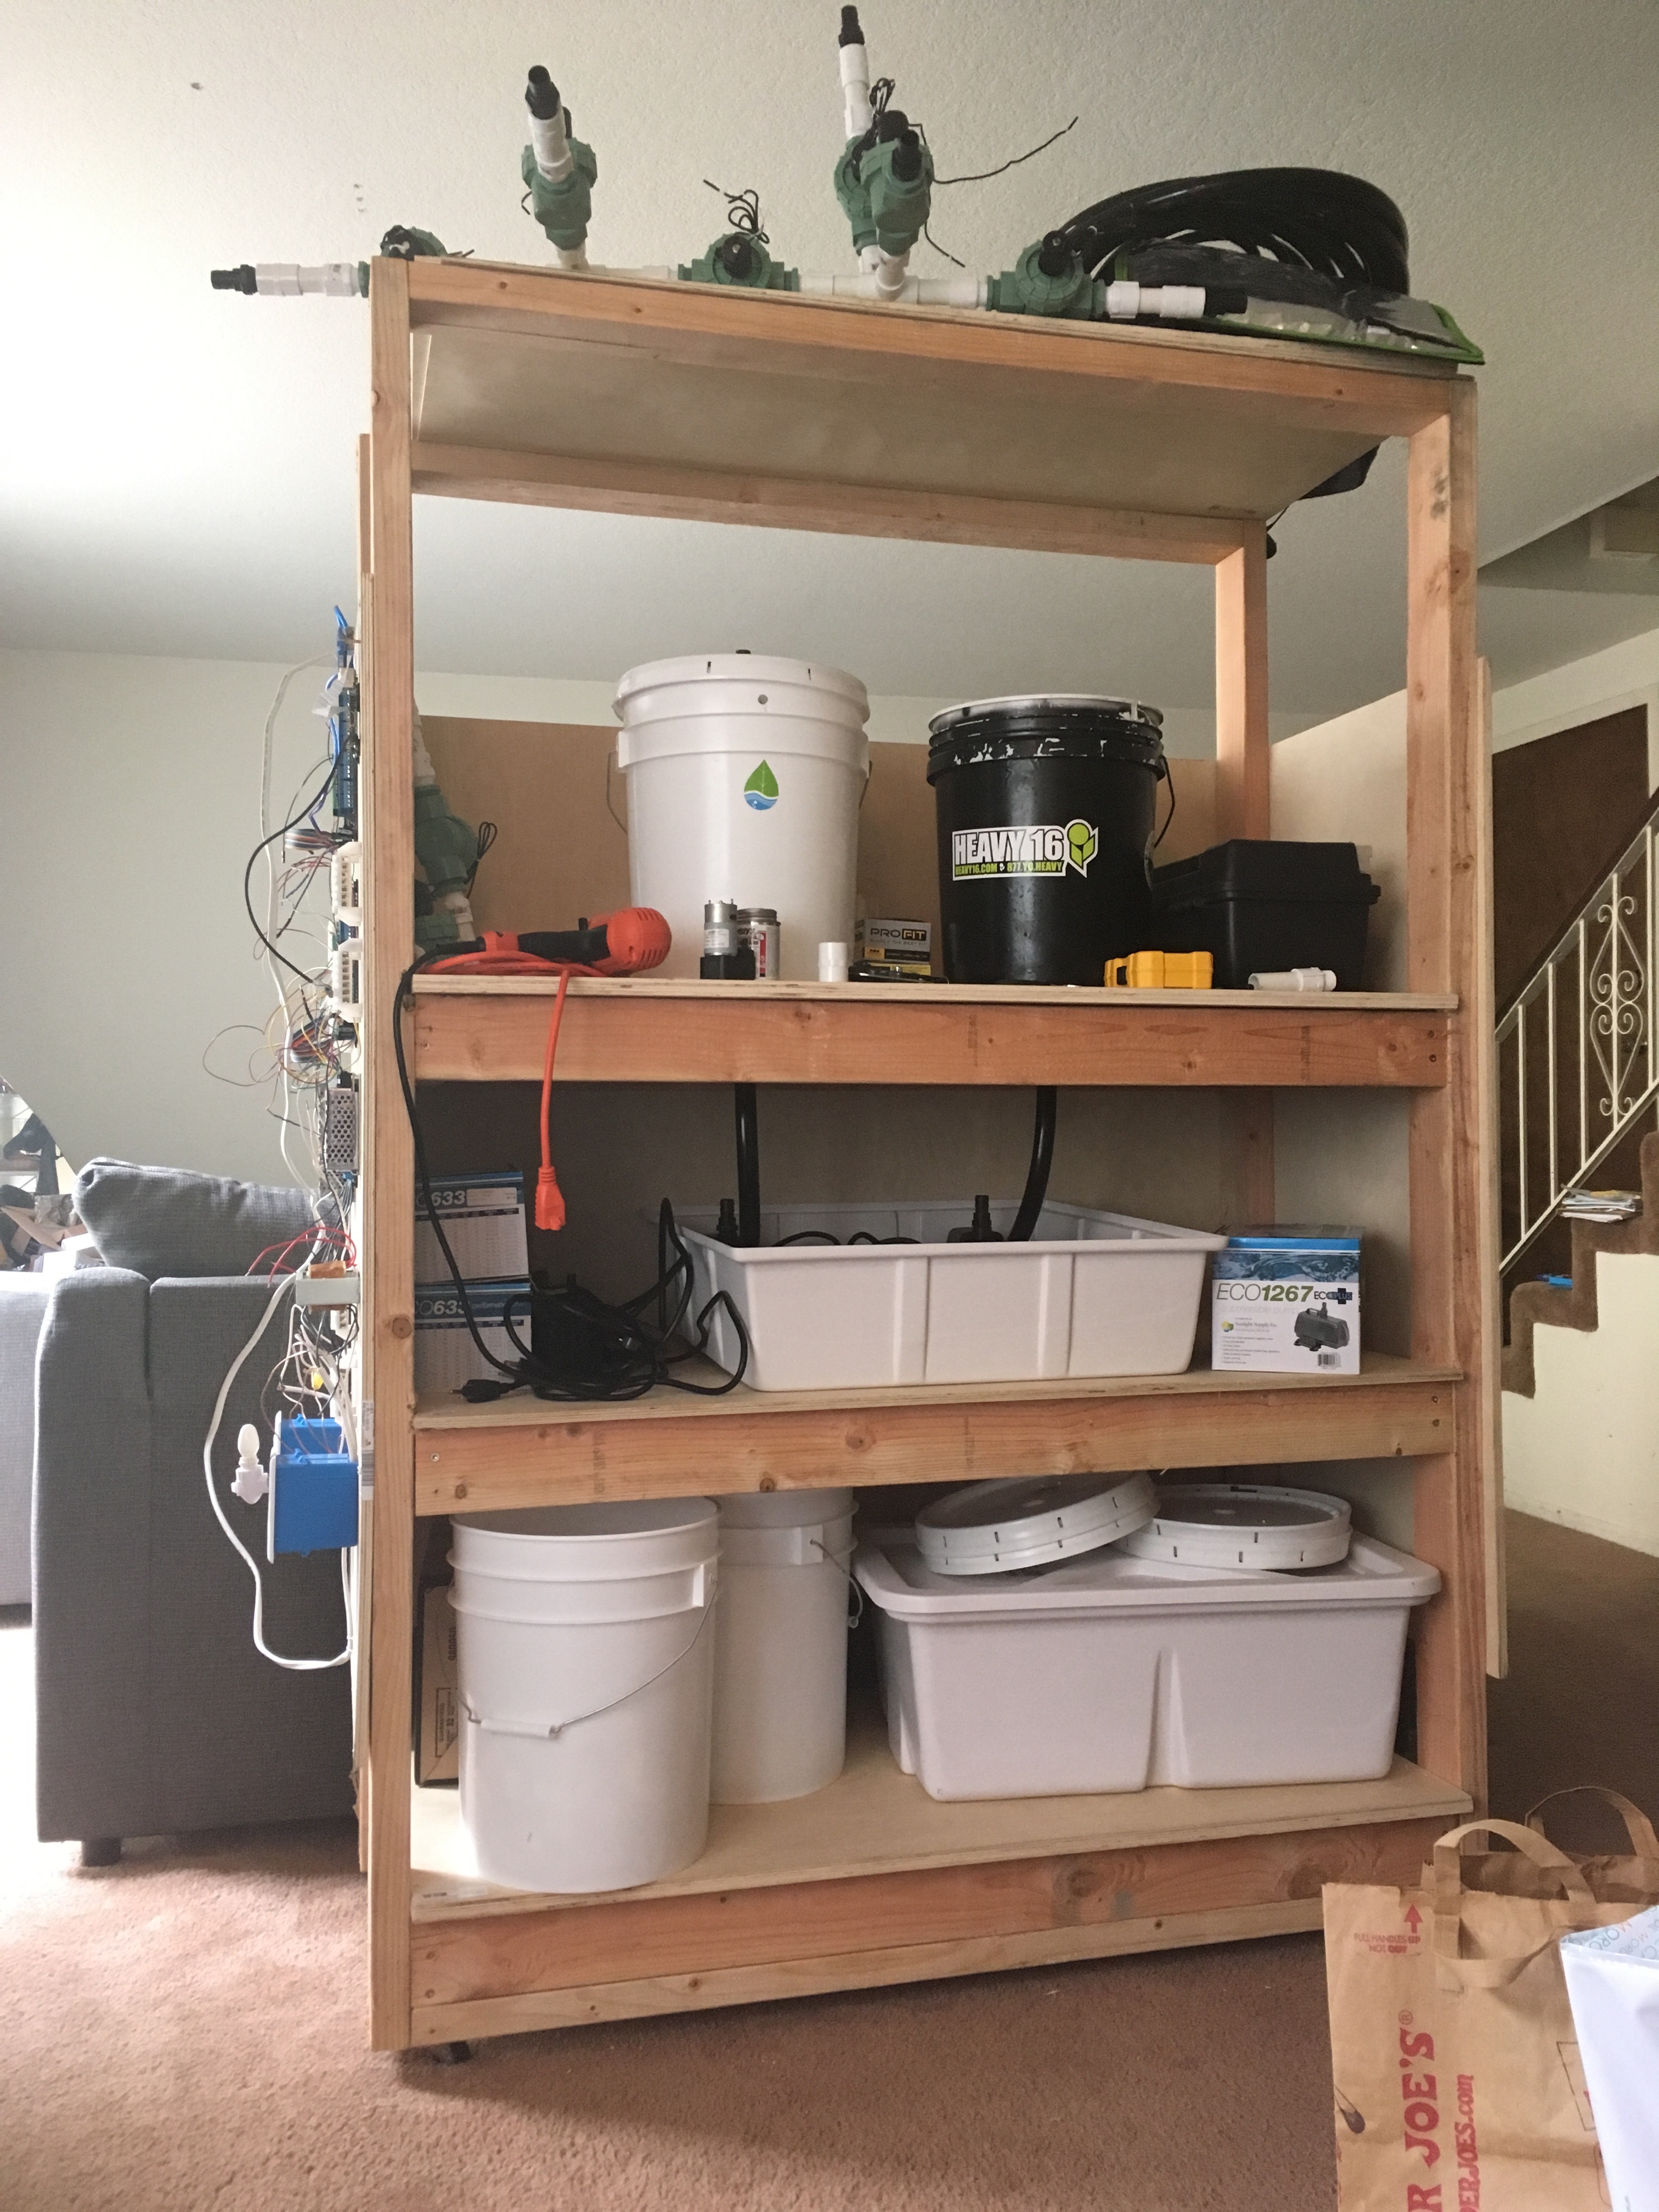
Full setup with airflow.
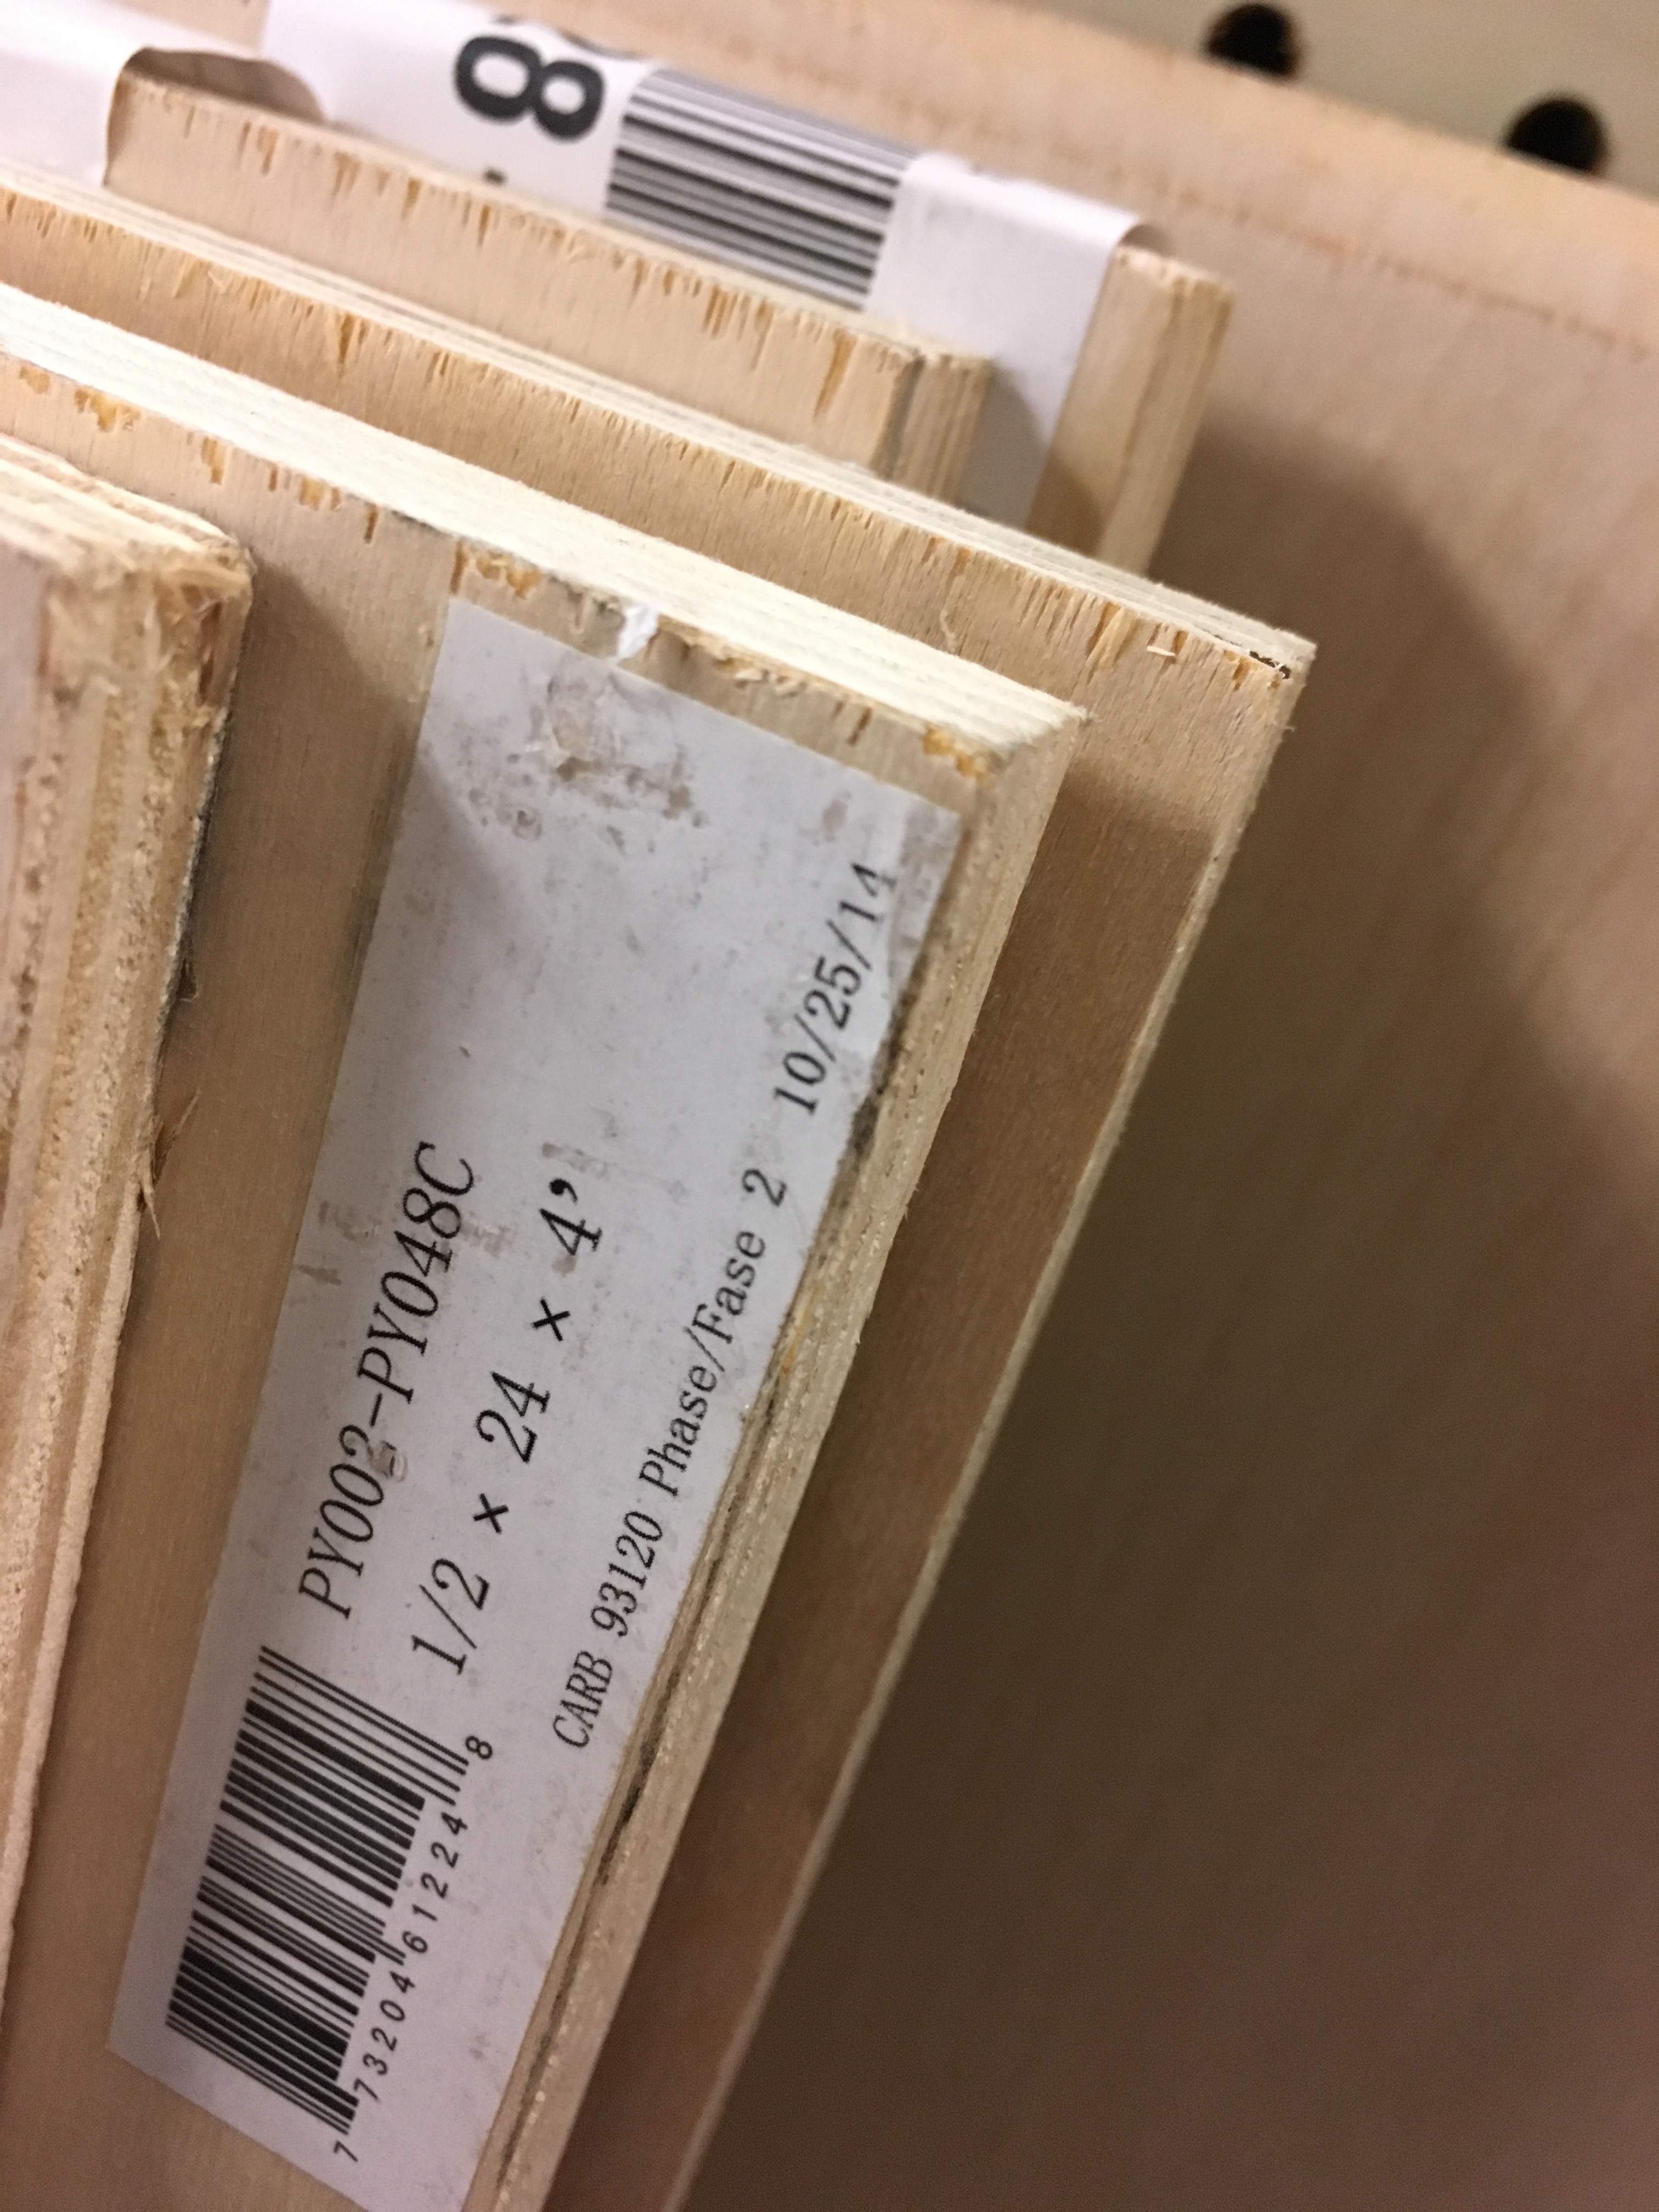
There were a few strains and I wanted to make sure I recorded each.
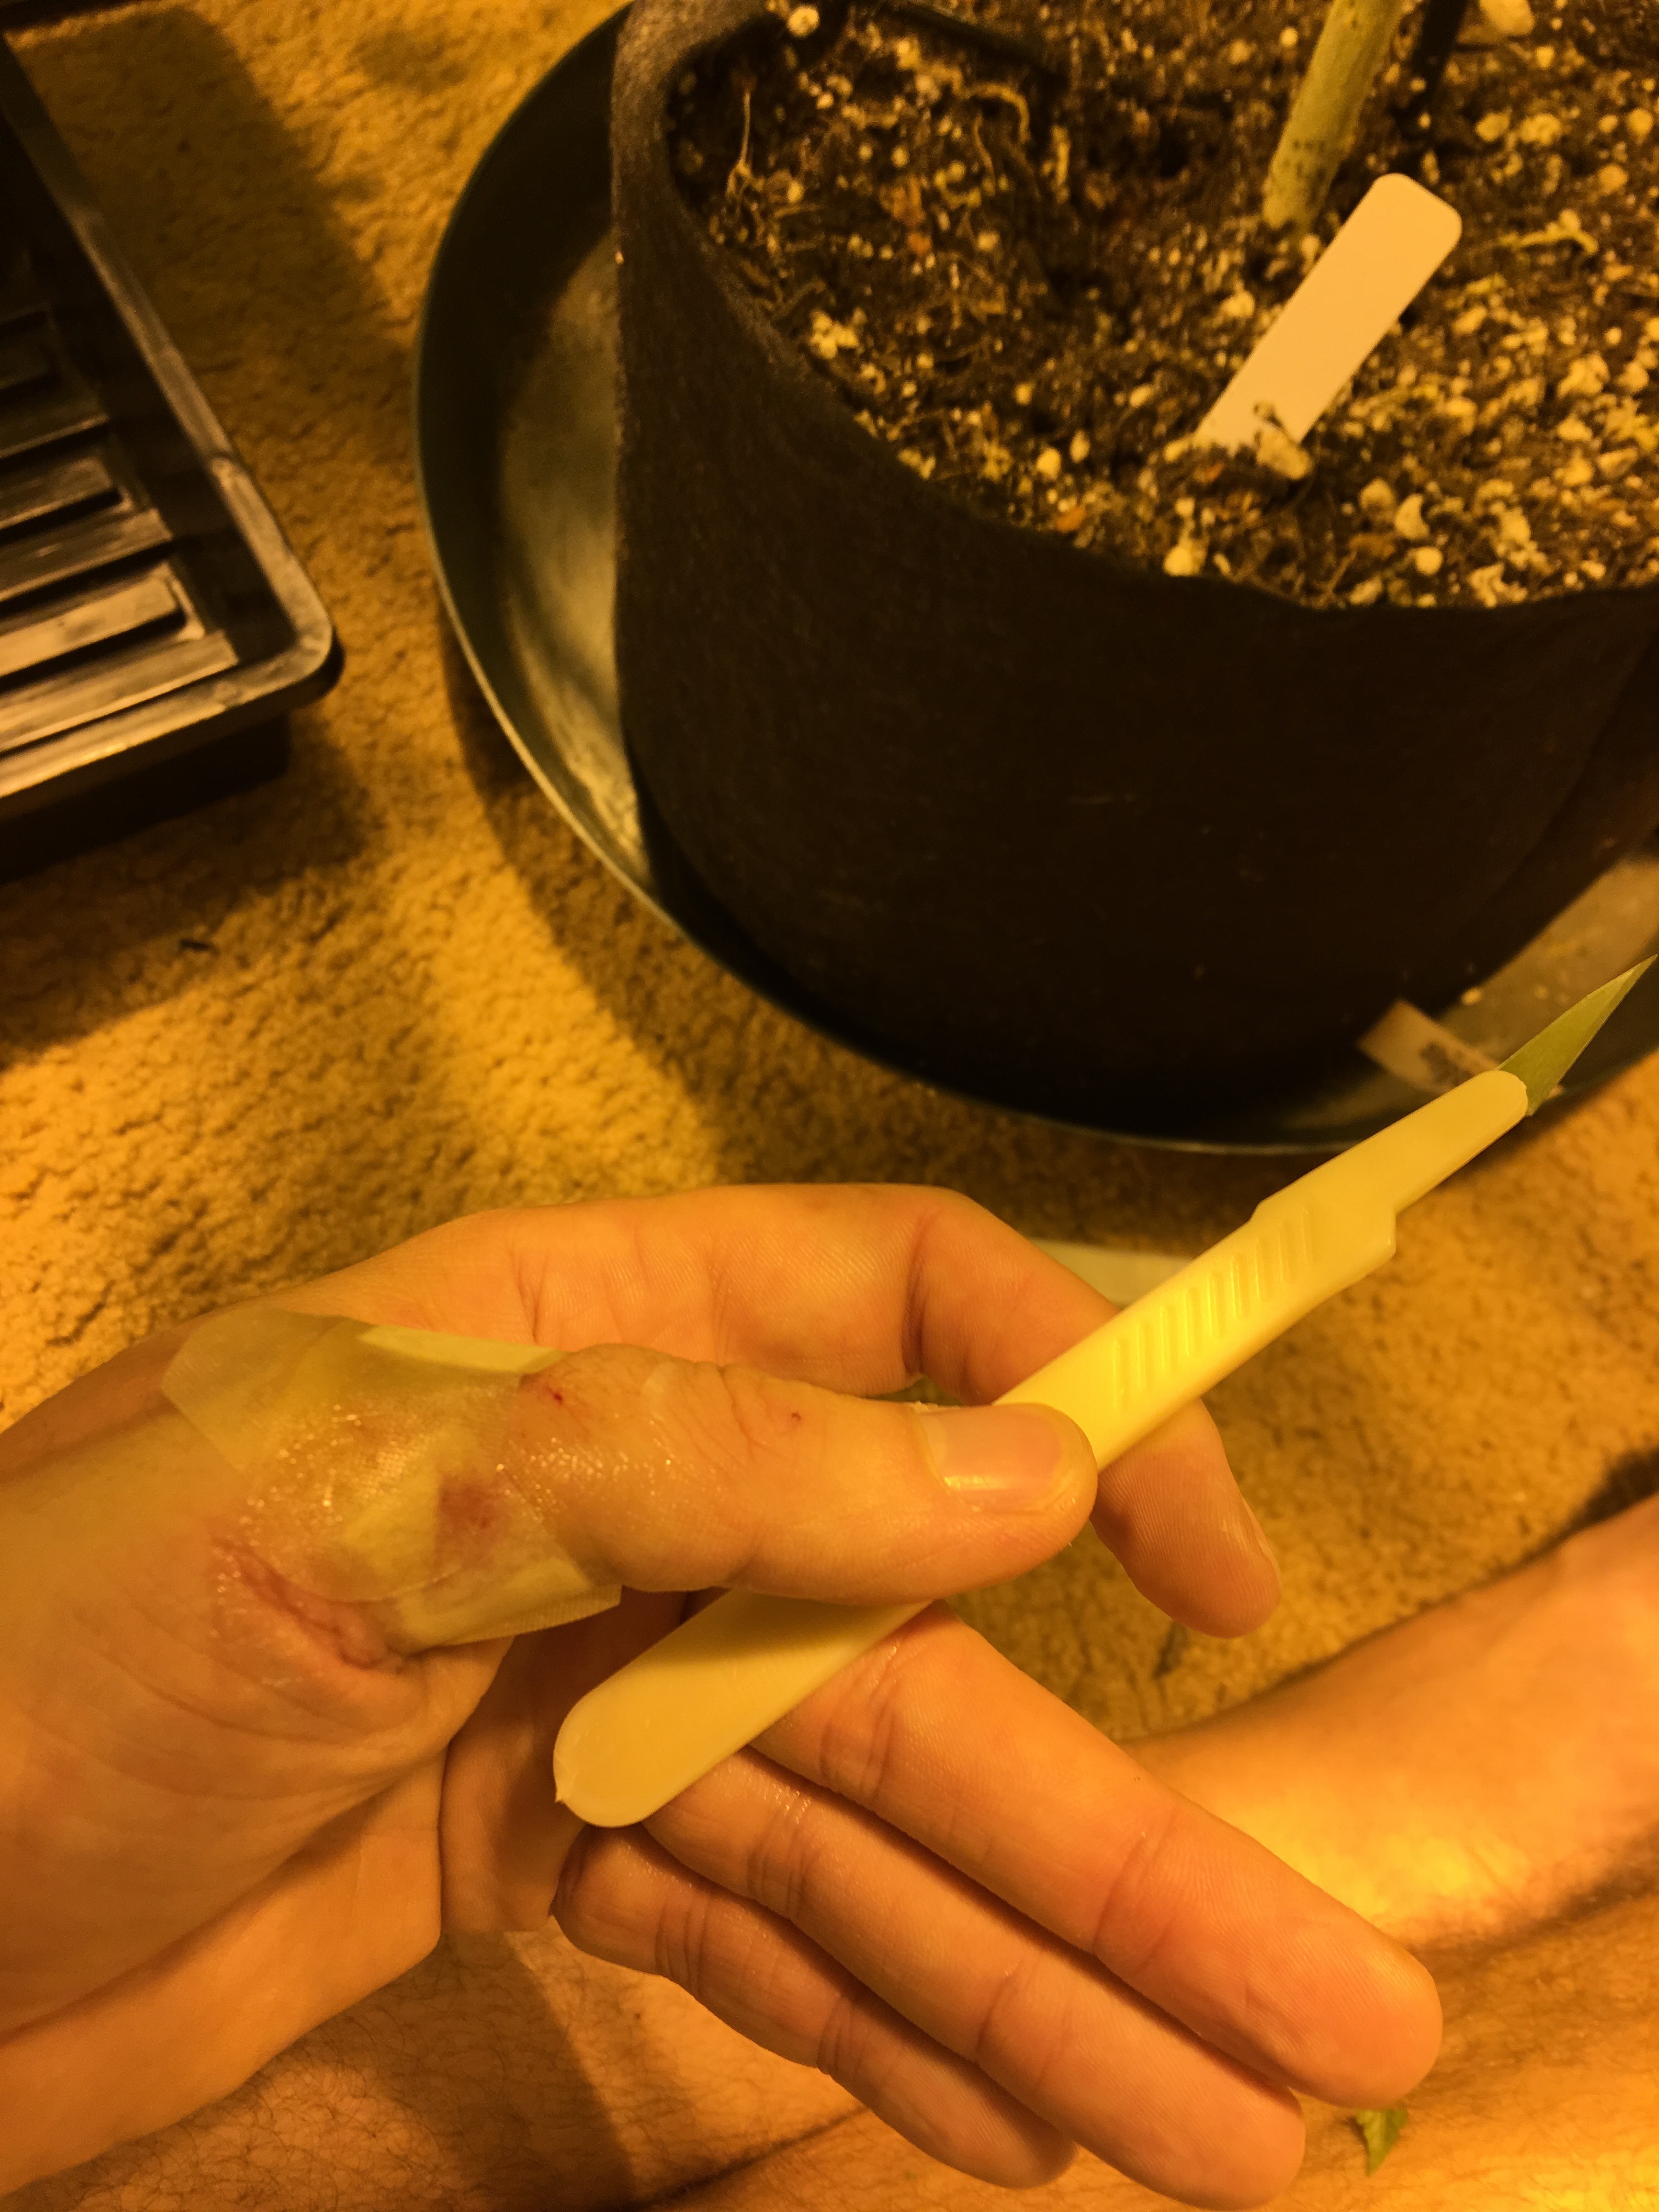
New blade for the cut.
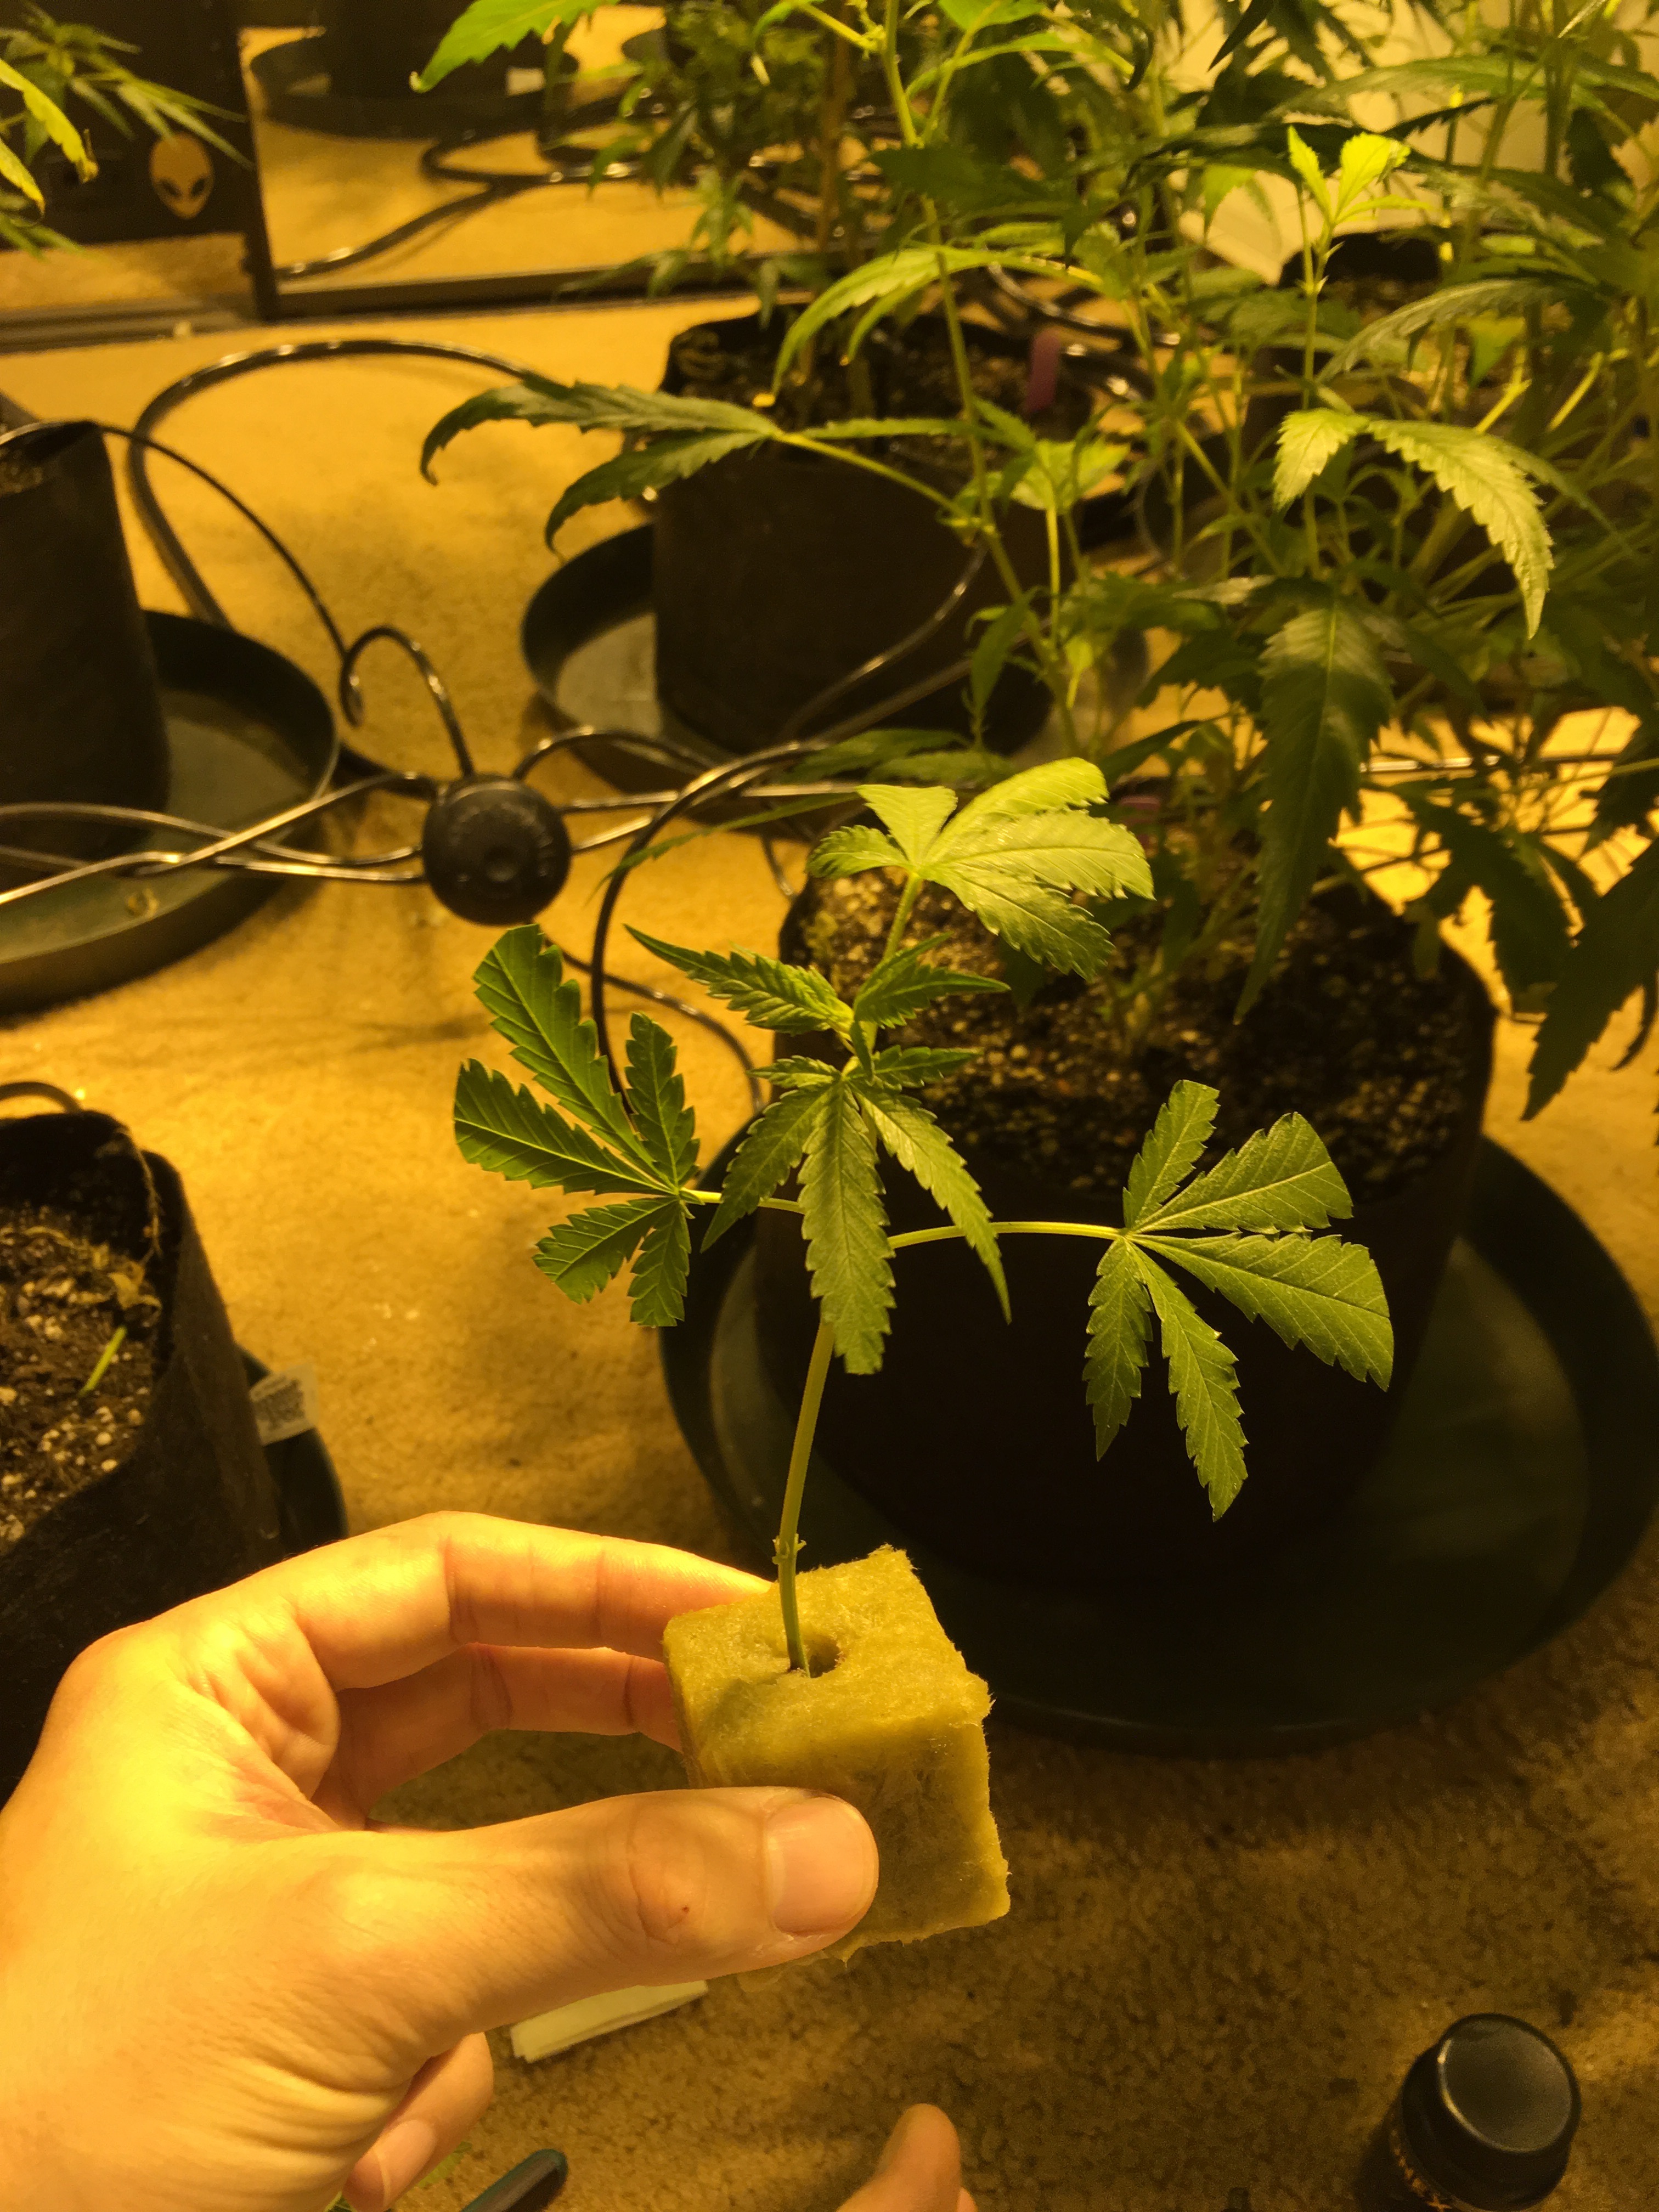
First clone.
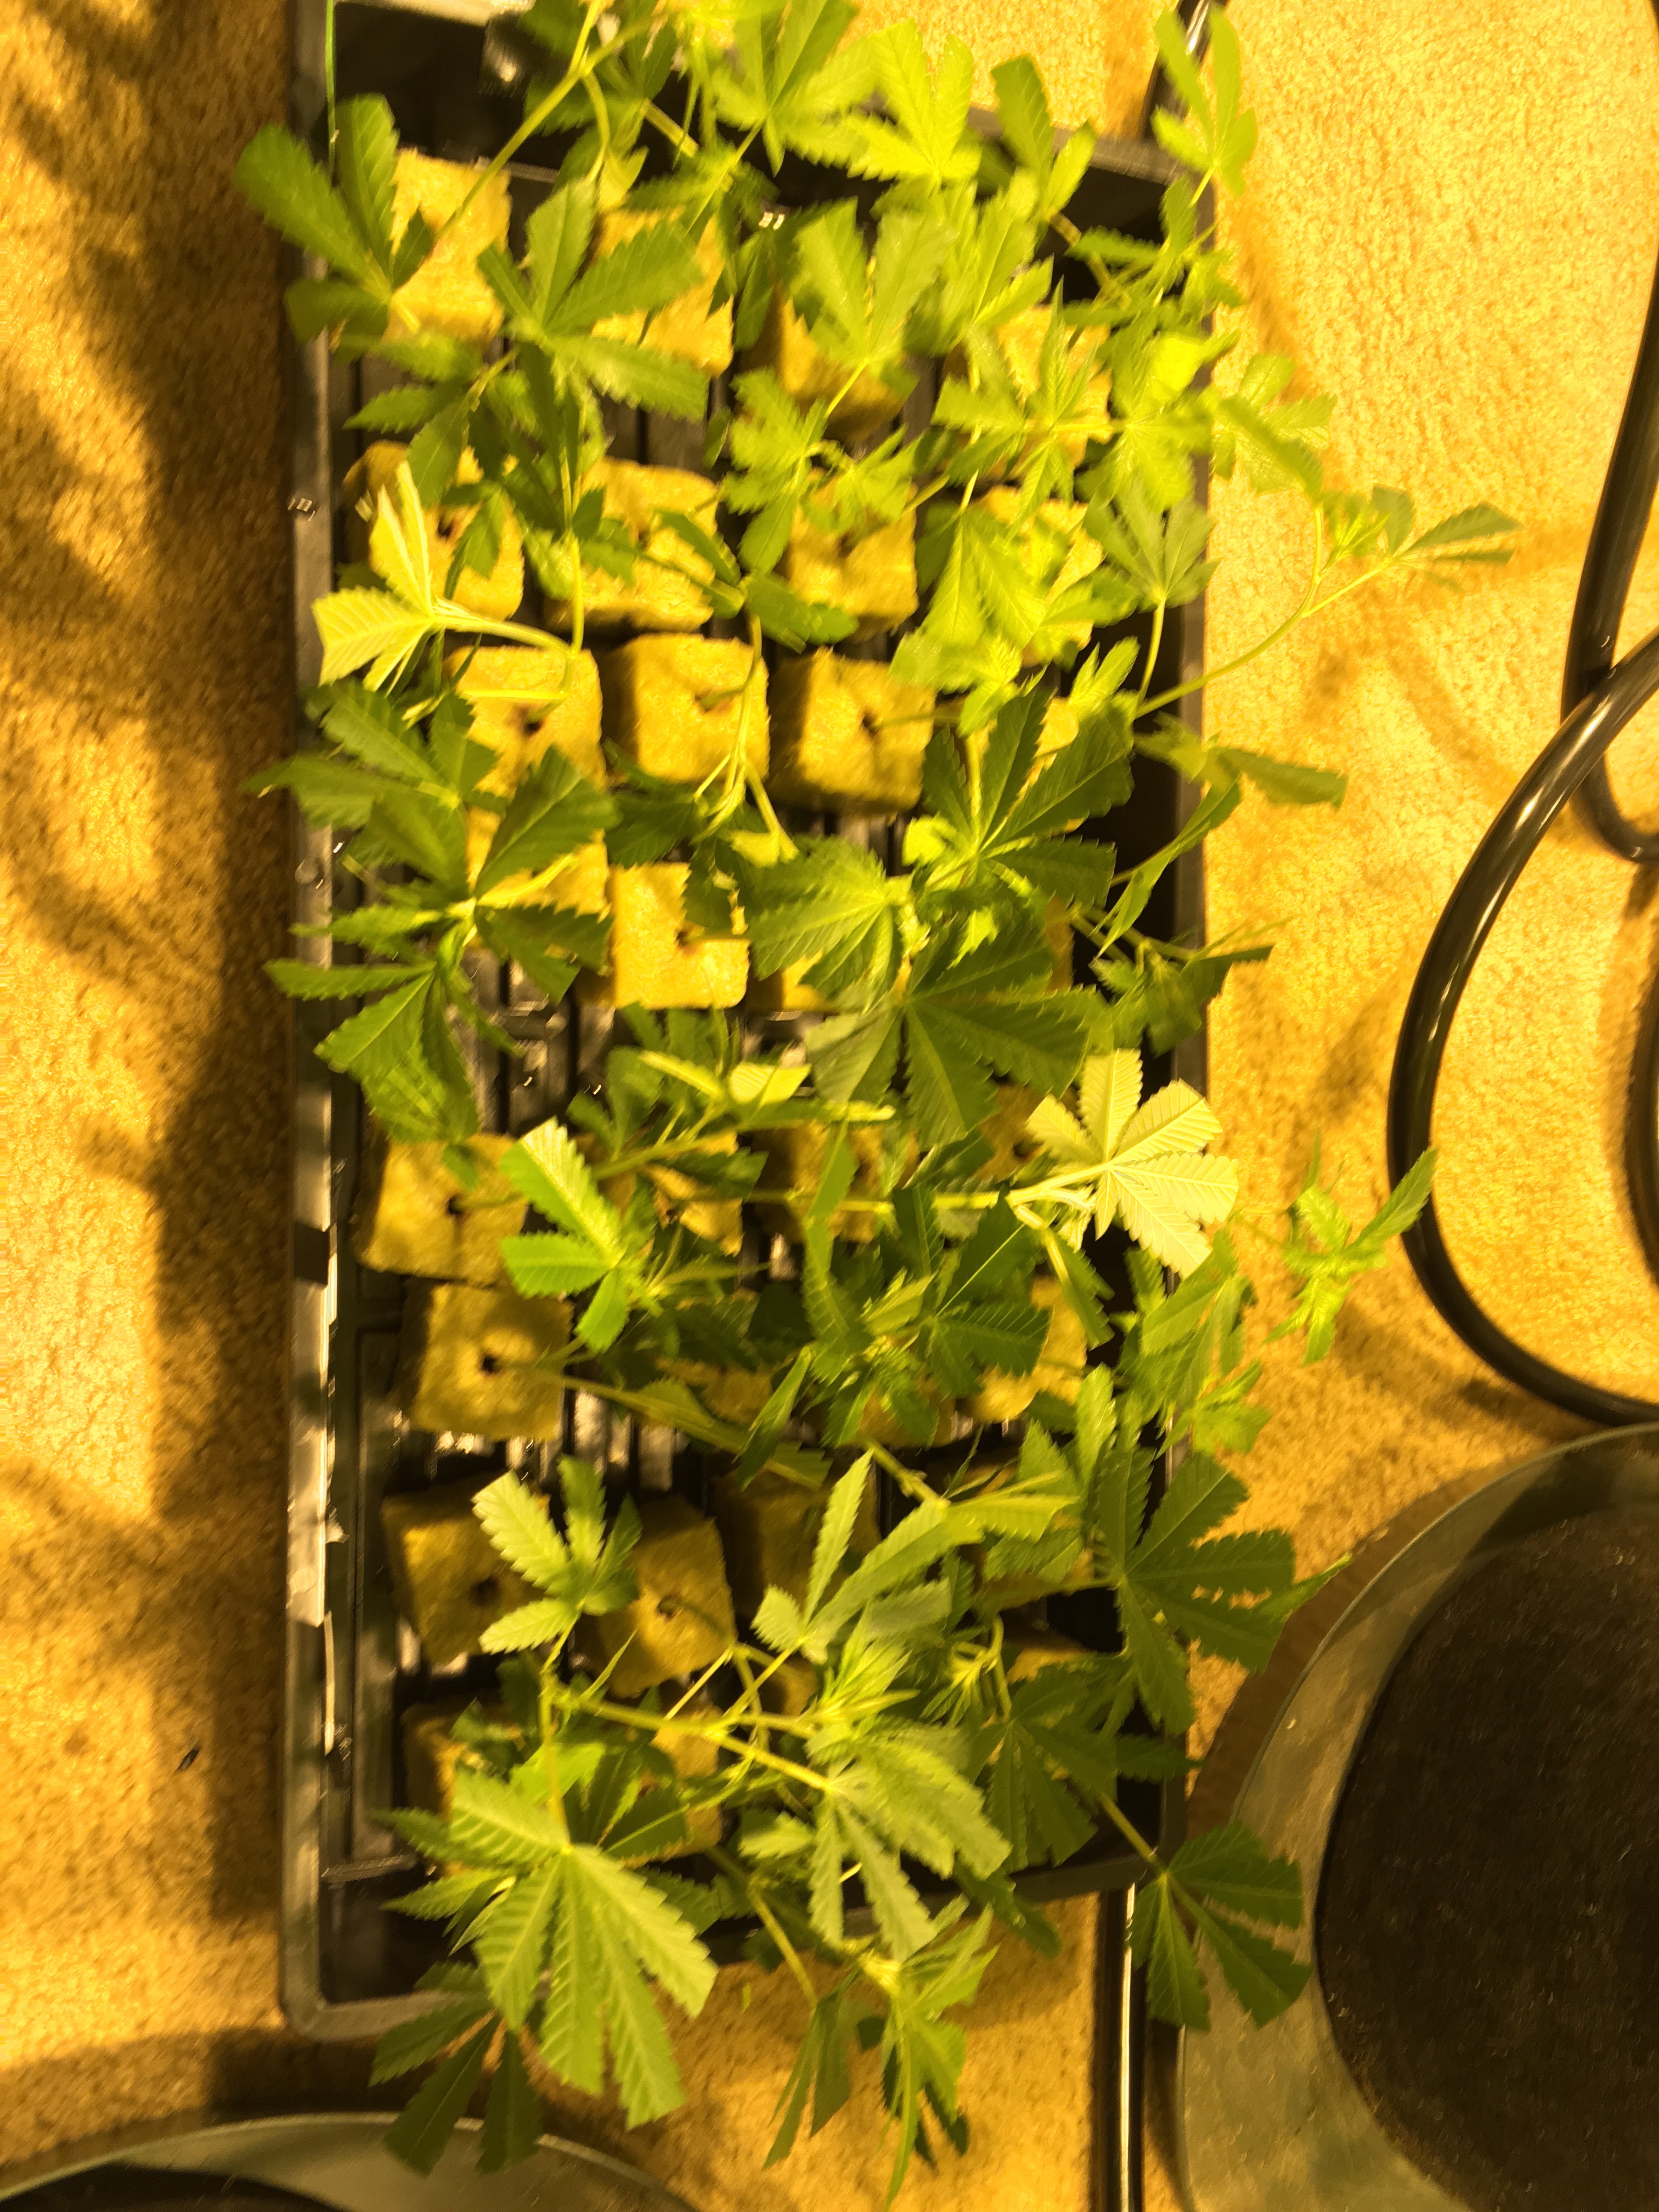
A filled tray.

A filled tray.
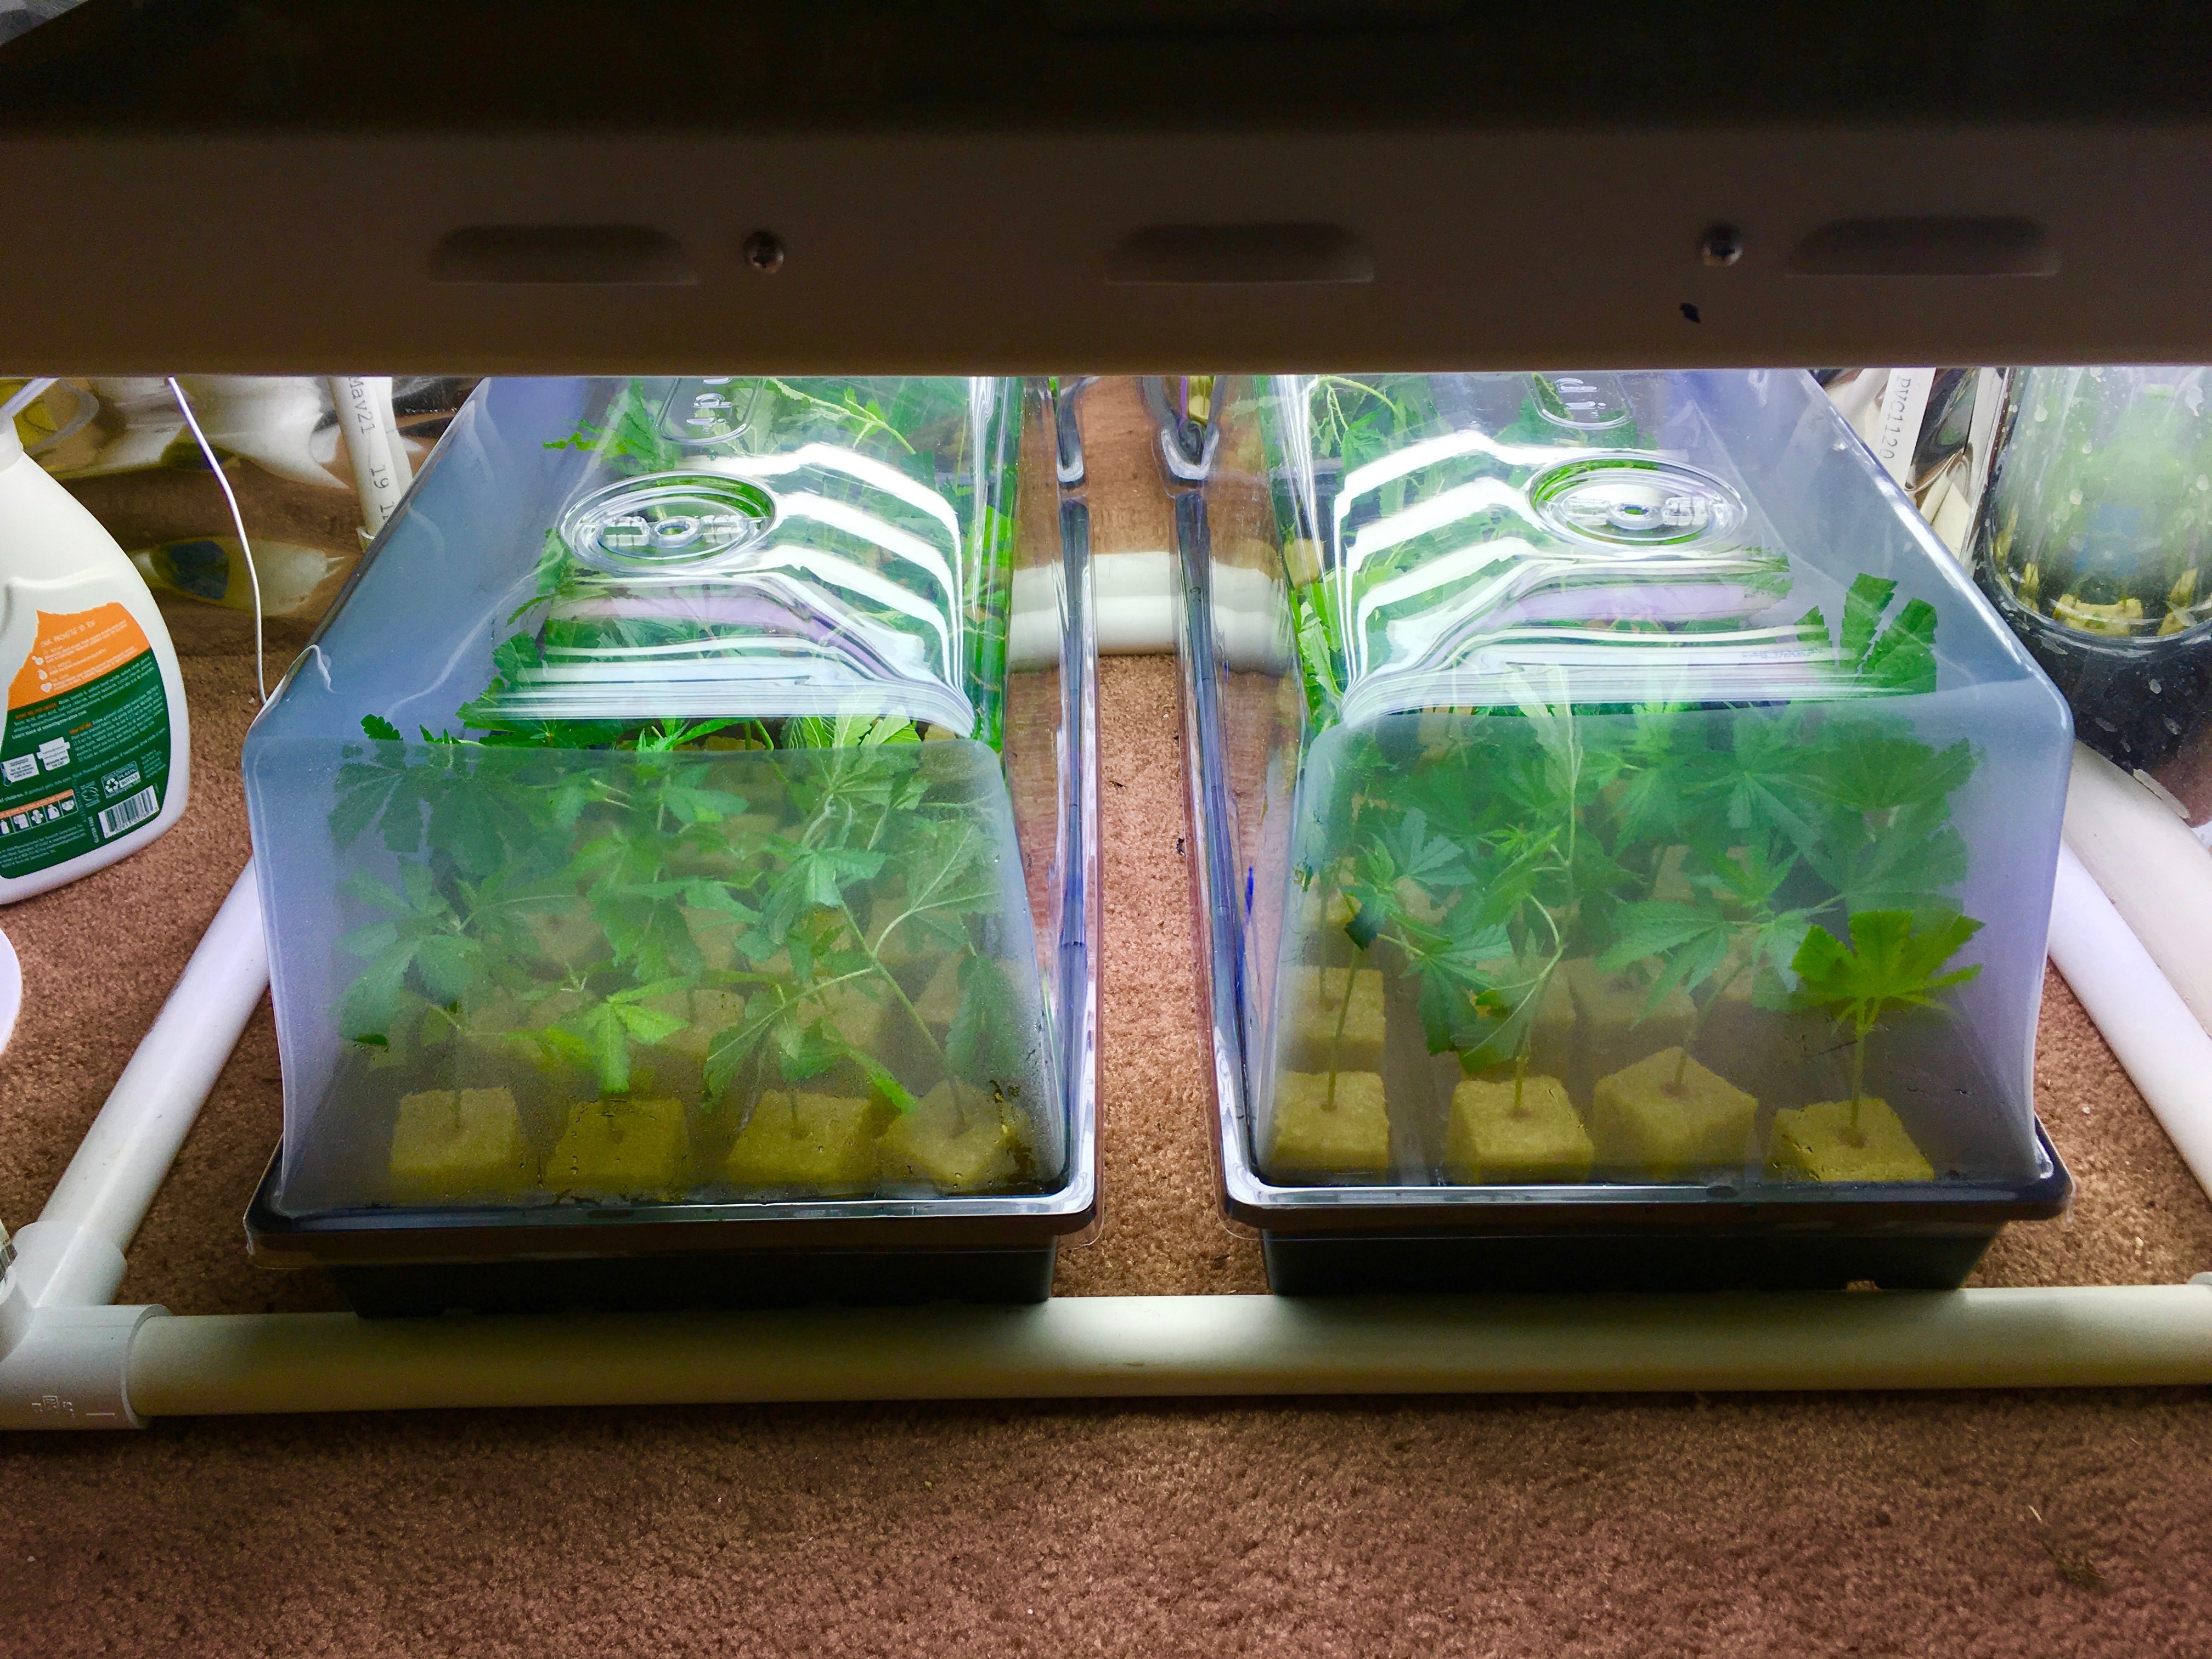
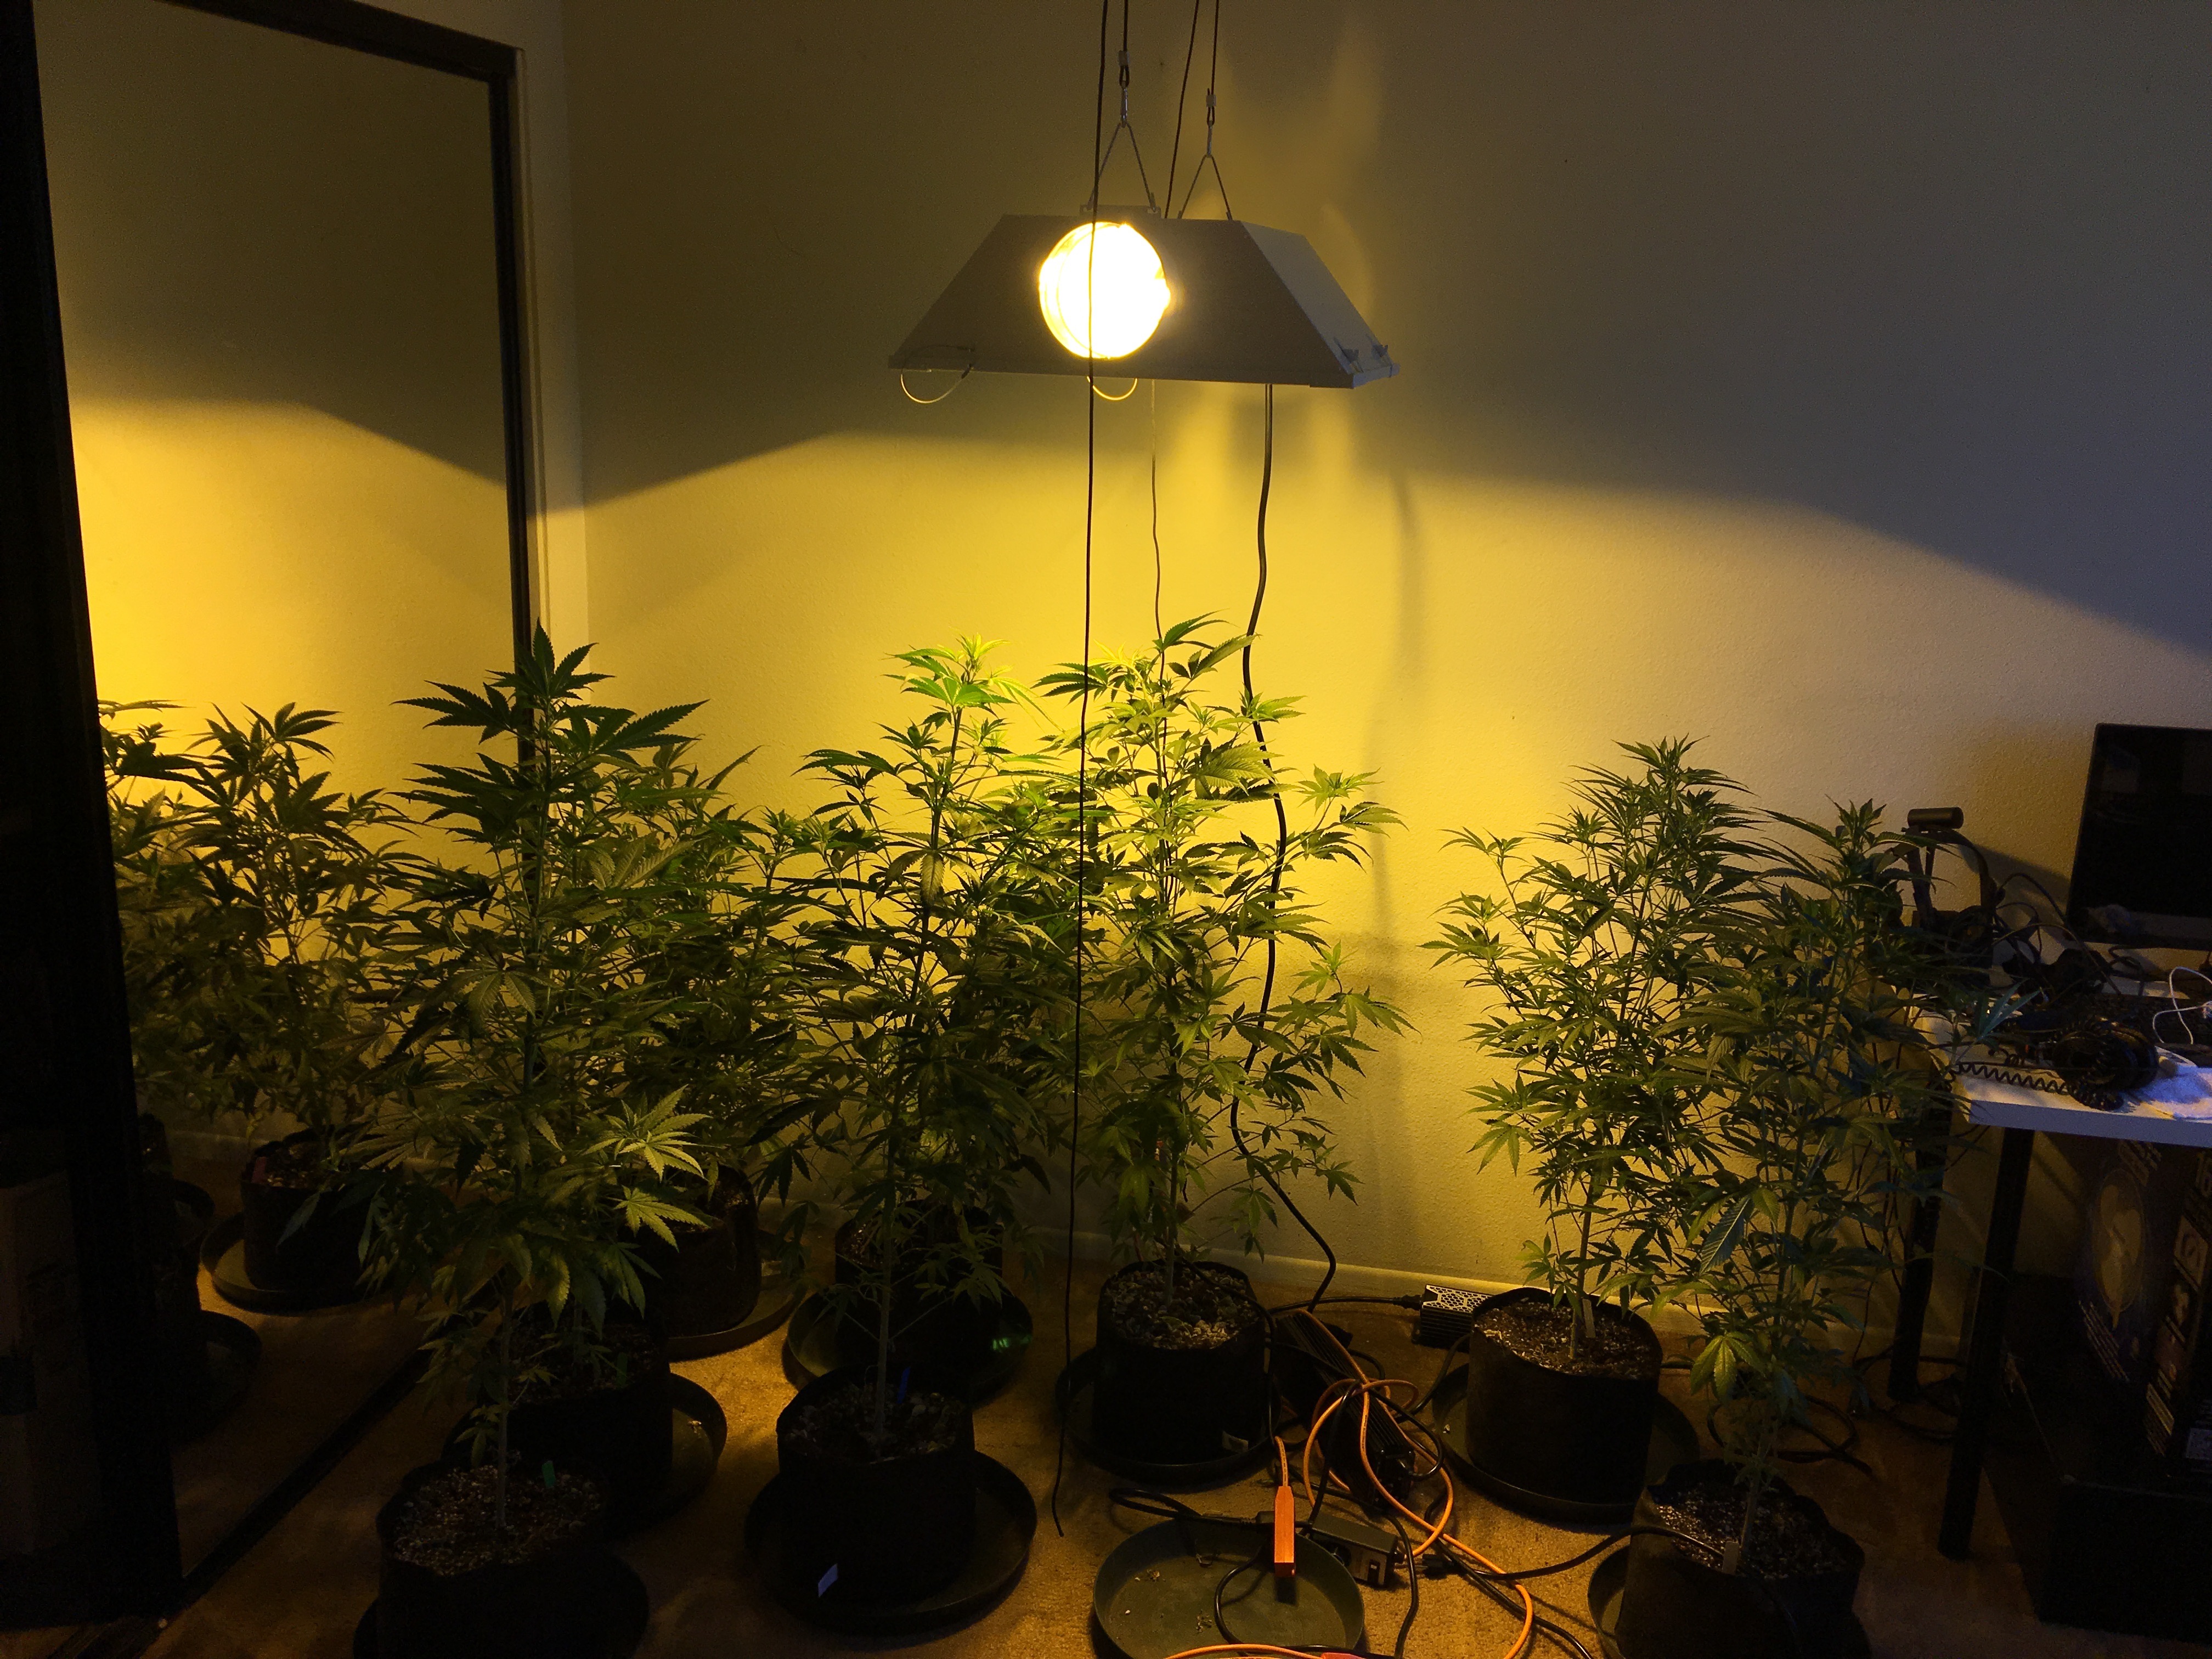
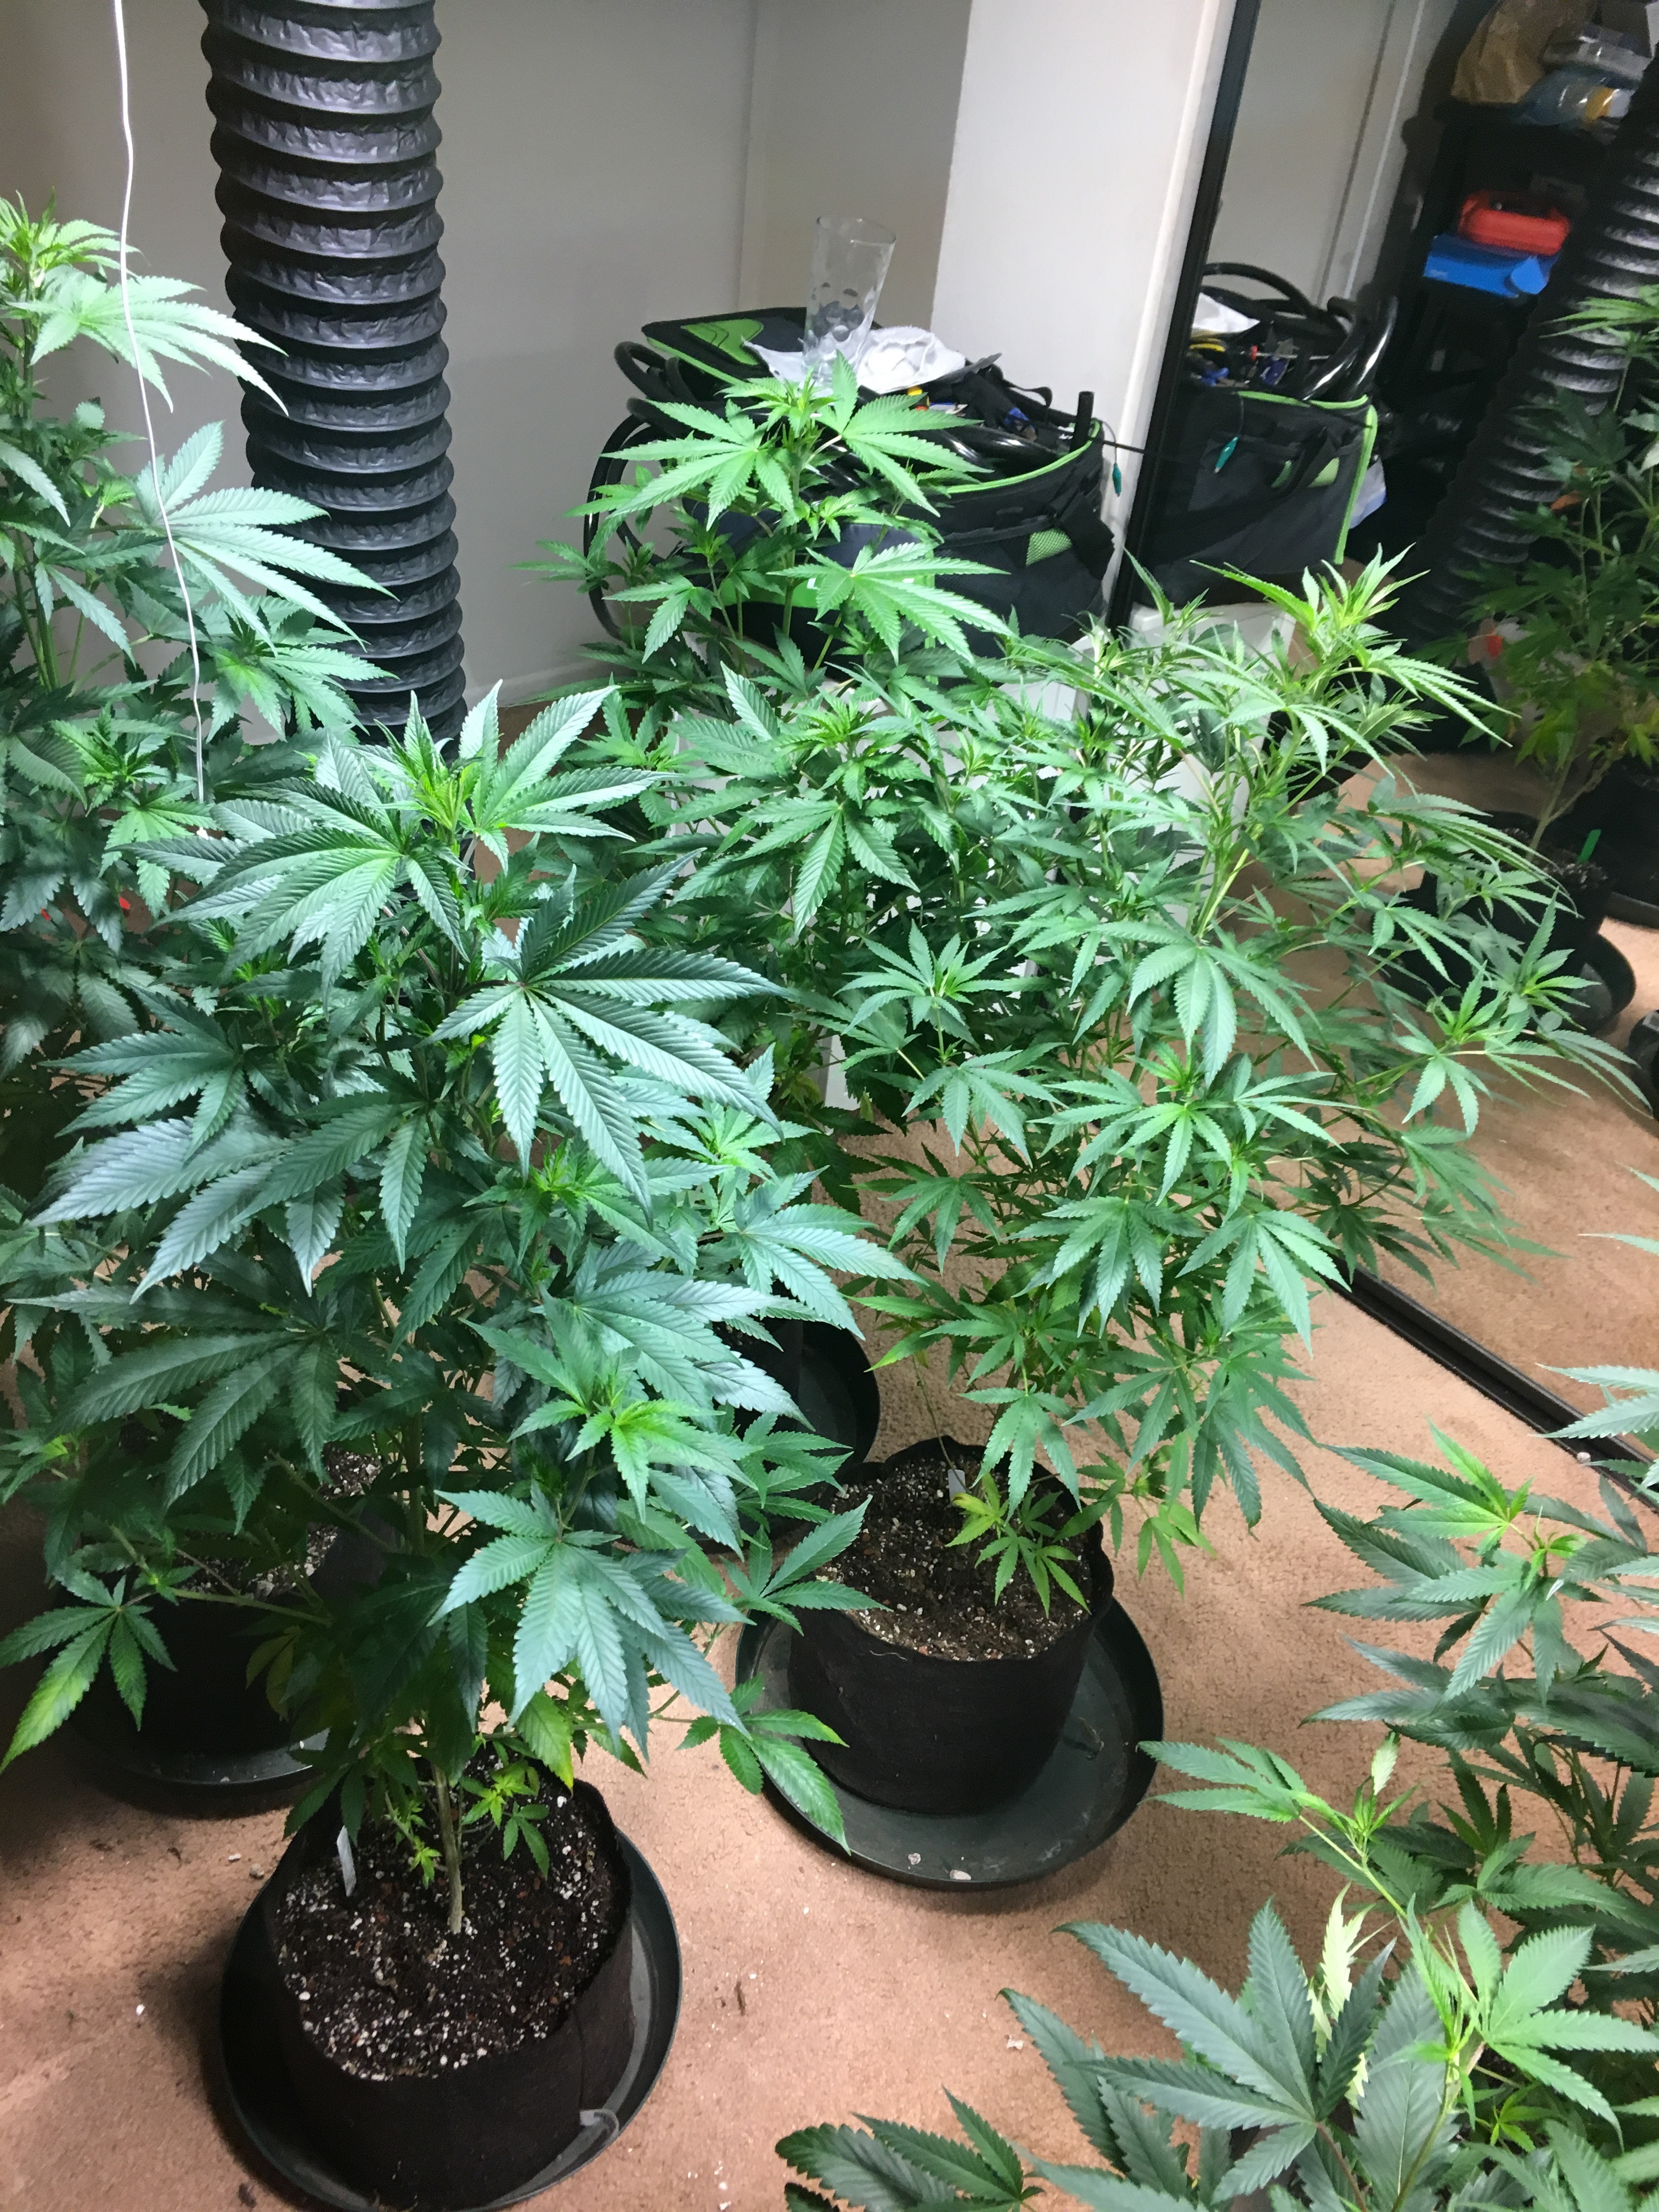
The downstairs now full of clones.
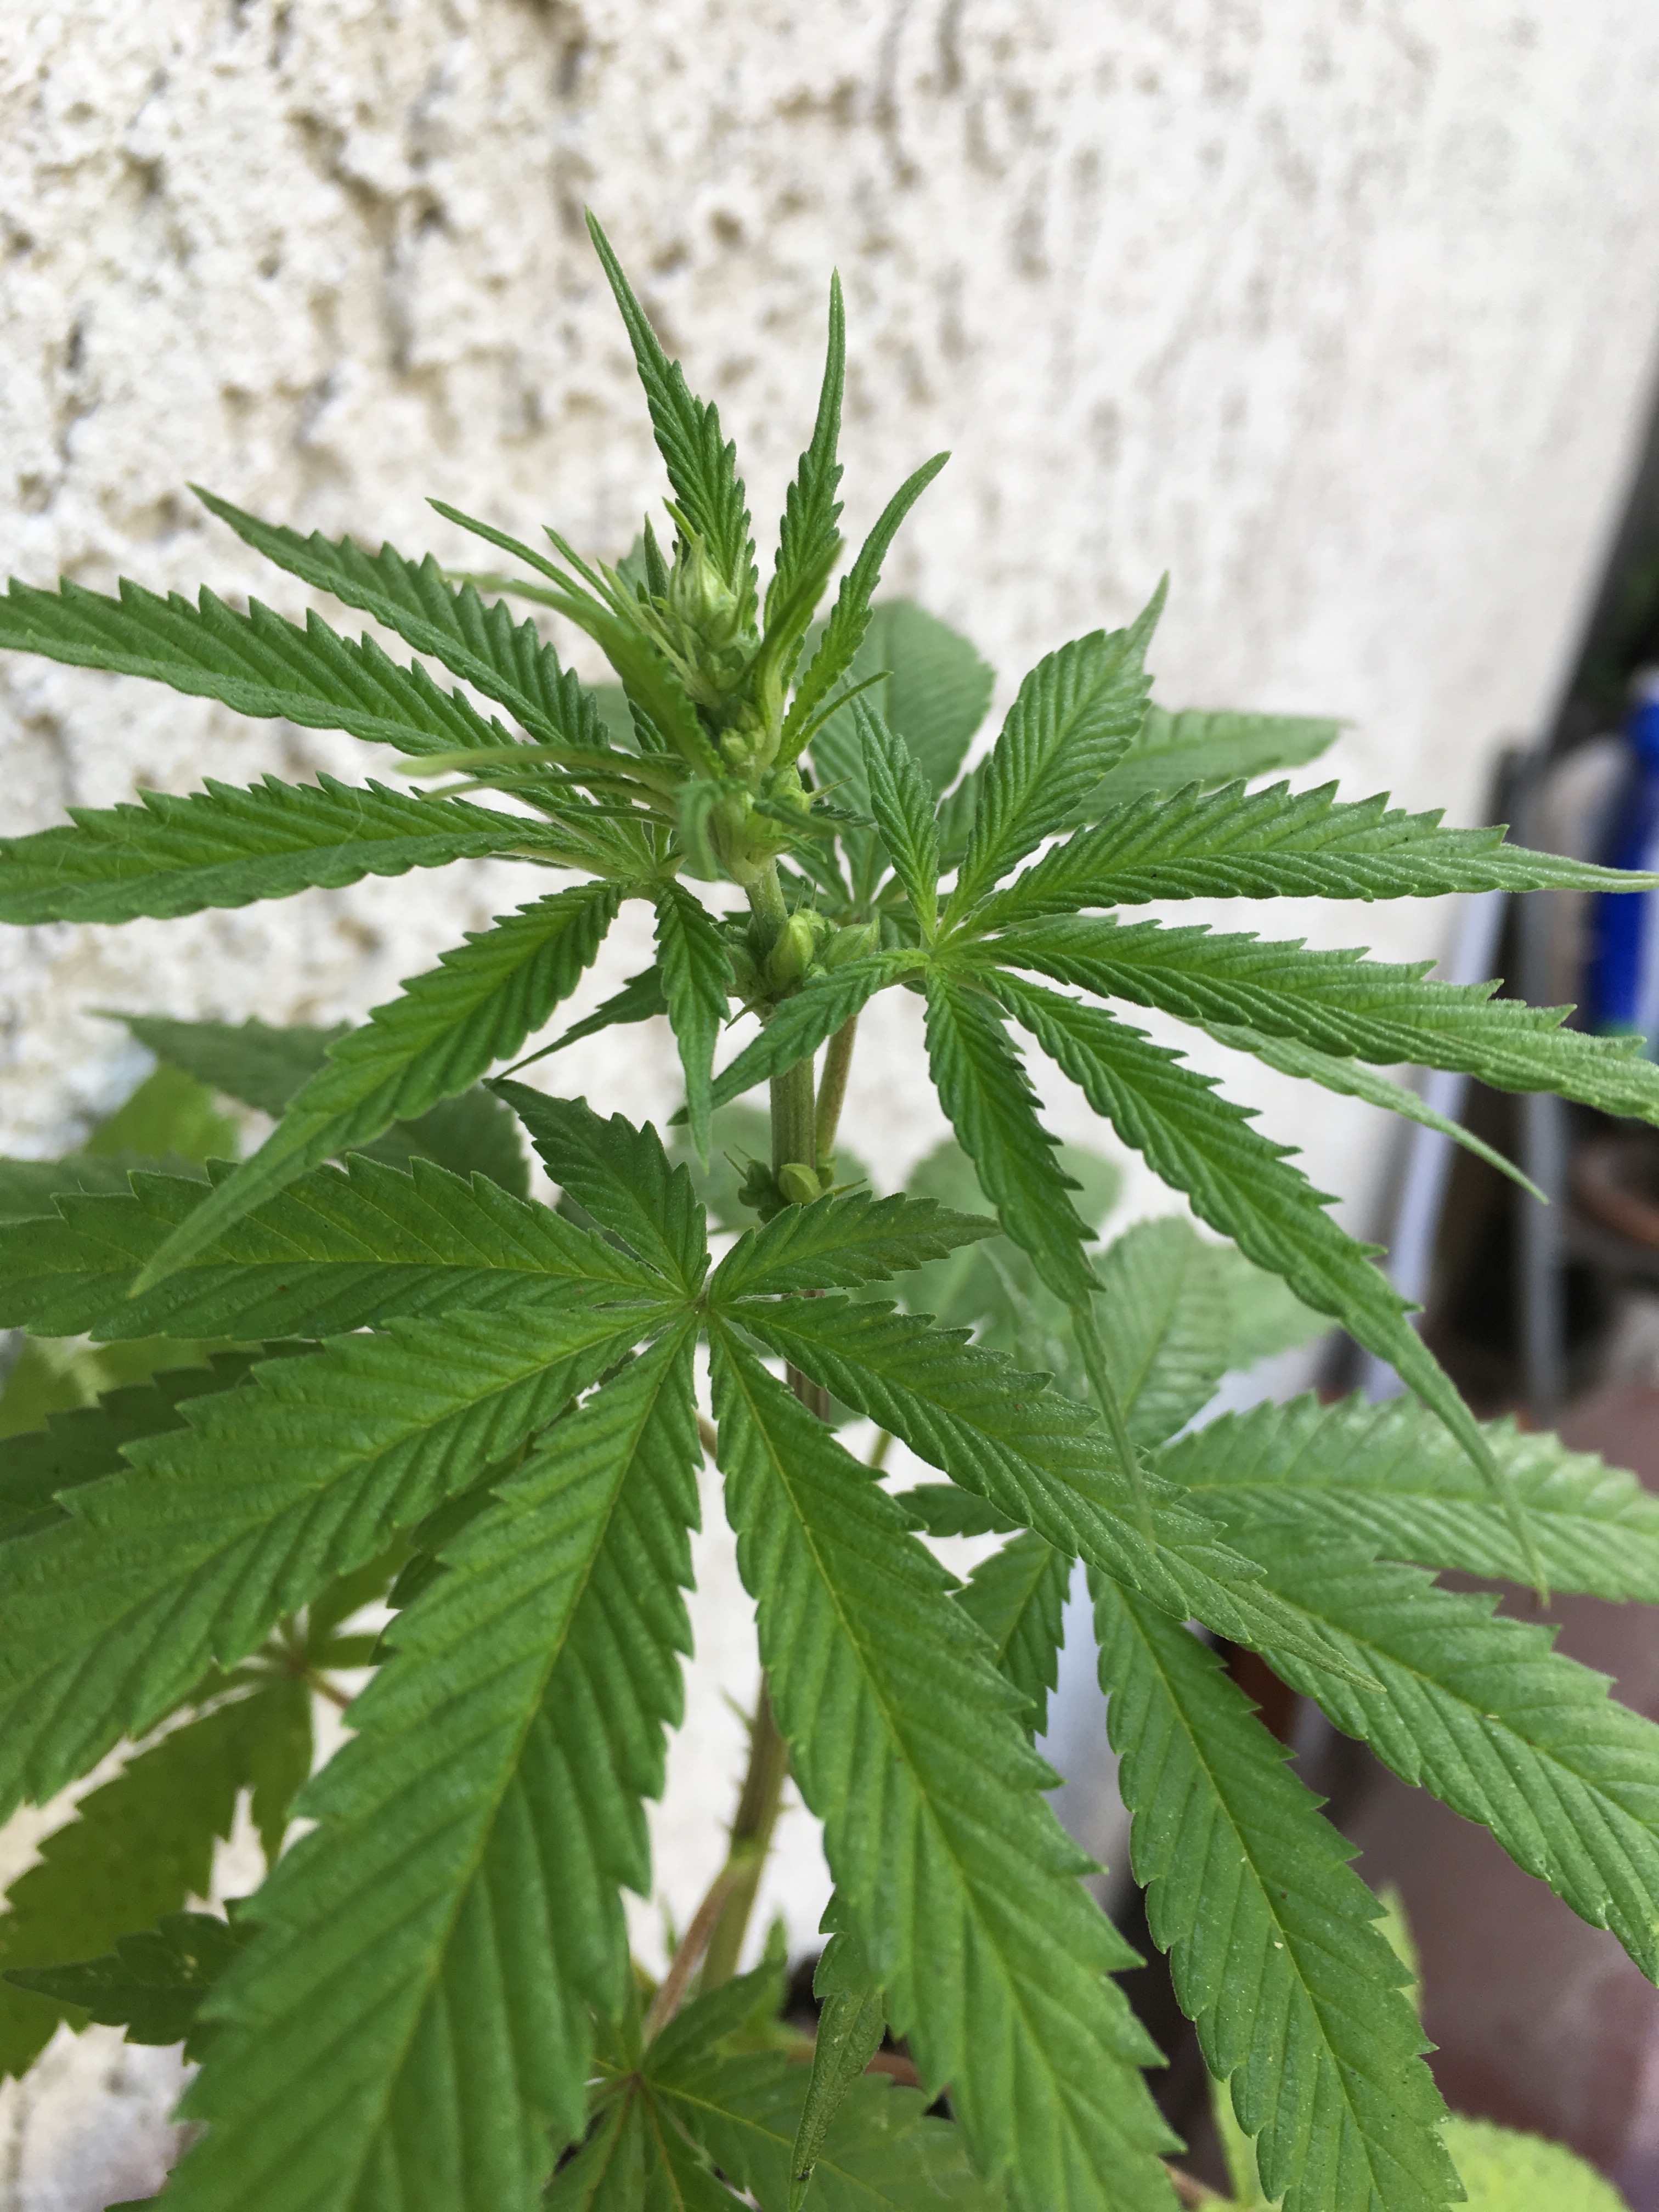
Eck one of the blueberry male plants. Hated to throw it away but had to.